My son’s best friend, Leo, showed up for an impromptu playdate at 11:47 AM. The fridge held exactly three things: a package of turkey slices, a block of cream cheese, and a bag of shredded cheddar that was dangerously close to its expiration date. I had exactly seventeen minutes before the hangry meltdowns would begin. The tortillas were hiding in the back of the bread drawer, practically begging to be used. That’s how these Easy Turkey and Cheese Pinwheel Lunchbox Wraps were born—not from a carefully planned Pinterest board, but from the desperate math of feeding two hungry boys with whatever was on hand.
I rolled those first wraps with zero confidence, honestly. The cream cheese was still a little cold, and I worried the whole thing would fall apart when I sliced it. But you know what? The boys inhaled them. Leo asked for seconds, and my kid looked at me like I’d just pulled off some kind of kitchen magic. I stood there, knife in hand, realizing I’d stumbled onto something genuinely useful. These pinwheels weren’t just a survival meal—they were the kind of thing you’d actually want to pack.
Since that day, I’ve made these wraps more times than I can count. They’ve become my secret weapon for school lunches, road trips, and those afternoons when I need something fast that doesn’t involve a drive-thru. The combination is simple, but the way it comes together? That’s the part that stuck with me. It’s reliable, it’s fast, and it actually tastes like something you’d look forward to eating. That’s a win in my book.
Why You’ll Love This Recipe
These Easy Turkey and Cheese Pinwheel Lunchbox Wraps are the kind of recipe that makes you wonder why you didn’t think of it sooner. They check every box for busy parents and hungry kids alike.
- Quick & Easy : From start to finish, you’re looking at about 10 minutes of active prep time. That’s faster than waiting in line at the school cafeteria.
- Simple Ingredients : You probably have most of these in your kitchen right now. No specialty items, no weird ingredients you’ll use once and forget about.
- Perfect for Lunchboxes : These hold up beautifully in a lunch bag. No sogginess, no mess, and they stay fresh for hours.
- Crowd-Pleaser : I’ve served these to picky eaters, adults, and everyone in between. They disappear every single time.
- Endlessly Customizable : Swap the fillings, change the spread, use different meats—the base formula works with whatever you’ve got.
What makes these different from every other wrap recipe out there? It’s the cream cheese layer. That thin spread acts like glue, holding everything together so your pinwheels don’t unroll in the lunchbox. Plus, it adds a subtle tang that makes the turkey and cheese sing. I’ve tested this with mayo, butter, and hummus, and nothing works quite like cream cheese for structure and flavor.
These wraps are the kind of recipe that makes you feel like you’ve got your act together, even on the chaotic mornings. They’re comfort food reimagined for real life—faster, easier, but with the same satisfying goodness that makes everyone happy.
What Ingredients You Will Need
This recipe relies on a handful of simple, pantry-friendly ingredients that come together to create something surprisingly delicious. Each component plays a specific role, from flavor to texture to structure.
- Large Flour Tortillas (10-inch size works best) – You want the burrito-sized ones here. The smaller taco tortillas won’t give you enough surface area for rolling, and you’ll end up with tiny, sad pinwheels. I prefer Mission brand for their flexibility, but any brand works as long as they’re fresh and pliable.
- 8 oz Cream Cheese, softened to room temperature – This is non-negotiable for the perfect spread. Cold cream cheese will tear your tortilla and leave you with lumpy pinwheels. Let it sit on the counter for 20 minutes, or microwave it for 10 seconds if you’re in a hurry. Philadelphia is my go-to for consistent texture.
- 1/2 cup Shredded Cheddar Cheese – Sharp cheddar adds the most flavor, but mild works too. You can also use Colby Jack or Monterey Jack for a milder taste. Pre-shredded is fine in a pinch, but freshly shredded melts better and tastes creamier.
- 8-10 slices Deli Turkey Breast – Go for oven-roasted or smoked turkey for the best flavor. Avoid the super-thin shaved turkey—it’s too delicate and won’t hold up in the roll. I like Boar’s Head or Hillshire Farm for consistent quality.
- 1/4 cup Mayonnaise (optional) – This is my secret trick. A thin layer of mayo under the cream cheese adds moisture and prevents the tortilla from drying out. Skip it if you’re not a mayo fan, but try it once—you might be surprised.
- 1/2 teaspoon Garlic Powder – Just a pinch to wake up the cream cheese. Don’t skip this—it makes a noticeable difference.
- 1/4 teaspoon Black Pepper – Freshly ground if you’ve got it. It adds a subtle warmth that balances the creaminess.
- Optional Add-ins : Thinly sliced cucumber, shredded lettuce, or a few leaves of fresh spinach. These add crunch and color, but they also introduce moisture, so use them sparingly if you’re packing for later.
I’ve tested this recipe with whole wheat tortillas and gluten-free wraps, and both work fine. Just make sure they’re pliable enough to roll without cracking. If your tortillas are stiff, warm them in the microwave for 10 seconds between damp paper towels.
Equipment Needed
You don’t need fancy gadgets for these wraps. Here’s what you’ll actually use:
- Sharp Chef’s Knife – A dull knife will squish your pinwheels and make a mess. I learned this the hard way after ruining an entire batch. A good 8-inch chef’s knife gives you clean cuts every time.
- Cutting Board – Any sturdy board works. I prefer a large wooden board because it doesn’t slide around.
- Small Spatula or Butter Knife – For spreading the cream cheese mixture evenly. An offset spatula is ideal, but a regular butter knife does the job.
- Mixing Bowl – Just a small one for combining the cream cheese, garlic powder, and pepper.
- Plastic Wrap or Parchment Paper – Wrapping the rolled tortillas tightly helps them hold their shape while they chill. This step makes a huge difference in the final look.
- Toothpicks (optional) – If you’re serving these at a party, toothpicks keep everything tidy. For lunchboxes, you can skip them.
If you don’t have plastic wrap, you can use wax paper or even a clean kitchen towel to wrap the rolls. The key is creating enough pressure to keep the roll tight without crushing it.
Preparation Method
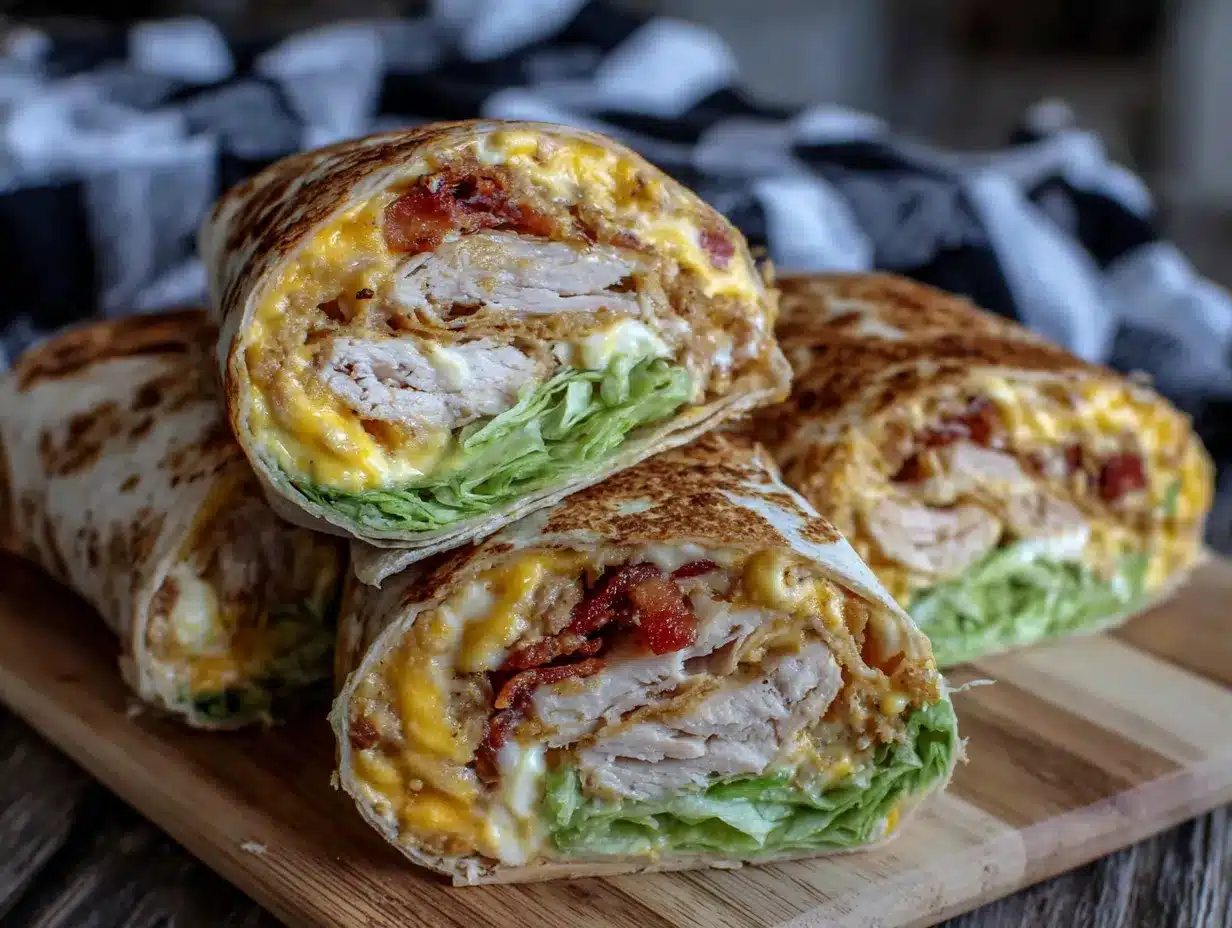
Let’s get rolling—literally. Follow these steps, and you’ll have perfect pinwheels every time.
- Soften the cream cheese. Take your cream cheese out of the fridge about 20 minutes before you start. If you forgot (I do this all the time), unwrap it and microwave it on low power for 10-15 seconds. It should be soft enough to spread easily but not melted. In a small bowl, mix the softened cream cheese with garlic powder and black pepper until smooth.
- Prep your tortillas. Lay one tortilla flat on your cutting board. If it feels stiff or dry, microwave it for 10 seconds between damp paper towels. This makes it more flexible and less likely to crack when you roll it.
- Spread the base layer. Using your spatula, spread a thin, even layer of mayonnaise (if using) over the entire surface of the tortilla, leaving about a 1-inch border around the edges. Then spread the cream cheese mixture over the mayo. Keep it thin—about 1/8 inch thick. Too much cream cheese and your pinwheels will be goopy.
- Layer the turkey. Arrange the turkey slices evenly over the cream cheese. Overlap them slightly to cover the whole surface, but don’t double-layer them. One even layer is perfect. If you’re using thicker turkey slices, you might only need 6-7 slices per wrap.
- Add the cheese. Sprinkle the shredded cheddar evenly over the turkey. Press it down gently so it sticks to the cream cheese. Don’t go overboard—about 2 tablespoons per wrap is plenty.
- Roll it tight. Starting at one edge, roll the tortilla tightly but gently. Use your fingers to keep the filling tucked in as you go. Roll all the way to the end, then press the seam gently to seal it. The cream cheese should help it stick.
- Wrap and chill. Tightly wrap each rolled tortilla in plastic wrap or parchment paper. Twist the ends like a candy wrapper to keep the roll snug. Refrigerate for at least 30 minutes, or up to 24 hours. This step is crucial—chilling firms up the cream cheese and makes slicing much cleaner.
- Slice and serve. Unwrap the chilled rolls and place them on your cutting board. Using a sharp knife, slice each roll into 1-inch pinwheels. Use a gentle sawing motion—don’t press straight down, or you’ll squish them. You should get about 8-10 pinwheels per wrap.
Pro tip: If you’re making these for a lunchbox, pack the pinwheels in a single layer with a piece of parchment paper between layers to prevent sticking. They’ll stay fresh for up to 24 hours in the fridge.
Cooking Tips & Techniques
After dozens of batches, I’ve collected a few hard-won lessons. Here’s what I wish someone had told me:
Don’t overfill. I know it’s tempting to pile on the turkey and cheese, but too much filling makes the pinwheels bulge and fall apart. Less is genuinely more here. Think of it as a thin, even layer—not a stuffed sandwich.
Warm tortillas roll better. Cold tortillas straight from the fridge crack and tear. A quick 10-second warm-up makes them pliable and cooperative. This is especially important if you’re using whole wheat or gluten-free wraps, which tend to be less flexible.
Chill time isn’t optional. I made the mistake of slicing a roll immediately once, and it was a disaster. The pinwheels flattened, the filling oozed out, and I ended up with a sad pile of turkey and cheese. Thirty minutes in the fridge makes all the difference. If you’re really pressed for time, pop the rolls in the freezer for 10 minutes.
Use a damp paper towel under your cutting board. This stops the board from sliding around while you slice. It’s a small thing, but it makes the process much smoother and safer.
Clean your knife between rolls. The cream cheese builds up on the blade and makes the next cut messy. A quick wipe with a damp cloth keeps your slices clean and professional-looking.
If you’re packing for later, add crunchy veggies just before serving. Cucumber or bell pepper strips add great texture, but they release moisture over time. If you add them too early, you’ll end up with soggy pinwheels. Pack the veggies separately and let everyone add their own.
Variations & Adaptations
This basic formula is incredibly forgiving. Here are some of my favorite twists:
- Veggie Lover’s Version : Skip the turkey and load up with thinly sliced cucumber, bell pepper strips, shredded carrots, and fresh spinach. The cream cheese holds everything together beautifully. Add a sprinkle of everything bagel seasoning for extra flavor.
- Spicy Southwest Style : Swap the cheddar for pepper jack cheese, add a thin layer of refried beans under the cream cheese, and use chipotle turkey or regular turkey with a dash of hot sauce. These are amazing for grown-up lunches.
- Ham and Swiss Combo : Replace turkey with honey ham and use Swiss cheese instead of cheddar. Add a thin smear of Dijon mustard to the cream cheese for a classic deli flavor. This is my husband’s favorite variation.
- Low-Carb Option : Use large lettuce leaves or low-carb tortillas instead of flour wraps. The technique is the same, but you’ll need to be extra gentle when rolling. These are best eaten fresh rather than packed for later.
- Dairy-Free Adaptation : Use dairy-free cream cheese and shredded vegan cheese. Kite Hill makes a great cream cheese alternative that spreads well. The texture will be slightly different, but the flavor is still delicious.
I once made a batch with leftover roasted chicken and a smear of pesto instead of cream cheese. It was incredible. Don’t be afraid to experiment—the basic formula of spread + protein + cheese works with almost any combination you can dream up.
Serving & Storage Suggestions
These pinwheels are versatile enough for lunchboxes, picnics, parties, or even a quick dinner option when you’re short on time.
Serving temperature: They’re best served cold or at room temperature. If you’re serving them at a party, arrange them on a platter with a small bowl of ranch dressing or honey mustard for dipping. They look beautiful arranged in a circular pattern with a few fresh herbs scattered around.
What to serve with them: These pair wonderfully with a healthy bento box lunch for picky eaters setup—think fresh fruit, veggie sticks, and a small treat. For a heartier meal, add a cup of tomato soup or a simple side salad. They also work great alongside easy 5-ingredient overnight oat lunchbox cups for a complete lunch that kids actually eat.
Storage instructions: Keep the pinwheels in an airtight container in the refrigerator for up to 2 days. After that, the tortillas start to dry out and the texture changes. If you’re packing for school, use a lunchbox with an ice pack to keep them cool and fresh.
Freezing tips: You can freeze the whole rolls (before slicing) for up to 1 month. Wrap them tightly in plastic wrap and then foil. When you’re ready to use them, thaw in the refrigerator overnight, then slice and serve. The texture is slightly softer after freezing, but they’re still delicious.
Reheating: Don’t. These are meant to be served cold. If you want a warm version, try toasting the whole wrap in a panini press for 3-4 minutes instead of rolling it into pinwheels.
The flavors actually meld together beautifully after a few hours in the fridge. That’s why these are perfect for meal prep—they taste even better the next day.
Nutritional Information & Benefits
These pinwheels are a balanced option that delivers protein, healthy fats, and carbohydrates in a kid-friendly package.
| Nutrient | Per 4 Pinwheels (approx.) |
|---|---|
| Calories | 280-320 |
| Protein | 18-22g |
| Carbohydrates | 22-26g |
| Fat | 14-18g |
| Fiber | 2-3g |
| Sodium | 600-700mg |
The turkey provides lean protein that keeps kids full and focused through the school day. Cream cheese adds calcium and a small amount of fat for satiety. If you use whole wheat tortillas, you’ll get extra fiber and B vitamins.
For lower sodium, look for reduced-sodium turkey breast and skip the added salt in the cream cheese mixture. You can also use low-fat cream cheese to cut the fat content, though the texture will be slightly less creamy.
These pinwheels are naturally nut-free, making them a safe option for school lunchboxes with allergy restrictions. If you need them to be gluten-free, simply use gluten-free tortillas and double-check your deli meat label.
I love that this recipe lets me pack a balanced lunch without the stress. It’s real food, made with real ingredients, and it actually gets eaten. That’s the kind of win I can get behind.
Conclusion
These Easy Turkey and Cheese Pinwheel Lunchbox Wraps have saved me more times than I can count. They’re the recipe I turn to when I need something reliable, fast, and genuinely delicious. Whether you’re packing school lunches, prepping for a road trip, or just need a quick snack that feels like a treat, these pinwheels deliver.
The best part? They’re completely customizable. Swap the fillings, change the spread, add your favorite veggies—the formula works with whatever you have on hand. I’d love to hear how you make them your own. Drop a comment below and tell me your favorite variation, or tag me in your photos if you give them a try.
Here’s to less stress, more good food, and lunchboxes that come home empty. You’ve got this, friend. Happy rolling!
Frequently Asked Questions
Can I make these pinwheels the night before?
Absolutely. In fact, they’re even better the next day. Assemble the rolls, wrap them tightly in plastic wrap, and refrigerate overnight. Slice them in the morning before packing. The flavors meld together beautifully, and the texture stays perfect.
How do I keep the pinwheels from getting soggy in a lunchbox?
The cream cheese layer acts as a barrier that prevents moisture from seeping into the tortilla. Just make sure to pat any wet ingredients (like cucumber or lettuce) dry before adding them. Pack the pinwheels in a single layer with parchment paper between layers, and include an ice pack to keep everything cool.
Can I use a different type of cheese?
Yes! This recipe works with almost any shredded cheese. Try Monterey Jack, provolone, Gouda, or even crumbled feta for a different flavor profile. Just avoid very soft cheeses like fresh mozzarella, which can make the pinwheels too wet.
How long do these pinwheels stay fresh?
They’re best within 2 days of making them. Store them in an airtight container in the refrigerator. After 2 days, the tortillas start to dry out and the texture becomes less pleasant. If you need them to last longer, freeze the whole rolls before slicing.
Can I make these without cream cheese?
You can, but the texture and structure will be different. Try using hummus, mashed avocado, or a thick layer of Greek yogurt as a substitute. Keep in mind that these alternatives won’t hold the roll together as firmly, so you may need to use toothpicks to keep the pinwheels intact.
If you’re looking for more lunchbox inspiration, check out these easy high-protein turkey pinwheel wraps for another twist on this classic idea. And for a sweet option that packs beautifully, try these no-bake peanut butter oat energy balls for a quick, healthy snack that kids actually love.
Pin This Recipe!
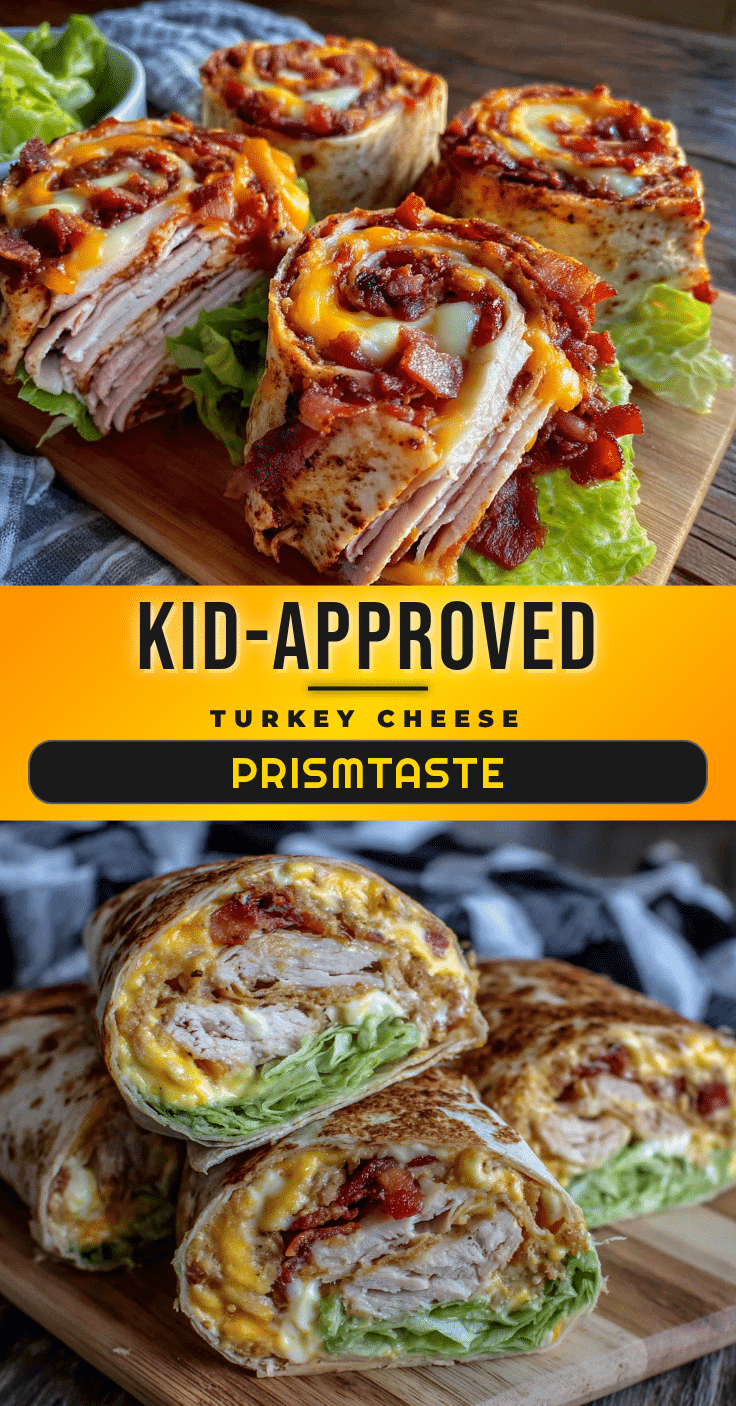
Easy Turkey and Cheese Pinwheel Wraps: Best Lunchbox Idea

These Easy Turkey and Cheese Pinwheel Lunchbox Wraps are the perfect solution for busy parents. Made with simple ingredients like cream cheese, turkey, and cheddar, they come together in minutes and hold up beautifully in lunchboxes.
- Prep Time: 10 minutes
- Cook Time: 0 minutes
- Total Time: 40 minutes (including 30 minutes chilling)
- Yield: 4 servings (about 32-40 pinwheels) 1x
- Category: Lunch
- Cuisine: American
Ingredients
- 4 large flour tortillas (10-inch)
- 8 oz cream cheese, softened
- 1/2 cup shredded cheddar cheese
- 8–10 slices deli turkey breast
- 1/4 cup mayonnaise (optional)
- 1/2 teaspoon garlic powder
- 1/4 teaspoon black pepper
- Optional: thinly sliced cucumber, shredded lettuce, or fresh spinach
Instructions
- Soften the cream cheese by letting it sit at room temperature for 20 minutes or microwaving on low for 10-15 seconds. In a small bowl, mix the softened cream cheese with garlic powder and black pepper until smooth.
- Lay one tortilla flat on a cutting board. If stiff, microwave for 10 seconds between damp paper towels.
- Spread a thin, even layer of mayonnaise (if using) over the entire tortilla, leaving a 1-inch border. Then spread the cream cheese mixture over the mayo in a thin layer (about 1/8 inch thick).
- Arrange turkey slices evenly over the cream cheese, overlapping slightly to cover the surface in a single layer.
- Sprinkle shredded cheddar evenly over the turkey and press down gently.
- Starting at one edge, roll the tortilla tightly but gently, keeping the filling tucked in. Press the seam to seal.
- Tightly wrap each rolled tortilla in plastic wrap or parchment paper, twisting the ends like a candy wrapper. Refrigerate for at least 30 minutes or up to 24 hours.
- Unwrap the chilled rolls and slice into 1-inch pinwheels using a sharp knife with a gentle sawing motion. You should get about 8-10 pinwheels per wrap.
Notes
Don’t overfill the tortillas. Warm tortillas roll better. Chilling is crucial for clean slicing. Clean your knife between rolls for neat cuts. Add crunchy veggies just before serving to prevent sogginess. These are best served cold or at room temperature.
Nutrition
- Serving Size: 4 pinwheels
- Calories: 300
- Sugar: 3
- Sodium: 650
- Fat: 16
- Saturated Fat: 8
- Carbohydrates: 24
- Fiber: 2.5
- Protein: 20
Keywords: turkey pinwheels, lunchbox wraps, easy lunch ideas, kid-friendly lunch, turkey and cheese wraps, school lunch, meal prep


