My neighbor handed me a brown paper bag last October, bulging with the innards of two jack-o’-lanterns. “You’ll know what to do with these,” she said, and I nodded, not entirely sure I would. I had roasted pumpkin seeds before, sure. But they always came out one of two ways: either chewy and sad, or burnt to a crisp with the seasoning sliding off into the bottom of the pan. Honestly, I thought the whole “toasted pumpkin seed” thing was a myth—something that tasted good only in theory.
That afternoon, I stood over the sink, picking stringy pulp off those slippery seeds, and I decided I was done with the salty, boring versions. I wanted a snack that actually made you reach for another handful. I wanted crunch. I wanted warmth. I wanted that specific kind of sweetness that clings to your fingers and makes you lick them clean. So I started experimenting—tossing them in butter, shaking them in a bag of cinnamon sugar, and watching them sizzle in a hot skillet. And then I put them in the oven at just the right temp, and something clicked.
The first batch disappeared before I could even get a photo. My kid, who swears she doesn’t like seeds, ate half of them standing at the counter. That’s when I knew this wasn’t just another pumpkin seed recipe. It was the one. The one that actually delivers on the promise of crispy, sweet, and completely addictive. And the best part? It takes 25 minutes from start to finish. No soaking overnight, no complicated steps, just a simple snack that tastes like autumn in a bowl.
If you’ve ever been let down by soggy seeds, I get it. But trust me on this one—these Crispy Cinnamon Sugar Pumpkin Seeds are about to change your mind.
Why You’ll Love This Recipe
I’ve tested this recipe more times than I care to admit. I’ve burned them, undercooked them, overseasoned them, and once even forgot the sugar entirely. But through all those mistakes, I landed on a method that works every single time. And I’m not just saying that—I’ve made these for three different holiday gatherings, and each time, someone asked for the recipe before they left.
- Quick & Easy: From sink to snack in 25 minutes flat. No complicated prep, no waiting around.
- Simple Ingredients: You probably already have everything in your pantry. Butter, sugar, cinnamon, salt, and pumpkin seeds. That’s it.
- Perfect for Fall: Whether you’re carving pumpkins for Halloween, hosting a cozy movie night, or just craving something crunchy, these fit right in. They also make a fantastic topping for our Perfect Pumpkin Sourdough Bread with Toasted Pepitas.
- Crowd-Pleaser: Kids love them. Adults love them. Even people who claim they don’t like seeds end up grabbing a handful.
- Unbelievably Delicious: The combination of warm cinnamon, buttery crunch, and just the right amount of sweetness is next-level. You won’t be able to stop eating them.
What makes this recipe different? It’s the technique. Most recipes skip the step of boiling the seeds first, which helps them get crispy all the way through. And the ratio of cinnamon to sugar? I spent three batches getting it exactly right. Not too sweet, not too spicy—just balanced. This isn’t just another version of roasted pumpkin seeds. It’s the best version.
What Ingredients You Will Need
This recipe uses simple, wholesome ingredients to deliver bold flavor and satisfying crunch without the fuss. Most of these are pantry staples, so you can whip up a batch whenever the craving hits.
- Fresh pumpkin seeds (1 cup) – Straight from a pumpkin or store-bought raw pepitas. If using fresh, rinse them well and pat dry. I prefer seeds from sugar pumpkins—they’re smaller and tend to roast more evenly. But any carving pumpkin works just fine.
- Unsalted butter (2 tablespoons, melted) – Adds richness and helps the cinnamon sugar stick. I use salted butter in a pinch, but then I reduce the added salt. Kerrygold is my go-to for flavor, but any brand works.
- Granulated sugar (2 tablespoons) – Provides the sweetness. You can swap with coconut sugar for a deeper flavor, but the texture will be slightly grainier.
- Ground cinnamon (1 teaspoon) – The star of the show. Use a fresh jar for the best flavor. Old cinnamon can taste flat and dusty.
- Salt (½ teaspoon) – Balances the sweetness and enhances the nutty flavor of the seeds. Fine sea salt works best because it dissolves evenly.
- Vanilla extract (½ teaspoon, optional) – Adds a subtle warmth that pairs beautifully with cinnamon. I always include it, but it’s not mandatory.
For the best texture, look for seeds that are clean and free of excess pulp. If you’re using fresh pumpkin seeds, don’t skip the step of boiling them—it helps them get crispy on the inside, not just the outside. If you want a dairy-free option, coconut oil works perfectly in place of butter. Just note that the flavor will shift slightly toward coconut.
Equipment Needed
You don’t need fancy tools for this recipe. Here’s what you’ll need:
- Baking sheet – A rimmed baking sheet works best to catch any butter or sugar that might drip. I use a half-sheet pan for even heat distribution.
- Parchment paper or silicone baking mat – Makes cleanup a breeze and prevents sticking. Silicone mats are my favorite because they promote even browning.
- Medium saucepan – For boiling the seeds. Any pot works, but a wide saucepan helps them cook faster.
- Colander – For draining the boiled seeds.
- Mixing bowl – To toss the seeds with butter and cinnamon sugar.
- Spatula or wooden spoon – For stirring.
- Measuring spoons – Precision matters with cinnamon and salt.
If you don’t have a silicone baking mat, parchment paper is fine. I’ve also used aluminum foil in a pinch, but the seeds tend to stick more. A good baking sheet makes a difference—thin, flimsy pans can lead to uneven browning. I’ve had great results with Nordic Ware pans, but any heavy-duty sheet will do.
Preparation Method
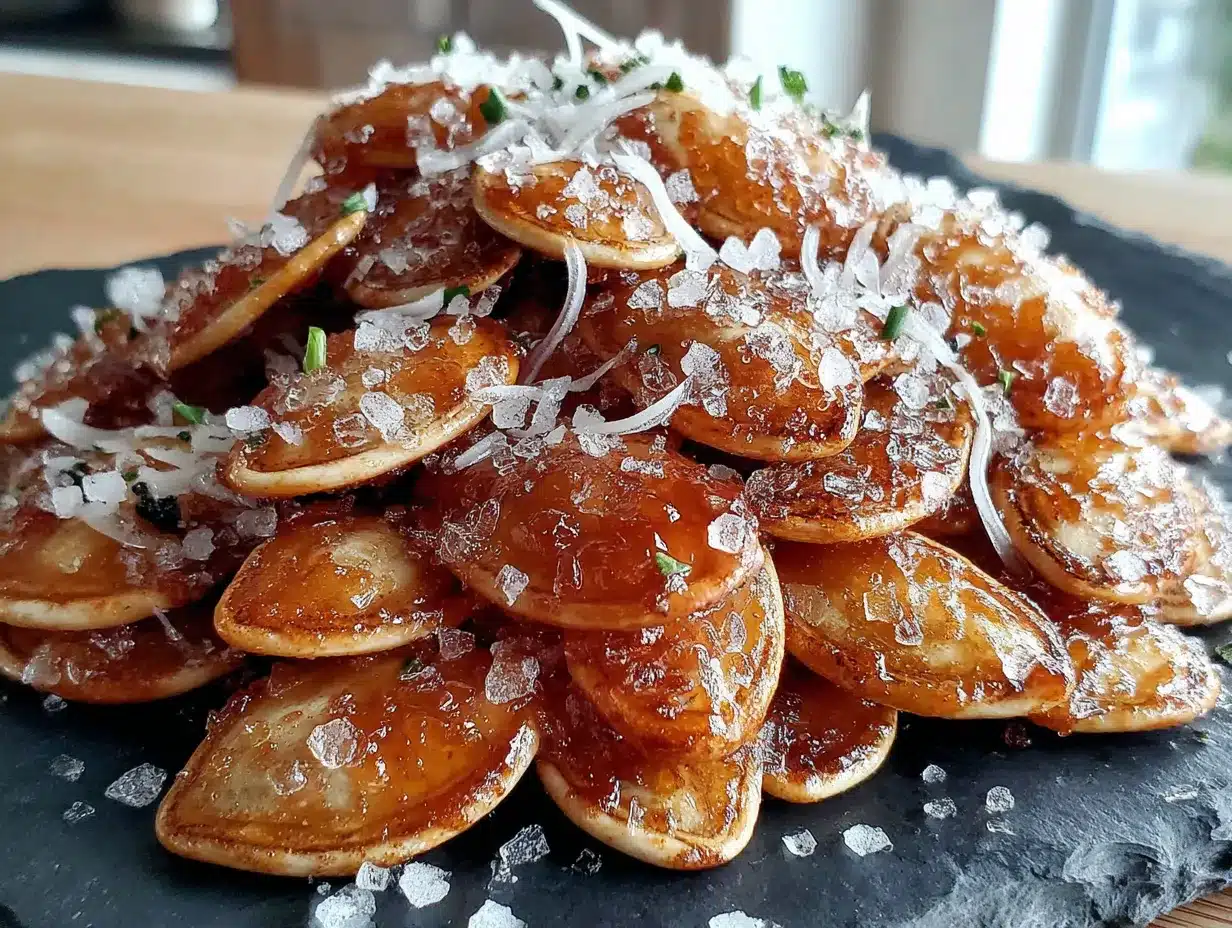
Let’s get to the good part. Follow these steps, and you’ll have crispy, sweet pumpkin seeds in under half an hour.
- Preheat your oven to 350°F (175°C). Line a baking sheet with parchment paper or a silicone mat. This ensures even heat and easy cleanup.
- Clean the pumpkin seeds. If you’re using fresh seeds, separate them from the pulp. Place them in a colander and rinse under cold water, rubbing them gently to remove any stringy bits. Don’t worry if a little pulp remains—it adds flavor. Pat them dry with a clean kitchen towel.
- Boil the seeds. Fill a medium saucepan with water and bring it to a boil. Add the seeds and let them boil for 5 minutes. This step is crucial—it helps the seeds cook evenly and get crispy all the way through, not just on the outside. Drain them well and pat dry again.
- Mix the cinnamon sugar. In a small bowl, combine the granulated sugar, ground cinnamon, and salt. Stir until evenly mixed. Set aside.
- Toss with butter. In a mixing bowl, combine the boiled seeds and melted butter. Stir until every seed is coated. Add the vanilla extract if using, and stir again.
- Add the cinnamon sugar. Sprinkle the cinnamon sugar mixture over the buttered seeds. Toss well to coat. Make sure there are no clumps—use your fingers to break up any sugar clusters.
- Spread on the baking sheet. Pour the seeds onto the prepared baking sheet. Spread them into a single, even layer. Don’t overcrowd—if the seeds overlap, they’ll steam instead of roast. Use two sheets if needed.
- Bake for 12-15 minutes. Place the sheet in the preheated oven. Bake for 12 minutes, then check. The seeds should be golden brown and fragrant. If they need more time, give them another 2-3 minutes. Watch closely—they can go from golden to burnt in seconds.
- Cool completely. Remove the baking sheet from the oven and let the seeds cool on the pan for 10 minutes. They’ll continue to crisp up as they cool. Don’t skip this step—they might feel slightly soft when hot, but they firm up beautifully.
- Break apart and serve. Once cool, break up any clusters and transfer to a bowl. Enjoy immediately, or store for later.
A few notes from my kitchen: If you want extra crunch, you can roast the seeds for 2-3 minutes longer, but keep a close eye on them. I’ve also found that stirring the seeds halfway through baking helps them brown more evenly. And if you’re making a double batch, bake one sheet at a time—crowding the oven leads to uneven results.
Cooking Tips & Techniques
I’ve made plenty of mistakes with pumpkin seeds over the years, so you don’t have to. Here are the lessons I learned the hard way:
Don’t skip the boil. I know it seems like an extra step, but it’s the secret to crispy seeds. Boiling helps the seeds cook from the inside out, preventing that chewy, unpleasant texture. Trust me on this one.
Dry your seeds thoroughly. After boiling, pat them dry with a towel. Excess water will steam the seeds in the oven, making them soft instead of crispy. I’ve ruined a batch by being impatient with this step.
Watch the oven like a hawk. The line between perfectly toasted and burnt is thin. I once walked away for “just a minute” and came back to a smoking kitchen. Set a timer and check early.
Use room temperature butter. Melted butter is fine, but if it’s too hot, it can cook the seeds slightly before they hit the oven. Let it cool for a minute before tossing.
Break up clusters while warm. As soon as the seeds come out of the oven, use a spatula to gently separate any large clumps. They’ll harden as they cool, so doing this early saves you from breaking them apart later.
If you love pumpkin-flavored treats as much as I do, you’ll also enjoy our Perfect Pumpkin Cinnamon Rolls with Cream Cheese Icing. They pair beautifully with a handful of these seeds on the side.
Variations & Adaptations
This recipe is incredibly versatile. Here are some of my favorite twists:
- Spicy Sweet: Add ¼ teaspoon of cayenne pepper or chili powder to the cinnamon sugar. The heat balances the sweetness beautifully. I tried this on a whim last fall, and it was a huge hit at a game day party—perfect alongside our Best Crockpot Football Chili with Cheddar and Green Onion.
- Maple Cinnamon: Swap the granulated sugar for 1 tablespoon of maple syrup. Toss the seeds with the syrup and cinnamon before baking. The flavor is deeper and more complex. Just note that the seeds will be slightly stickier.
- Pumpkin Spice: Replace the cinnamon with 1 teaspoon of pumpkin pie spice. It adds warmth from nutmeg, ginger, and cloves. This version is my go-to for holiday snacking.
- Savory Option: Skip the sugar and cinnamon. Toss the seeds with butter, garlic powder, smoked paprika, and salt. Bake as directed. These are incredible on salads or soups.
- Chocolate Drizzle: After the seeds have cooled, drizzle melted dark chocolate over them. Let it set, then break into pieces. It’s like a candy bar, but healthier.
For a dairy-free version, use coconut oil or avocado oil instead of butter. The flavor will change slightly, but the crunch remains. And if you’re watching your sugar intake, you can use a monk fruit sweetener—just reduce the amount slightly, as it’s sweeter than sugar.
Serving & Storage Suggestions
These seeds are best served at room temperature, right after they’ve cooled. The texture is at its peak—crispy, crunchy, and perfectly sweet. I like to pile them into a wooden bowl for a rustic look, or sprinkle them over a bowl of vanilla ice cream for an easy dessert.
They also make a fantastic topping. Try them on yogurt parfaits, oatmeal, or even salads for a sweet crunch. I’ve added them to our Perfect Pumpkin Cheesecake Muffins with Easy Graham Crumble for extra texture, and it was a game-changer.
Storage: Store cooled seeds in an airtight container at room temperature for up to 2 weeks. Don’t refrigerate them—the moisture will make them soft. If they lose their crunch, you can re-crisp them in a 300°F oven for 3-4 minutes.
Freezing: These freeze well for up to 3 months. Place them in a freezer-safe bag or container. Thaw at room temperature for 10 minutes before serving. I often make a double batch and freeze one for later—they’re perfect for last-minute snacking.
Flavors actually deepen after a day or two. The cinnamon becomes more pronounced, and the sweetness mellows slightly. So if you can resist eating them all at once, they’re even better the next day.
Nutritional Information & Benefits
Pumpkin seeds are a nutritional powerhouse, and this recipe keeps them relatively healthy despite the sugar. Here’s the estimated nutrition per serving (¼ cup):
| Nutrient | Amount |
|---|---|
| Calories | 180 |
| Total Fat | 14g |
| Saturated Fat | 4g |
| Carbohydrates | 10g |
| Fiber | 2g |
| Sugar | 7g |
| Protein | 7g |
| Iron | 15% DV |
| Magnesium | 20% DV |
Pumpkin seeds are rich in magnesium, zinc, and healthy fats. They’re great for heart health, sleep quality, and immune support. The cinnamon adds antioxidants and may help regulate blood sugar. While this version has added sugar, it’s still a better choice than most packaged snacks.
If you’re following a gluten-free diet, these are naturally gluten-free. For a lower-sugar option, reduce the sugar to 1 tablespoon or use a sugar substitute. And if you’re nut-free, these seeds are a safe, delicious alternative to almonds or peanuts.
Conclusion
These Crispy Cinnamon Sugar Pumpkin Seeds are proof that simple ingredients can create something truly special. They’re quick enough for a weeknight snack, impressive enough for a holiday party, and versatile enough to adapt to whatever you’re craving. Whether you’re a pumpkin seed skeptic or a longtime fan, this recipe delivers every single time.
I love making these on a crisp autumn afternoon, when the house smells like cinnamon and the windows are fogged from the oven. It’s a small ritual that makes the season feel complete. And honestly, watching people reach for handful after handful never gets old.
Now it’s your turn. Give this recipe a try, and let me know how it goes. Did you add a twist? Did your kids devour them? Share your experience in the comments below—I read every single one. And if you loved this recipe, don’t forget to pin it for later or share it with a friend who needs a little fall magic in their life.
Happy snacking!
Frequently Asked Questions
Can I use store-bought pepitas instead of fresh pumpkin seeds?
Absolutely. Store-bought pepitas work perfectly. They’re already clean and hulled, so you can skip the boiling step. Just toss them with butter and cinnamon sugar, then bake for 10-12 minutes. They’ll be slightly smaller and crunchier than fresh seeds, but just as delicious.
Why are my pumpkin seeds chewy instead of crispy?
Chewy seeds usually mean they weren’t boiled long enough or they weren’t dried properly before baking. The boiling step is essential for crispy results—it helps the seeds cook evenly. Also, make sure you spread them in a single layer on the baking sheet. Overcrowding traps steam and leads to soft seeds.
Can I make these in an air fryer?
Yes! Preheat your air fryer to 325°F (160°C). Spread the seasoned seeds in a single layer in the basket. Cook for 8-10 minutes, shaking the basket halfway through. Check early, as air fryers can vary. The seeds will be even crispier than oven-roasted versions.
How do I prevent the cinnamon sugar from burning?
Sugar can burn quickly at high temperatures. Keep your oven at 350°F and watch the seeds closely during the last few minutes. If you notice the sugar darkening too fast, reduce the temperature to 325°F. Also, make sure the seeds are well-coated with butter before adding the sugar—it helps the sugar caramelize evenly instead of burning.
Can I double this recipe?
Definitely. Just use two baking sheets and bake one at a time for the best results. If you try to bake both sheets at once, rotate them halfway through to ensure even browning. Store any leftovers in an airtight container—they’ll stay fresh for up to two weeks.
Pin This Recipe!
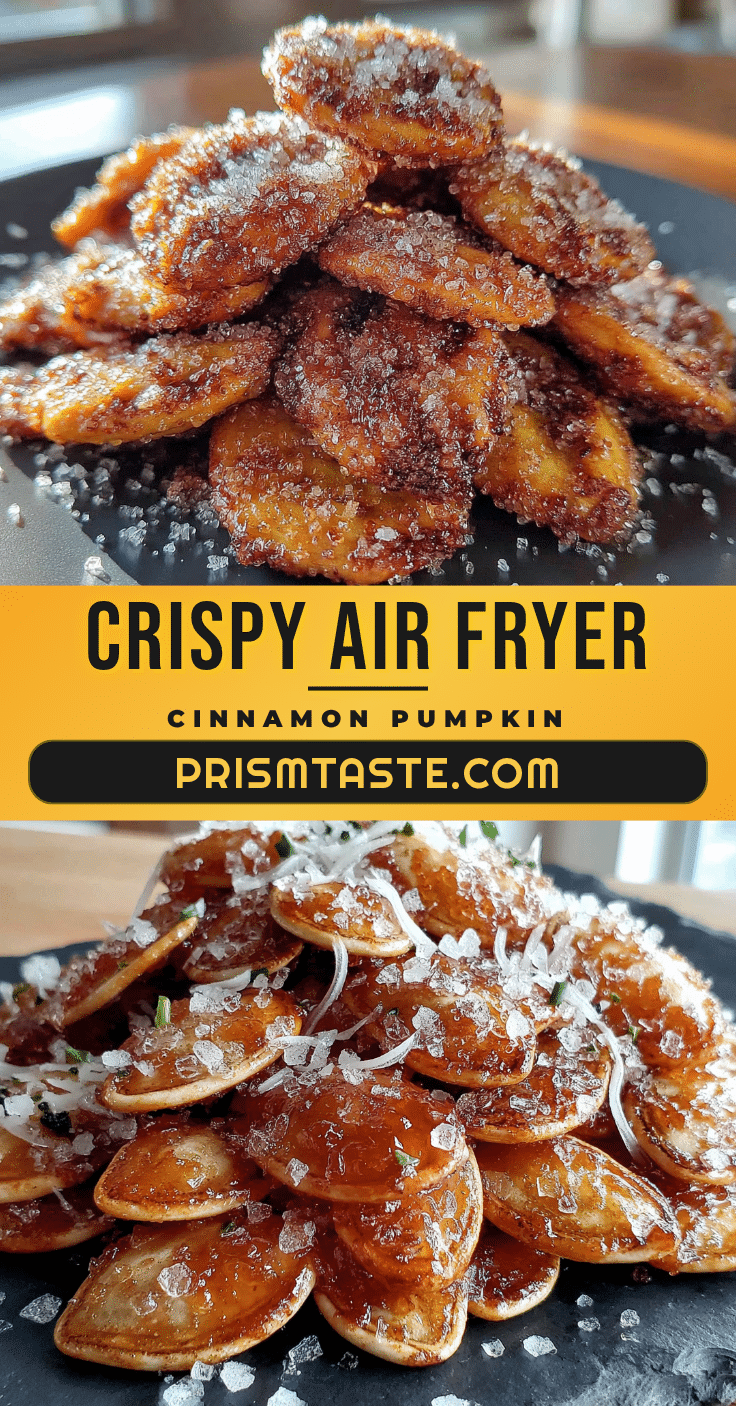
Crispy Cinnamon Sugar Pumpkin Seeds: Easy 25-Minute Snack

These crispy, sweet pumpkin seeds are coated in butter, cinnamon, and sugar, then roasted to perfection in just 25 minutes. A simple, addictive snack that’s perfect for fall.
- Prep Time: 10 minutes
- Cook Time: 15 minutes
- Total Time: 25 minutes
- Yield: 4 servings 1x
- Category: Snack
- Cuisine: American
Ingredients
- 1 cup fresh pumpkin seeds (or raw pepitas)
- 2 tablespoons unsalted butter, melted
- 2 tablespoons granulated sugar
- 1 teaspoon ground cinnamon
- ½ teaspoon salt
- ½ teaspoon vanilla extract (optional)
Instructions
- Preheat your oven to 350°F (175°C). Line a baking sheet with parchment paper or a silicone mat.
- Clean the pumpkin seeds: separate from pulp, rinse under cold water, and pat dry.
- Boil the seeds: bring a medium saucepan of water to a boil, add seeds, and boil for 5 minutes. Drain and pat dry.
- Mix cinnamon sugar: in a small bowl, combine sugar, cinnamon, and salt.
- Toss with butter: in a mixing bowl, combine boiled seeds and melted butter. Add vanilla extract if using.
- Add cinnamon sugar: sprinkle mixture over seeds and toss to coat evenly.
- Spread on baking sheet: pour seeds onto prepared sheet in a single, even layer.
- Bake for 12-15 minutes until golden and fragrant. Check at 12 minutes.
- Cool completely on the pan for 10 minutes (they will crisp as they cool).
- Break apart any clusters and serve.
Notes
Don’t skip boiling the seeds—it ensures they get crispy all the way through. Dry seeds thoroughly after boiling to avoid steaming. Watch the oven closely as seeds can burn quickly. For extra crunch, roast 2-3 minutes longer but keep an eye on them. Stir halfway through for even browning.
Nutrition
- Serving Size: ¼ cup
- Calories: 180
- Sugar: 7
- Sodium: 150
- Fat: 14
- Saturated Fat: 4
- Carbohydrates: 10
- Fiber: 2
- Protein: 7
Keywords: pumpkin seeds, cinnamon sugar, roasted pumpkin seeds, fall snack, easy snack


