I figured browning butter for cookies was one of those fussy steps that food bloggers add just to sound fancy. It took about one batch of these soft-baked brown butter chocolate chip cookies for that assumption to fall apart completely. The first time I tried it, I stood over the stove watching butter foam and sizzle, convinced I was about to waste good butter on a gimmick. Then those little brown specks appeared, and the smell hit me—nutty, warm, almost like toasted caramel.
Honestly, I almost skipped the chilling step too. I wanted cookies now, not in an hour. But something about the way that browned butter looked hanging out in the bowl made me pause. I scooped the dough into balls, stuck them in the fridge, and waited. And when I pulled those cookies out of the oven? The edges were perfectly set, the centers were soft and gooey, and that brown butter flavor was everywhere—deep and rich without being heavy.
These cookies don’t scream for attention. They just quietly become the best thing you’ll eat all week. That first bite, with the salt flakes hitting the sweet, nutty dough and melted chocolate? That’s the moment I stopped questioning the extra steps and started planning my next batch.
Why You’ll Love This Recipe
This isn’t just another chocolate chip cookie recipe. After testing this method more times than I care to count, I can tell you exactly why these soft-baked brown butter chocolate chip cookies are different. They have that perfect texture—soft in the middle, slightly crisp at the edges, and packed with deep, toasty flavor that regular cookies just can’t match.
- Deep, Nutty Flavor : Browning the butter unlocks a whole new level of taste. It’s like your regular chocolate chip cookie went to culinary school and came back with a secret.
- Perfectly Soft-Baked : No more crunchy, over-baked cookies. These stay soft for days thanks to the browned butter’s low moisture content and the right balance of ingredients.
- Simple Ingredients : You likely have everything in your pantry right now. No weird extracts or specialty flours—just butter, sugar, eggs, flour, and chocolate.
- Make-Ahead Friendly : The dough chills for an hour, which means you can prep ahead and bake fresh cookies whenever the craving hits.
- Crowd-Pleaser : I’ve brought these to potlucks, family dinners, and casual hangouts. They disappear fast, and someone always asks for the recipe.
What sets this recipe apart is the technique. Browning the butter adds a layer of complexity that feels fancy but takes only five extra minutes. Plus, the chilling step isn’t just for show—it lets the flavors meld and prevents the cookies from spreading into flat, sad discs. If you’ve ever made cookies that turned out crispy or greasy, this method fixes both problems.
These cookies are the kind that make you close your eyes after the first bite. It’s comfort food reimagined—familiar but somehow better, with the same soul-soothing satisfaction you remember from childhood but with grown-up flavor.
What Ingredients You Will Need
This recipe uses simple, wholesome ingredients to deliver bold flavor and satisfying texture without the fuss. Most of these are pantry staples, but a few key choices make all the difference.
- 1 cup (226g) unsalted butter — This is the star. Browning it transforms the flavor completely. I recommend using a good-quality butter like Kerrygold for the richest taste. The milk solids in European-style butter brown even more beautifully.
- 1 cup (200g) packed light brown sugar — Brown sugar adds moisture and that slight molasses flavor that pairs perfectly with browned butter. Dark brown sugar works too, for an even deeper taste.
- 1/2 cup (100g) granulated sugar — White sugar helps with spreading and gives the cookies those slightly crispy edges.
- 2 large eggs, room temperature — Room temperature eggs incorporate more easily into the butter-sugar mixture, creating a smoother dough. Cold eggs can seize the browned butter.
- 2 teaspoons vanilla extract — Pure vanilla extract is worth it here. The flavor shines through the nutty butter beautifully.
- 2 1/4 cups (280g) all-purpose flour — Spoon and level your flour. Scooping directly from the bag packs in too much flour and makes dry cookies.
- 1 teaspoon baking soda — This helps the cookies spread just enough and gives them a soft, tender crumb.
- 1/2 teaspoon salt — Salt balances the sweetness and enhances the brown butter flavor. I use fine sea salt for the dough.
- 2 cups (340g) semi-sweet chocolate chips or chopped chocolate — I prefer a mix of both. Chocolate chips hold their shape, while chopped chocolate creates those melty puddles. Ghirardelli or Guittard are my go-to brands.
- Flaky sea salt for topping (optional but highly recommended) — A sprinkle of Maldon salt right after baking takes these cookies to another level. Don’t skip it.
Ingredient Notes: If you only have salted butter, reduce the added salt to 1/4 teaspoon. For a dairy-free version, use vegan butter—just note that browning may not work the same way, so skip that step and use melted vegan butter instead. You can also swap half the chocolate chips with white chocolate or butterscotch chips for a fun twist.
Equipment Needed
You don’t need fancy equipment for these soft-baked brown butter chocolate chip cookies, but a few tools make the process smoother.
- Light-colored saucepan or skillet — A light-colored pan lets you see the brown specks form as the butter browns. Dark pans make it hard to tell when it’s done.
- Stand mixer or hand mixer — Either works. A stand mixer with the paddle attachment is easiest, but a hand mixer and a large bowl do the job perfectly.
- Large mixing bowls — You’ll need one for the wet ingredients and one for the dry.
- Whisk — For combining dry ingredients and smoothing out the dough.
- Rubber spatula — Essential for scraping down the bowl and folding in chocolate chips.
- Baking sheets — Two standard half-sheet pans work great. Line them with parchment paper or silicone baking mats.
- Cookie scoop (1.5-tablespoon size) — This ensures even-sized cookies that bake uniformly. A spring-loaded scoop is a game-changer.
- Cooling rack — Letting cookies cool on a rack prevents soggy bottoms.
- Plastic wrap or reusable bowl cover — For chilling the dough.
Budget-Friendly Tips: No cookie scoop? Use two spoons to portion dough. No stand mixer? A sturdy whisk and some elbow grease work fine—just cream the butter and sugar really well by hand. I’ve done it many times when my mixer was on the fritz.
Preparation Method
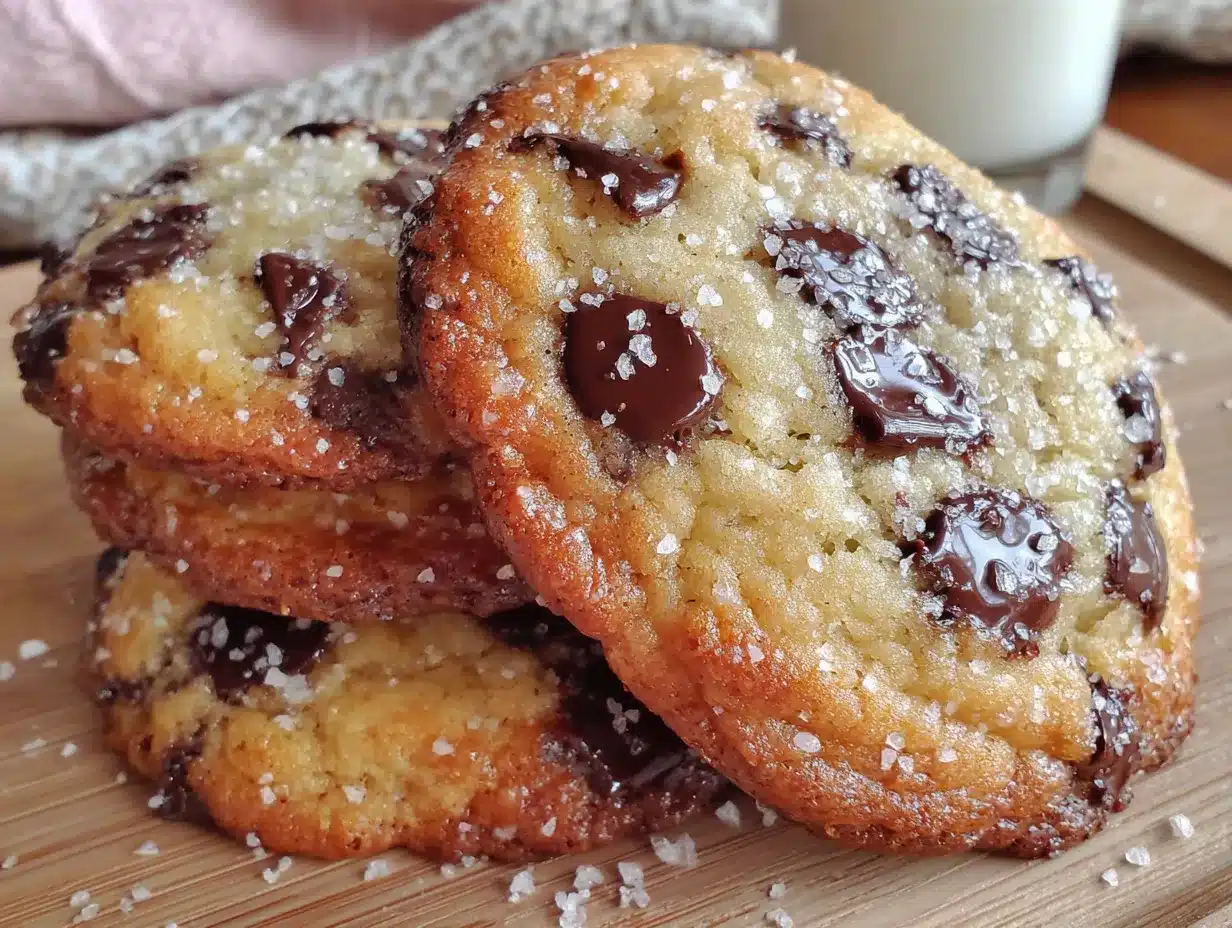
Let’s make these soft-baked brown butter chocolate chip cookies. Follow these steps carefully, and you’ll have bakery-quality cookies in your kitchen.
- Brown the butter. Place the butter in a light-colored saucepan over medium heat. Stir occasionally as it melts. It will foam up, then the foam will subside. Keep stirring—you’ll see golden brown specks form at the bottom. This takes about 5-7 minutes. The moment it smells nutty and looks amber, remove it from the heat immediately. Pour it into a heatproof bowl (including all those brown bits!) and let it cool for 10-15 minutes. It should be warm but not hot when you add it to the sugars.
- Combine the dry ingredients. In a medium bowl, whisk together the flour, baking soda, and salt. Set aside.
- Mix the wet ingredients. In a large bowl (or the bowl of a stand mixer), combine the cooled browned butter, brown sugar, and granulated sugar. Beat on medium speed for 2-3 minutes until the mixture looks like wet sand and is slightly lighter in color. It won’t get fluffy like creamed butter, and that’s okay.
- Add eggs and vanilla. Add the eggs one at a time, beating well after each addition. Scrape down the sides of the bowl. Add the vanilla and beat for another 30 seconds until everything is smooth and glossy.
- Incorporate the dry ingredients. Gradually add the flour mixture to the wet ingredients, mixing on low speed. Stop as soon as the flour disappears—overmixing develops gluten and makes tough cookies. Use a rubber spatula to scrape the bottom of the bowl to ensure everything is incorporated.
- Fold in the chocolate. Add the chocolate chips and chopped chocolate (if using). Fold gently with the spatula until evenly distributed. The dough will be soft and slightly greasy-looking—that’s normal.
- Chill the dough. Cover the bowl with plastic wrap and refrigerate for at least 1 hour, or up to 48 hours. This step is non-negotiable. Chilling solidifies the browned butter, prevents excessive spreading, and deepens the flavor. If you skip it, your cookies will spread into thin, crispy discs.
- Preheat and prepare. When ready to bake, preheat your oven to 350°F (175°C). Line two baking sheets with parchment paper or silicone mats.
- Scoop and shape. Use a 1.5-tablespoon cookie scoop to portion the dough. Place dough balls 2 inches apart on the prepared baking sheets. If you want picture-perfect cookies, press a few extra chocolate chips onto the tops of the dough balls.
- Bake. Bake one sheet at a time for 10-12 minutes. The edges should be golden brown and set, but the centers will look slightly underdone and puffy. That’s exactly what you want. The cookies will continue to set on the hot baking sheet.
- Cool and finish. Let the cookies cool on the baking sheet for 5 minutes. Sprinkle with flaky sea salt while they’re still warm. Transfer to a wire rack to cool completely, or eat them warm—I won’t judge.
Visual Cues: The dough will be soft and slightly shiny after mixing. After chilling, it should be firm enough to scoop without sticking to your hands. The baked cookies should look golden around the edges with pale, slightly puffed centers. If the centers look fully set in the oven, they’re overbaked.
Cooking Tips & Techniques
After making these soft-baked brown butter chocolate chip cookies more times than I can count, I’ve collected a few hard-earned lessons.
Watch the butter like a hawk. Browning butter can go from perfect to burnt in seconds. The moment you see golden specks and smell that nutty aroma, pull it off the heat. I once walked away to answer a text, and by the time I came back, my butter was smoking and black. Start over—burnt butter is bitter and ruins the cookies.
Cool the butter properly. If you add the sugars to hot butter, it will melt the sugar too much and change the texture. Let it cool until it’s warm to the touch but not hot. About 10-15 minutes on the counter does the trick.
Don’t skip the chilling step. I know it’s tempting to bake right away, but chilled dough spreads less and bakes up thicker and softer. The flavor also improves as the browned butter melds with the sugars. If you’re in a rush, 30 minutes in the freezer works in a pinch.
Use a cookie scoop for consistency. Uneven dough balls mean some cookies will be overdone while others are underdone. A scoop ensures every cookie bakes the same amount of time. I learned this the hard way after a batch of cookies that looked like a topographic map.
Pull them early. The biggest mistake home bakers make is overbaking cookies. Take them out when the edges are set but the centers still look soft and slightly underdone. They’ll continue cooking on the hot pan. Trust the carryover cooking—it’s your friend.
Bake one sheet at a time. If you crowd the oven with two sheets, the heat doesn’t circulate properly, and your cookies will bake unevenly. I know it takes longer, but the results are worth it. If you need to bake multiple batches, let the baking sheet cool completely between rounds.
Variations & Adaptations
These soft-baked brown butter chocolate chip cookies are incredibly versatile. Here are some of my favorite variations.
Double Chocolate Brown Butter Cookies : Replace 1/4 cup (30g) of the flour with 1/4 cup (20g) unsweetened cocoa powder. Use white chocolate chips instead of semi-sweet. The combination of brown butter and cocoa is absolutely decadent.
Brown Butter Oatmeal Chocolate Chip Cookies : Reduce the flour to 1 3/4 cups (220g) and add 1 cup (90g) old-fashioned rolled oats. The oats add chewiness and a hearty texture that pairs beautifully with the nutty brown butter.
Gluten-Free Adaptation : Substitute the all-purpose flour with a 1:1 gluten-free baking flour blend that contains xanthan gum. I’ve tested this with King Arthur Measure for Measure, and the cookies come out soft and tender every time.
Nutty Twist : Add 1/2 cup (60g) toasted chopped pecans or walnuts along with the chocolate chips. Toast the nuts in a dry skillet for 3-4 minutes until fragrant—this brings out their oils and adds another layer of flavor.
Vegan Version : Use vegan butter (like Miyoko’s or Earth Balance) and skip the browning step—just melt it instead. Replace each egg with a flax egg (1 tablespoon ground flaxseed mixed with 3 tablespoons water, let sit for 5 minutes). The texture will be slightly different but still delicious.
Flavor Swap : Replace the semi-sweet chocolate with butterscotch chips, peanut butter chips, or chopped dark chocolate with sea salt caramel pieces. Each variation brings a completely different personality to the same base dough.
I personally love the oatmeal variation for fall mornings. It reminds me of the cozy pumpkin snickerdoodle cookies I make when the leaves start changing—comforting, familiar, and just a little bit special.
Serving & Storage Suggestions
These soft-baked brown butter chocolate chip cookies are best served warm, when the chocolate is still melty and the edges are slightly crisp. Let them cool for about 5 minutes on the baking sheet, then transfer to a plate. A glass of cold milk is the classic pairing, but they’re also amazing with a hot cup of coffee or a mug of spiced chai.
For a dessert board : Arrange the cookies on a platter with fresh berries, sliced apples, and a bowl of vanilla ice cream for dipping. It makes a simple but impressive dessert spread for casual gatherings.
Storage Instructions : Store baked cookies in an airtight container at room temperature for up to 5 days. Place a slice of bread in the container to keep them soft—the cookies will absorb the moisture from the bread. Replace the bread slice every other day.
Freezing Baked Cookies : Cool the cookies completely, then place them in a single layer in a freezer-safe bag or container. They’ll keep for up to 3 months. Thaw at room temperature for about 15 minutes, or warm them in a 300°F (150°C) oven for 5 minutes.
Freezing Cookie Dough : Scoop the chilled dough into balls and place them on a parchment-lined baking sheet. Freeze until solid (about 1 hour), then transfer the dough balls to a freezer bag. You can bake them directly from frozen—just add 2-3 minutes to the baking time.
Reheating Tips : For that just-baked experience, microwave a single cookie for 10-15 seconds. For multiple cookies, pop them in a 325°F (160°C) oven for 5 minutes. The flavors actually deepen after a day or two, so day-old cookies are still fantastic.
Nutritional Information & Benefits
Here’s the estimated nutritional breakdown for one soft-baked brown butter chocolate chip cookie (based on 24 cookies):
- Calories: 195
- Fat: 11g
- Carbohydrates: 24g
- Protein: 3g
- Sugar: 16g
- Fiber: 1g
- Sodium: 95mg
Health Considerations : While these are definitely a treat, the brown butter adds a richness that means a smaller cookie feels satisfying. Dark chocolate provides antioxidants, and the eggs add a small amount of protein. For a lighter option, use dark chocolate chips with at least 70% cacao—they have less sugar and more antioxidants.
Dietary Notes : This recipe contains dairy (butter), eggs, gluten (flour), and chocolate (may contain soy). For gluten-free and vegan adaptations, see the variations section above. These cookies are not low-carb or keto-friendly, but they’re perfect for an occasional indulgence.
I believe in balance. These cookies are meant to be enjoyed—not as an everyday snack, but as a special treat that brings joy. Life’s too short for sad, dry cookies.
Conclusion
These soft-baked brown butter chocolate chip cookies are the kind of recipe that becomes a staple. They’re simple enough for a Tuesday afternoon but special enough for holiday cookie exchanges. The browned butter adds a depth of flavor that feels like a secret weapon, and the soft, chewy texture is exactly what a chocolate chip cookie should be.
I love that this recipe doesn’t require any fancy ingredients or complicated techniques. It’s just good butter, good chocolate, and a little patience. And honestly, the smell of browned butter filling your kitchen is worth the extra five minutes alone.
Try this recipe and make it your own. Swap in your favorite chocolate, add nuts, or experiment with different extracts. I’d love to hear how they turn out—drop a comment below and let me know your favorite variation. And if you’re looking for another cozy fall treat, don’t miss my one bowl pumpkin coffee cake with easy pecan streusel for those mornings when you want something sweet with your coffee.
Happy baking, friends. These cookies are waiting for you.
Frequently Asked Questions
Can I skip chilling the dough?
I really don’t recommend it. Chilling the dough solidifies the browned butter, which prevents the cookies from spreading too much. Without chilling, your cookies will be thin, flat, and crispy instead of soft and thick. Even 30 minutes makes a noticeable difference.
Why did my cookies turn out hard?
Overbaking is the most common culprit. Remember to pull the cookies out when the edges are set but the centers still look soft and puffy. They continue to bake on the hot pan. Also, make sure you measured your flour correctly—too much flour makes dry, hard cookies.
Can I use salted butter instead of unsalted?
Yes, you can. Just reduce the added salt in the recipe to 1/4 teaspoon. Browning salted butter works the same way, but keep in mind that the salt content varies between brands, so the final result might be slightly saltier.
How do I know when the butter is properly browned?
Look for two signs: color and smell. The butter will turn a golden amber color with small brown specks at the bottom of the pan. It will also smell nutty and toasty—like toasted hazelnuts. The whole process takes about 5-7 minutes over medium heat.
Can I make these cookies ahead for a party?
Absolutely. You have two options: bake the cookies up to 3 days ahead and store them in an airtight container, or make the dough up to 48 hours in advance and bake fresh the day of your party. The dough actually improves with a longer chill—the flavors meld and deepen.
Pin This Recipe!
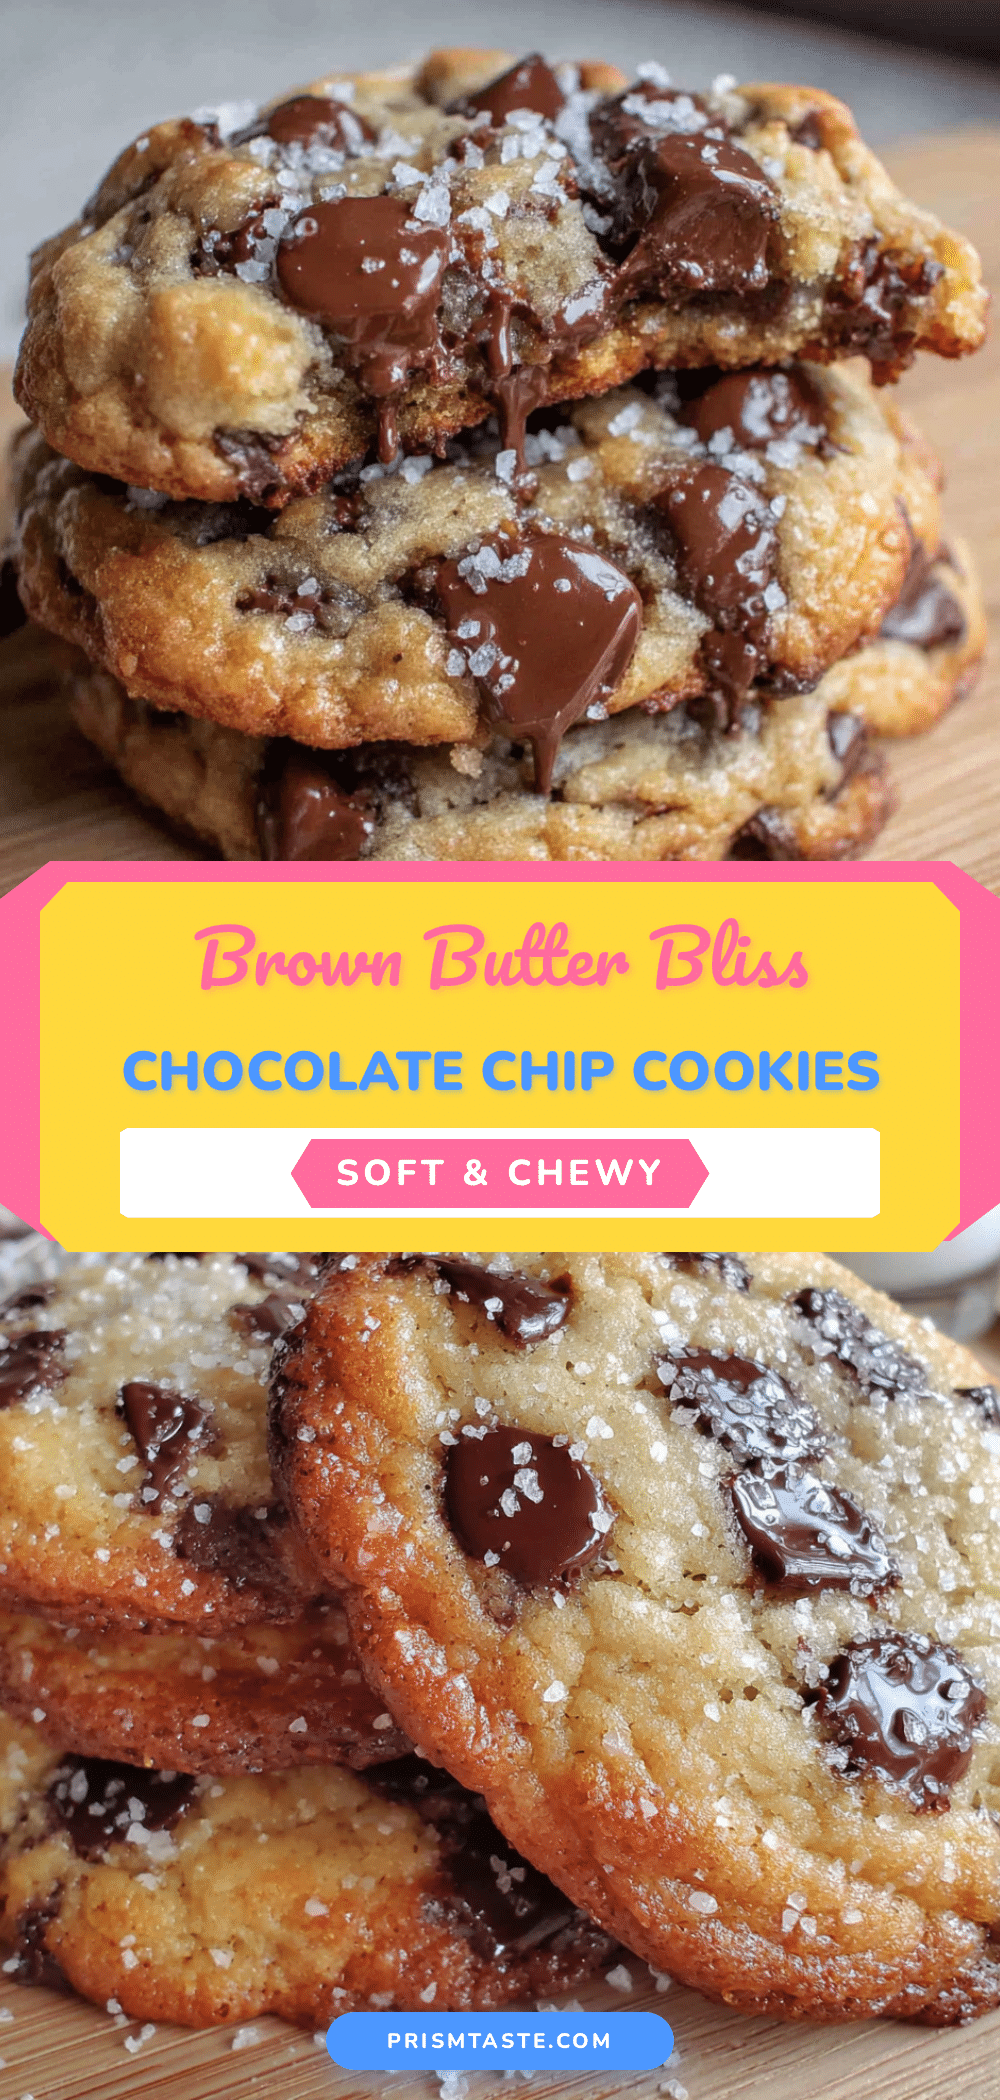
Soft-Baked Brown Butter Chocolate Chip Cookies

These soft-baked brown butter chocolate chip cookies are perfectly soft in the middle with slightly crisp edges and a deep, nutty flavor from browned butter. Simple ingredients and a quick chilling step make them a crowd-pleasing treat.
- Prep Time: 15 minutes
- Cook Time: 12 minutes
- Total Time: 1 hour 27 minutes (includes chilling)
- Yield: 24 cookies 1x
- Category: Dessert
- Cuisine: American
Ingredients
- 1 cup (226g) unsalted butter
- 1 cup (200g) packed light brown sugar
- 1/2 cup (100g) granulated sugar
- 2 large eggs, room temperature
- 2 teaspoons vanilla extract
- 2 1/4 cups (280g) all-purpose flour
- 1 teaspoon baking soda
- 1/2 teaspoon salt
- 2 cups (340g) semi-sweet chocolate chips or chopped chocolate
- Flaky sea salt for topping (optional)
Instructions
- Brown the butter: Place the butter in a light-colored saucepan over medium heat. Stir occasionally as it melts. It will foam up, then the foam will subside. Keep stirring until golden brown specks form at the bottom (about 5-7 minutes). Remove from heat immediately and pour into a heatproof bowl. Let cool for 10-15 minutes until warm but not hot.
- Combine the dry ingredients: In a medium bowl, whisk together the flour, baking soda, and salt. Set aside.
- Mix the wet ingredients: In a large bowl, combine the cooled browned butter, brown sugar, and granulated sugar. Beat on medium speed for 2-3 minutes until the mixture looks like wet sand and is slightly lighter in color.
- Add eggs and vanilla: Add the eggs one at a time, beating well after each addition. Scrape down the sides of the bowl. Add the vanilla and beat for another 30 seconds until smooth and glossy.
- Incorporate the dry ingredients: Gradually add the flour mixture to the wet ingredients, mixing on low speed. Stop as soon as the flour disappears. Use a rubber spatula to scrape the bottom of the bowl to ensure everything is incorporated.
- Fold in the chocolate: Add the chocolate chips and chopped chocolate (if using). Fold gently with the spatula until evenly distributed.
- Chill the dough: Cover the bowl with plastic wrap and refrigerate for at least 1 hour, or up to 48 hours.
- Preheat and prepare: When ready to bake, preheat your oven to 350°F (175°C). Line two baking sheets with parchment paper or silicone mats.
- Scoop and shape: Use a 1.5-tablespoon cookie scoop to portion the dough. Place dough balls 2 inches apart on the prepared baking sheets. If desired, press a few extra chocolate chips onto the tops.
- Bake: Bake one sheet at a time for 10-12 minutes. The edges should be golden brown and set, but the centers will look slightly underdone and puffy.
- Cool and finish: Let the cookies cool on the baking sheet for 5 minutes. Sprinkle with flaky sea salt while still warm. Transfer to a wire rack to cool completely.
Notes
Watch the butter carefully when browning—it can go from perfect to burnt in seconds. Do not skip the chilling step; it prevents excessive spreading and deepens flavor. For best results, pull cookies from the oven when centers still look slightly underdone; they will continue to set on the hot pan.
Nutrition
- Serving Size: 1 cookie
- Calories: 195
- Sugar: 16
- Sodium: 95
- Fat: 11
- Carbohydrates: 24
- Fiber: 1
- Protein: 3
Keywords: brown butter chocolate chip cookies, soft-baked cookies, chocolate chip cookies, easy cookie recipe, homemade cookies


