There used to be a little wine bar tucked behind a bookstore in my neighborhood that made the most perfect little snack boards. They called them “picnic cups” on the menu, and they were these adorable single-serving cups filled with cured meats, cheese cubes, olives, and the most incredible honey-drizzled nuts. When that wine bar closed three years ago—turned into a vape shop, of all things—I honestly felt a little pang of loss every time I walked past. After about a dozen tries—some were too messy, others just didn’t have that same satisfying mix of flavors—I finally cracked the code. These Easy Friendsgiving Charcuterie Cups Everyone Loves are my happy recreation of that memory, and honestly, they might even be better than the original.
The first time I made these for a Friendsgiving gathering, I was a little nervous. I mean, charcuterie boards can be intimidating, right? All that arranging and balancing. But these cups? They were a game-changer. Everyone grabbed one, no hovering around a single board, no double-dipping concerns. My friend Sarah, who usually picks at food, finished her entire cup and asked for a second. That’s when I knew I had something special.
Maybe you’ve been there too—trying to figure out a crowd-pleasing appetizer that doesn’t require you to be a professional caterer. Something that looks impressive but doesn’t make you sweat. These charcuterie cups are that answer. They’re portable, customizable, and honestly, they make your Friendsgiving table look like you put in way more effort than you actually did. Let me tell you, that’s a win in my book.
Why You’ll Love This Recipe
Let me break down exactly why these Easy Friendsgiving Charcuterie Cups Everyone Loves have become my go-to party trick. I’ve tested this concept at five different gatherings now, and the feedback has been overwhelmingly positive every single time.
- Quick & Easy : These cups come together in under 20 minutes. Seriously. No cooking, no complicated steps. Just assembly. Perfect for when you’re running around like a headless chicken before your guests arrive.
- Simple Ingredients : You don’t need to hunt down fancy Italian prosciutto or aged gouda from a specialty shop. Regular grocery store finds work beautifully. I usually grab everything from my local supermarket the morning of the party.
- Perfect for Friendsgiving : These are designed for sharing without the chaos. Everyone gets their own little cup of goodness. No fighting over the last piece of salami. Plus, they’re great for mingling since people can eat with one hand while holding a drink in the other.
- Crowd-Pleaser : I’ve served these to kids, picky eaters, and serious foodies. They all disappear. The combination of salty, sweet, crunchy, and creamy hits every craving.
- Unbelievably Delicious : The texture and flavor combo is next-level comfort food. The crunch of the crackers against the creamy cheese, the saltiness of the meat, the pop of sweetness from dried fruit—it’s a party in your mouth.
What makes these different from every other charcuterie idea out there? It’s the balance. I spent time figuring out the perfect ratio of ingredients so every bite has a little bit of everything. No one gets stuck with just crackers and a sad piece of cheese. Each cup is a complete experience.
These cups aren’t just good—they’re the kind of appetizer that makes people close their eyes after the first bite. I’ve seen it happen. It’s comfort food reimagined as a grab-and-go snack, perfect for impressing your friends without stressing yourself out.
What Ingredients You Will Need
This recipe uses simple, everyday ingredients to deliver big flavor without the fuss. Most of these are probably already in your fridge or pantry, or they’re easy to grab on a quick grocery run. I’ve organized them by category to make shopping and assembly a breeze.
For the Base
- Mini clear cups (9 oz size) – These are the star of the show. I get mine from the party supply section at the grocery store. They’re cheap and make everything look so cute.
- Assorted crackers (about 4-5 per cup) – I love using a mix of buttery Ritz-style crackers and something with a bit more crunch, like wheat thins or rosemary crackers. Club crackers work great too.
For the Meats
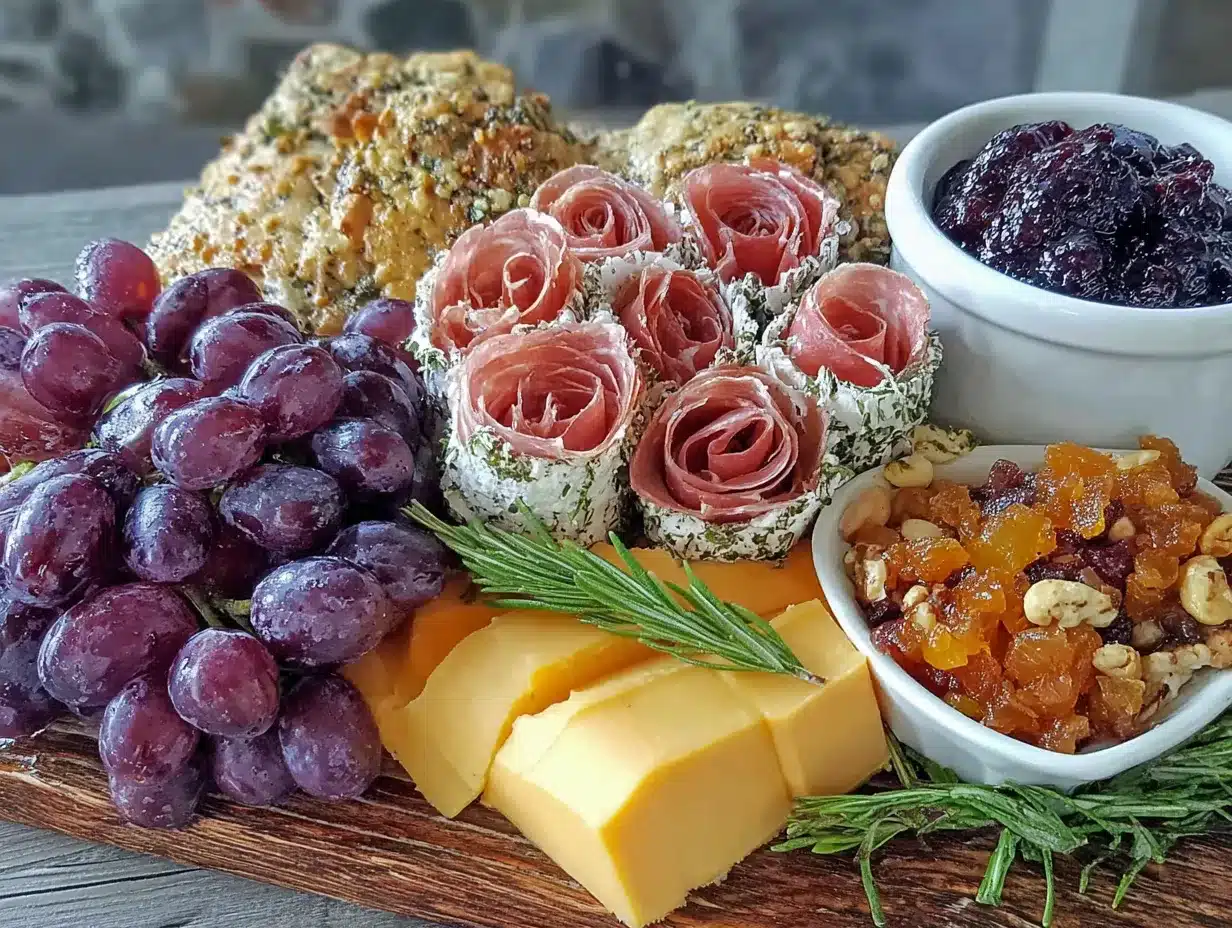
- Salami slices (2-3 per cup) – Genoa salami is my go-to. It’s flavorful and holds up well at room temperature. I usually buy a pre-sliced pack from the deli section.
- Prosciutto (1-2 thin slices per cup) – Adds that fancy touch without the fancy price tag. I recommend getting it from the deli counter and asking for thin slices.
- Pepperoni (3-4 pieces per cup) – This is my secret weapon. It’s affordable and adds a little kick that everyone loves. My kids actually prefer this over the prosciutto.
For the Cheeses
- Cheddar cheese cubes (3-4 cubes per cup) – Sharp cheddar is perfect. It’s sturdy and doesn’t get weird at room temperature. I cube it myself from a block—it’s cheaper than pre-cubed.
- Baby mozzarella balls (2-3 per cup) – These add a soft, creamy element. I use the small ones that come in water. Pat them dry with a paper towel before adding to the cups.
- Gouda or havarti slices (1-2 small triangles per cup) – Optional, but adds variety. I like to include at least one soft cheese and one hard cheese.
For the Fruits and Extras
- Red grapes (3-4 per cup) – They add sweetness and a pop of color. Seedless grapes are a must. I usually cut them in half so they fit better.
- Dried apricots or figs (1-2 pieces per cup) – The chewy texture is wonderful against the crunchy crackers. Dried cranberries work too if that’s what you have.
- Marinated olives (2-3 per cup) – I love kalamata olives or green olives stuffed with pimentos. They add that briny, tangy kick.
- Almonds or pecans (a small handful per cup) – Adds crunch. I use roasted and salted almonds for extra flavor. Honey-roasted pecans are amazing if you want a sweeter touch.
- Honey (a small drizzle per cup) – This is optional but highly recommended. It ties everything together beautifully. I use local honey when I can find it.
I recommend picking up your meats and cheeses from the deli counter rather than pre-packaged options. It’s usually fresher and you can buy exactly the amount you need. For the crackers, I’ve found that a mix of textures works best—crunchy and buttery together. Feel free to swap in any of your favorite crackers or nuts.
Equipment Needed
You don’t need much for these Easy Friendsgiving Charcuterie Cups Everyone Loves. That’s part of the beauty. Here’s what I use:
- Mini clear plastic cups (9 oz size) – These are available at any grocery store or party supply shop. I like the clear ones because they show off all the beautiful layers. A pack of 25 costs around $3.
- Cutting board and sharp knife – For cubing cheese and slicing fruit. Nothing fancy needed. I use my everyday chef’s knife.
- Small serving spoons or tongs – For placing ingredients into the cups without touching everything. Keeps things hygienic.
- Paper towels – For patting dry the mozzarella balls and grapes. Trust me on this one—moisture is not your friend here.
- Small bowl for honey – If you’re drizzling honey, a small bowl makes it easier to dip a spoon without making a mess.
- Baking sheet or tray – To hold the assembled cups while you work. Makes transferring them to the table a breeze.
I’ve made these with just a butter knife and a plate before, so don’t overthink the equipment. The cups are the only non-negotiable item. If you don’t have mini cups, you could use small mason jars or even paper cups in a pinch. The look won’t be as fancy, but the taste will be the same.
Preparation Method
Making these Easy Friendsgiving Charcuterie Cups Everyone Loves is honestly more about assembly than cooking. But there’s a method to the madness that ensures every cup is perfectly balanced. Here’s how I do it:
- Prep your ingredients first. Cube your cheddar cheese into bite-sized pieces—about half-inch cubes. Cut the grapes in half lengthwise. Pat the mozzarella balls dry with a paper towel. Slice any larger salami pieces into smaller strips if needed. This step takes about 5 minutes and makes assembly so much smoother.
- Layer the crackers at the bottom. Place 3-4 crackers in the bottom of each cup. I like to break one or two into smaller pieces to fill the gaps. This creates a stable base and ensures every bite has some crunch. Don’t worry if they overlap a bit—that’s fine.
- Add the meats. Fold or roll each slice of salami and prosciutto and tuck them into the cup, pressing gently against the sides. I usually put the salami on one side and the prosciutto on the other. The pepperoni pieces can go in the middle. This creates visual interest and makes the cup look full.
- Add the cheeses. Drop in the cheddar cubes and mozzarella balls, distributing them evenly. If you’re using gouda or havarti, cut them into small triangles and tuck them in between the other cheeses. I like to place them so you can see each type of cheese from the outside of the cup.
- Add the fruits and extras. Scatter the grape halves, dried apricots, and olives around the cup. Sprinkle a small handful of almonds or pecans on top. The key is to fill any empty spaces so the cup looks abundant and inviting.
- Drizzle with honey (optional but amazing). Using a small spoon, drizzle about half a teaspoon of honey over the top. Don’t overdo it—you want a hint of sweetness, not a sticky mess. I usually skip this step if I’m serving kids who might not like it.
- Repeat until all cups are filled. Depending on the size of your cups and how generously you fill them, this recipe should make about 8-10 cups. I usually make 12 just to be safe because they disappear fast.
- Chill until serving. Place the assembled cups on a tray and refrigerate for at least 15-20 minutes before serving. This helps the flavors meld together and keeps everything fresh. You can make them up to 4 hours ahead of time.
Here’s a tip I learned the hard way: don’t overfill the cups. Leave about half an inch of space at the top so people can grab ingredients without everything spilling out. Also, if you’re stacking them for transport, place a paper towel between layers to prevent the cups from sliding around.
One time I forgot to pat the mozzarella balls dry, and the bottom of the cups got a little watery. Not a disaster, but not ideal. So take that extra 30 seconds to blot them. Your future self will thank you.
Cooking Tips & Techniques
After making these Easy Friendsgiving Charcuterie Cups Everyone Loves more times than I can count, I’ve picked up some tricks that make the process even smoother. Let me share what I’ve learned:
Balance textures and flavors. The magic of a good charcuterie cup is variety. You want salty (meats), creamy (cheeses), sweet (fruit and honey), crunchy (nuts and crackers), and tangy (olives) all in one cup. If you’re missing one element, the cup feels incomplete. I always do a mental check before sealing the deal.
Don’t skip the drying step. Wet ingredients are the enemy here. Grapes, mozzarella balls, and even some olives can release moisture that makes the crackers soggy. Pat everything dry with a paper towel before assembling. It makes a huge difference, especially if you’re making these a few hours ahead.
Make extra cups. I always make 2-3 more cups than I think I need. They disappear faster than you’d expect, and having extras means you won’t be caught short. Plus, they’re great for snacking on the next day if any survive.
Use a muffin tin for assembly. Here’s a game-changer: place your cups in a muffin tin while you fill them. It keeps them stable and prevents tipping. I discovered this after a particularly clumsy assembly session where I knocked over three cups in a row. The muffin tin trick saved my sanity.
Keep it cold until serving. Charcuterie is best served slightly chilled, not room temperature. I keep the cups in the fridge until right before guests arrive. If you’re serving outdoors, place the tray on a bed of ice to keep everything fresh.
One mistake I made early on was using too many ingredients. The cups looked beautiful but were overwhelming to eat. Now I stick to 6-7 different components per cup, and it’s perfect. You want each bite to be a pleasant surprise, not a chaotic jumble.
Variations & Adaptations
These Easy Friendsgiving Charcuterie Cups Everyone Loves are endlessly customizable. Here are some of my favorite variations:
Vegetarian Version: Skip the meats and double up on the cheeses. Add roasted red pepper strips, artichoke hearts, or marinated mushrooms for that savory, umami flavor. I’ve made this for my vegetarian friend Lisa, and she said it was the best party snack she’d had in years.
Sweet and Savory Twist: Swap the crackers for shortbread cookies or graham crackers. Use brie instead of cheddar, and add fresh berries instead of grapes. Drizzle with chocolate sauce instead of honey. This version is amazing for dessert or a brunch spread.
Spicy Kick: Add pickled jalapeños or pepperoncini to the cups. Use spicy salami or chorizo instead of regular salami. Sprinkle with red pepper flakes. My husband loves this version—he says it wakes up your taste buds.
Nut-Free Option: Replace the almonds or pecans with pumpkin seeds, sunflower seeds, or extra crackers. You can also add crispy chickpeas for crunch. This is perfect for school parties or gatherings where allergies are a concern.
Seasonal Swap: In the fall, use sliced apples and pears instead of grapes. Add a sprinkle of cinnamon. In the summer, fresh figs and peaches are incredible. I made a spring version with strawberries and mint that was absolutely delightful.
I once tried a Mediterranean version with feta cheese, kalamata olives, sun-dried tomatoes, and pita chips instead of crackers. It was a huge hit. Don’t be afraid to experiment—the basic structure is so forgiving that you really can’t go wrong.
Serving & Storage Suggestions
These Easy Friendsgiving Charcuterie Cups Everyone Loves are best served chilled or at a cool room temperature. I usually take them out of the fridge about 10 minutes before guests arrive so they’re not ice-cold, but still refreshing.
Presentation tips: Arrange the cups on a large wooden board or a white platter for maximum visual impact. You can scatter a few extra grapes or nuts around the base of the cups for a fuller look. If you’re feeling fancy, add a small sprig of rosemary or a thyme leaf to each cup as a garnish.
What to serve alongside: These cups pair beautifully with a crisp white wine like Sauvignon Blanc or a light red like Pinot Noir. For non-alcoholic options, sparkling water with lemon or a festive punch works great. If you’re making a full Friendsgiving spread, these cups are perfect as a pre-dinner appetizer while the turkey finishes roasting.
Storage instructions: If you have leftovers (unlikely, but possible), cover the tray with plastic wrap and store in the refrigerator for up to 2 days. The crackers might soften slightly, but the flavors will still be delicious. I actually think they taste even better the next day as the flavors meld together.
Reheating tips: These are served cold, so no reheating needed. If you’ve added honey and it crystallized in the fridge, let the cups sit at room temperature for 15 minutes before serving. The honey will soften again.
One thing I love about these cups is how the flavors develop over time. The cheese absorbs a hint of the honey, the crackers take on a bit of the olive brine—it’s a beautiful thing. I’ve made these the night before a party and they were perfect the next day.
Nutritional Information & Benefits
While these Easy Friendsgiving Charcuterie Cups Everyone Loves are definitely a treat, they do offer some nutritional perks. Here’s a rough breakdown per cup (based on a standard 9 oz cup with the ingredients listed above):
- Calories: Approximately 280-320 calories per cup
- Protein: 15-18 grams (from meats and cheeses)
- Carbohydrates: 18-22 grams (mostly from crackers and fruit)
- Fat: 18-22 grams (healthy fats from nuts, cheese, and olive oil in meats)
- Fiber: 3-4 grams (from nuts and dried fruit)
- Sugar: 8-10 grams (natural sugars from fruit and honey)
The almonds provide vitamin E and healthy monounsaturated fats. Grapes are rich in antioxidants. Cheese offers calcium and protein. Even the olives contribute heart-healthy fats. It’s not a health food, but it’s a balanced snack that will keep your guests satisfied without weighing them down.
For those with dietary concerns, this recipe can be adapted to be gluten-free by using gluten-free crackers, and it’s naturally low-carb if you skip the crackers and dried fruit. Always check labels on processed meats for any allergens.
Conclusion
These Easy Friendsgiving Charcuterie Cups Everyone Loves have become my signature party dish, and I can’t recommend them enough. They capture everything I loved about those wine bar picnic cups—the thoughtful combination of flavors, the satisfying mix of textures, the feeling of getting something special—without any of the fuss or cost.
What I love most about this recipe is how it brings people together. There’s something about having your own little cup of goodies that makes everyone feel included and cared for. No hovering around a board, no awkward reaching across the table. Just pure, uncomplicated snacking and good conversation.
I encourage you to make these your own. Swap in your favorite cheeses, experiment with different meats, add your go-to crackers. The beauty of this recipe is its flexibility. And when your friends ask for the recipe—and they will—you can smile and tell them it’s your little secret.
Have you tried making charcuterie cups for your gatherings? I’d love to hear about your favorite combinations. Drop a comment below and share your creations. And if you’re looking for more easy appetizer ideas, check out my easy bruschetta bar recipe or my no-bake dessert shots for more crowd-pleasing options. Happy snacking, friends!
Frequently Asked Questions
Can I make these charcuterie cups ahead of time?
Absolutely! You can assemble these cups up to 24 hours in advance. Just cover them with plastic wrap and store in the refrigerator. I recommend adding the honey drizzle right before serving to keep the crackers from getting too soft.
What size cups should I use?
I use 9 oz clear plastic cups, which are perfect for a single serving. You can also use 5 oz cups for smaller portions or 12 oz cups for a more generous serving. Just adjust the amount of ingredients accordingly.
Can I use different types of cheese?
Of course! This recipe is super flexible. Try brie, goat cheese, smoked gouda, or even blue cheese crumbles. Just make sure to cut them into bite-sized pieces so they fit nicely in the cups.
How do I keep the crackers from getting soggy?
The key is to pat all wet ingredients dry before adding them to the cups. Also, place the crackers at the bottom of the cup, away from any moisture. If you’re making these more than a few hours ahead, consider adding the crackers just before serving.
Are these cups suitable for kids?
Yes! Kids love these because they get their own little snack cup. You can customize them with kid-friendly ingredients like cheddar cheese, mild salami, grapes, and plain crackers. Skip the honey drizzle and olives if your kids prefer simpler flavors.
Pin This Recipe!
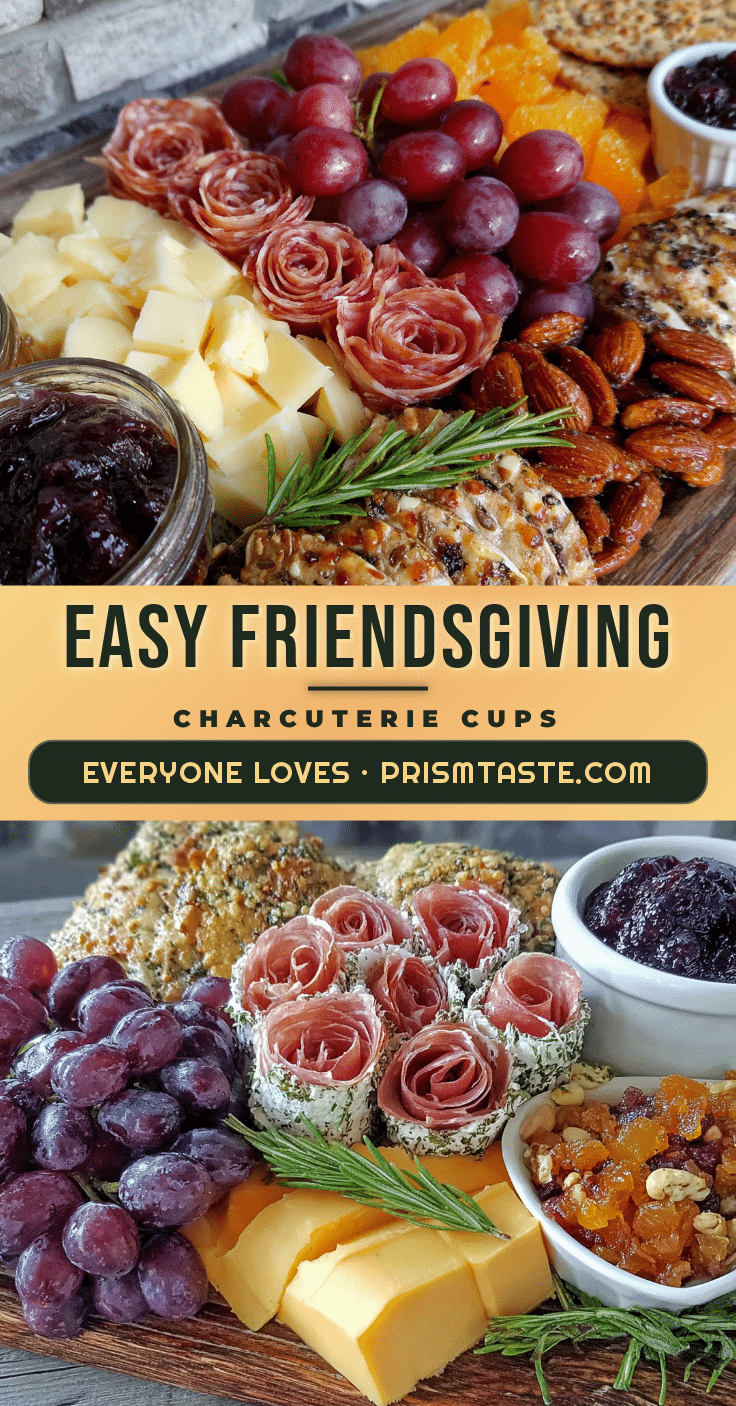
Easy Friendsgiving Charcuterie Cups: Best Party Appetizer
These adorable single-serving cups are filled with cured meats, cheese cubes, olives, and honey-drizzled nuts. They’re portable, customizable, and perfect for Friendsgiving gatherings, making them a crowd-pleasing appetizer that looks impressive without requiring professional catering skills.
- Prep Time: 20 minutes
- Cook Time: 0 minutes
- Total Time: 20 minutes
- Yield: 8-10 servings
- Category: Appetizer
- Cuisine: American
Ingredients
- Mini clear cups (9 oz size)
- Assorted crackers (about 4-5 per cup)
- Salami slices (2-3 per cup)
- Prosciutto (1-2 thin slices per cup)
- Pepperoni (3-4 pieces per cup)
- Cheddar cheese cubes (3-4 cubes per cup)
- Baby mozzarella balls (2-3 per cup)
- Gouda or havarti slices (1-2 small triangles per cup)
- Red grapes (3-4 per cup)
- Dried apricots or figs (1-2 pieces per cup)
- Marinated olives (2-3 per cup)
- Almonds or pecans (a small handful per cup)
- Honey (a small drizzle per cup)
Instructions
- Prep your ingredients first. Cube your cheddar cheese into bite-sized pieces—about half-inch cubes. Cut the grapes in half lengthwise. Pat the mozzarella balls dry with a paper towel. Slice any larger salami pieces into smaller strips if needed.
- Layer the crackers at the bottom. Place 3-4 crackers in the bottom of each cup. Break one or two into smaller pieces to fill the gaps.
- Add the meats. Fold or roll each slice of salami and prosciutto and tuck them into the cup, pressing gently against the sides. Put the salami on one side and the prosciutto on the other. The pepperoni pieces can go in the middle.
- Add the cheeses. Drop in the cheddar cubes and mozzarella balls, distributing them evenly. If using gouda or havarti, cut them into small triangles and tuck them in between the other cheeses.
- Add the fruits and extras. Scatter the grape halves, dried apricots, and olives around the cup. Sprinkle a small handful of almonds or pecans on top.
- Drizzle with honey (optional but amazing). Using a small spoon, drizzle about half a teaspoon of honey over the top.
- Repeat until all cups are filled. This recipe should make about 8-10 cups.
- Chill until serving. Place the assembled cups on a tray and refrigerate for at least 15-20 minutes before serving.
Notes
Pat all wet ingredients dry before adding to cups to prevent sogginess. Don’t overfill cups—leave about half an inch of space at the top. For transport, place a paper towel between layers to prevent sliding. Can be made up to 24 hours in advance; add honey drizzle just before serving. Use a muffin tin to keep cups stable during assembly.
Nutrition
- Serving Size: 1 cup
- Calories: 300
- Sugar: 9
- Sodium: 600
- Fat: 20
- Saturated Fat: 8
- Carbohydrates: 20
- Fiber: 3.5
- Protein: 16.5
Keywords: charcuterie cups, Friendsgiving appetizer, party appetizer, easy appetizer, no-cook appetizer, portable snack, single-serving charcuterie


