The neighborhood cookie swap was in three hours and I’d completely forgotten. Everyone else would be bringing their grandmother’s secret recipes—things that had been passed down through generations, requiring multiple chilling stages and specialty flours from a shop I’d never even heard of. I had a half-empty bag of fun-sized Snickers, some Reese’s cups that had somehow survived the Halloween rush, and a block of cream cheese that was suspiciously close to its expiration date. Honestly, I almost just brought a bottle of wine and called it a day. But then I remembered this forgiving, one-bowl cookie bar recipe that basically begs for whatever chopped-up candy you’ve got lying around. I threw it together in a frantic twenty minutes, slid it into the oven, and spent the rest of the time scrubbing chocolate off my fingers, fully expecting to be the potluck failure. When I walked in with my humble-looking pan, I saw the spread of perfect macarons and intricate tartlets and felt my stomach drop. Let me tell you, the look on people’s faces when they took that first bite of a chewy, salty-sweet bar loaded with melted caramel and peanut butter was priceless. They asked for the recipe before I even had my coat off. It was the underdog story of the year, and it all started with a panic and a pile of leftover candy. Maybe you’ve been there, staring at that sad bowl of Halloween rejects, wondering what on earth to do with it. This is your answer.
Why You’ll Love This Recipe
These aren’t just another cookie bar. After testing this recipe with about six different candy combinations (and one particularly disastrous attempt with those chalky orange circus peanuts), I can tell you this version is the winner. It’s the one that disappears fastest at parties and the one my own kids beg for year-round, not just after Halloween.
- Quick & Easy: From pantry to oven in under 20 minutes. No mixer required, no dough chilling, no complicated steps. Perfect for that moment you realize you need a dessert, like, now.
- Simple Ingredients: You probably have the base—butter, sugar, flour, eggs—in your kitchen right now. The only “special” ingredient is the leftover candy, which is the whole point.
- Perfect for Post-Halloween Chaos: This is the ultimate way to use up that random assortment of mini chocolate bars, peanut butter cups, and even those weird gummy things your neighbor handed out. It turns a problem into a triumph.
- Crowd-Pleaser: I’ve brought these to office parties, school bake sales, and family dinners. They get devoured by kids and adults alike. There’s something about that combination of soft, chewy bar and melted candy that hits everyone’s sweet spot.
- Unbelievably Delicious: The texture is what gets you. A slightly crisp, golden edge gives way to a soft, almost fudgy center. The candy melts into pockets of gooey caramel, rich chocolate, and salty peanut butter. It’s next-level comfort food disguised as a simple bar.
What makes this different from other recipes is the cream cheese. It’s my secret ingredient. It adds a subtle tang that cuts through the intense sweetness of the candy and creates an incredibly tender, moist crumb that stays soft for days. It’s not just another cookie bar—it’s your new favorite way to use up Halloween candy.
What Ingredients You Will Need
This recipe uses simple, wholesome ingredients to deliver bold flavor and satisfying texture without the fuss. Most of these are staples you likely have on hand, making this a perfect last-minute dessert.
- For the Cookie Bar Base:
- 1/2 cup (1 stick / 113g) unsalted butter, melted and slightly cooled
- 1 cup (200g) packed light brown sugar (adds moisture and a deeper, caramel-like sweetness)
- 1/4 cup (50g) granulated sugar
- 1 large egg, at room temperature
- 1 teaspoon vanilla extract
- 1 1/2 cups (190g) all-purpose flour
- 1/2 teaspoon baking powder
- 1/4 teaspoon baking soda
- 1/2 teaspoon salt (I use fine sea salt; it balances the sweetness beautifully)
- For the “Secret” Tangy Addition:
- 2 ounces (about 1/4 block / 57g) cream cheese, softened to room temperature (I recommend Philadelphia for the smoothest texture, but any block-style brand works)
- For the Candy:
- 1 1/2 cups (about 225g) assorted chopped leftover Halloween candy. This is where you get creative. Aim for a mix of textures and flavors. My favorite combination is roughly: 1/2 cup chopped fun-sized Snickers (for the caramel and nougat), 1/2 cup chopped Reese’s cups (for the peanut butter), and 1/2 cup semi-sweet chocolate chips (to round it out if your candy selection is light on plain chocolate). Avoid anything with a hard, crunchy shell like M&Ms, as they can become rock-hard after baking. Also, skip the gummy candies—they melt into a sticky, unpleasant mess.
Ingredient Selection Tips: For the best texture, make sure your cream cheese is truly softened to room temperature. If it’s cold, it won’t incorporate smoothly into the batter and you’ll end up with little white flecks. For the candy, I’ve found that chopping it into roughly 1/2-inch pieces is the sweet spot. Too small, and it disappears into the batter. Too large, and it can make the bars difficult to cut cleanly.
Substitution Guidance: You can easily swap the all-purpose flour for a 1:1 gluten-free baking blend. For a dairy-free version, use a plant-based butter stick (like Miyoko’s) and a dairy-free cream cheese. The texture will be slightly different—a bit more delicate—but still delicious. If you don’t have cream cheese, you can omit it and add an extra 2 tablespoons of melted butter, but the bars won’t be quite as soft.
Equipment Needed
You don’t need a fancy kitchen to make these bars. A few basic tools will do the job perfectly.
- 8×8-inch baking pan: This is the ideal size for thick, chewy bars. A 9×9-inch pan will work, but your bars will be thinner and will need to bake for 2-3 minutes less.
- Mixing bowls: One large bowl for the wet ingredients and one medium bowl for the dry ingredients. I prefer glass or stainless steel.
- Whisk: For combining the dry ingredients and for smoothing out the wet mixture.
- Rubber spatula: Essential for folding in the candy without overmixing the batter.
- Sharp chef’s knife and cutting board: For chopping the Halloween candy. A serrated knife can also work well for sticky candies.
- Parchment paper: Not strictly necessary, but it makes lifting the bars out of the pan and cutting them a breeze. I consider it a sanity saver.
Budget-Friendly Options: If you don’t have an 8×8 pan, you can use a disposable aluminum one from the grocery store. No whisk? A fork works in a pinch. Just make sure to really get in there and break up any lumps.
Preparation Method
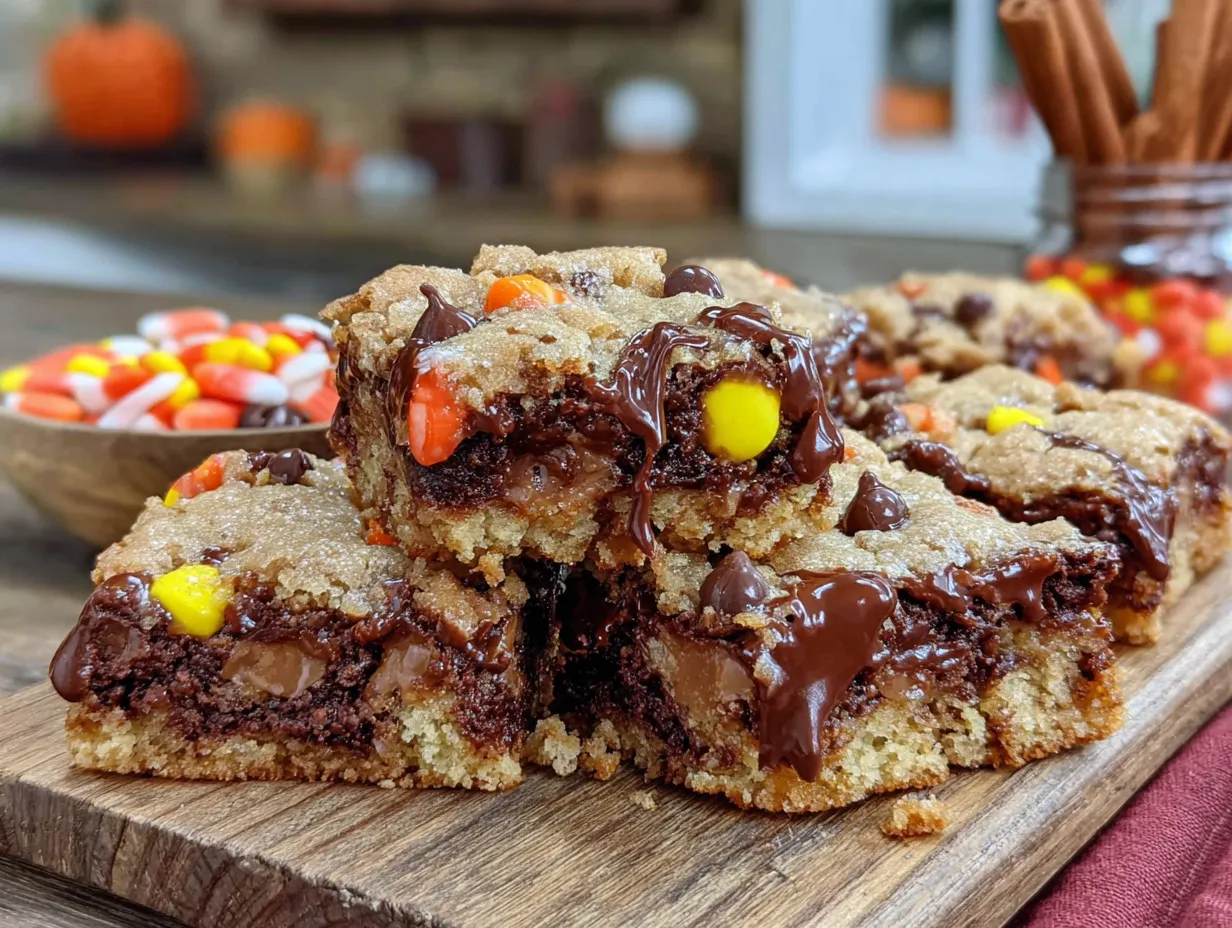
Follow these steps, and you’ll have a pan of irresistible cookie bars in under an hour. The key is not to overbake them—we want that soft, fudgy center.
- Preheat and Prep: Preheat your oven to 350°F (175°C). Line your 8×8-inch baking pan with a sheet of parchment paper, leaving a 2-inch overhang on two opposite sides. This creates “handles” for lifting the bars out later. Lightly grease the parchment with non-stick spray or a little butter.
- Chop the Candy: While the oven heats, take your assortment of leftover Halloween candy and chop it into roughly 1/2-inch pieces. Don’t stress about perfection—some smaller bits and some larger chunks add nice texture. If you’re using something like a peanut butter cup, a few good chops with a sharp knife will do it. For chewier candies like Twix or Snickers, I find it helps to pop them in the freezer for 5 minutes first; they chop much more cleanly and don’t stick to the knife as much.
- Mix the Wet Ingredients: In a large mixing bowl, combine the melted butter, brown sugar, and granulated sugar. Whisk vigorously for about a minute until the mixture is smooth and looks like wet sand. Add the softened cream cheese and whisk again until it’s mostly incorporated—a few tiny lumps are okay. Then, whisk in the egg and vanilla extract until the mixture is glossy and uniform. This is a good time to pause and smell that vanilla—it’s a sign of good things to come.
- Combine the Dry Ingredients: In a separate, medium-sized bowl, whisk together the all-purpose flour, baking powder, baking soda, and salt. Make sure there are no lumps of baking powder or soda. This step ensures they’re evenly distributed throughout the batter.
- Make the Batter: Pour the dry ingredients into the bowl with the wet ingredients. Using your rubber spatula, fold them together gently. Stir only until you see the last streaks of flour disappear. Overmixing at this stage will develop too much gluten and make your bars tough, so be gentle. The batter will be thick and slightly sticky—that’s exactly what you want.
- Fold in the Candy: Add the chopped candy (and chocolate chips, if using) to the batter. Fold them in with your spatula, again using as few strokes as possible. You want the candy evenly distributed throughout the dough, not all clustered at the bottom. If the batter feels a little stiff, don’t worry; the candy will soften as it bakes.
- Bake to Perfection: Scrape the batter into your prepared pan and use the spatula to spread it into an even layer. It will be thick, so take your time to push it into the corners. Bake for 25-30 minutes. The bars are done when the edges are golden brown and set, and the center is puffed but still looks slightly soft and underdone. A toothpick inserted into the center should come out with a few moist crumbs attached—not clean, and not wet batter. This is the trickiest part! I’ve pulled them at 28 minutes on the dot for my oven, but yours might run hotter or cooler. Start checking at 25 minutes.
- Cool Completely: Place the pan on a wire rack and let the bars cool completely in the pan. This is the hardest part, I know. The smell is incredible. But if you try to cut them while they’re warm, they will crumble into a delicious but messy pile. Patience is key. Once cool, use the parchment handles to lift the entire block of bars out onto a cutting board. Use a sharp chef’s knife to cut them into 16 squares.
Sensory Cues: When you pull the pan out of the oven, you should see the edges bubbling slightly from the melted butter and sugar. The top will be a beautiful, even golden brown. You’ll hear a faint sizzle as the caramel in the candy continues to bubble. That’s the sound of success.
Cooking Tips & Techniques
I’ve made these bars more times than I can count, and I’ve learned a few things the hard way. Here are my best tips for perfect results every time.
Don’t Skip the Cream Cheese. I know it seems like a weird addition, but trust me on this. It’s the secret to the incredibly soft, fudgy texture that makes these bars stand out. I once tried to make a batch without it because I was out, and while they were still good, they were just a basic cookie bar. The magic was gone.
The Great Candy Debate. Not all candy is created equal for baking. My biggest failure was using a bag of assorted mini chocolate bars that included a lot of crunchy wafer cookies. They turned into a soggy, flavorless mess. Stick with candies that have a soft or chewy interior: chocolate, caramel, nougat, and peanut butter are your friends. Avoid anything with a hard shell, a crunchy wafer, or a gummy texture.
Chop for Even Distribution. I once got lazy and just threw in whole fun-sized bars. The result was a few bars that were mostly dough, and one bar that was a massive, gooey puck of pure candy. Chopping the candy ensures every single bite has a little bit of everything.
The Toothpick Test is a Lie (Sort Of). For cakes, you want a clean toothpick. For these bars, you want a few moist crumbs. If you wait for a clean toothpick, your bars will be dry and overbaked. Pull them when the center still looks slightly underdone. They will continue to set as they cool in the pan.
Multitasking Strategy: While the butter is melting in the microwave (about 45 seconds), chop your candy. While the oven is preheating, measure out your dry ingredients. This way, you can have the batter ready to go the second the oven beeps.
Variations & Adaptations
One of the best things about this recipe is how easy it is to adapt. Here are a few of my favorite variations.
- Peanut Butter Lover’s Dream: Swap 1/4 cup of the all-purpose flour for 1/4 cup of creamy peanut butter powder (like PB2). Add an extra 1/2 cup of chopped Reese’s cups and a handful of salted peanuts. The peanut butter flavor is intense and wonderful.
- Salted Caramel Pretzel Bars: Add 1/2 cup of crushed pretzels to the batter along with the candy. After baking, while the bars are still warm, drizzle with a simple caramel sauce (store-bought is fine!) and sprinkle with flaky sea salt. The salty-crunchy-sweet combo is addictive.
- Dark Chocolate and Mint: Use mostly dark chocolate-based candies (like chopped-up Andes mints or dark chocolate bars). Add 1/2 teaspoon of peppermint extract to the wet ingredients along with the vanilla. The result is a sophisticated, after-dinner treat that tastes like a Thin Mint in bar form.
- Gluten-Free Adaptation: I’ve made this successfully with a 1:1 gluten-free baking flour blend (the one I use is from King Arthur). The texture is slightly more delicate, so let them cool completely before cutting. Everything else remains the same.
- Make it a “Kitchen Sink” Bar: This is my favorite way to use up the very last scraps of Halloween candy. Just chop up everything you have—a few pieces of a chocolate bar, a half-eaten Reese’s, some Rolos—as long as it’s not gummy or hard-shelled. The more variety, the better!
Serving & Storage Suggestions
These bars are fantastic at room temperature, but they have a few other tricks up their sleeve.
Serving: Serve these bars at room temperature for the perfect chewy texture. For an extra-special treat, warm a bar in the microwave for about 10 seconds and top it with a scoop of vanilla ice cream. The contrast of warm, gooey bar and cold, creamy ice cream is pure bliss. They’re also fantastic crumbled over a bowl of vanilla yogurt or used as a base for an ice cream sundae.
Storage: Store leftover bars in an airtight container at room temperature for up to 4 days. I like to place a piece of bread in the container with them—it absorbs excess moisture and keeps the bars soft. The flavors actually get better on the second day as the candy melds into the dough.
Freezing Instructions: These bars freeze beautifully. Wrap individual bars tightly in plastic wrap, then place them in a freezer-safe bag or container. They will keep for up to 3 months. To thaw, simply leave a bar on the counter for about 30 minutes, or pop it in the microwave for 15-20 seconds for that fresh-from-the-oven taste.
Nutritional Information & Benefits
Let’s be honest: these are a treat, not a health food. But knowing what’s in them helps you enjoy them mindfully.
Estimated Nutritional Values (per bar, based on 16 servings):
- Calories: 285
- Fat: 14g
- Saturated Fat: 8g
- Carbohydrates: 38g
- Sugar: 27g
- Fiber: 1g
- Protein: 4g
- Sodium: 195mg
Dietary Considerations: This recipe contains gluten, dairy, and eggs. For a gluten-free version, use a 1:1 gluten-free flour blend. For a dairy-free version, use plant-based butter and cream cheese. These bars are not suitable for vegans in their current form.
Potential Allergens: Please be aware that this recipe contains common allergens: wheat (gluten), dairy (butter, cream cheese), and eggs. The candy itself may contain peanuts, tree nuts, soy, and milk. Always check the labels on your candy to be sure.
From a wellness perspective, I believe in the power of balance. These bars are a celebration—of a holiday, of a moment, of using up what you have. They’re meant to be enjoyed without guilt. One bar with a glass of milk or a cup of coffee is a perfect, satisfying treat.
Conclusion
So there you have it. The recipe that turned a frantic, forgetful moment into a potluck legend. These Easy Leftover Halloween Candy Cookie Bars are proof that you don’t need a fancy plan or a pantry full of exotic ingredients to create something truly memorable. They’re forgiving, adaptable, and absolutely packed with the kind of chewy, gooey, salty-sweet goodness that makes people close their eyes and sigh with happiness.
I love this recipe because it’s a solution to a very real problem—what to do with all that leftover candy—and because it’s a reminder that the best things in life are often the simplest. It’s a recipe that invites you to be creative, to use what you have, and to not take yourself too seriously. Honestly, it’s become a post-Halloween tradition in my house, and I look forward to it almost as much as the holiday itself.
Now, I’d love to hear from you! What’s the weirdest or most delicious candy combination you’ve tried in these bars? Did you use a secret ingredient I haven’t thought of? Drop a comment below and share your creation. And if you loved this recipe, please share it with a friend who’s drowning in Halloween candy. Happy baking!
Frequently Asked Questions
Can I use fresh-baked cookies or store-bought cookie dough instead of making the base from scratch?
While you could press store-bought cookie dough into the pan and top it with candy, the texture and flavor won’t be the same. The cream cheese in this from-scratch recipe is what creates that uniquely soft, fudgy texture that holds up so well to the heavy candy mix. It’s worth the extra 5 minutes to make the dough yourself.
My bars came out too dry. What did I do wrong?
The most common culprit is overbaking. Remember, you want to pull them out when the center still looks slightly underdone. The second most common issue is measuring the flour incorrectly. Scooping flour directly from the bag with your measuring cup can pack it in, leading to too much flour. The best method is to spoon the flour into your measuring cup and level it off with a knife.
Can I double this recipe for a 9×13 pan?
Absolutely! To make a larger batch in a 9×13-inch pan, simply double all of the ingredients. The baking time will increase to about 30-35 minutes. Keep an eye on it and use the same visual cues: golden edges, puffed and slightly soft center.
My candy sank to the bottom of the pan. How can I prevent this?
This sometimes happens if the batter is too thin or the candy pieces are too heavy. Make sure your butter is not too hot when you add it (it should be melted but cooled slightly). Also, tossing the chopped candy in a tablespoon of flour before folding it into the batter can help suspend it more evenly.
Can I use white chocolate or butterscotch chips instead of candy?
Yes, absolutely! This recipe is a fantastic vehicle for any kind of chip or chopped chocolate bar. White chocolate chips, butterscotch chips, or even chopped-up toffee bars would all be delicious. Just remember to stick with a total of 1 1/2 cups of mix-ins.
Pin This Recipe!
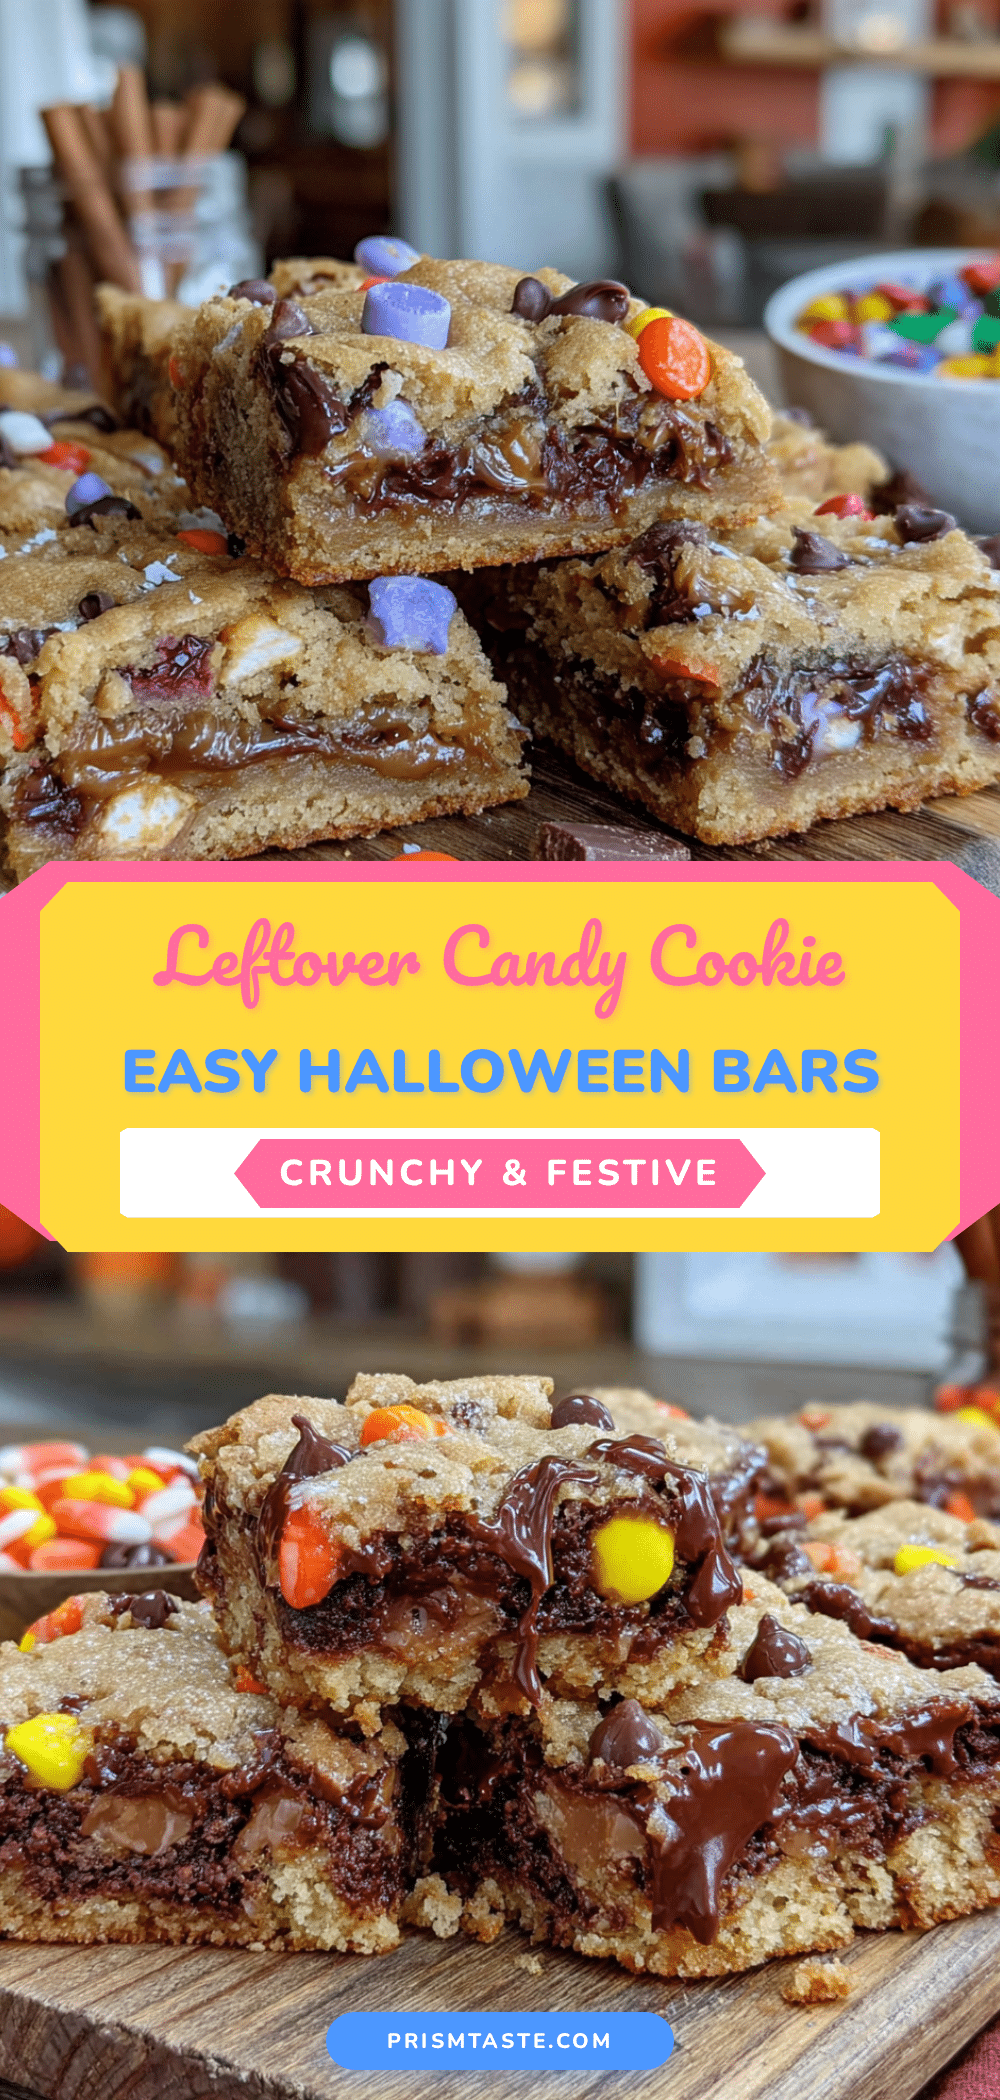
The Best Easy Leftover Halloween Candy Cookie Bars

These chewy, salty-sweet cookie bars are the perfect way to use up leftover Halloween candy. Made with a secret cream cheese ingredient for an incredibly tender crumb, they come together in one bowl in under 20 minutes and are always a crowd-pleaser.
- Prep Time: 20 minutes
- Cook Time: 28 minutes
- Total Time: 48 minutes
- Yield: 16 servings 1x
- Category: Dessert
- Cuisine: American
Ingredients
- 1/2 cup (1 stick / 113g) unsalted butter, melted and slightly cooled
- 1 cup (200g) packed light brown sugar
- 1/4 cup (50g) granulated sugar
- 1 large egg, at room temperature
- 1 teaspoon vanilla extract
- 1 1/2 cups (190g) all-purpose flour
- 1/2 teaspoon baking powder
- 1/4 teaspoon baking soda
- 1/2 teaspoon fine sea salt
- 2 ounces (about 1/4 block / 57g) cream cheese, softened to room temperature
- 1 1/2 cups (about 225g) assorted chopped leftover Halloween candy (e.g., Snickers, Reese’s cups, semi-sweet chocolate chips)
Instructions
- Preheat your oven to 350°F (175°C). Line an 8×8-inch baking pan with parchment paper, leaving a 2-inch overhang on two opposite sides. Lightly grease the parchment.
- Chop the leftover Halloween candy into roughly 1/2-inch pieces. For chewier candies, freeze for 5 minutes before chopping.
- In a large mixing bowl, combine the melted butter, brown sugar, and granulated sugar. Whisk vigorously for about a minute until smooth. Add the softened cream cheese and whisk until mostly incorporated. Whisk in the egg and vanilla extract until glossy and uniform.
- In a separate medium bowl, whisk together the all-purpose flour, baking powder, baking soda, and salt.
- Pour the dry ingredients into the wet ingredients. Fold gently with a rubber spatula until just combined—do not overmix.
- Fold in the chopped candy (and chocolate chips, if using) until evenly distributed.
- Scrape the batter into the prepared pan and spread into an even layer. Bake for 25-30 minutes, until the edges are golden brown and set, and the center is puffed but still looks slightly soft. A toothpick inserted into the center should come out with a few moist crumbs.
- Cool completely in the pan on a wire rack. Once cool, use the parchment handles to lift the bars out onto a cutting board. Cut into 16 squares.
Notes
For the best texture, ensure cream cheese is truly softened to room temperature. Chop candy into 1/2-inch pieces for even distribution. Avoid candies with hard shells or gummy textures. The toothpick test should show moist crumbs, not clean. Let bars cool completely before cutting to prevent crumbling.
Nutrition
- Serving Size: 1 bar
- Calories: 285
- Sugar: 27
- Sodium: 195
- Fat: 14
- Saturated Fat: 8
- Carbohydrates: 38
- Fiber: 1
- Protein: 4
Keywords: leftover Halloween candy, cookie bars, easy dessert, cream cheese, one-bowl, chewy, salty-sweet


