There used to be a tiny farm-to-table spot tucked behind an old bookshop in Hudson, New York, that made a brown butter sage stuffing that ruined me for all other stuffings. When they closed their doors in 2019—suddenly, with a handwritten sign taped to the window—I actually felt a little hollow inside. Not just because I lost my favorite weekend lunch spot, but because I knew I’d never taste that stuffing again. After twelve tries—some burnt, some soggy, one that my husband politely called “edible cemetery bread”—I finally got it.
Honestly, I’m not usually the type to obsess over a side dish. Stuffing, to me, had always been that thing you scoop onto your plate because it’s there, not because you’re excited about it. But this one was different. The nuttiness of the brown butter, the earthy punch of fresh sage, the way the sourdough soaked up all that herby broth without turning into mush—it was like the stuffing version of a standing ovation. I mean, I’d drive two hours for it. And then I couldn’t anymore.
So I did what any reasonable person would do: I turned my kitchen into a test lab. I burned butter, I over-toasted bread, I once forgot the sage entirely (that was a sad, sad Wednesday). But somewhere around attempt number seven, something clicked. The brown butter was golden, not black. The sourdough cubes held their shape. And when I pulled that baking dish out of the oven, the smell—warm, savory, just this side of nutty—brought me right back to that little restaurant. Maybe you’ve been there, chasing a flavor from a place that no longer exists. This one is for you.
Why You’ll Love This Recipe
Let me tell you why this stuffing has become the star of my Thanksgiving table and the reason my neighbors suddenly want to be my friends. As a recipe developer who has tested more stuffing variations than I care to count—including a memorable disaster involving stale rye bread and too much fennel—I can say with confidence that this version hits different.
- Quick & Easy: Comes together in about 45 minutes, with only 15 minutes of active prep. Perfect for busy holiday mornings or when you’re juggling three other dishes.
- Simple Ingredients: No fancy grocery trips needed. You likely already have sourdough, butter, sage, and broth in your kitchen right now.
- Perfect for Thanksgiving or Christmas: This stuffing holds its own next to turkey, ham, or even a roasted chicken for a cozy Sunday dinner.
- Crowd-Pleaser: I’ve served this to picky kids, skeptical in-laws, and a friend who “doesn’t like stuffing.” Empty dish every single time.
- Unbelievably Delicious: The brown butter adds a deep, nutty richness that you just can’t get from regular melted butter. It’s the kind of flavor that makes people close their eyes mid-bite.
What makes this recipe different from the rest? It’s the technique. Most stuffing recipes skip the step of browning the butter properly, which means you miss out on all those toasty, caramelized notes. I’ve also nailed the bread-to-broth ratio so you get a stuffing that’s moist but not soggy, with crispy edges that everyone fights over. And the sage—oh, the sage. We’re using a full quarter cup of fresh sage, not the dried stuff that tastes like dusty hay. This stuffing is comfort food reimagined—a little more sophisticated, a lot more delicious, but still that soul-soothing side dish you crave.
What Ingredients You Will Need
This recipe uses simple, wholesome ingredients to deliver bold flavor and satisfying texture without the fuss. Most of these are pantry staples or easy to find at any grocery store. Here’s what you’ll need and why each one matters.
For the Bread Base
- 1 large loaf sourdough bread (about 1 pound, day-old is best) — The tangy flavor and sturdy texture hold up perfectly to the broth. I prefer an artisanal bakery loaf, not the soft supermarket kind. Look for one with a good crust.
- 6 tablespoons unsalted butter — This is the star of the show. Use a good-quality butter like Kerrygold or Vermont Creamery for the richest brown butter flavor. Salted butter works too, just reduce the added salt.
For the Aromatics
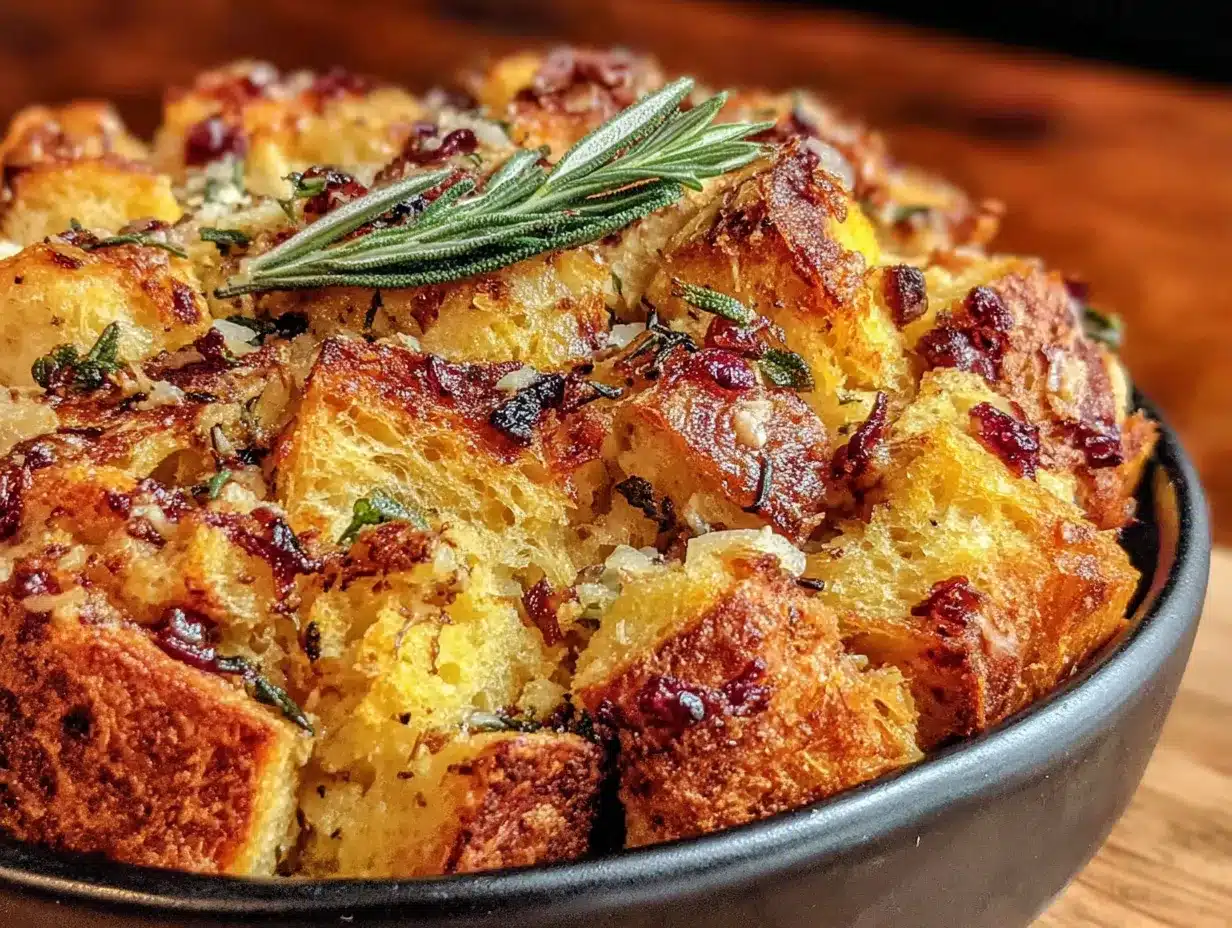
- 1 large yellow onion, diced (about 2 cups) — Sweet and mellow when cooked, it forms the savory backbone.
- 3 celery ribs, diced (about 1.5 cups) — Adds that classic stuffing crunch and freshness.
- 4 cloves garlic, minced — Because garlic makes everything better.
- 1/4 cup fresh sage leaves, roughly chopped — Don’t skimp here. Fresh sage is non-negotiable for that earthy, slightly peppery flavor. (Adds the signature taste)
- 2 teaspoons fresh thyme leaves — Subtle and woodsy, it rounds out the herb profile.
- 1 tablespoon fresh rosemary, finely chopped — Piney and aromatic, use sparingly so it doesn’t overpower.
For the Liquid
- 2 cups low-sodium chicken or vegetable broth — Homemade is wonderful, but store-bought works great. Low-sodium lets you control the salt level. (Use vegetable broth for vegetarian version)
- 1 large egg, lightly beaten — This is the secret to a stuffing that holds together without being gluey. It adds structure.
For Seasoning
- 1 teaspoon kosher salt — I recommend Diamond Crystal for its clean flavor and easy pinchability.
- 1/2 teaspoon black pepper, freshly ground — Always fresh, never pre-ground.
- 1/4 teaspoon red pepper flakes (optional) — Adds a tiny warmth that nobody will identify but everyone will love.
- 1/2 cup chopped fresh parsley — For brightness and a pop of green at the end.
Equipment Needed
You don’t need a fancy kitchen to make this stuffing. Here’s what you’ll need and a few tips from my own trial-and-error experience.
- Large baking sheet — For toasting the sourdough cubes. A rimmed sheet prevents them from rolling off. If you don’t have one, use two smaller pans.
- Large skillet or sauté pan — For browning the butter and cooking the aromatics. A light-colored pan (stainless steel or enameled) helps you see when the butter is perfectly golden.
- 9×13-inch baking dish — The standard size for this recipe. A ceramic or glass dish works beautifully. If you’re using metal, reduce oven temperature by 25°F to prevent over-browning.
- Large mixing bowl — For combining everything. Go big—you’ll be glad for the extra room.
- Whisk — For beating the egg and broth together smoothly.
- Chef’s knife and cutting board — For prepping all those aromatics. A sharp knife makes the job so much faster.
Budget-friendly tip: If you don’t have a 9×13 dish, use a cast-iron skillet or even a disposable aluminum pan. The stuffing will still turn out great.
Preparation Method
Let’s get cooking! I’ve broken this down into clear steps with all the little cues I wish someone had told me years ago.
- Preheat your oven to 375°F (190°C). While it’s heating, cut the sourdough into 1-inch cubes—about 8 cups total. Don’t stress about perfect squares; rustic chunks add character. Spread them on a large baking sheet in a single layer. Toast for 12-15 minutes, tossing halfway through, until they’re golden and dry but not hard. They should feel like a day-old crouton—crisp on the outside, still a little soft inside. Set aside to cool.
- Now for the magic: brown the butter. In a large skillet over medium heat, add the 6 tablespoons of butter. Let it melt completely, then swirl the pan occasionally. After about 4-5 minutes, you’ll see the butter start to foam and turn golden. Watch closely—it goes from perfect to burnt in seconds. When you see tiny brown specks forming at the bottom and it smells nutty and toasty (like toasted hazelnuts), immediately remove it from the heat and pour it into a heatproof bowl. Don’t leave it in the hot pan or it’ll keep cooking. I’ve ruined a batch by getting distracted—don’t be me.
- Cook the aromatics. In the same skillet (no need to wash it), add a tablespoon of olive oil over medium heat. Add the diced onion and celery. Cook for 6-8 minutes, stirring occasionally, until softened and translucent. The onions should look like they’re sweating, not browning. Add the minced garlic, chopped sage, thyme, and rosemary. Cook for another minute until fragrant—your kitchen will smell incredible right about now. Remove from heat.
- Make the custard base. In a large mixing bowl, whisk together the chicken broth, beaten egg, kosher salt, black pepper, and red pepper flakes if using. The egg should be fully incorporated so you don’t get scrambled egg bits later. This mixture is what gives the stuffing its perfect texture—not too wet, not too dry.
- Combine everything. Add the toasted sourdough cubes to the bowl with the broth mixture. Pour in the cooked aromatics and the browned butter (yes, all of it—including those lovely brown bits at the bottom). Add the chopped parsley. Gently fold everything together with a spatula until the bread cubes are evenly coated. Don’t overmix or you’ll break up the bread. Let it sit for 10 minutes so the bread can absorb the liquid. This is the moment of truth—the cubes should be moist but still hold their shape when you press one.
- Transfer to the baking dish. Grease your 9×13-inch dish with butter or cooking spray. Spoon the stuffing mixture in and spread it evenly. Don’t pack it down—you want some air pockets for crispy bits. If you like a softer stuffing, cover with foil. For crispy edges and a golden top, leave it uncovered.
- Bake to perfection. Place the dish in the preheated oven and bake for 25-30 minutes. If you covered it, remove the foil for the last 10 minutes to let the top get golden and crunchy. The stuffing is done when the top is crispy and browned, and the center is hot and set. A thermometer inserted in the middle should read at least 165°F (74°C). Let it rest for 5 minutes before serving—it needs that time to settle.
Cooking Tips & Techniques
After a dozen attempts, I’ve learned a few things the hard way. Here’s what I wish I’d known from the start.
Don’t rush the brown butter. This is where most people mess up. You want the butter to foam, then subside, then foam again. That second foam is when the milk solids start browning. Swirl the pan constantly and trust your nose—if it smells like toasted nuts, you’re there. If it smells like burnt popcorn, you’ve gone too far. I once left it on the heat while answering the door for a package delivery. The result was a black, acrid mess that smelled like regret.
Use day-old bread, not fresh. Fresh sourdough will turn into paste when you add the broth. Day-old bread is drier and has a tighter crumb that absorbs liquid without disintegrating. If you only have fresh bread, cube it and leave it out on the counter overnight, or toast it a bit longer in the oven. Trust me, this step makes all the difference.
Toast the bread cubes, don’t just dry them out. Some recipes skip this step, but toasting gives the bread a head start on developing that golden color and prevents sogginess. It also adds a subtle toasty flavor that complements the brown butter beautifully.
Let the stuffing rest before baking. That 10-minute waiting period after mixing isn’t just for show. It allows the bread to fully absorb the custard, which means you won’t end up with a watery layer at the bottom of the dish. I learned this after pulling out a soggy-bottomed stuffing that made me want to cry into my turkey.
Multitasking strategy: While the bread is toasting, chop your aromatics. While the aromatics are cooking, whisk the broth and egg. This way, everything comes together in about 30 minutes of active time.
Variations & Adaptations
One of the best things about this stuffing is how flexible it is. Here are some ways to make it your own.
Vegetarian Version: Swap the chicken broth for a good-quality vegetable broth. Add 8 ounces of sautéed mushrooms (cremini or shiitake work great) along with the aromatics for an earthy, umami boost. My vegetarian sister-in-law requests this version every year and says it’s better than the original.
Gluten-Free Option: Use a good-quality gluten-free sourdough or a sturdy gluten-free bread. I’ve had excellent results with Against the Grain brand. Toast the cubes a little longer since gluten-free bread tends to be more delicate. Add an extra tablespoon of broth since these breads can be thirstier.
Sausage and Apple Twist: Brown 1/2 pound of Italian sausage (casings removed) in the skillet before cooking the aromatics. Add 1 diced apple (Honeycrisp or Granny Smith) along with the onion and celery. The sweetness of the apple plays beautifully with the savory brown butter and sage. This is my husband’s favorite variation—he calls it “stuffing that could be a main course.”
Make It Dairy-Free: Substitute the butter with a high-quality vegan butter like Miyoko’s or Country Crock Plant Butter. Make sure to brown it just like regular butter—it works surprisingly well. Use a flax egg (1 tablespoon ground flaxseed mixed with 3 tablespoons water) instead of the regular egg.
Extra Crunchy Top: After baking, switch the oven to broil for 1-2 minutes. Watch it like a hawk—it goes from golden to burnt in seconds. This gives you those irresistible crispy bits that everyone fights over.
Serving & Storage Suggestions
This stuffing is best served warm, straight from the oven, when the edges are still crispy and the center is pillowy soft. I like to garnish it with a sprinkle of fresh parsley and a few extra fried sage leaves for a restaurant-worthy presentation.
What to serve with it: This stuffing is a natural partner for roasted turkey or chicken, but don’t limit yourself to Thanksgiving. It’s fantastic alongside a simple roast chicken, grilled pork chops, or even a hearty mushroom Wellington. For a complete holiday meal, pair it with mashed potatoes, roasted Brussels sprouts, and a tart cranberry sauce to cut through the richness.
Storage instructions: Leftover stuffing keeps well in the refrigerator for up to 4 days. Store it in an airtight container. The flavors actually meld and deepen overnight, so leftovers might taste even better than the first serving. To freeze, wrap the cooled stuffing tightly in foil and place in a freezer bag. It will keep for up to 3 months.
Reheating tips: The best way to reheat is in a 350°F oven for 10-15 minutes, covered with foil to prevent drying out. Uncover for the last 5 minutes to re-crisp the top. The microwave works in a pinch, but you’ll lose that lovely crunchy texture. If reheating from frozen, thaw overnight in the fridge first, then follow the oven method.
One thing I love about this stuffing is how the brown butter flavor becomes more pronounced after a day or two. It’s like the flavors settle into each other and become something even more delicious. So don’t be afraid to make it ahead—your future self will thank you.
Nutritional Information & Benefits
While I wouldn’t call stuffing a health food, this version uses wholesome ingredients that offer some nutritional perks. Here’s the estimated breakdown per serving (about 1 cup).
| Nutrient | Amount per Serving |
|---|---|
| Calories | 285 |
| Total Fat | 14g |
| Saturated Fat | 8g |
| Carbohydrates | 32g |
| Fiber | 3g |
| Protein | 8g |
| Sodium | 520mg |
Health benefits to note: Sourdough bread is naturally fermented, which can be easier to digest than regular bread and has a lower glycemic index. Fresh sage is packed with antioxidants and has anti-inflammatory properties. Celery and onions provide fiber and vitamin K. And while brown butter is still butter, using a high-quality grass-fed version gives you more conjugated linoleic acid (a beneficial fatty acid).
Dietary considerations: This recipe contains gluten, dairy, and eggs. For gluten-free and dairy-free adaptations, see the variations section above. It’s also relatively low in added sugars—only what naturally occurs in the vegetables and bread.
My personal take: This stuffing is a once-a-year indulgence for me, and I savor every bite. It’s the kind of dish that nourishes more than just your body—it feeds the soul, especially when shared with people you love.
Conclusion
This brown butter sage stuffing is more than just a side dish—it’s the recipe that brought back a flavor I thought I’d lost forever. Every time I make it, I’m transported back to that little restaurant in Hudson, and I feel a tiny spark of triumph that I managed to recreate it. The nutty brown butter, the fragrant sage, the way the sourdough soaks up all that herby goodness—it’s comfort in a baking dish.
I hope you’ll give this recipe a try, whether for Thanksgiving, Christmas, or just a cozy Sunday dinner. Don’t be afraid to make it your own—add sausage, swap in different herbs, or go wild with extra crispy edges. That’s the beauty of cooking, isn’t it? You take a recipe and make it tell your story.
When you make this stuffing—and I really hope you do—come back and let me know how it turned out. Did you add your own twist? Did your family fight over the crispy bits? Drop a comment below or tag me in your photos. I love seeing your creations, and honestly, it makes my day every single time. Happy cooking, friend!
Frequently Asked Questions
Can I make this stuffing ahead of time?
Absolutely! You can assemble the stuffing the night before, cover it, and refrigerate. Just add about 10 minutes to the baking time since you’re starting from cold. Let it sit at room temperature for 20 minutes before baking for more even cooking.
Can I use dried sage instead of fresh?
You can, but I really recommend fresh sage for this recipe. Dried sage has a more muted, slightly musty flavor that doesn’t do justice to the brown butter. If you must substitute, use 1 tablespoon of dried sage and add it with the other dried herbs.
Why did my stuffing turn out soggy?
Soggy stuffing usually means one of three things: your bread wasn’t toasted enough, you added too much broth, or you packed the stuffing too tightly in the dish. Next time, toast the bread until it’s truly dry, measure your broth carefully, and don’t press down when you transfer it to the baking dish.
Can I cook this stuffing inside the turkey?
I don’t recommend it for food safety reasons. The stuffing needs to reach 165°F, and by the time it does, the turkey might be overcooked. Plus, you’ll miss out on those crispy edges that make this recipe so special. Bake it separately—your turkey and your taste buds will thank you.
How do I get more crispy edges?
Spread the stuffing in a thinner layer (use a larger baking dish), don’t cover it during baking, and broil for the last 1-2 minutes. You can also drizzle a little melted butter over the top before baking for extra golden goodness.
Pin This Recipe!
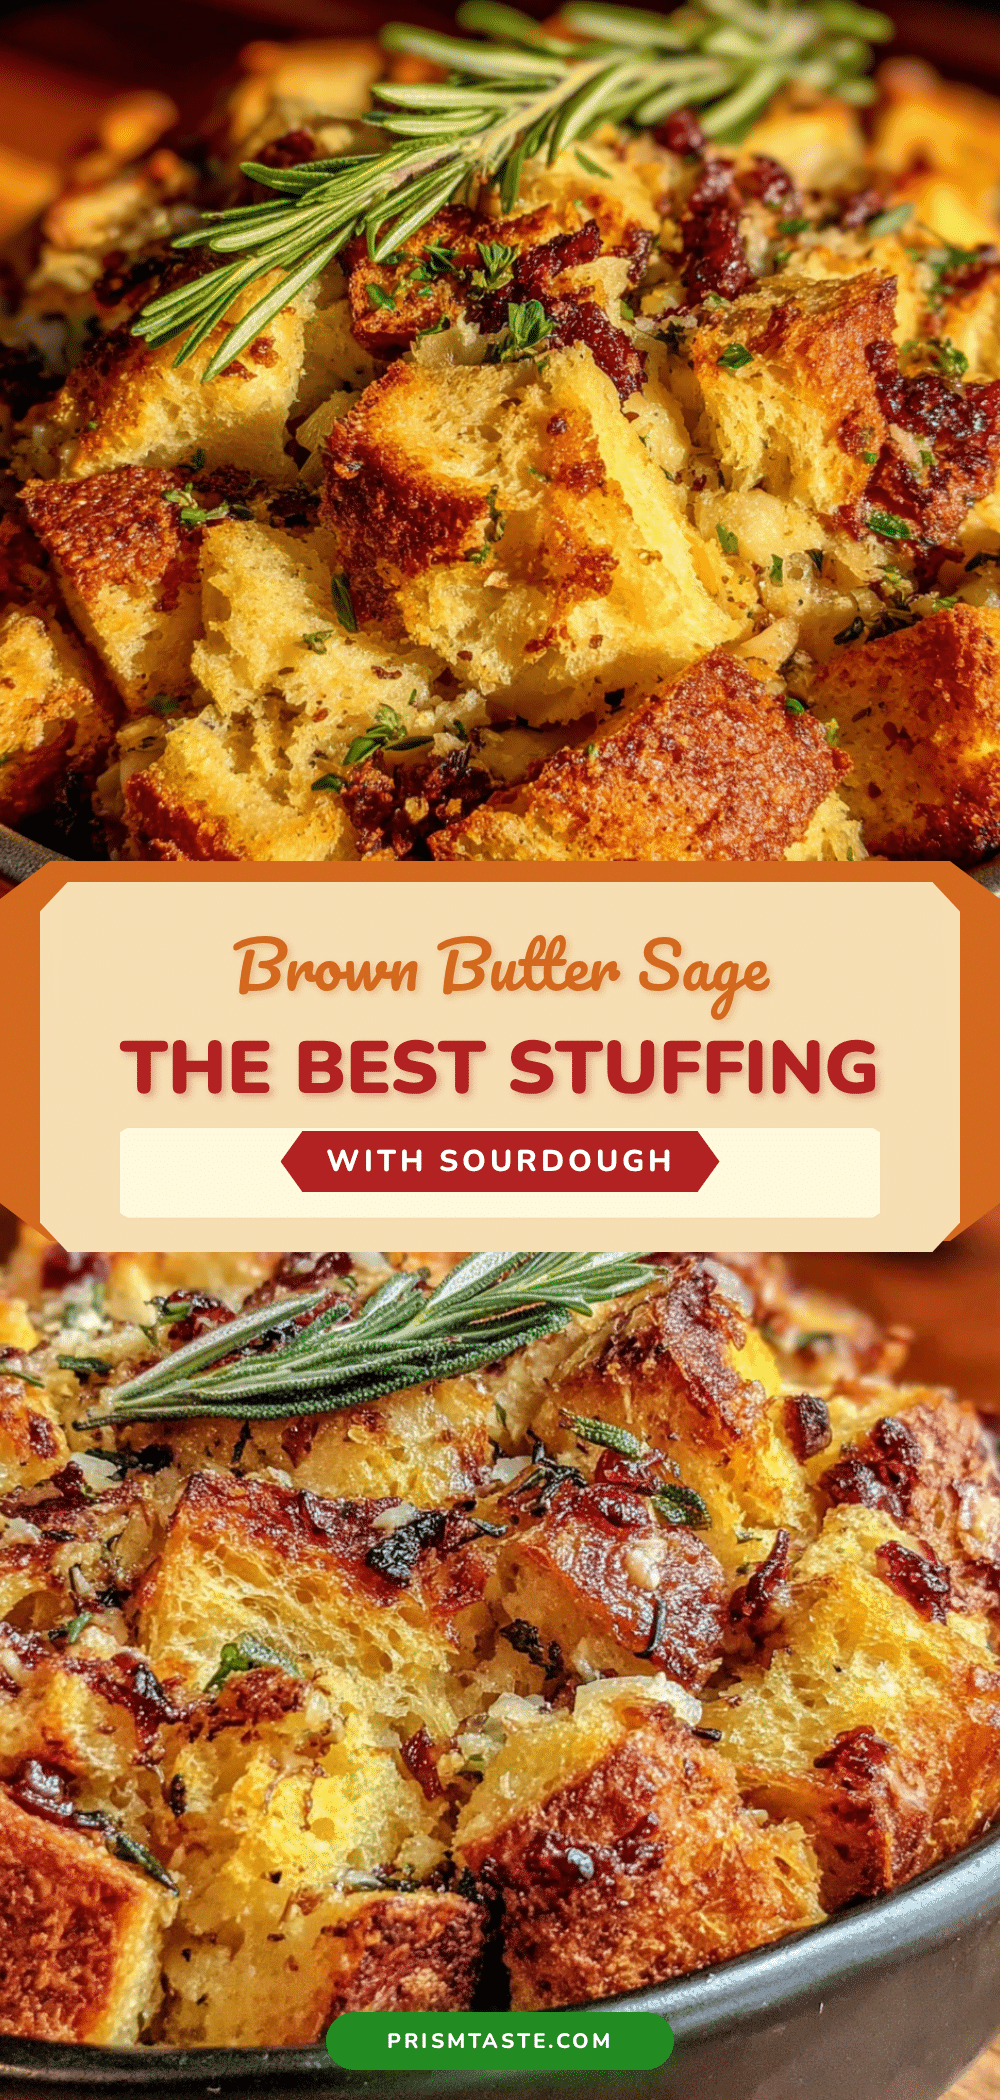
The Best Brown Butter Sage Stuffing with Sourdough (Easy Recipe)

This brown butter sage stuffing is the ultimate side dish, featuring nutty brown butter, fresh sage, and sourdough bread for a perfect balance of crispy edges and pillowy center. It’s a crowd-pleaser that comes together in about 45 minutes.
- Prep Time: 15 minutes
- Cook Time: 30 minutes
- Total Time: 45 minutes
- Yield: 8 servings 1x
- Category: Side Dish
- Cuisine: American
Ingredients
- 1 large loaf sourdough bread (about 1 pound, day-old is best)
- 6 tablespoons unsalted butter
- 1 large yellow onion, diced (about 2 cups)
- 3 celery ribs, diced (about 1.5 cups)
- 4 cloves garlic, minced
- 1/4 cup fresh sage leaves, roughly chopped
- 2 teaspoons fresh thyme leaves
- 1 tablespoon fresh rosemary, finely chopped
- 2 cups low-sodium chicken or vegetable broth
- 1 large egg, lightly beaten
- 1 teaspoon kosher salt
- 1/2 teaspoon black pepper, freshly ground
- 1/4 teaspoon red pepper flakes (optional)
- 1/2 cup chopped fresh parsley
Instructions
- Preheat your oven to 375°F (190°C). Cut the sourdough into 1-inch cubes (about 8 cups total). Spread on a large baking sheet in a single layer. Toast for 12-15 minutes, tossing halfway through, until golden and dry but not hard. Set aside to cool.
- In a large skillet over medium heat, add the 6 tablespoons of butter. Let it melt completely, then swirl occasionally. After about 4-5 minutes, when the butter foams and turns golden with brown specks and smells nutty, immediately remove from heat and pour into a heatproof bowl.
- In the same skillet, add a tablespoon of olive oil over medium heat. Add the diced onion and celery. Cook for 6-8 minutes, stirring occasionally, until softened and translucent. Add the minced garlic, chopped sage, thyme, and rosemary. Cook for another minute until fragrant. Remove from heat.
- In a large mixing bowl, whisk together the chicken broth, beaten egg, kosher salt, black pepper, and red pepper flakes if using until fully incorporated.
- Add the toasted sourdough cubes to the bowl with the broth mixture. Pour in the cooked aromatics and the browned butter (including the brown bits). Add the chopped parsley. Gently fold together until the bread cubes are evenly coated. Let it sit for 10 minutes so the bread can absorb the liquid.
- Grease a 9×13-inch baking dish with butter or cooking spray. Spoon the stuffing mixture in and spread it evenly without packing down. For a softer stuffing, cover with foil; for crispy edges, leave uncovered.
- Bake for 25-30 minutes. If covered, remove foil for the last 10 minutes. The stuffing is done when the top is crispy and browned, and the center is hot and set (at least 165°F/74°C). Let it rest for 5 minutes before serving.
Notes
Use day-old sourdough for best texture. Don’t rush the brown butter—watch for the second foam and nutty aroma. Let the stuffing rest before baking to avoid sogginess. For extra crispy edges, broil for 1-2 minutes at the end.
Nutrition
- Serving Size: 1 cup
- Calories: 285
- Sodium: 520
- Fat: 14
- Saturated Fat: 8
- Carbohydrates: 32
- Fiber: 3
- Protein: 8
Keywords: brown butter sage stuffing, sourdough stuffing, Thanksgiving stuffing, Christmas stuffing, easy stuffing recipe


