The last crumb disappeared before I could even grab a second cup. Twice in one evening, my Spooky Graveyard Dirt Cup Pudding Cups vanished, and the requests for the recipe started flooding in—texts, messages, even a neighbor’s knock on the door. Honestly, I wasn’t expecting such a fuss over something that began as a fun, last-minute Halloween idea thrown together from whatever was left in the pantry. But there it was: little cups filled with chocolatey pudding, crushed cookies, and gummy worms, topped with tiny tombstones that somehow cast a spooky charm over the whole table.
It all started a few Halloweens ago when I wanted to make a dessert that was both easy and playful enough to entertain the kids and impress the adults without keeping me stuck in the kitchen all night. I grabbed instant chocolate pudding, crushed up some Oreos, and added a handful of gummy worms — simple stuff, really. The way these little dirt cup pudding cups looked, though, especially with the edible decorations, was just the right mix of creepy and cute. Plus, they were utterly delicious.
What surprised me most was how they brought everyone together — kids giggling over gummy worms crawling out of the “graves,” adults sneaking extra spoons, and that quiet moment when the last bite was gone, and we all just looked at each other wondering if we should make more. That night, these pudding cups became more than just a Halloween treat; they felt like a little tradition starting to take root. And that’s why this recipe stuck with me — it’s simple, fun, and oddly satisfying in a way that’s rare to find in a quick dessert.
Why You’ll Love This Recipe
From my many experiments and happy accidents in the kitchen, this Spooky Graveyard Dirt Cup Pudding Cups recipe has proven itself as a go-to treat for Halloween. It’s perfect for when you want something festive but don’t have hours to fuss over baking or decorating. Here’s why this recipe stands out:
- Quick & Easy: You can have these creepy cups assembled in under 20 minutes, making them ideal for last-minute Halloween parties or unexpected guests.
- Simple Ingredients: No trips to specialty stores needed—most of these ingredients are pantry staples like instant pudding mix and Oreo cookies.
- Perfect for Halloween Parties: These pudding cups bring a fun spooky vibe that’s just right for kids’ parties or casual adult get-togethers.
- Crowd-Pleaser: This combo of creamy pudding, crunchy cookie “dirt,” and chewy gummy worms always scores big with both kids and adults.
- Unbelievably Delicious: The texture contrast — smooth pudding with crumbly cookie bits — is honestly addictive.
- Unique Twist: Instead of just layering pudding and crumbs, I add a touch of cinnamon to the cookie “dirt” for a subtle warmth that sets this apart from other dirt cup recipes.
This recipe isn’t just another Halloween gimmick. It’s a little bit nostalgic, a little bit playful, and a whole lot tasty. The first time I made it, I realized it’s exactly the sort of treat that makes you pause and smile after the first bite — a reminder that simple sweets can still surprise you.
What Ingredients You Will Need
This recipe keeps things straightforward with ingredients that come together to create a spooky, tasty treat without fuss. Each component plays a role in building flavor and texture that’s fun to eat and easy to prepare.
- Instant Chocolate Pudding Mix (1 package, 3.9 oz / 110 g): The creamy base — I prefer brands like Jell-O for that classic, smooth taste.
- Cold Milk (2 cups / 480 ml): Needed to whip up the pudding; whole milk works best for richness but 2% is fine too.
- Oreos or Chocolate Sandwich Cookies (about 20 cookies): Crushed to create the “dirt.” I like to pulse them in a food processor but crushing by hand works if you want bigger chunks.
- Cinnamon (1/2 teaspoon): A secret touch mixed into the cookie crumbs to add warmth and subtle spice.
- Gummy Worms (1 small bag, about 4 oz / 113 g): For creepy crawly fun — you can find these at most grocery stores this time of year.
- Chocolate or Vanilla Wafer Cookies (optional, 6-8 pieces): For making tombstones; you can write spooky words with edible markers if you like.
- Whipped Cream (optional, 1 cup / 240 ml): A light topping if you want to balance the richness, but these cups are great on their own.
Feel free to swap the Oreos with gluten-free chocolate sandwich cookies if needed. If you want to make these vegan, dairy-free pudding alternatives and gummy worms are available, just check labels. For a seasonal twist, I’ve tried mixing a bit of pumpkin pie spice into the “dirt” instead of cinnamon — works surprisingly well!
Equipment Needed
- Mixing Bowls: One medium bowl for pudding preparation, and one for mixing cookie crumbs.
- Whisk or Electric Mixer: To combine pudding mix and milk smoothly. An electric mixer speeds things up, but a whisk works fine.
- Food Processor or Plastic Bag & Rolling Pin: For crushing cookies. I usually use a food processor for quick and even crumbs, but a rolling pin with a zip-top bag is a perfectly good budget-friendly alternative.
- Spoons or Small Cups: To assemble and serve the pudding cups. Clear plastic cups about 4 oz (120 ml) size work well to show off the layers.
- Edible Marker or Small Knife (optional): If you want to write on the wafer cookie tombstones or shape them.
From my experience, using a clear cup really adds to the thrill because you can see the “dirt” layers and gummy worms before even digging in. Also, if you want to keep things super simple, no fancy gadgets are required — just basic kitchen tools you probably already own.
Preparation Method
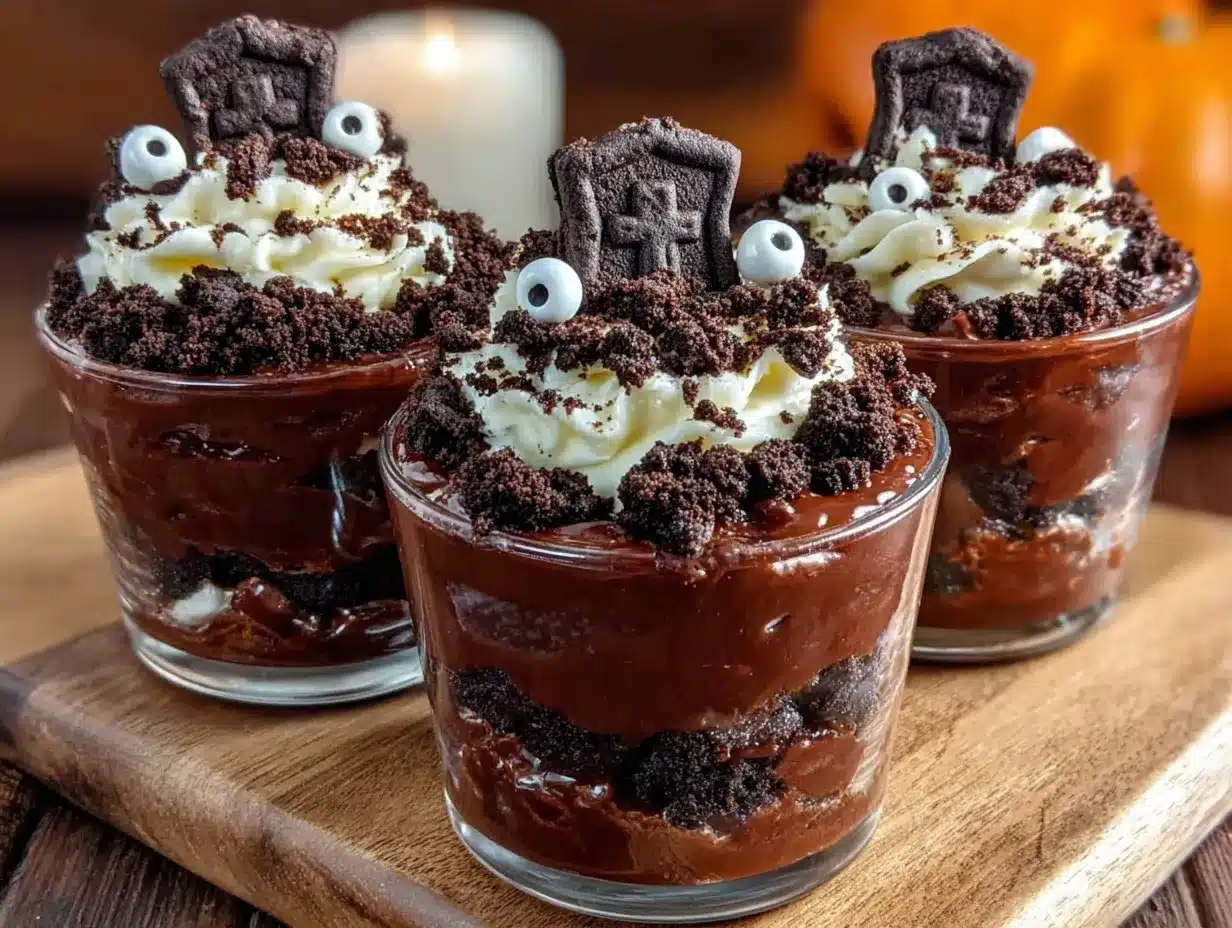
- Prepare the Pudding: In a medium bowl, whisk together the instant chocolate pudding mix and 2 cups (480 ml) cold milk. Whisk for about 2 minutes until the mixture thickens. You’ll know it’s ready when the pudding holds its shape but is still creamy. Set it aside to chill for 5 minutes while you prep the other ingredients.
- Crush the Cookies: Place about 20 Oreo cookies (or your choice of sandwich cookies) in a food processor and pulse until fine crumbs form. If you don’t have a processor, put the cookies in a zip-top bag and gently crush with a rolling pin until you get a dirt-like texture. Transfer the crumbs to a bowl and stir in 1/2 teaspoon of cinnamon for that cozy, unexpected hint of spice.
- Assemble the Base Layer: Spoon a generous layer of the cookie “dirt” into the bottom of each small cup — about 2 tablespoons (30 g). This forms the base of your spooky graveyard.
- Add the Pudding Layer: Next, add about 1/3 cup (80 ml) of the prepared chocolate pudding on top of the cookie crumbs. Smooth it gently with the back of a spoon to create a clean surface.
- Repeat the Dirt Layer: Sprinkle another 1-2 tablespoons of cookie crumbs on top of the pudding for that final “dirt” look. This layering gives the cups a nice texture contrast and visual appeal.
- Decorate with Gummy Worms: Place a few gummy worms crawling out of the “dirt” — I usually add 2-3 per cup depending on size. You can bend them slightly to make them look like they’re wriggling.
- Create Tombstones (Optional): Break or cut wafer cookies into tombstone shapes. If you want, write spooky messages with edible markers. Stick one or two tombstones into each cup to complete the graveyard effect.
- Add Whipped Cream (Optional): For an extra creamy touch, dollop a spoonful of whipped cream on top or on the side.
- Chill and Serve: Refrigerate the assembled cups for at least 30 minutes to let the flavors meld and the pudding firm up a bit before serving.
Quick tip: If your pudding seems too runny after whisking, a few extra minutes in the fridge can help it set nicely. Also, be careful not to crush the cookies too finely — a little chunkiness adds to the fun texture and looks more like real dirt.
Cooking Tips & Techniques
One thing I learned the hard way is not to rush the pudding setting. Instant pudding gets thick fast, but it needs that chill time to hold up well in the cups without mixing into the cookie crumbs too much. Trust me, letting it sit for at least 30 minutes makes a difference.
When crushing cookies, I avoid pulverizing them into dust. A mix of fine crumbs and small chunks gives the best “dirt” effect and adds a nice crunch. Also, stirring in cinnamon is a small tweak I picked up that makes the flavor more interesting — it’s subtle but noticeable.
For decorating, gummy worms are the obvious choice, but I’ve also tried using small candy bones or candy eyeballs to mix up the spooky vibe. When adding tombstones, I find that wafer cookies hold up better than graham crackers because they don’t get soggy as quickly.
If you’re making these for a party, assembling them in clear plastic cups ahead of time and chilling them works well. Just add gummy worms and tombstones right before serving so they don’t get sticky or melt into the pudding.
Multitasking tip: While the pudding chills, you can crush cookies and prep decorations. This keeps things moving and prevents the pudding from setting too soon while you’re still assembling.
Variations & Adaptations
Feel free to play around with this recipe to match your taste or dietary needs:
- Dietary Swaps: Use dairy-free pudding mixes and non-gelatin gummy worms for vegan-friendly cups. Gluten-free chocolate sandwich cookies work well for gluten-sensitive eaters.
- Flavor Twists: Swap chocolate pudding for vanilla or butterscotch pudding for a different flavor profile. You can also mix in a teaspoon of instant espresso powder to deepen the chocolate taste.
- Seasonal Adaptations: In fall, try sprinkling a dash of pumpkin pie spice into the cookie crumbs instead of cinnamon. Around Christmas, red and green gummy candies can replace worms for a festive look.
- Creative Toppings: Instead of gummy worms, try mini marshmallows “ghosts” or candy corn for a sweet surprise. Using edible candy eyes adds an extra spooky touch.
- Cooking Method: For a slightly more homemade pudding, use scratch pudding recipes thickened with cornstarch, but be sure to cool completely before assembling.
One personal favorite variation I tried was layering crushed peppermint cookies with chocolate pudding, topped with crushed candy canes for a minty graveyard effect—it was a hit at a winter party!
Serving & Storage Suggestions
Serve these spooky pudding cups chilled for the best texture and flavor. The contrast of cool pudding with crunchy cookie “dirt” and chewy gummy worms is part of the fun. Presenting them in clear cups or jars lets the layers shine through, making them perfect for party tables.
Pair these pudding cups with light finger foods or drinks like sparkling cider or a simple hot chocolate to keep the Halloween theme going. If you want to keep things balanced, try serving alongside savory snacks like savory cheddar herb zucchini bread to offer guests a break from sweets.
For storage, cover the cups tightly with plastic wrap or lids and refrigerate for up to 2 days. The cookie crumbs will soften over time, so it’s best to add gummy worms and tombstones just before serving. If you need to store longer, you can freeze the pudding cups minus the gummy worms; thaw in the fridge overnight and add decorations later.
The flavors meld nicely after a few hours in the fridge — the cinnamon in the cookie crumbs becomes more pronounced, making each bite richer. Just keep an eye on moisture buildup, and you’re set.
Nutritional Information & Benefits
Each serving of these Spooky Graveyard Dirt Cup Pudding Cups clocks in around 250-300 calories, depending on portion size and optional toppings. The pudding provides calcium and some protein from the milk, while the cookie crumbs add a bit of indulgent sweetness.
Using whole milk adds creaminess but you can swap 2% or plant-based milk to reduce fat content. The cinnamon in the cookie crumbs is a small antioxidant boost and adds digestive benefits, which is a nice touch for a treat this rich.
Keep in mind that gummy worms and cookies do contain allergens like gluten and gelatin, so consider alternatives if you’re serving guests with sensitivities. Overall, this dessert is a fun occasional treat that combines familiar flavors in a playful way that kids and adults both enjoy.
Conclusion
Spooky Graveyard Dirt Cup Pudding Cups are one of those rare recipes that feel simple yet leave a lasting impression. They’re easy enough to whip up on a whim but special enough to make your Halloween gathering feel festive and fun. What I love most is how they bring out the kid in everyone — the delight in spotting gummy worms wriggling out of the “dirt” is just priceless.
Don’t hesitate to put your own spin on these cups, whether that’s switching up the pudding flavor or trying different creepy decorations. This recipe has been a quiet winner in my kitchen, and I hope it becomes a little tradition in yours too.
If you try making these, I’d love to hear about your favorite twists or how they went over with your crew. After all, the best recipes are the ones that bring people together — spooky or not.
FAQs About Spooky Graveyard Dirt Cup Pudding Cups
Can I make these pudding cups ahead of time?
Yes, you can assemble the pudding and cookie layers up to 2 days in advance. Just add gummy worms and tombstones right before serving to keep decorations fresh.
What can I use instead of gummy worms?
Try mini marshmallows shaped like ghosts, candy eyes, or even candy corn for different spooky effects.
Can I use homemade pudding instead of instant mix?
Absolutely! Just make sure your pudding is fully chilled and thickened before assembling to prevent sogginess.
Are these cups gluten-free?
Not with traditional Oreos, but you can use gluten-free chocolate sandwich cookies to make the recipe gluten-free.
How do I keep the cookie crumbs from getting soggy?
Use firm cookie crumbs with some chunkiness, and don’t layer pudding too thickly on the crumbs. Adding gummy worms and decorations just before serving also helps maintain texture.
Pin This Recipe!
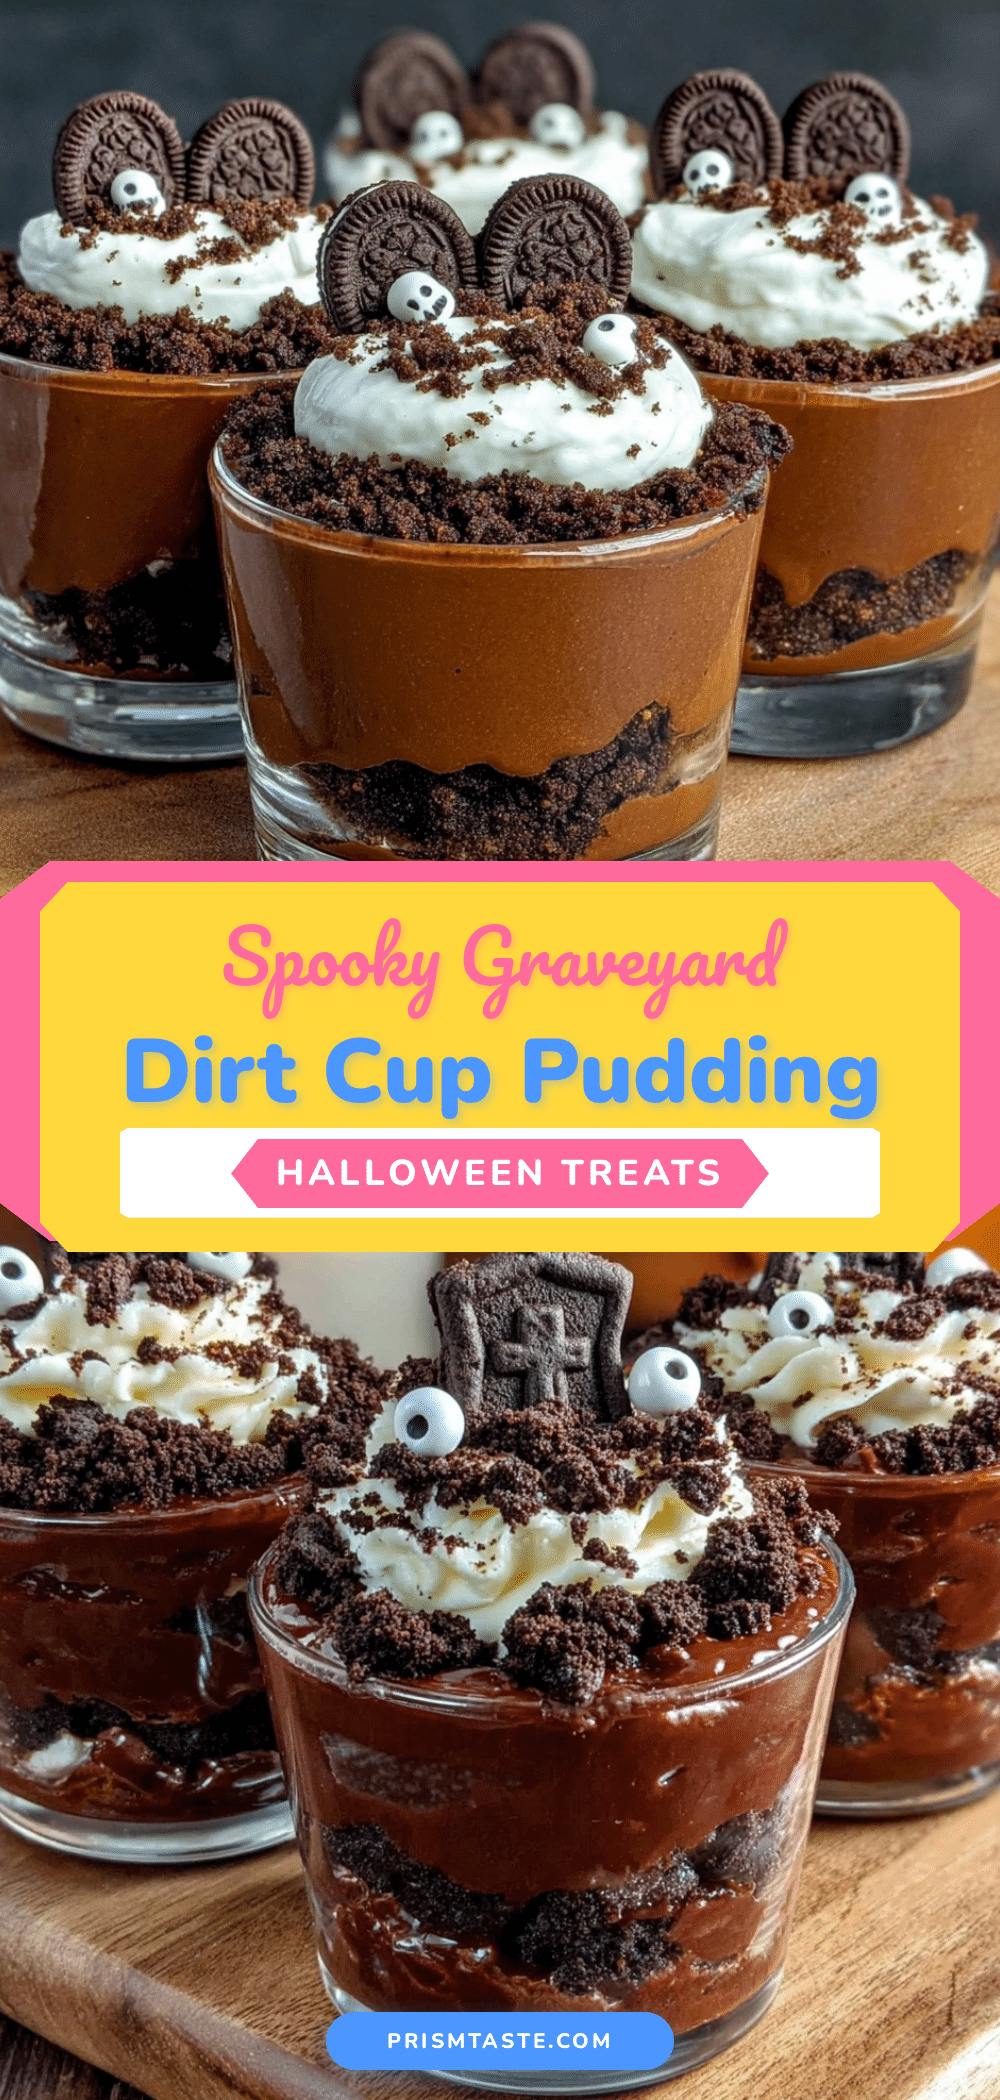
Spooky Graveyard Dirt Cup Pudding Cups Easy Halloween Recipe
A quick and easy Halloween dessert featuring layers of chocolate pudding, cinnamon-spiced crushed cookies, and gummy worms, topped with optional wafer cookie tombstones for a spooky and fun treat.
- Prep Time: 10 minutes
- Cook Time: 0 minutes
- Total Time: 40 minutes
- Yield: 8 servings 1x
- Category: Dessert
- Cuisine: American
Ingredients
- 1 package (3.9 oz / 110 g) instant chocolate pudding mix
- 2 cups (16 fl oz / 480 ml) cold milk (whole or 2%)
- About 20 Oreo or chocolate sandwich cookies
- 1/2 teaspoon cinnamon
- 1 small bag (4 oz / 113 g) gummy worms
- 6–8 chocolate or vanilla wafer cookies (optional, for tombstones)
- 1 cup (8 fl oz / 240 ml) whipped cream (optional)
Instructions
- In a medium bowl, whisk together the instant chocolate pudding mix and 2 cups cold milk for about 2 minutes until thickened. Set aside to chill for 5 minutes.
- Crush about 20 Oreo cookies in a food processor or place in a zip-top bag and crush with a rolling pin until crumbly. Transfer crumbs to a bowl and stir in 1/2 teaspoon cinnamon.
- Spoon about 2 tablespoons of the cookie crumbs into the bottom of each small cup.
- Add about 1/3 cup (80 ml) of the prepared pudding on top of the cookie crumbs and smooth the surface.
- Sprinkle another 1-2 tablespoons of cookie crumbs on top of the pudding layer.
- Decorate with 2-3 gummy worms per cup, bending them to look like they are crawling out of the dirt.
- Optionally, break wafer cookies into tombstone shapes, write spooky messages with edible markers, and insert 1-2 tombstones into each cup.
- Optionally, add a dollop of whipped cream on top or on the side.
- Refrigerate the assembled cups for at least 30 minutes before serving to let flavors meld and pudding firm up.
Notes
Let pudding chill and set for at least 30 minutes for best texture. Avoid crushing cookies too finely to maintain a dirt-like texture. Add gummy worms and tombstones just before serving to prevent sogginess. Can substitute gluten-free cookies and dairy-free pudding and gummy worms for dietary needs.
Nutrition
- Serving Size: 1 pudding cup (about
- Calories: 275
- Sugar: 28
- Sodium: 180
- Fat: 12
- Saturated Fat: 5
- Carbohydrates: 38
- Fiber: 1
- Protein: 4
Keywords: Halloween dessert, pudding cups, dirt cups, spooky treats, easy Halloween recipe, chocolate pudding, gummy worms, Oreo dessert


