Three summers ago, my niece Lucy asked why I couldn’t just crush the cookies in the bag with a rolling pin instead of dirtying a food processor. I started to explain why that wouldn’t work—something about even crumbs and proper texture. Then I stopped. She was nine, holding a ziplock bag and a wooden spoon, and honestly? I had no good reason.
So I handed over the Oreos and watched her go to town, whacking that bag like it owed her money. The crumbs came out uneven, a little chunky in places, and absolutely perfect for what we were making. That was the day these no-bake Oreo dirt cups with gummy worms stopped being a “kid’s activity” and became a legit dessert I actually look forward to making.
I mean, let’s be real—sometimes the best recipes come from letting go of control. This one takes maybe five minutes of actual work, uses ingredients you probably already have, and somehow manages to look impressive even though it’s essentially crushed cookies and pudding. You know that feeling when something is almost too easy to be good, but then it’s actually amazing? That’s these dirt cups.
Why You’ll Love This Recipe
These no-bake Oreo dirt cups with gummy worms have become my secret weapon for last-minute gatherings, classroom parties, and those evenings when I need dessert but absolutely refuse to turn on the oven. Here’s why they work so well:
- Quick & Easy: Five minutes of prep time, I’m not exaggerating. If you can crush a cookie and stir pudding, you’ve got this handled.
- Simple Ingredients: Oreos, instant pudding, milk, Cool Whip, and gummy worms. That’s it. No specialty stores required.
- Perfect for Any Occasion: Birthday parties, Halloween, summer barbecues, or just a Tuesday when you need a little fun in your life.
- Crowd-Pleaser: Kids absolutely lose their minds over these, but adults sneak seconds too. The nostalgia factor is real.
- Unbelievably Delicious: The creamy pudding layer against the crunchy cookie crumbs, with that chewy gummy worm surprise—it’s texture heaven.
What makes these dirt cups different from other versions is the pudding texture. I use instant chocolate pudding made with whole milk instead of the usual skim, which gives it this rich, almost mousse-like consistency that holds up beautifully. No watery layers, no soupy mess. Just perfectly creamy, spoon-standable pudding that actually tastes like something.
This isn’t just a kids’ dessert. It’s the kind of thing that makes you feel like a kid again, even if you’re the one serving it at a dinner party. And honestly? That’s the best kind of recipe.
What Ingredients You Will Need
This recipe uses simple, pantry-friendly ingredients that come together to create something surprisingly delicious. Most of these are probably in your kitchen right now, which makes these no-bake Oreo dirt cups with gummy worms perfect for spontaneous dessert cravings.
For the Pudding Layer
- 1 (3.9 oz) box instant chocolate pudding mix (I prefer Jell-O brand for consistent results, but store brands work fine too)
- 2 cups cold whole milk (whole milk gives the richest texture, but 2% works well. Avoid skim—it makes the pudding runny)
- 1 cup Cool Whip, thawed (or homemade whipped cream if you’re feeling fancy. Let it sit at room temperature for about 20 minutes before using)
For the “Dirt” Layer
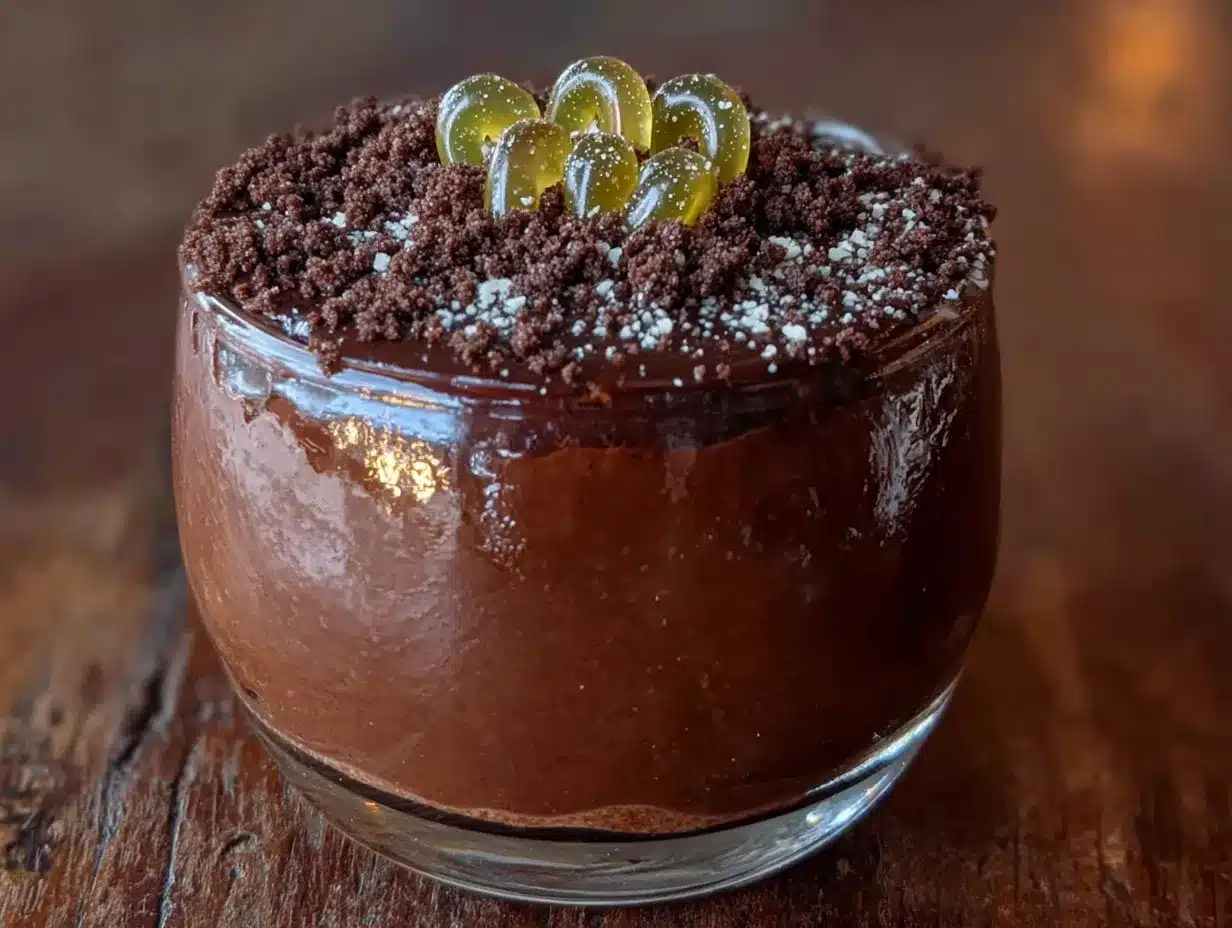
- 1 package (14.3 oz) Oreo cookies (regular, not Double Stuf—you want more cookie than cream for the dirt texture. About 20 cookies total)
For Decoration
- 1 bag gummy worms (I use Trolli or Black Forest brand. Get the sour ones if you want a tangy contrast to the sweet pudding)
- Optional: small gummy bugs, mint leaves for “plants,” or crushed graham crackers for extra texture
A quick note on the Oreos—you want the classic ones, not the Double Stuf. The extra cream filling makes the crumbs clump together instead of staying loose and “dirt-like.” If all you have are Double Stuf, scrape off some of the cream before crushing. I learned this the hard way after making a batch that looked more like gray paste than dirt. Not cute.
For the gummy worms, look for the ones that are slightly thicker and chewier. The thin ones tend to break apart when you push them into the pudding. And if you’re making these for a Halloween party, the sour neon-colored worms add a fun pop of color against the dark chocolate.
Equipment Needed
You don’t need much for these no-bake Oreo dirt cups with gummy worms, which is part of the beauty. Here’s what I use:
- Large mixing bowl for the pudding
- Whisk (a hand whisk works fine, or use an electric mixer on low speed)
- Ziplock bag and rolling pin for crushing Oreos (or a food processor if you want even crumbs)
- 6-8 small cups or glasses (clear plastic cups work great for parties, or use small mason jars for a cute presentation)
- Spatula for scraping every last bit of pudding
If you don’t have a rolling pin, a wine bottle or even a heavy can works just as well for crushing the cookies. I’ve used a cast iron skillet in a pinch. The key is to get the crumbs uneven—some fine, some chunky—for that realistic dirt texture.
For the cups, I love using 8-ounce clear plastic cups from the party store. They’re cheap, disposable, and let everyone see the layers. But honestly, any small glass or even a ramekin works. Just don’t use paper cups—the moisture from the pudding will make them soggy and sad.
Preparation Method
These no-bake Oreo dirt cups with gummy worms come together in about 10 minutes total. Here’s exactly how I do it, step by step:
Step 1: Make the Pudding (5 minutes)
In a large bowl, whisk together the instant chocolate pudding mix and 2 cups cold whole milk. Whisk for about 2 minutes until it thickens. You’ll feel it get heavier in the bowl—that’s how you know it’s ready. Let it sit for 5 minutes to fully set. Don’t rush this part, or your pudding will be runny and your layers will blur together.
Step 2: Fold in the Cool Whip (2 minutes)
Once the pudding is set, gently fold in 1 cup of thawed Cool Whip using a spatula. Fold, don’t stir—you want to keep the airiness. The mixture should turn a lighter brown color and get this beautiful, mousse-like texture. Taste it here. I always do. It’s dangerous because you’ll want to eat it all with a spoon.
Step 3: Crush the Oreos (3 minutes)
Place about 20 Oreo cookies in a large ziplock bag. Seal it, squeeze out the air, and go to town with your rolling pin. I like to leave some chunks—about pea-sized—for texture. If you’re using a food processor, pulse instead of running continuously. You want crumbs, not dust. Pour the crumbs into a shallow bowl.
Step 4: Layer the Cups (5 minutes)
Spoon about 2 tablespoons of Oreo crumbs into the bottom of each cup. This is your “dirt” base. Next, add a layer of the pudding mixture—about 3-4 tablespoons per cup, depending on size. Then another layer of Oreo crumbs on top. I usually do two layers of each for a total of four layers, ending with crumbs on top.
Step 5: Add the Worms (2 minutes)
Here’s the fun part. Gently push 2-3 gummy worms into the top layer of crumbs so they look like they’re crawling out of the dirt. Leave some sticking up. For extra effect, press a few worms against the inside of the cup so they’re visible through the sides. My niece insists they need to look “surprised” when someone digs in.
Step 6: Chill (30 minutes minimum)
Refrigerate the cups for at least 30 minutes before serving. This lets the pudding firm up and the cookie crumbs soften slightly, creating that perfect dirt-like texture. If you’re making these ahead, they’ll keep in the fridge for up to 2 days. Just add the gummy worms right before serving so they stay chewy.
Cooking Tips & Techniques
After making these no-bake Oreo dirt cups with gummy worms more times than I can count (seriously, they’re requested at every family gathering), I’ve picked up a few tricks that make a real difference.
Don’t overmix the pudding. I know it’s tempting to keep whisking until it’s perfectly smooth, but overmixing can actually break down the starches and make the pudding runny. Stop as soon as it thickens. Trust the process—it will set properly in the fridge.
Chill your bowl and whisk. If you’re making these on a hot day, pop your mixing bowl and whisk in the freezer for 10 minutes before starting. The cold helps the pudding set faster and gives it a silkier texture. I learned this after a particularly humid July afternoon when my pudding refused to thicken.
Crush cookies in batches. If you’re making a big batch, crush the Oreos in two or three smaller bags instead of one huge one. The crumbs come out more even, and you won’t end up with a bag that bursts open (speaking from experience—cookie dust everywhere).
Use a piping bag for the pudding. For cleaner layers, transfer the pudding mixture to a piping bag or a ziplock bag with the corner snipped off. It makes filling the cups so much neater, and you won’t get pudding smeared on the sides of the cups. If you’re serving these at a party, the visual difference is worth the extra two minutes.
Let the worms come to room temperature. Cold gummy worms are harder and less flexible, which makes them more likely to snap when you push them into the pudding. Let them sit out for 15 minutes before assembly. They’ll bend beautifully and look more like real worms wiggling out of dirt.
Variations & Adaptations
These no-bake Oreo dirt cups with gummy worms are endlessly adaptable. Here are some variations I’ve tried and loved:
Dairy-Free Version
Use almond milk or oat milk with a dairy-free instant pudding mix (Jell-O brand actually makes one that’s vegan). Swap the Cool Whip for coconut whipped cream, and use dairy-free chocolate sandwich cookies. The texture is slightly less rich but still delicious. My sister-in-law is lactose intolerant, and she says this version hits the spot.
Peanut Butter Twist
Add 2 tablespoons of creamy peanut butter to the pudding mixture before folding in the Cool Whip. The peanut butter adds a savory note that balances the sweetness beautifully. I use Skippy Natural, but any creamy peanut butter works. Just make sure it’s well-incorporated to avoid streaks.
Mint Chocolate Version
Swap the chocolate pudding for instant white chocolate or vanilla pudding, and add 1/2 teaspoon peppermint extract. Use Mint Oreos instead of regular ones. The green and white layers look festive for Christmas, and the mint-chocolate combo is absolutely addictive. I made these for a holiday party and they disappeared in ten minutes.
Halloween Special
Add a layer of orange-colored vanilla pudding in the middle for a “dirt with buried treasure” effect. Use orange food coloring (gel works better than liquid) and mix it into about 1/2 cup of the pudding mixture. Layer it between the chocolate pudding and the Oreo crumbs. Kids go nuts for the surprise color when they dig in.
Serving & Storage Suggestions
These no-bake Oreo dirt cups with gummy worms are best served cold, straight from the fridge. The contrast between the chilled, creamy pudding and the slightly softened cookie crumbs is what makes them so satisfying.
For presentation, I like to set them out on a tray with a few extra gummy worms scattered around for visual effect. If you’re serving them at a party, use clear cups so the layers show through. Add a small plastic shovel or spoon tied with a ribbon for a cute party favor.
Storage: Keep the cups covered in the refrigerator for up to 3 days. The texture changes slightly over time—the cookie crumbs get softer and more cake-like, which some people actually prefer. I personally think they’re best on day one, but they’re still good on day two.
Freezing: You can freeze these! Make them in disposable cups, wrap each one tightly in plastic wrap, and freeze for up to 1 month. Thaw in the refrigerator overnight before serving. The pudding gets a slightly icier texture, but it’s still delicious. Just don’t add the gummy worms until after thawing—frozen gummy worms turn into rock-hard candy.
Reheating: Don’t. These are meant to be served cold. If you want a warm dessert, this isn’t it. But honestly, the cold creamy texture is part of the charm.
Nutritional Information & Benefits
Let’s be real—these no-bake Oreo dirt cups with gummy worms are a treat, not a health food. But here’s the estimated nutritional breakdown per serving (based on 8 servings):
- Calories: 320
- Fat: 14g
- Carbohydrates: 47g
- Protein: 5g
- Sugar: 33g
That said, there are a few redeeming qualities. The milk provides calcium and vitamin D. The Oreos contain a small amount of iron (yes, really). And the gummy worms? Well, they make people smile, and that counts for something.
If you’re looking to lighten things up, use sugar-free pudding mix, skim milk, and light Cool Whip. You’ll save about 80 calories per serving. The texture won’t be quite as rich, but it’s still pretty darn good.
For those with dietary restrictions, note that this recipe contains dairy, gluten (from the Oreos), and soy (from the chocolate). Gluten-free chocolate sandwich cookies are available and work perfectly as a substitute.
Conclusion
These no-bake Oreo dirt cups with gummy worms are proof that the best desserts don’t have to be complicated. They’re fun, they’re fast, and they bring out the kid in everyone who eats them. I’ve made them for birthday parties, Halloween gatherings, and random Tuesday nights when I needed a little joy—and they’ve never let me down.
The best part? You can customize them endlessly. Add different candies, change up the pudding flavor, or get creative with the layers. There’s no wrong way to make these, and that’s what I love about them.
So go ahead—grab some Oreos, crush them however you want, and make a mess. That’s what Lucy taught me. And if you come up with a fun variation, I’d love to hear about it. Drop a comment below and tell me how your dirt cups turned out. Happy snacking!
Frequently Asked Questions
Can I make these Oreo dirt cups ahead of time?
Absolutely! You can assemble them up to 2 days in advance. Just wait to add the gummy worms until right before serving so they stay chewy and don’t get soggy.
Can I use homemade pudding instead of instant?
You can, but it changes the texture. Homemade pudding is thinner and won’t set as firmly, so your layers might blur together. If you go that route, cook the pudding until it’s very thick and chill it completely before layering.
What if I don’t have Cool Whip?
Make your own whipped cream! Whip 1 cup of heavy cream with 2 tablespoons of powdered sugar until stiff peaks form. Fold it into the pudding the same way you would Cool Whip. It’s actually richer and more delicious.
How do I keep the gummy worms from sinking?
Push them into the top layer of crumbs gently, and make sure the pudding is fully set before adding them. If the pudding is still soft, the worms will slowly sink overnight. That’s why I add them right before serving.
Can I use different types of cookies?
Yes! Chocolate chip cookies, vanilla wafers, or even graham crackers all work. Just crush them the same way. The flavor will change, but the concept stays the same. I’ve made a version with Biscoff cookies that was absolutely incredible.
Pin This Recipe!
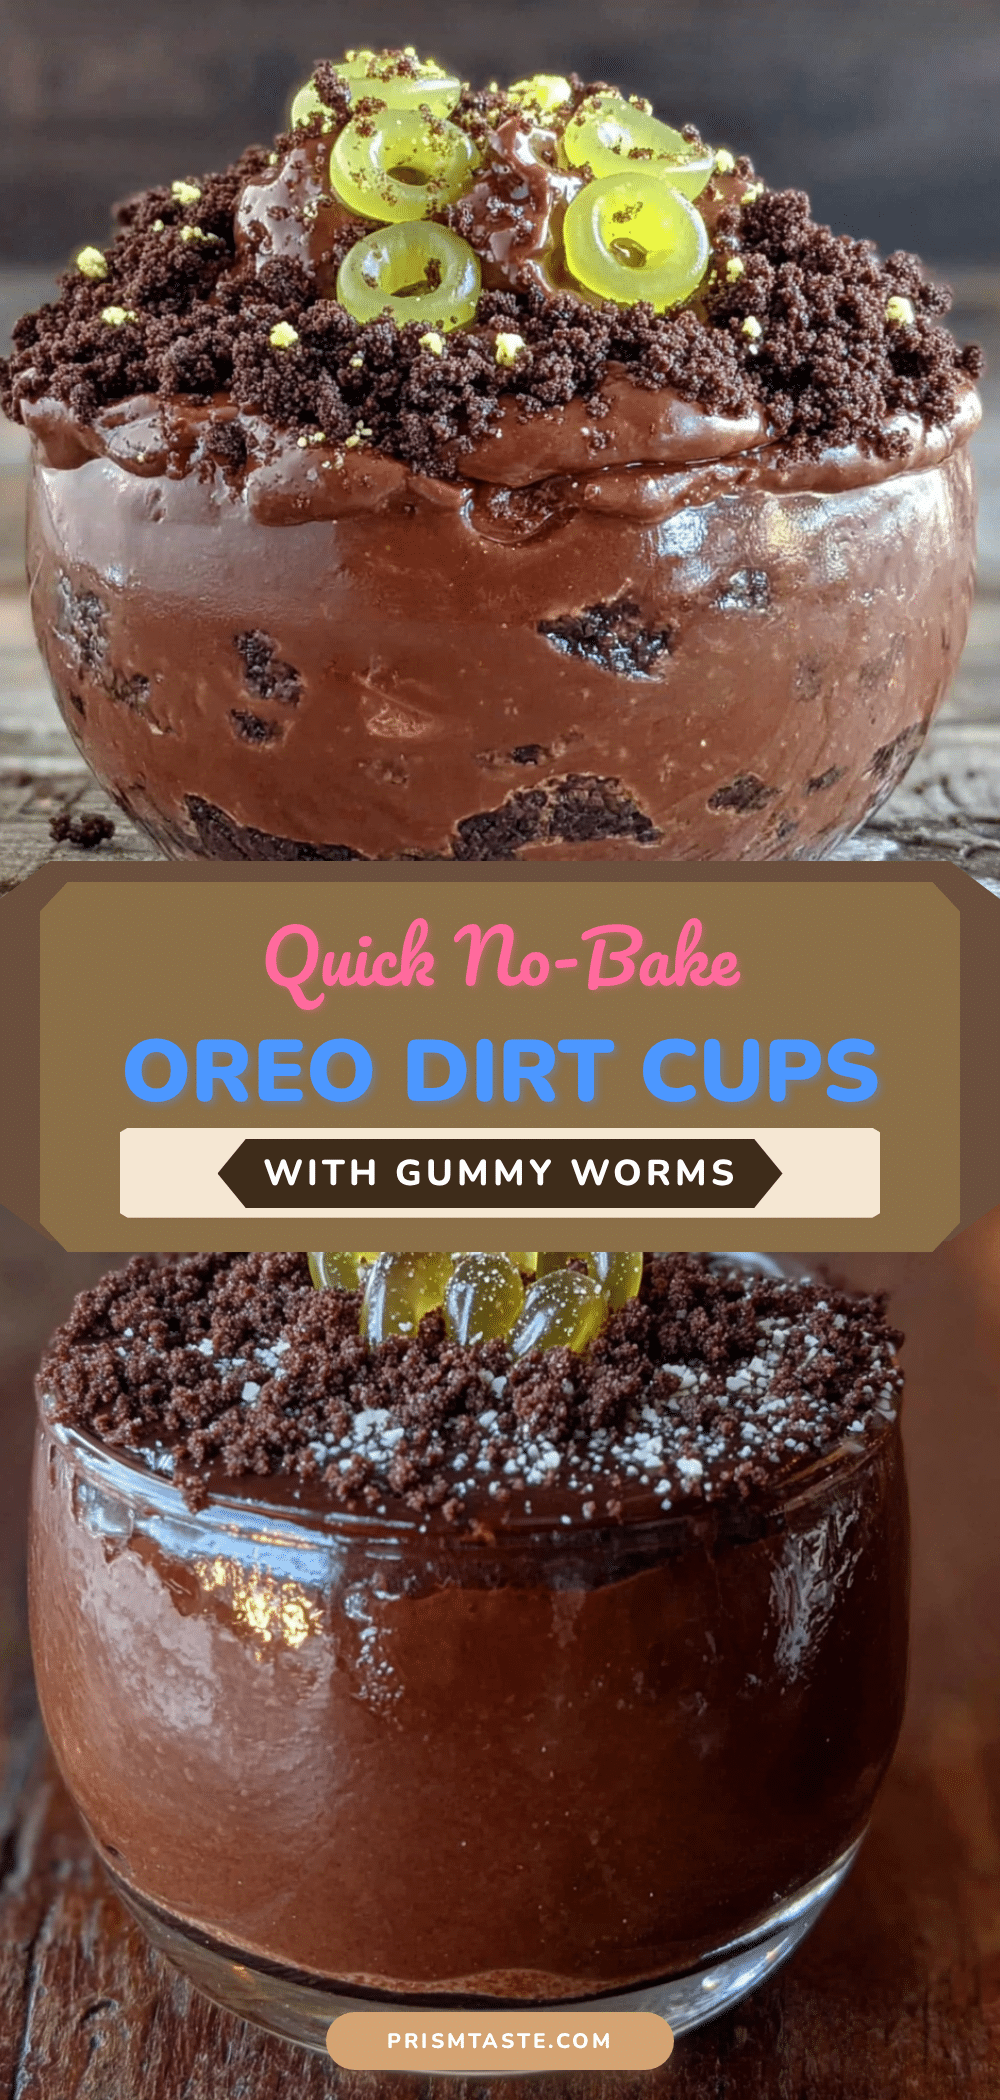
Quick No-Bake Oreo Dirt Cups with Gummy Worms: Best 5-Minute Dessert
These no-bake Oreo dirt cups with gummy worms are a quick and easy dessert that takes only 5 minutes of prep. With layers of creamy chocolate pudding and crushed Oreo cookies, topped with gummy worms, they’re a fun and nostalgic treat perfect for any occasion.
- Prep Time: 10 minutes
- Cook Time: 0 minutes
- Total Time: 40 minutes (includes 30 minutes chilling)
- Yield: 8 servings 1x
- Category: Dessert
- Cuisine: American
Ingredients
- 1 (3.9 oz) box instant chocolate pudding mix
- 2 cups cold whole milk
- 1 cup Cool Whip, thawed
- 1 package (14.3 oz) Oreo cookies (about 20 cookies)
- 1 bag gummy worms
- Optional: small gummy bugs, mint leaves for ‘plants,’ or crushed graham crackers for extra texture
Instructions
- In a large bowl, whisk together the instant chocolate pudding mix and 2 cups cold whole milk for about 2 minutes until it thickens. Let it sit for 5 minutes to fully set.
- Gently fold in 1 cup of thawed Cool Whip using a spatula until the mixture turns a lighter brown color and has a mousse-like texture.
- Place about 20 Oreo cookies in a large ziplock bag. Seal it, squeeze out the air, and crush with a rolling pin until you have crumbs with some pea-sized chunks.
- Spoon about 2 tablespoons of Oreo crumbs into the bottom of each cup. Add a layer of the pudding mixture (about 3-4 tablespoons per cup). Repeat with another layer of crumbs and pudding, ending with crumbs on top.
- Gently push 2-3 gummy worms into the top layer of crumbs so they look like they’re crawling out of the dirt. For extra effect, press a few worms against the inside of the cup.
- Refrigerate the cups for at least 30 minutes before serving. The cups will keep in the fridge for up to 2 days, but add gummy worms right before serving.
Notes
For best results, use whole milk for a richer pudding texture. Avoid overmixing the pudding. Chill your bowl and whisk on hot days. Crush cookies in batches for even crumbs. Use a piping bag for cleaner layers. Let gummy worms come to room temperature before adding to prevent snapping. For dairy-free version, use almond milk or oat milk with dairy-free pudding mix and coconut whipped cream. For peanut butter twist, add 2 tablespoons creamy peanut butter to pudding mixture. For mint chocolate version, use vanilla pudding with peppermint extract and Mint Oreos. For Halloween special, add a layer of orange-colored vanilla pudding.
Nutrition
- Serving Size: 1 cup
- Calories: 320
- Sugar: 33
- Sodium: 380
- Fat: 14
- Saturated Fat: 7
- Carbohydrates: 47
- Fiber: 1
- Protein: 5
Keywords: no-bake dessert, Oreo dirt cups, gummy worms, easy dessert, kid-friendly, chocolate pudding, quick dessert, Halloween dessert


