My brother-in-law Mark had claimed to hate pumpkin spice for a solid decade. “It’s not a flavor,” he’d announce every September, “it’s a marketing campaign.” He said this with such conviction that I actually stopped making pumpkin bread for family gatherings. Then last Halloween, I was experimenting with a new cookie recipe, just for fun, just for me. I had a batch cooling on the counter when I walked back into the kitchen to find Mark, caught mid-bite, powdered sugar on his chin, trying to look innocent. He didn’t even try to deny it. He just pointed at the cookies and said, “Okay, what’s in these?”
That moment, honestly, was more satisfying than the cookies themselves. And the cookies are pretty spectacular. I mean, I get the skepticism. A lot of pumpkin spice stuff can taste like a candle you accidentally bit into. But these pumpkin spice Halloween sugar cookies? They’re different. They’re soft, they’re buttery, and the spice blend actually tastes like real baking, not a chemistry experiment. Let me tell you, converting a pumpkin spice hater is a strange kind of victory, but I’ll take it.
Maybe you’ve been there—you have that one person in your life who’s stubborn about a food they decided they don’t like years ago. Or maybe you’re the one who needs convincing. Either way, I think these cookies might change a mind or two. They have this way of sneaking up on you. The first bite is all butter and vanilla, and then the warmth of the cinnamon and ginger settles in, like a cozy sweater for your taste buds. It’s the kind of cookie that makes you close your eyes after the first bite, even if you swore you weren’t going to like it.
Why You’ll Love This Recipe
I’ve tested this recipe about six times to get it just right. The first batch was too cakey. The second was too flat. The third? Well, the third had a spice blend that tasted like I was eating autumn air, and I knew I was onto something. Here’s what makes these cookies stand out:
- Quick & Easy: From start to finish, you’re looking at about 30 minutes. No chilling required, which is a game-changer for spontaneous baking.
- Simple Ingredients: You probably have most of this in your pantry right now. No weird extracts or hard-to-find spices.
- Perfect for Halloween: These are my go-to for Halloween parties, trick-or-treat gatherings, or just a cozy night in with a scary movie.
- Crowd-Pleaser: Even the pumpkin spice skeptics in your life will reach for a second cookie. I’ve seen it happen.
- Unbelievably Delicious: The texture is the real star here—soft and tender with slightly crisp edges. It’s comfort food at its finest.
What makes this recipe different from all the other pumpkin cookie recipes out there? It’s the technique. Instead of using pumpkin puree (which can make cookies gummy), I use a combination of melted butter and a touch of pumpkin spice extract. This gives you all the warm, cozy flavor without the texture issues. It’s a little trick I picked up after ruining too many batches with watery pumpkin puree. Trust me on this one.
This isn’t just another cookie recipe. It’s the kind that makes you look forward to October all year. It’s the recipe you’ll text to your friends and say, “You have to make these.” It’s simple enough for a Tuesday night but special enough for a Halloween party. And honestly, watching someone take that first bite and get that surprised look on their face? That’s the best part.
What Ingredients You Will Need
This recipe uses simple, everyday ingredients to create something genuinely special. The magic is in the balance—the butter, sugar, and spice blend work together to create a cookie that’s both familiar and surprising. Here’s what you’ll need:
- All-purpose flour, 2 ¼ cups (280g) – Spoon and level it for best results. Too much flour makes cookies dry.
- Unsalted butter, ¾ cup (170g), melted – I use Kerrygold for the best flavor, but any good butter works.
- Granulated sugar, ¾ cup (150g) – Regular white sugar gives the cookies that perfect slight crunch on the edges.
- Light brown sugar, ¼ cup (50g), packed – Adds moisture and a hint of molasses flavor. Don’t skip it.
- Large egg, 1, room temperature – Room temperature egg blends more evenly into the melted butter.
- Vanilla extract, 1 teaspoon – Pure vanilla, not imitation, if you can swing it. It makes a difference.
- Pumpkin spice extract, 1 teaspoon – This is my secret weapon. It gives you all the pumpkin spice flavor without the watery pumpkin puree. You can find it at most grocery stores or online.
- Baking powder, 1 teaspoon – For that soft, pillowy texture.
- Baking soda, ½ teaspoon – Helps the cookies spread just enough.
- Salt, ½ teaspoon – Balances the sweetness. I use fine sea salt.
- Pumpkin pie spice, 1 ½ teaspoons – Use a good quality blend. I prefer the one from McCormick or make my own.
- Cinnamon, ½ teaspoon – Because you can never have too much cinnamon.
For the glaze (optional but highly recommended):
- Powdered sugar, 1 cup (120g)
- Milk, 2-3 tablespoons – Start with 2 and add more if needed.
- Vanilla extract, ½ teaspoon
- Orange food coloring – For that Halloween vibe. Totally optional, but fun.
- Sprinkles – Halloween-themed ones, if you’re feeling festive.
Ingredient tips: If you don’t have pumpkin spice extract, you can use 1 teaspoon of vanilla extract and increase the pumpkin pie spice to 2 teaspoons. The flavor will be slightly less intense, but still delicious. For a dairy-free version, use a plant-based butter stick (I like Country Crock’s plant butter) and oat milk in the glaze.
Equipment Needed
You don’t need a fancy kitchen to make these cookies. Here’s what you’ll need:
- Large mixing bowl – Any bowl works, but a wide one makes mixing easier.
- Whisk – For combining dry ingredients.
- Wooden spoon or rubber spatula – For mixing the dough. I prefer a spatula because it gets the corners of the bowl.
- Measuring cups and spoons – Accurate measurements matter here.
- Baking sheet – A light-colored, rimmed baking sheet works best. Dark sheets can cause the bottoms to burn.
- Parchment paper or silicone baking mat – Non-negotiable for easy cleanup and even baking.
- Cookie scoop (about 1.5 tablespoons) – For uniform cookies. A regular spoon works too, but the scoop makes life easier.
- Wire cooling rack – For cooling the cookies properly.
- Small bowl – For the glaze.
I’ve made these cookies with a cheap baking sheet from the dollar store and they turned out fine. The parchment paper does most of the heavy lifting. If you don’t have a cookie scoop, just use two spoons—one to scoop, one to push the dough onto the sheet. It’s not fancy, but it works.
Preparation Method
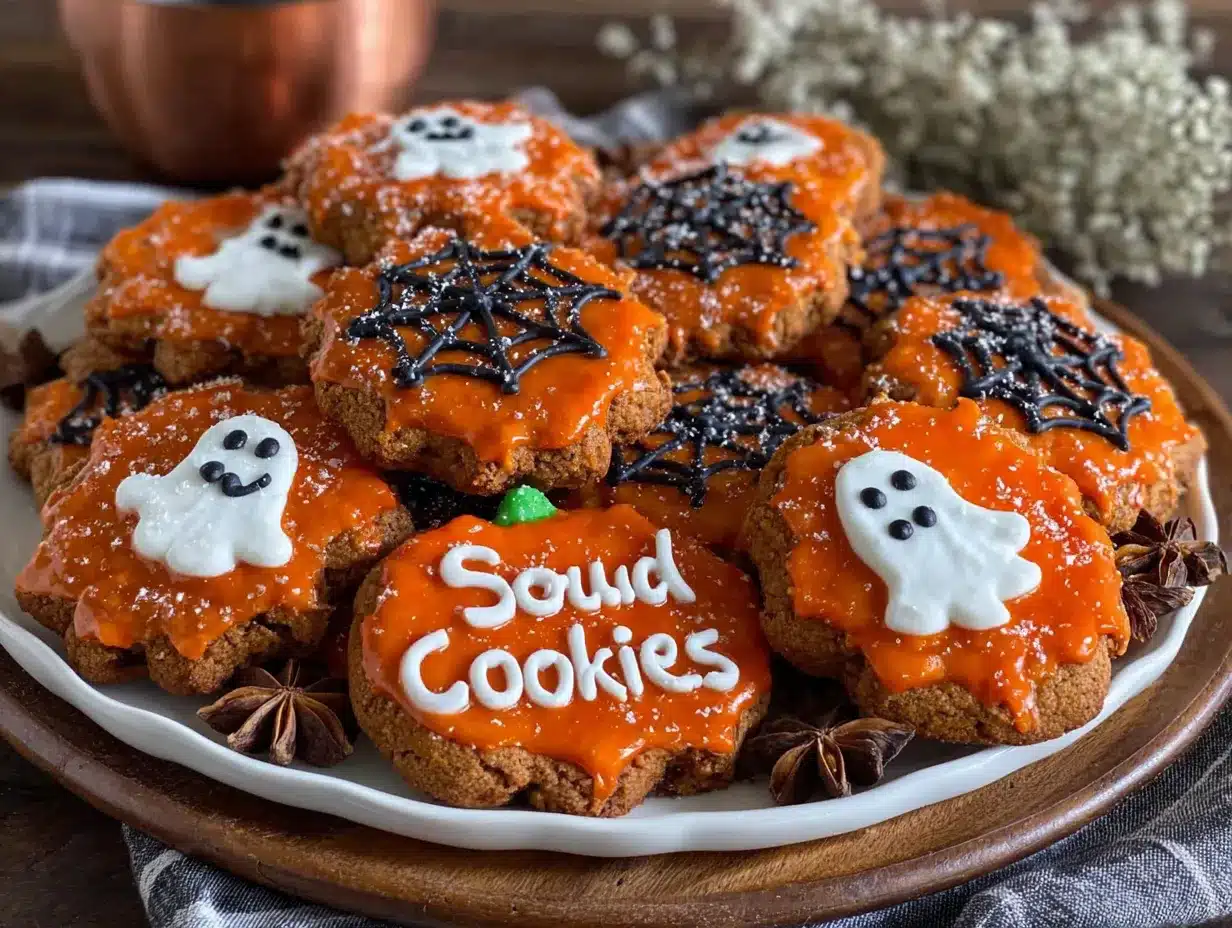
Let’s get baking. This recipe comes together quickly, so read through the steps once before you start. Trust me, it helps.
- Preheat your oven to 350°F (175°C). Line a baking sheet with parchment paper or a silicone mat. Do not skip this step—the parchment paper prevents the cookies from sticking and helps them bake evenly.
- In a large bowl, whisk together the dry ingredients. Add the all-purpose flour, baking powder, baking soda, salt, pumpkin pie spice, and cinnamon. Whisk until everything is evenly combined. Set aside.
- In a separate large bowl, combine the melted butter and both sugars. Whisk them together until the mixture looks smooth and glossy, about 30 seconds. The brown sugar should be fully incorporated—no lumps.
- Add the egg, vanilla extract, and pumpkin spice extract. Whisk vigorously until the mixture is pale and slightly thickened, about 1 minute. This step is important—it helps create that tender texture. The mixture should look like a thin caramel sauce.
- Pour the wet ingredients into the dry ingredients. Use a rubber spatula or wooden spoon to fold everything together. Stir just until you no longer see streaks of flour. Do not overmix, or the cookies will be tough. The dough will be soft and slightly sticky—that’s exactly what you want.
- Scoop the dough onto the prepared baking sheet. Use a 1.5-tablespoon cookie scoop or two spoons to portion the dough. Place the dough balls about 2 inches apart. They will spread, so give them room to breathe. I usually fit 12 cookies on a standard sheet.
- Bake for 9-11 minutes. The cookies should look set around the edges but still soft and slightly underdone in the center. The tops might look a little puffy and crackled. That’s the sweet spot. If you bake them until they look fully done, they’ll be overbaked when they cool.
- Let the cookies cool on the baking sheet for 5 minutes. This is crucial. The cookies need this time to set up. If you try to move them too soon, they’ll fall apart. After 5 minutes, transfer them to a wire cooling rack to cool completely.
- While the cookies cool, make the glaze. In a small bowl, whisk together the powdered sugar, 2 tablespoons of milk, and vanilla extract. Add more milk, one teaspoon at a time, until the glaze is thick but pourable. If using food coloring, add a few drops and stir until evenly colored.
- Drizzle the glaze over the cooled cookies. Use a spoon or a piping bag if you’re feeling fancy. Add sprinkles immediately, before the glaze sets. Let the glaze harden for about 15 minutes before serving.
My personal tip: I always bake one test cookie first to check my oven temperature. Ovens lie. I learned this the hard way after burning three batches in a row. Just bake one cookie, see how it behaves, and adjust your time if needed.
Cooking Tips & Techniques
I’ve made enough mistakes with this recipe to fill a book. Here’s what I’ve learned so you don’t have to repeat my errors.
Don’t overmix the dough. I know I said this already, but it’s worth repeating. Overmixing develops the gluten in the flour, which makes cookies tough and cakey. You want them tender and soft. Mix until the flour just disappears, then stop. Even if there are a few tiny streaks of flour, that’s better than overmixed dough.
Use melted butter, not softened. Melted butter gives these cookies a chewier, denser texture that I prefer over the cakey texture you get from creaming softened butter and sugar. Plus, it’s faster. No waiting for butter to come to room temperature.
Chill the dough if you have time. I said no chilling required, and that’s true. But if you chill the dough for 30 minutes, the cookies will be thicker and less spread. Sometimes I do this, sometimes I don’t. Both versions are delicious, just different.
Watch the oven like a hawk. My oven runs hot, so I start checking at 8 minutes. The difference between a perfect cookie and an overbaked one is about 45 seconds. The edges should be just barely golden. The centers should look puffy and slightly underdone. They’ll continue to cook on the hot baking sheet after you pull them out.
Let them cool completely before glazing. I learned this the hard way when my glaze melted into a puddle on a warm cookie. Patience is a virtue, especially with cookies. Give them a full 20 minutes on the cooling rack before you even think about the glaze.
Make a double batch. These cookies disappear fast. I’ve never regretted making extra. The dough also freezes beautifully—just scoop it into balls, freeze on a baking sheet, then transfer to a freezer bag. Bake from frozen, adding 2-3 minutes to the bake time.
Variations & Adaptations
This recipe is a great base for experimentation. Here are a few ways I’ve adapted it over the years:
Gluten-Free Version: Swap the all-purpose flour with a 1:1 gluten-free baking flour blend. I’ve used Bob’s Red Mill and King Arthur’s blends with good results. The texture will be slightly more delicate, so handle the dough gently. Add an extra tablespoon of flour if the dough seems too sticky.
Vegan Version: Use a flax egg (1 tablespoon ground flaxseed mixed with 3 tablespoons water, let sit for 5 minutes) instead of the regular egg. Use plant-based butter and oat milk in the glaze. The cookies will be a bit more crumbly, but the flavor is still spot-on.
Spice It Up: Add ¼ teaspoon of ground ginger and a pinch of ground cloves to the spice blend for a more complex, warming flavor. I tried this last Thanksgiving and it was a hit. It gives the cookies a chai-like quality that’s really lovely.
Chocolate Drizzle: Instead of the vanilla glaze, melt ½ cup of dark chocolate chips with 1 teaspoon of coconut oil and drizzle it over the cooled cookies. The combination of pumpkin spice and dark chocolate is surprisingly good. I made this version for a Halloween party and they were gone in 10 minutes.
Stuffed Cookies: Press a small piece of cream cheese (about ½ teaspoon) into the center of each dough ball before baking. Seal the dough around it completely. The result is a gooey, cream cheese-filled center that’s absolutely decadent. Just be careful—the filling stays hot for a while after baking.
Pumpkin Puree Version: If you really want to use pumpkin puree, reduce the melted butter to ½ cup and add ¼ cup of pumpkin puree. Increase the flour by 2 tablespoons. The cookies will be softer and more cake-like, almost like a little pumpkin cake in cookie form. They’re good, but I prefer the original version.
Serving & Storage Suggestions
These cookies are best served at room temperature with a glass of cold milk or a warm cup of coffee. The glaze should be fully set before serving—about 15 minutes after drizzling.
For a Halloween party, arrange them on a platter with other fall treats like caramel apples or mini pumpkin pies. They also look great on a dessert table next to a bowl of candy corn. The orange glaze and festive sprinkles make them stand out.
Storage: Store the cookies in an airtight container at room temperature for up to 5 days. Place a piece of bread in the container to keep them soft—the cookies will absorb the moisture from the bread. Change the bread every other day if you’re storing them for longer.
Freezing: You can freeze the baked cookies (unglazed) for up to 3 months. Wrap them individually in plastic wrap, then place them in a freezer bag. Thaw at room temperature for about 30 minutes, then glaze and serve. The glaze doesn’t freeze well, so always add it fresh.
Reheating: If you want that just-baked warmth, pop a cookie in the microwave for about 10 seconds. For a slightly crisper edge, reheat in a 300°F oven for 3-4 minutes. I do this when I’m serving them with ice cream—the warm cookie and cold ice cream combo is unbeatable.
The flavors actually develop and deepen after a day or two. I’ve found that these cookies taste even better on day two, when the spices have had time to meld together. If you can resist eating them all on day one, you’re in for a treat.
Nutritional Information & Benefits
Here’s the honest truth: these are cookies. They’re a treat. But I’ve done my best to make them as wholesome as possible without sacrificing flavor.
Per cookie (based on 24 cookies, with glaze):
- Calories: 145
- Fat: 7g
- Saturated Fat: 4g
- Carbohydrates: 20g
- Sugar: 12g
- Protein: 2g
- Fiber: 0.5g
- Sodium: 95mg
The pumpkin spice in these cookies isn’t just for flavor—it actually has some benefits. Cinnamon is known for its anti-inflammatory properties and can help regulate blood sugar. Ginger aids digestion. Nutmeg has been shown to have calming effects. So while these cookies aren’t health food, they’re not empty calories either.
Dietary considerations: This recipe contains gluten, dairy, and eggs. For gluten-free, dairy-free, or vegan versions, see the Variations section above. The cookies are nut-free as written, making them a good option for school Halloween parties.
I believe in balance. I eat these cookies because they make me happy, and sometimes that’s the healthiest choice you can make. A cookie shared with someone you love? That’s good for the soul.
Conclusion
These pumpkin spice Halloween sugar cookies have become a staple in my kitchen every October. They’re the recipe I turn to when I want something that feels festive without being fussy. They’re the cookies I bring to parties, the ones I pack in lunchboxes, the ones I bake on a rainy Sunday afternoon just because.
What I love most about this recipe is how adaptable it is. You can dress it up with glaze and sprinkles for a Halloween party, or keep it simple for a quiet weeknight treat. You can make it your own—add more spice, switch up the glaze, stuff it with cream cheese. The possibilities are endless, and that’s what makes cooking fun.
I’d love to hear how these turn out for you. Did you try a variation? Did you convert a pumpkin spice hater in your own life? Drop a comment below and let me know. And if you share a photo on Pinterest or Instagram, tag me—I love seeing your creations. Happy baking, friend. May your kitchen smell like autumn and your cookies be perfectly soft.
Frequently Asked Questions
Can I use pumpkin puree instead of pumpkin spice extract?
Yes, but you’ll need to adjust the recipe. Use ¼ cup of pumpkin puree and reduce the melted butter to ½ cup. Add 2 extra tablespoons of flour. The cookies will be softer and more cake-like. I prefer the extract version for a chewier texture, but the puree version is still delicious.
Why did my cookies spread too much?
This usually happens for one of three reasons: your butter was too warm, your dough wasn’t chilled, or you used too much sugar. Make sure your melted butter has cooled slightly before mixing. If your kitchen is warm, chill the dough for 20 minutes before baking. Measure your ingredients accurately—a little too much sugar can cause excess spreading.
Can I make the dough ahead of time?
Absolutely. You can refrigerate the dough for up to 3 days. Wrap it tightly in plastic wrap or store it in an airtight container. Let it sit at room temperature for 10 minutes before scooping and baking. The dough also freezes well—scoop it into balls, freeze on a baking sheet, then transfer to a freezer bag for up to 3 months.
How do I get uniform cookies?
Use a cookie scoop. It’s the easiest way to ensure every cookie is the same size, which means they’ll bake evenly. I use a 1.5-tablespoon scoop for this recipe. If you don’t have one, use a measuring spoon to portion the dough. Weighing the dough balls is even more precise—about 25g each.
Can I skip the glaze?
Yes, these cookies are wonderful without the glaze. The glaze adds sweetness and a pretty finish, but the cookies are perfectly delicious on their own. If you skip the glaze, you can sprinkle the warm cookies with a little cinnamon sugar for a simple, crunchy topping. Or just leave them plain—they’re that good.
Pin This Recipe!
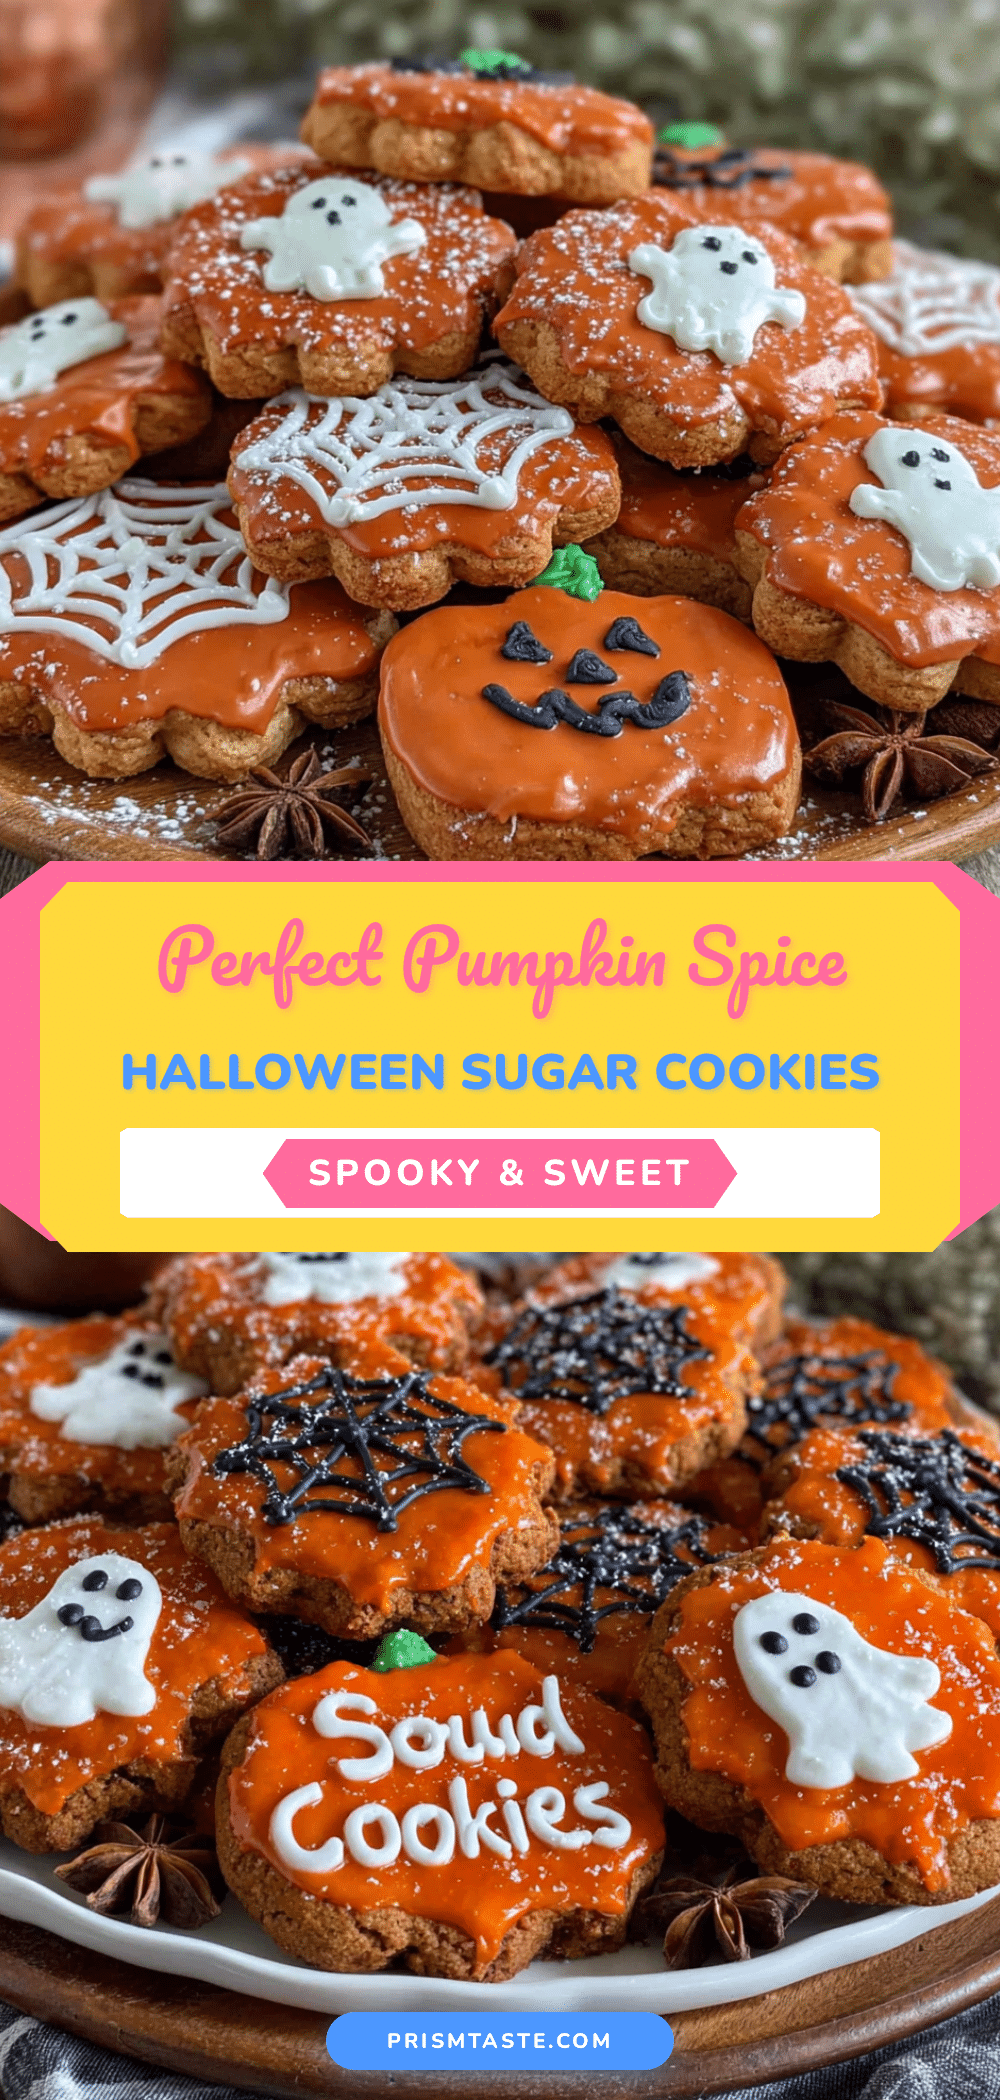
Perfect Pumpkin Spice Halloween Sugar Cookies
Soft, buttery pumpkin spice sugar cookies that are quick and easy to make, with no chilling required. A secret ingredient gives you all the warm, cozy flavor without the texture issues of pumpkin puree.
- Prep Time: 15 minutes
- Cook Time: 10 minutes
- Total Time: 30 minutes
- Yield: 24 cookies 1x
- Category: Dessert
- Cuisine: American
Ingredients
- 2 ¼ cups (280g) all-purpose flour
- ¾ cup (170g) unsalted butter, melted
- ¾ cup (150g) granulated sugar
- ¼ cup (50g) light brown sugar, packed
- 1 large egg, room temperature
- 1 teaspoon vanilla extract
- 1 teaspoon pumpkin spice extract
- 1 teaspoon baking powder
- ½ teaspoon baking soda
- ½ teaspoon salt
- 1 ½ teaspoons pumpkin pie spice
- ½ teaspoon cinnamon
- For the glaze (optional):
- 1 cup (120g) powdered sugar
- 2–3 tablespoons milk
- ½ teaspoon vanilla extract
- Orange food coloring (optional)
- Halloween-themed sprinkles (optional)
Instructions
- Preheat your oven to 350°F (175°C). Line a baking sheet with parchment paper or a silicone mat.
- In a large bowl, whisk together the all-purpose flour, baking powder, baking soda, salt, pumpkin pie spice, and cinnamon until evenly combined. Set aside.
- In a separate large bowl, combine the melted butter, granulated sugar, and light brown sugar. Whisk until smooth and glossy, about 30 seconds.
- Add the egg, vanilla extract, and pumpkin spice extract. Whisk vigorously until the mixture is pale and slightly thickened, about 1 minute.
- Pour the wet ingredients into the dry ingredients. Use a rubber spatula or wooden spoon to fold together just until no streaks of flour remain. Do not overmix.
- Scoop the dough onto the prepared baking sheet using a 1.5-tablespoon cookie scoop or two spoons. Place dough balls about 2 inches apart.
- Bake for 9-11 minutes, until the edges are set and the centers are still soft and slightly underdone.
- Let the cookies cool on the baking sheet for 5 minutes, then transfer to a wire cooling rack to cool completely.
- While the cookies cool, make the glaze: In a small bowl, whisk together the powdered sugar, 2 tablespoons of milk, and vanilla extract. Add more milk, one teaspoon at a time, until the glaze is thick but pourable. Add food coloring if desired.
- Drizzle the glaze over the cooled cookies and add sprinkles immediately. Let the glaze harden for about 15 minutes before serving.
Notes
For a dairy-free version, use plant-based butter and oat milk in the glaze. For a gluten-free version, use a 1:1 gluten-free baking flour blend. The dough can be chilled for 30 minutes for thicker cookies. Bake a test cookie first to check oven temperature. Store in an airtight container at room temperature for up to 5 days. Freeze unglazed baked cookies for up to 3 months.
Nutrition
- Serving Size: 1 cookie
- Calories: 145
- Sugar: 12
- Sodium: 95
- Fat: 7
- Saturated Fat: 4
- Carbohydrates: 20
- Fiber: 0.5
- Protein: 2
Keywords: pumpkin spice, sugar cookies, Halloween cookies, easy cookie recipe, fall baking, pumpkin spice extract, no chill cookies


