I want a fire cider shot right now. I mean the kind that hits the back of your throat like a tiny, delicious rebellion. The kind that makes your eyes water for half a second and then leaves you feeling like you could wrestle a cold into submission. I have the horseradish root. I have the ginger. I have the garlic. But I am out of raw apple cider vinegar with the mother, and that is the whole point, isn’t it? That tangy, gut-healing base is what turns a bunch of spicy roots into liquid gold.
So I am standing in my kitchen, staring at the empty jar I usually use, and I realize I have been making this homemade fire cider for years now. It started as a desperate experiment during a particularly nasty flu season. I was tired of feeling run down, tired of the endless cycle of colds that my kids would bring home from school. A friend mentioned this ancient folk remedy, this “fire cider” her grandmother used to make. I scoffed at first. It sounded like something a witch would brew under a full moon. But then I got sick. Again. And I thought, “What do I have to lose?”
That first batch was a mess. I chopped everything too big, used way too much cayenne, and it was practically undrinkable. But you know what? I felt better. Not in a magical, overnight way, but in a slow, steady, “my body is fighting back” kind of way. That is when I fell in love with the process. It is not just about the ingredients; it is about the intention. It is about taking a little bit of time to fortify yourself against the world. This recipe is the result of years of tweaking, of finding that perfect balance between spicy, sour, and potent. It is the recipe I turn to every single time I feel that first tickle in my throat.
Why You’ll Love This Recipe
Let me tell you why this homemade fire cider has become a non-negotiable staple in my kitchen. I have tested countless variations, and this one is the keeper. It is the one I give to friends and family because I know it works.
- Powerful Immune Support: This is not just a trendy wellness shot. It is a concentrated blend of antimicrobial, anti-inflammatory, and antioxidant-rich ingredients that have been used for centuries to support the immune system. You are giving your body a serious leg up.
- Simple, Real Ingredients: No weird powders, no artificial flavors, no fillers. Just whole foods you can find at any grocery store. You probably have half of them in your crisper drawer right now.
- Cost-Effective: A bottle of high-quality, store-bought fire cider can cost a small fortune. Making a big batch at home costs pennies on the dollar. Plus, you control the quality of every single ingredient.
- Totally Customizable: This is a “choose your own adventure” recipe. Love it spicier? Add more jalapeño. Hate the taste of turmeric? Leave it out. The formula is forgiving and begs for personalization.
- Surprisingly Delicious: Okay, “delicious” might be a strong word for something this potent. But the good stuff is the balance. The sour vinegar, the spicy ginger, the earthy turmeric, and the sweet honey all come together in a way that is genuinely pleasant. It is a flavor that grows on you.
This recipe is different because I have fine-tuned the ratios to be approachable. I have had too many fire ciders that were either a one-note vinegar bomb or so spicy they were painful. This version is smooth enough to take as a shot but potent enough to actually do something. It is the kind of thing you make on a Sunday afternoon, pour into a pretty bottle, and keep in the fridge for when you need it. It is comfort and defense in a single jar.
What Ingredients You Will Need
This recipe relies on a handful of powerhouse ingredients. Each one brings something specific to the table, from flavor to function. I always tell people to use the freshest produce they can find for the best results.
- Raw Apple Cider Vinegar (with the “mother”): This is the non-negotiable base. The “mother” is a colony of beneficial bacteria that gives the vinegar its cloudy appearance and probiotic benefits. I always use Bragg’s or a local brand I trust. It provides the acidic environment that extracts the goodness from the other ingredients.
- Fresh Ginger Root (about 4 ounces): You want a piece that is firm and heavy for its size. Ginger is warming, anti-inflammatory, and fantastic for settling an upset stomach. I do not even bother peeling it; just give it a good scrub.
- Fresh Turmeric Root (about 2 ounces): This is the golden child of anti-inflammatory ingredients. It stains everything it touches, so be careful with your cutting board and clothes. If you cannot find fresh, you can use 1-2 teaspoons of dried, ground turmeric, though the flavor will be a bit different.
- Fresh Horseradish Root (about 2 ounces): This is what gives fire cider its signature kick. It is a powerful decongestant and antimicrobial. Peeling it will make your eyes water, but that is part of the fun. Look for a root that is firm and not shriveled.
- Garlic Cloves (1 whole head): The king of immune-supporting foods. Garlic is a natural antibiotic and antiviral. Use fresh cloves, and give them a rough chop to release their beneficial compounds (allicin).
- Onion (1 medium, yellow or red): Onions are rich in quercetin, a powerful antioxidant that acts as a natural antihistamine. They add a subtle savory depth to the cider.
- Jalapeño or Habanero Pepper (1-2): This is for heat and for the compound capsaicin, which can help with pain relief and circulation. I usually use one jalapeño for a mild warmth. If you want real fire, use a habanero.
- Lemon (1 medium): You will use both the zest and the juice. The lemon adds a bright, citrusy note and a hefty dose of Vitamin C.
- Raw Honey (about ¼ cup, or to taste): This is added after the steeping period. Raw honey is antimicrobial and helps balance the intense sour and spicy flavors. It also adds a lovely, smooth mouthfeel. Do not use pasteurized honey, as the heat has killed its beneficial properties.
- Optional Add-Ins: I sometimes add a sprig of fresh rosemary, a few black peppercorns (which help with turmeric absorption), or a pinch of cayenne pepper for extra heat. Get creative!
Equipment Needed
You do not need a professional kitchen to make this. A few basic tools will get the job done perfectly. Honestly, the hardest part is waiting.
- A Large Glass Jar (32-ounce or larger): A quart-sized mason jar is perfect. Make sure it is thoroughly cleaned and dried. Do not use plastic, as the vinegar can leach chemicals over time.
- A Sharp Chef’s Knife: You will be chopping through some tough root vegetables. A dull knife is a dangerous knife.
- A Cutting Board: Preferably one that you don’t mind getting stained by turmeric.
- A Vegetable Peeler: For the horseradish and maybe the ginger, if you choose to peel it.
- A Microplane or Fine Grater: For zesting the lemon and finely grating a bit of ginger or turmeric if you want a stronger infusion.
- A Wooden Spoon or Chopstick: For stirring the ingredients and releasing any air bubbles.
- Cheesecloth or a Fine-Mesh Strainer: For straining the cider after it has steeped. I prefer a nut milk bag for easy squeezing.
- A Funnel: For pouring the finished cider into storage bottles.
- Dark Glass Bottles (8-ounce or 16-ounce): For storing your finished fire cider. Dark glass helps protect the potency of the ingredients from light.
Preparation Method
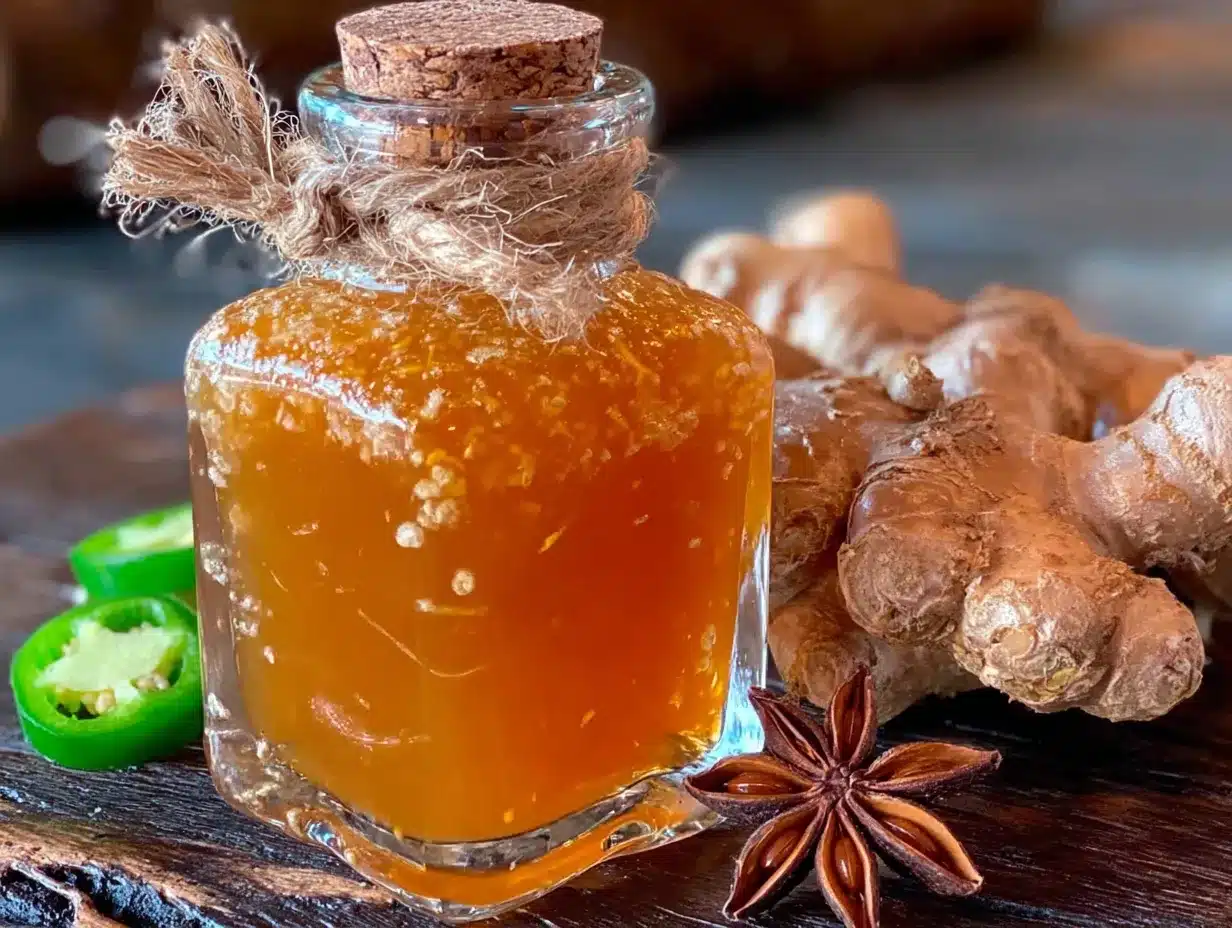
Making fire cider is more about patience than skill. The actual hands-on time is about 20 minutes. The waiting time is the secret ingredient.
- Prep Your Roots (10 minutes): Give your ginger, turmeric, and horseradish a good scrub under running water. You do not have to peel them, but I find the horseradish skin is a bit tough, so I do peel that one. Roughly chop all the roots into coin-sized pieces. Do not worry about making them perfect; you are going to strain them out later. The more surface area, the better the extraction.
- Prep the Alliums and Pepper (5 minutes): Peel the head of garlic and give the cloves a rough chop. Peel the onion and cut it into large chunks. Slice the jalapeño in half lengthwise. Remove the seeds and ribs if you want less heat, or leave them in for a spicier brew.
- Layer It All in the Jar (5 minutes): This is the fun part. Start layering your chopped ingredients into the clean glass jar. I like to put the ginger and turmeric at the bottom, then the horseradish, then the garlic, onion, and jalapeño. Add the lemon zest and squeeze the lemon juice over everything. Pack it in there pretty tightly; you want to fill the jar about halfway to three-quarters full with the solids.
- Pour in the Vinegar (2 minutes): Take your raw apple cider vinegar and pour it over the solids until they are completely submerged. The vinegar should come to about an inch from the top of the jar. Use a wooden chopstick or spoon to poke around and release any trapped air bubbles. This is important, as trapped air can lead to mold.
- Seal and Steep (4 weeks): Put the lid on the jar tightly. Give it a good shake. Now, the hard part: place the jar in a cool, dark place like a pantry or a cupboard for 3 to 4 weeks. I usually let mine go for a full month. Give it a gentle shake every few days to help the flavors mingle. You will start to smell the pungent aroma after just a few days.
- Strain and Sweeten (10 minutes): After 4 weeks, your kitchen will smell amazing. Place a fine-mesh strainer lined with cheesecloth over a large bowl or measuring cup. Pour the entire contents of the jar into the strainer. Let it drip for a while, then gather the cheesecloth and squeeze out every last drop of that potent liquid. Do not be shy; you want all the goodness.
- Add the Honey: Discard the spent solids (they make a great addition to compost). Now, stir in your raw honey to taste. I start with ¼ cup and add more if I want it a little sweeter. Stir until the honey is fully dissolved.
- Bottle and Store: Use your funnel to pour the finished fire cider into your dark glass bottles. Seal them tightly. Store the bottles in the refrigerator. The flavor will continue to mellow and blend over the next week.
Cooking Tips & Techniques
Over the years, I have made every mistake in the book. I have used pasteurized vinegar (it works, but it is not as beneficial). I have forgotten to shake the jar for weeks at a time. I have even tried to rush the steeping process by leaving it in a warm spot. Learn from my failures!
- Do Not Rush the Steep: I know, 4 weeks feels like an eternity. But this is not a quick pickle. The vinegar needs time to slowly draw out the water-soluble and fat-soluble compounds from the roots and herbs. A 2-week steep is okay, but a 4-week steep is transformative. The flavors become deeper, more complex, and less harsh.
- Keep It Submerged: The biggest risk with fire cider is mold. If any of your ingredients are poking above the vinegar line, they are exposed to air and can spoil. Make sure everything is fully submerged. If you have a stubborn piece of ginger floating, you can use a small glass weight or a clean rock to hold it down.
- Use a “Live” Culture: The “mother” in your raw vinegar is a living thing. It is what gives the cider its probiotic benefits. Do not be alarmed if a new “mother” forms on the surface of your jar during steeping. It is a good sign! It is just a sign of a healthy fermentation.
- Warm It Up for a Shot: Taking a cold fire cider shot straight from the fridge can be a shock to the system. I like to pour my shot into a small glass and let it sit on the counter for 5 minutes to take the chill off. It is much more pleasant to drink at room temperature.
- Cleanliness is Key: Make sure your jar and all your tools are impeccably clean. Any stray bacteria can ruin your batch. I always wash my jars in hot, soapy water and then rinse them with boiling water before I start.
Variations & Adaptations
Once you have the basic method down, the possibilities are endless. I have tried so many different combinations, and they all have their own unique charm. This is where you make the recipe your own.
- The “Milder” Version: If you are sensitive to spice, skip the jalapeño or habanero entirely. Use only a small piece of ginger and a tiny bit of horseradish. You will still get the immune benefits from the garlic, onion, and turmeric, but it will be much gentler on the palate. I made this version for my mom, and she loves it.
- The “Golden” Turmeric Blast: Double the amount of fresh turmeric root. Add a teaspoon of black peppercorns and a few slices of fresh orange peel along with the lemon. The peppercorns are key because piperine (the compound that makes pepper spicy) dramatically increases the absorption of curcumin (the active compound in turmeric). This version is a deep, vibrant gold.
- The “Herbal Garden” Version: Add a big handful of fresh herbs to the jar. Rosemary, thyme, oregano, and sage are all powerful antimicrobials and add a wonderful savory complexity. I love this version in the fall. It smells like a cozy kitchen and tastes like a walk in the woods.
- The “Sweet & Spicy” Version: Use a bit more honey at the end, maybe up to ½ cup. You can also add a few slices of fresh apple or pear to the jar during the steeping process. This adds a gentle fruitiness that balances the heat beautifully. It is a great gateway fire cider for skeptics.
Serving & Storage Suggestions
This fire cider is a daily wellness ritual, not a party drink. How you take it matters.
- How to Take It: The most common way is as a daily “immune shot.” Take 1 to 2 tablespoons (a standard shot glass) once a day, especially during cold and flu season. If you feel a cold coming on, you can increase this to 3 times a day for a few days. Do not take it on an empty stomach if you are not used to it, as the vinegar can be harsh.
- Other Uses: This stuff is incredibly versatile. You can use it as a salad dressing base (it is amazing on bitter greens). Add a splash to a mug of hot water with a little extra honey for a soothing tea. Use it as a marinade for chicken or pork. It adds a fantastic tangy, spicy kick to roasted vegetables.
- Storage: Store your finished fire cider in the refrigerator. It will keep for up to a year, though the flavor will slowly mellow over time. The beneficial bacteria are alive, so the flavor will continue to evolve. I usually make a big batch in the fall and it lasts me through the winter.
- Flavor Development: The fire cider is at its most intense right after you bottle it. After about a week in the fridge, the honey will have fully integrated, and the flavors will become much smoother and more balanced. It just keeps getting better.
Nutritional Information & Benefits
This is not a meal replacement, but it is a powerhouse of nutrients. It is a concentrated source of things your body needs to stay healthy. It is also a great way to support your gut health, which is directly linked to your immune system.
- Estimated Per 1-Tablespoon Serving: Calories: 15-20, Total Fat: 0g, Sodium: 5mg, Total Carbohydrates: 4g (from honey), Sugars: 3g. This is a very low-calorie way to get a massive dose of nutrients.
- Gut Health: The raw, unfiltered vinegar and raw honey are prebiotics and probiotics. They help feed the good bacteria in your gut, which is where 70% of your immune system lives.
- Anti-Inflammatory Power: Ginger, turmeric, and garlic are some of the most potent anti-inflammatory foods on the planet. Chronic inflammation is a root cause of many diseases, so regularly consuming these ingredients is a powerful preventative measure.
- Antioxidant Rich: Onions, garlic, and citrus are loaded with antioxidants that protect your cells from damage caused by free radicals.
- Dietary Considerations: This recipe is naturally gluten-free, dairy-free, and vegan (if you use a vegan sweetener like maple syrup instead of honey, though you lose some of the antimicrobial benefits). The main allergen to be aware of is that it is made with raw honey, which is not suitable for infants under 1 year old.
Conclusion
Look, I am not saying this homemade fire cider is a magic potion that will prevent you from ever getting sick again. But I am saying it is one of the most effective, affordable, and deliciously empowering tools I have in my wellness toolkit. It is a tangible act of self-care that takes just a few minutes of active time. Every time I take that little shot, I feel like I am doing something good for my future self.
I love this recipe because it is a living thing. It changes with the seasons and with my mood. Some batches are spicier, some are more mellow. That is the beauty of it. It is a folk remedy, meant to be adapted and passed down. I honestly hope you give it a try. Start with the basic recipe, then make it your own. Add a little more ginger, a little less honey, throw in a sprig of rosemary.
If you make this Homemade Fire Cider Immune Boost Shots, I would love to hear about it. Leave a comment below and tell me how you customized it. What did you add? What did you leave out? Your version might just inspire someone else. Here is to a healthy, happy season ahead!
Frequently Asked Questions
Can I use dried herbs instead of fresh?
Yes, you absolutely can. If you do not have access to fresh turmeric or horseradish, you can use dried. Use about half the amount of dried herbs compared to fresh. The flavor will be a bit different, but you will still get many of the benefits. I personally prefer fresh for the best flavor and potency.
Do I have to wait a full 4 weeks?
Technically, no. You can start using it after about 2 weeks. However, the flavor will be much sharper and less complex. The magic really happens between weeks 3 and 4. The vinegar needs time to fully extract the beneficial compounds and the flavors need time to mellow and merge. Patience is rewarded here.
Can I drink this every day?
Many people do. A daily 1-tablespoon shot is a fantastic way to support your immune system. However, because it is very acidic, it is best to take it with food or dilute it in a little water. If you have a sensitive stomach or conditions like GERD, start with a smaller amount (1 teaspoon) and see how you feel.
My fire cider has a new “mother” forming on top. Is it ruined?
No, not at all! This is a very good sign. The “mother” in your raw vinegar is a living culture of beneficial bacteria. It is normal for a new, thin, jelly-like layer to form on the surface of your fire cider during the steeping process. This is just the culture doing its job. You can either leave it in or strain it out.
What can I do with the leftover fermented vegetables?
Do not throw them away! They are still packed with flavor and beneficial bacteria, though they will be very sour and vinegary. You can chop them up and add them to a creamy BLT pasta salad for a tangy kick, blend them into a vinaigrette, or use them as a topping for roasted meats. They also make a fantastic addition to a healthy bento box lunch as a flavorful, gut-healthy pickle.
Pin This Recipe!
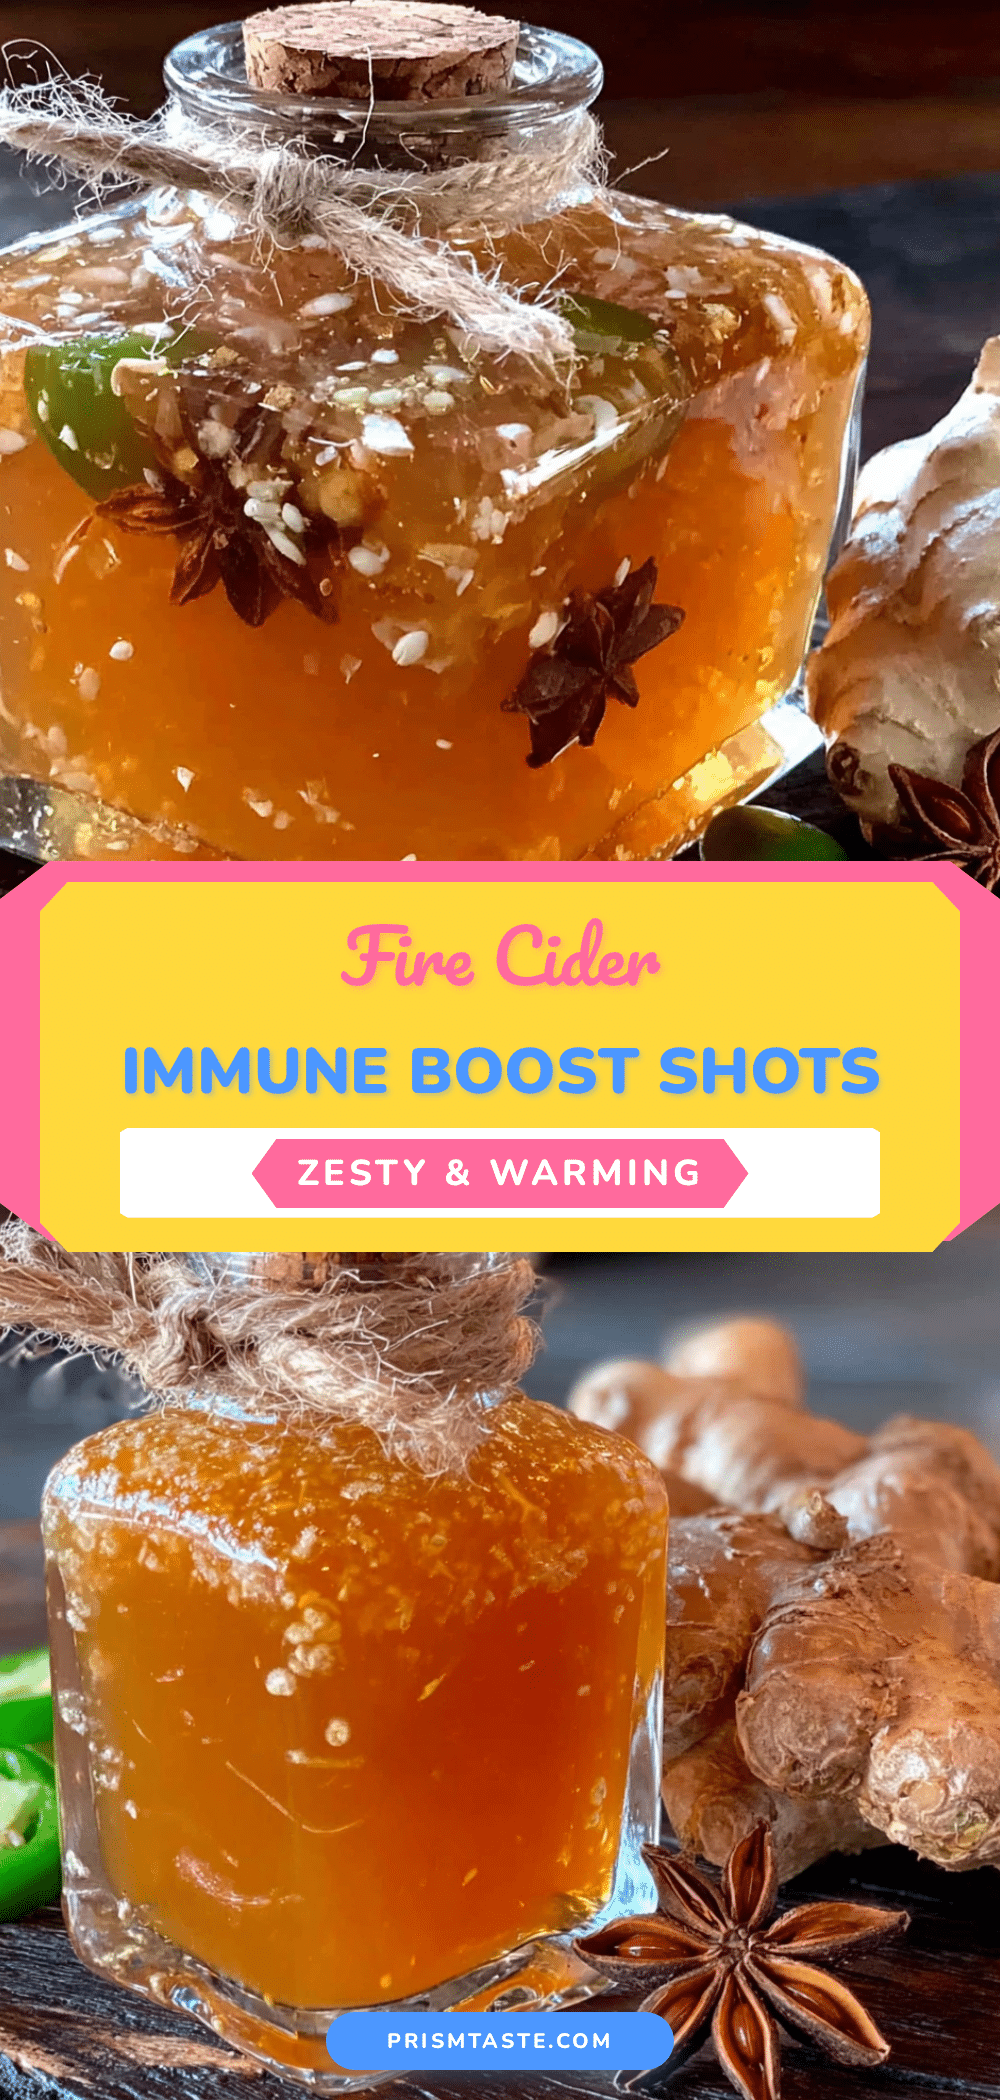
Homemade Fire Cider Shots: Best Immune Boost Recipe
A potent, homemade fire cider shot recipe packed with immune-boosting ingredients like ginger, turmeric, horseradish, garlic, and raw apple cider vinegar. This customizable folk remedy is perfect for daily wellness during cold and flu season.
- Prep Time: 20 minutes
- Cook Time: 0 minutes
- Total Time: 4 weeks (includes steeping)
- Yield: Approximately 24 servings (1 tablespoon each) 1x
- Category: Wellness Shot
- Cuisine: American
Ingredients
- Raw apple cider vinegar (with the ‘mother’), enough to submerge solids
- 4 ounces fresh ginger root, scrubbed and roughly chopped
- 2 ounces fresh turmeric root, scrubbed and roughly chopped
- 2 ounces fresh horseradish root, peeled and roughly chopped
- 1 whole head garlic, cloves peeled and roughly chopped
- 1 medium onion (yellow or red), peeled and cut into large chunks
- 1–2 jalapeño or habanero peppers, halved (seeds removed for less heat)
- 1 medium lemon, zested and juiced
- ¼ cup raw honey (or to taste), added after steeping
- Optional: fresh rosemary sprig, black peppercorns, cayenne pepper
Instructions
- Prep your roots: Scrub ginger, turmeric, and horseradish. Peel horseradish if desired. Roughly chop all roots into coin-sized pieces.
- Prep alliums and pepper: Peel garlic cloves and roughly chop. Peel onion and cut into large chunks. Slice jalapeño in half lengthwise; remove seeds and ribs for less heat.
- Layer ingredients in a clean 32-ounce glass jar: Place ginger, turmeric, horseradish, garlic, onion, and jalapeño in the jar. Add lemon zest and squeeze lemon juice over everything. Pack solids to fill jar halfway to three-quarters full.
- Pour raw apple cider vinegar over solids until completely submerged, leaving about 1 inch of headspace. Use a wooden chopstick or spoon to release air bubbles.
- Seal jar tightly and shake well. Store in a cool, dark place for 3 to 4 weeks. Shake gently every few days.
- After steeping, strain the mixture through a fine-mesh strainer lined with cheesecloth into a large bowl. Squeeze out all liquid from solids.
- Discard spent solids. Stir in raw honey to taste (start with ¼ cup). Stir until honey is fully dissolved.
- Pour finished fire cider into dark glass bottles using a funnel. Seal tightly and store in the refrigerator.
Notes
Do not rush the steep; 4 weeks yields the best flavor. Ensure all ingredients are submerged to prevent mold. A new ‘mother’ may form on top during steeping—this is normal and beneficial. For a milder version, omit jalapeño and reduce ginger and horseradish. For a golden turmeric blast, double turmeric and add black peppercorns. Store in the refrigerator for up to a year. Take 1 tablespoon daily as an immune shot, or use in salad dressings, teas, or marinades.
Nutrition
- Serving Size: 1 tablespoon
- Calories: 1520
- Sugar: 3
- Sodium: 5
- Carbohydrates: 4
Keywords: fire cider, immune boost, wellness shot, homemade, apple cider vinegar, ginger, turmeric, horseradish, garlic, cold remedy, flu season, gut health, anti-inflammatory, probiotic


