“You need to make this,” my neighbor Lisa said through the screen door, holding up a dark purple bottle like she’d just discovered gold. It was mid-January, and everyone in our little neighborhood had been passing around the same cough for weeks. I was on my third cup of tea, skeptical about yet another wellness trend. But Lisa’s kids were running circles around her in the yard—full energy, no sniffles, no coughs. That got my attention.
She told me she’d been making homemade elderberry syrup for years, ever since her grandmother taught her during a particularly rough flu season. “It’s not magic,” she said, laughing. “But it’s pretty close.” I watched her pour a little into her morning tea and even drizzle some over pancakes for the kids. A few days later, when I felt that familiar scratch in my throat, I caved and asked for the recipe.
That first batch simmering on my stove filled the kitchen with a warm, spicy, almost jam-like aroma—dried berries bubbling away with cinnamon sticks, ginger, and cloves. It felt less like making medicine and more like putting up preserves. And honestly? It worked. Not in a dramatic, overnight way, but in that quiet, steady way that makes you trust a thing. The kind of trust that comes from watching your family stay healthy while everyone else around you is sniffling through meetings.
This homemade elderberry syrup isn’t complicated. It doesn’t require fancy equipment or hard-to-find ingredients. It just needs a little patience and a few dried berries that somehow, through some ancient plant magic, help your body do what it does best. I’ve been making it every fall and winter since that afternoon at Lisa’s door, and I can’t imagine cold season without it.
Why You’ll Love This Recipe
Let me tell you why this particular version of homemade elderberry syrup has earned a permanent spot in my kitchen. I’ve tested it through three cold seasons, tweaked the ratios, and even messed up a batch or two (you don’t want to know what happens when you forget to turn the heat down). This is the version I trust for my own family.
- Simple Ingredients: You only need dried elderberries, a few spices, raw honey, and water. No weird extracts or trips to specialty health stores. I found my dried elderberries at a local bulk food store, but they’re easy to order online too.
- Quick & Easy: The active time is maybe 10 minutes. Most of the work is just letting the berries simmer on the stove while you do something else. It’s almost too simple to work, but it does.
- Perfect for Cold Season: Whether you’re trying to avoid getting sick or just want something gentle to soothe a scratchy throat, this syrup fits right into your daily routine. I take a spoonful every morning from October through March.
- Crowd-Pleaser: Even my picky eater, who side-eyes anything “healthy,” will take this syrup without complaint. The honey and spices make it taste more like a sweet tea than medicine. My husband adds it to his morning coffee for a little extra immune support.
- Unbelievably Effective: I can’t promise miracles, but I can tell you that since I started making this syrup, our family has had noticeably fewer sick days. It’s not a cure—it’s support. And that support makes a real difference.
What sets this recipe apart is the balance of spices. A lot of recipes go heavy on the ginger or skip the cloves entirely. I spent a few batches figuring out the right proportions so the syrup is warming and flavorful without tasting like a spice rack explosion. The cinnamon and ginger work together to complement the elderberries’ natural tartness, while the cloves add just a whisper of depth. It’s the kind of thing you actually look forward to taking.
This recipe isn’t just good for you—it’s the kind that makes you feel like you’re taking care of yourself in a real, tangible way. There’s something deeply satisfying about pouring that dark, jewel-toned syrup into a jar, knowing exactly what went into it. No preservatives, no artificial flavors, just honest ingredients doing their job.
What Ingredients You Will Need
This recipe uses simple, wholesome ingredients that work together to create a syrup that’s both effective and delicious. Most of these are pantry staples or easy to find at any grocery store or online. Here’s what you’ll need and why each one matters:
- Dried Elderberries (1 cup): These are the star of the show. Dried elderberries are what you want here—fresh ones can be toxic if not cooked properly. I buy mine from Starwest Botanicals or Mountain Rose Herbs; both have reliable quality. Look for deep purple-black berries that smell slightly sweet and earthy. Avoid any that look dusty or have an off smell.
- Water (4 cups): Filtered water is best, especially if your tap water has a strong chlorine taste. The water pulls the beneficial compounds out of the berries during simmering, so you want it clean.
- Raw Honey (1 cup): Raw, unfiltered honey is ideal because it retains its natural enzymes and antimicrobial properties. Don’t use pasteurized honey if you can help it—the heating process kills a lot of the good stuff. I get mine from a local beekeeper, but any raw honey from the store works fine. Important: Never add honey to the syrup while it’s hot. High heat destroys honey’s beneficial properties. Let the syrup cool completely first.
- Fresh Ginger (1-inch piece, sliced): Ginger adds warmth and a little kick, plus it’s known for its anti-inflammatory properties. I leave the skin on because it’s easier and adds a bit more flavor. Slice it into thin rounds so it releases its goodness into the syrup.
- Cinnamon Sticks (2 whole): Cinnamon brings sweetness and warmth without any sugar. It also has antimicrobial properties that complement the elderberries. I prefer Ceylon cinnamon for its milder flavor, but Cassia works fine too.
- Whole Cloves (1 teaspoon): Cloves add a deep, slightly peppery note that rounds out the flavor. A little goes a long way—too many and the syrup will taste like holiday potpourri. Stick to the measurement.
- Optional: Orange Peel (from 1 orange): This isn’t traditional, but I love what a strip of orange peel does to the flavor. It brightens everything up and adds a subtle citrus note that pairs beautifully with the spices. Use a vegetable peeler to get just the orange part, not the white pith, which is bitter.
Substitution Notes: If you can’t find dried elderberries, you can use elderberry powder, but the syrup will be cloudier and harder to strain. I’d stick with whole dried berries for the best texture. For a vegan version, replace honey with maple syrup or agave, but know that it will change the flavor slightly. Maple syrup adds a lovely woodsy sweetness that actually works well here. If you’re out of fresh ginger, use 1 teaspoon of dried ground ginger, but add it at the end of simmering so it doesn’t become bitter.
Equipment Needed
You don’t need much to make this homemade elderberry syrup, which is part of why I love it. Here’s what you’ll want to have on hand:
- Medium Saucepan: A 3-quart saucepan works perfectly. You want something with a heavy bottom so the syrup doesn’t scorch. My go-to is a stainless steel pot from Cuisinart, but any sturdy saucepan will do.
- Fine-Mesh Strainer: This is essential for catching all the berries and spices. A regular colander won’t cut it—the seeds are tiny and will slip right through. I use a mesh strainer with a handle so I can press the berries without burning my fingers.
- Cheesecloth or Nut Milk Bag: For extra-clear syrup, line your strainer with cheesecloth. I’ve also used a clean nut milk bag in a pinch. This step is optional but gives you a more polished final product.
- Glass Jar or Bottle: A 16-ounce glass jar with a tight-fitting lid is perfect for storage. I reuse old pasta sauce jars or buy mason jars specifically for syrup. Never store in plastic—the honey and spices can absorb plastic flavors over time.
- Wooden Spoon: For stirring. Metal can react with the honey and spices, so wood or silicone is better.
- Measuring Cups and Spoons: Basic set for measuring your ingredients accurately.
Budget-Friendly Tip: You don’t need a fancy nut milk bag. A clean, thin kitchen towel or even a coffee filter works for straining. I’ve used both when my cheesecloth ran out, and the syrup turned out just fine.
Preparation Method
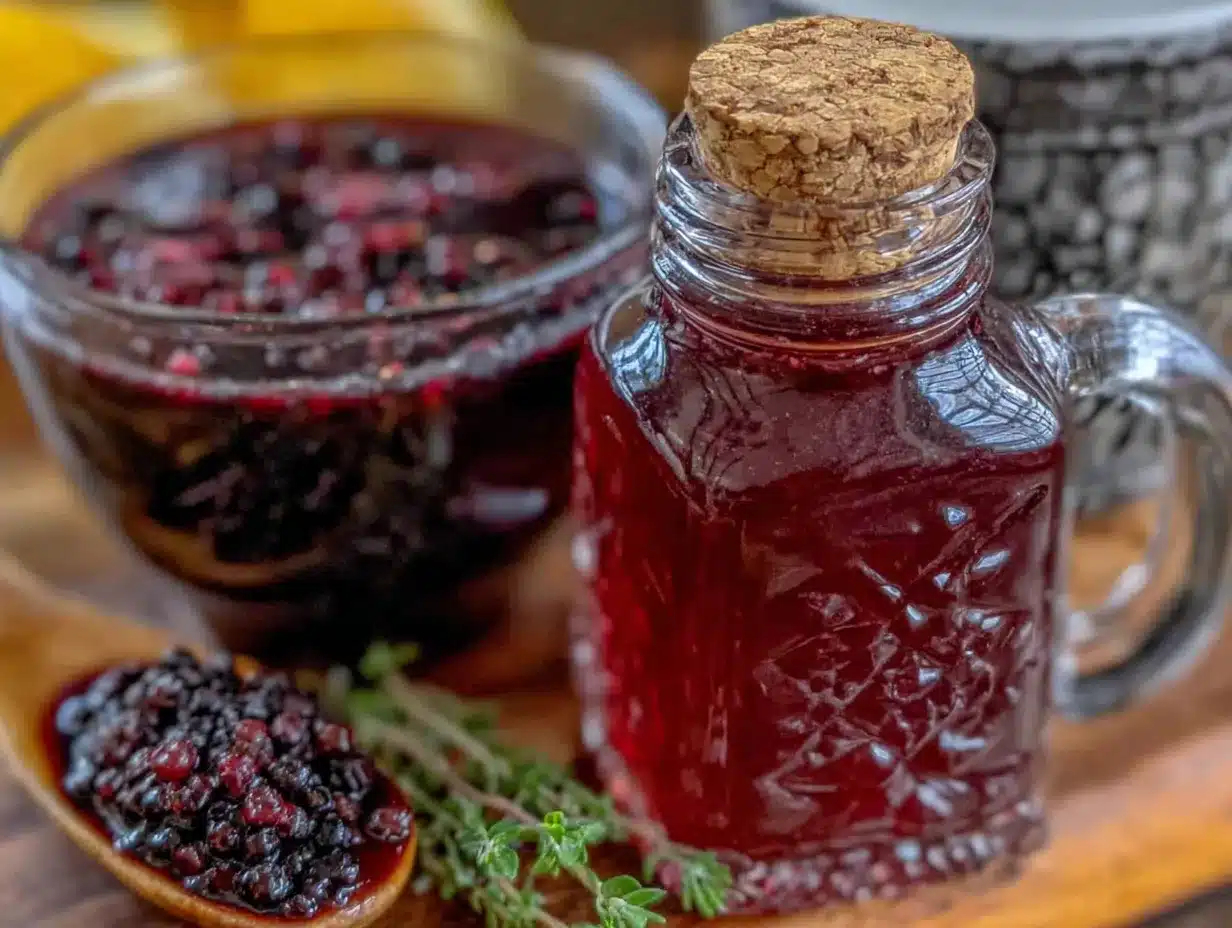
Making this syrup is almost meditative. The whole process takes about an hour, but most of that is hands-off simmering time. Here’s how I do it:
- Rinse the elderberries: Place the dried elderberries in a fine-mesh strainer and give them a quick rinse under cool water. This removes any dust or debris. Don’t soak them—you don’t want them to rehydrate before cooking.
- Combine berries, water, and spices: In your medium saucepan, add the rinsed elderberries, 4 cups of filtered water, the sliced ginger, cinnamon sticks, cloves, and orange peel (if using). Give everything a gentle stir with your wooden spoon.
- Bring to a boil, then simmer: Place the saucepan over medium-high heat and bring the mixture to a gentle boil. You’ll see small bubbles breaking the surface. Once it reaches a boil, immediately reduce the heat to low. You want a gentle simmer—bubbles should be lazy, not aggressive. Let it simmer uncovered for 45 minutes. The liquid will reduce by about half, and the kitchen will start smelling like a cozy autumn afternoon.
- Check the color and consistency: After 45 minutes, the liquid should be a deep, dark purple—almost black. The berries will have puffed up and released their color. If the liquid still looks thin and pale, let it simmer another 10-15 minutes. You’re looking for a reduction of about half the original volume.
- Strain the mixture: Place your fine-mesh strainer over a large bowl or measuring cup. If using cheesecloth, line the strainer with it. Carefully pour the hot liquid through the strainer. Let it drain naturally for a few minutes, then gently press on the berries with the back of a spoon to extract every last drop. Don’t press too hard—you don’t want any berry sediment in your syrup.
- Let it cool completely: This is the hardest part—waiting. Set the strained liquid aside and let it come to room temperature. It needs to be completely cool before you add the honey. This usually takes about 30-45 minutes. I set a timer so I don’t forget and add the honey too early.
- Add the honey: Once the liquid is completely cool (test it with your finger—it should feel room temperature), pour in the raw honey. Stir gently but thoroughly with your wooden spoon until the honey is fully incorporated. The syrup will look glossy and smooth. Don’t rush this step—honey dissolves slowly in cool liquid.
- Bottle and store: Pour the finished syrup into your clean glass jar or bottle. Seal it tightly and label it with the date. I write “Elderberry Syrup” and the date on a piece of masking tape and stick it on the jar. Store it in the refrigerator.
Sensory Cue: At the simmering stage, the liquid should look like a dark ruby wine. When you stir it, you should see the spices swirling through the purple depths. The smell should be warm and spicy, not bitter or burnt. If it smells sharp or acrid, you’ve boiled it too hard—next time, keep the heat lower.
Cooking Tips & Techniques
I’ve made this syrup at least a dozen times, and I’ve learned a few things the hard way. Here’s what I wish someone had told me before my first batch:
Don’t boil aggressively. The first time I made this, I thought “simmer” meant “gentle boil.” I ended up with a dark, slightly burnt-tasting syrup that had to be thrown out. A simmer means tiny bubbles breaking the surface, not a rolling boil. If you see big, active bubbles, turn the heat down.
Watch the reduction carefully. The goal is to reduce the liquid by about half. If you reduce it too much, the syrup will be too concentrated and taste overly tart. If you don’t reduce it enough, it will be thin and watery. I use a wooden chopstick to mark the starting water level on the inside of the pot—it’s a low-tech but effective way to track reduction.
Strain while it’s still warm. If you let the mixture cool completely before straining, it becomes thicker and harder to press through the strainer. Strain it while it’s still warm but not boiling hot. Use a heat-safe bowl and be careful not to burn yourself.
Don’t skip the cooling step before adding honey. I know it’s tempting to speed things up, but adding honey to warm liquid destroys its beneficial enzymes. Let the liquid cool completely—test it with a clean finger. If it feels warm at all, wait longer.
Use a funnel for bottling. I learned this after spilling syrup all over my counter. A small funnel makes pouring into a narrow-mouth jar much cleaner. If you don’t have a funnel, use a measuring cup with a spout.
Double the batch if you have the berries. This syrup keeps well in the fridge for up to 3 months, and I always run out faster than I expect. I now make a double batch every time and store it in two jars. It’s the same amount of work for twice the reward.
Variations & Adaptations
One of the best things about this recipe is how adaptable it is. Here are some variations I’ve tried and loved:
Spicy Immune Booster: Add a small piece of fresh turmeric (about 1 inch, sliced) along with the ginger. Turmeric gives the syrup a slightly earthier flavor and an even deeper color. It also adds extra anti-inflammatory benefits. I started adding turmeric after a particularly rough flu season, and it’s become my go-to variation.
Citrus Burst: Along with the orange peel, add the juice of half a lemon at the very end, after the syrup has cooled. The lemon brightens everything up and adds vitamin C. Just don’t add it while the syrup is hot, or the vitamin C will degrade.
Herbal Twist: Add a few sprigs of fresh thyme or a tablespoon of dried echinacea root to the simmering mixture. Thyme adds a subtle herbal note, and echinacea is another well-known immune supporter. Strain them out with the berries. This version tastes a little more “medicinal,” but I actually prefer it when I feel something coming on.
Low-Sugar Version: If you’re watching your sugar intake, you can reduce the honey to ½ cup. The syrup will be thinner and tarter, but it still works. You can also use monk fruit sweetener or stevia, but the texture will be different—more like a tea than a syrup.
Kid-Friendly Version: My kids weren’t crazy about the spice level at first, so I reduced the ginger to a ½-inch piece and skipped the cloves entirely. The syrup was milder and sweeter, and they took it without complaint. You can also add a vanilla bean (split open) to the simmering liquid for extra sweetness.
Serving & Storage Suggestions
This syrup is incredibly versatile. Here’s how I use it and how to keep it fresh:
Serving: The standard dose is 1 tablespoon for adults and 1 teaspoon for children, taken once or twice daily. You can take it straight (it tastes like a sweet, spiced tea), or mix it into warm water, tea, or even sparkling water for a refreshing immune-supporting drink. I love adding a tablespoon to my morning tea—it adds sweetness and warmth without any extra sugar. My husband puts it in his smoothies, and my kids drizzle it over pancakes or yogurt.
Storage: Keep the syrup in a sealed glass jar in the refrigerator. It will keep for up to 3 months. The honey acts as a natural preservative, but the syrup can still spoil if left at room temperature. I’ve never had a batch go bad, but if you see mold, smell something off, or notice a fizzy texture, throw it out and make a fresh batch.
Freezing: You can freeze this syrup in ice cube trays for up to 6 months. Pop out a cube and thaw it in the fridge overnight. This is perfect for making small batches last longer. I do this every fall so I have a steady supply through winter.
Flavor Development: The flavors actually improve after a few days in the fridge. The spices continue to meld with the honey, and the syrup becomes richer and more balanced. If it tastes a little sharp right after making it, give it a day or two—it will mellow out.
Nutritional Information & Benefits
While I’m not a doctor or nutritionist, I can share what I’ve learned about the ingredients in this syrup. Here’s a general idea of what you’re getting:
Estimated per tablespoon: Approximately 60 calories, 15g carbohydrates (mostly from honey), 0g fat, 0g protein. These values will vary based on the exact honey and berries you use.
Key Benefits:
- Elderberries are rich in flavonoids, particularly anthocyanins, which are known for their antioxidant properties. They’re thought to support the immune system by helping the body respond to cold and flu viruses.
- Raw honey contains natural enzymes and antimicrobial compounds that can soothe sore throats and support overall wellness. It also adds natural sweetness without refined sugar.
- Ginger is well-known for its anti-inflammatory and digestive benefits. It adds warmth and helps settle the stomach.
- Cinnamon has antimicrobial properties and helps regulate blood sugar, which is a nice bonus when you’re consuming honey.
- Cloves are packed with antioxidants and have been used traditionally for their warming, comforting properties.
Dietary Considerations: This recipe is naturally gluten-free and dairy-free. For a vegan version, substitute maple syrup for honey. It’s also free of refined sugar if you use raw honey. Important note for infants: Do not give honey to children under 1 year old due to the risk of botulism. For babies, you can make the syrup without honey and use a small amount of maple syrup or simply serve it as a warm tea.
Conclusion
This homemade elderberry syrup has become a non-negotiable part of my family’s cold-season routine. It’s simple, effective, and honestly, kind of fun to make. There’s something deeply satisfying about watching those deep purple berries transform into a glossy, jewel-toned syrup that you know is helping your family stay healthy. It’s not a magic cure, but it’s a powerful tool in your wellness toolkit—one that’s been used for generations for good reason.
I hope you give this recipe a try. Don’t be afraid to tweak the spices to your liking or experiment with different variations. The beauty of homemade is that you’re in control. If you make it, I’d love to hear how it turns out. Leave a comment below and let me know if you tried any fun variations, or share a photo of your syrup on Pinterest—it makes my day to see your creations.
Stay healthy, my friend. And remember, a spoonful of this stuff goes a long way toward making cold season a little more bearable. You’ve got this.
Frequently Asked Questions
Can I use fresh elderberries instead of dried?
I don’t recommend using fresh elderberries for this recipe. Fresh elderberries contain a compound that can cause nausea if eaten raw, and they need to be cooked thoroughly to be safe. Dried elderberries are already processed and much safer to work with. Plus, dried berries are available year-round and concentrate the beneficial compounds. Stick with dried for the best results.
How long does homemade elderberry syrup last?
Stored in a sealed glass jar in the refrigerator, this syrup will last up to 3 months. The honey acts as a natural preservative, but it’s still perishable. If you see any mold, smell something off, or notice the syrup has become fizzy or fermented, throw it out and make a fresh batch. I always date my jars so I know when they were made.
Can I take elderberry syrup every day?
Many people take elderberry syrup daily during cold and flu season as a preventive measure. The typical dose is 1 tablespoon for adults and 1 teaspoon for children, once or twice daily. However, I recommend listening to your body. If you feel great, you might only need it once a day. If you feel something coming on, you can increase to twice daily. Always consult with your healthcare provider before starting any new supplement routine, especially if you have an autoimmune condition or are on medication.
Why did my syrup turn out cloudy or grainy?
Cloudy syrup usually means you didn’t strain it thoroughly enough, or you pressed too hard on the berries during straining, forcing sediment through. Next time, use a finer strainer or line your strainer with cheesecloth. Grainy texture can happen if the honey crystallized when you added it to the liquid. Make sure the liquid is completely cool before adding honey, and stir gently until the honey is fully dissolved. If your syrup is already grainy, you can gently warm it in a water bath to re-dissolve the honey.
Can I make this syrup without honey?
Absolutely. For a vegan version or if you’re avoiding honey, substitute an equal amount of maple syrup or agave nectar. Maple syrup adds a lovely woodsy sweetness that pairs well with the spices. You can also use a sugar-free sweetener like monk fruit, but the texture will be thinner. If you’re making this for a child under 1 year old, skip the honey entirely and use a small amount of maple syrup or simply serve the strained liquid as a warm tea.
Pin This Recipe!
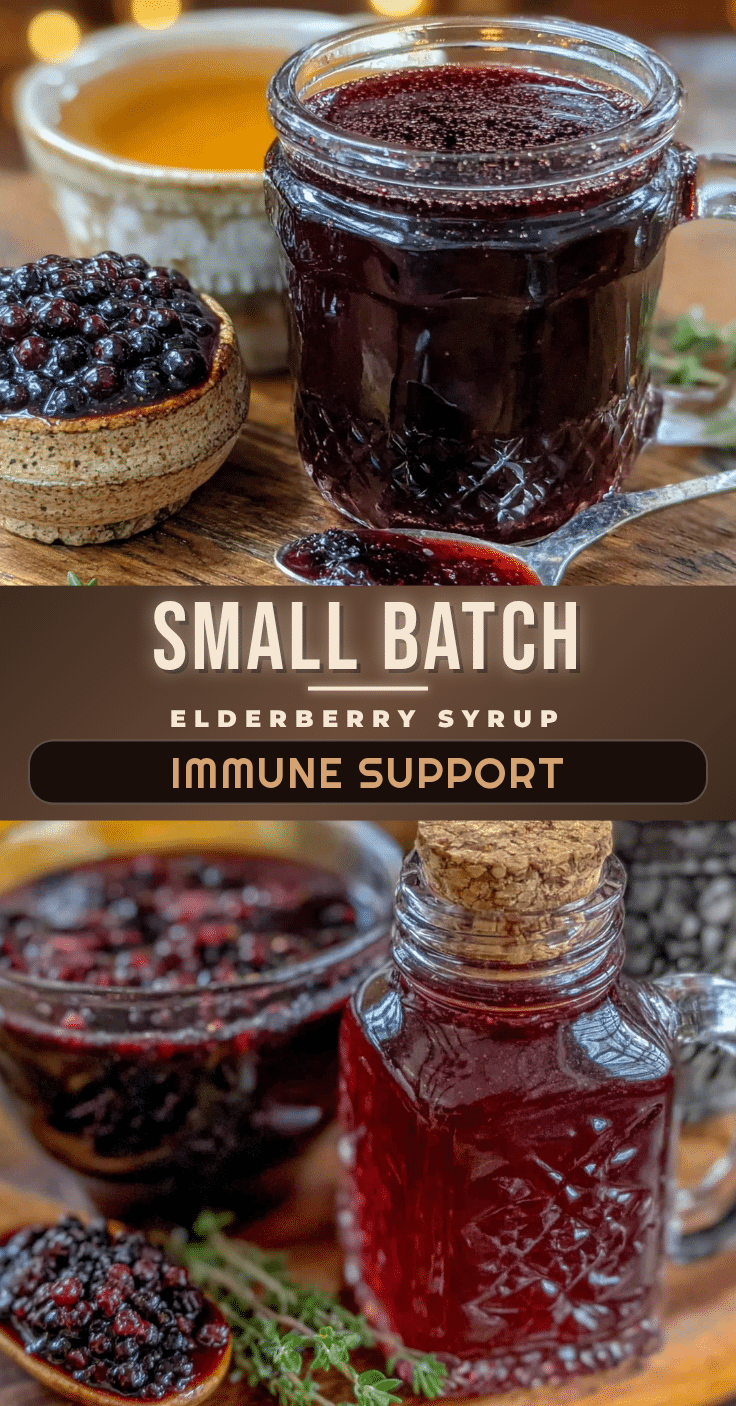
Homemade Elderberry Syrup: Best Immune Support Recipe
This homemade elderberry syrup is a simple, effective immune support recipe made with dried elderberries, spices, and raw honey. It’s perfect for cold season and tastes like a sweet, spiced tea.
- Prep Time: 10 minutes
- Cook Time: 45 minutes
- Total Time: 1 hour 25 minutes
- Yield: 16 servings 1x
- Category: Condiment
- Cuisine: American
Ingredients
- 1 cup dried elderberries
- 4 cups filtered water
- 1 cup raw honey
- 1-inch piece fresh ginger, sliced
- 2 whole cinnamon sticks
- 1 teaspoon whole cloves
- Optional: peel from 1 orange (orange part only)
Instructions
- Rinse the dried elderberries in a fine-mesh strainer under cool water.
- In a medium saucepan, combine the rinsed elderberries, water, sliced ginger, cinnamon sticks, cloves, and orange peel (if using). Stir gently.
- Bring the mixture to a gentle boil over medium-high heat, then reduce heat to low and simmer uncovered for 45 minutes. The liquid should reduce by about half.
- Check the color and consistency: the liquid should be deep, dark purple. If still thin, simmer another 10-15 minutes.
- Strain the mixture through a fine-mesh strainer lined with cheesecloth into a large bowl or measuring cup. Gently press on the berries to extract liquid, but avoid pressing too hard.
- Let the strained liquid cool completely to room temperature (about 30-45 minutes).
- Once completely cool, stir in the raw honey until fully incorporated.
- Pour the syrup into a clean glass jar, seal tightly, and store in the refrigerator.
Notes
Do not add honey while the syrup is hot; high heat destroys honey’s beneficial properties. Let the syrup cool completely first. For a vegan version, substitute maple syrup for honey. Do not give honey to children under 1 year old. The syrup keeps in the refrigerator for up to 3 months.
Nutrition
- Serving Size: 1 tablespoon
- Calories: 60
- Sugar: 14
- Carbohydrates: 15
Keywords: elderberry syrup, immune support, homemade, natural remedy, cold season, elderberry recipe


