My daughter came home from preschool with a cough that seemed to hang around for weeks. Not the kind that keeps you up all night, but the kind that just lingers—scratchy, annoying, and impossible to shake. I tried honey, warm tea, extra blankets, but nothing really helped her feel better. Then my neighbor, who grows her own herbs and makes all sorts of tinctures, handed me a small jar of dark purple syrup. “Give her a teaspoon a day,” she said. “It’ll help.” I was skeptical, honestly. But after a week of watching my little one wake up without that morning rasp in her voice, I knew I had to learn how to make this homemade elderberry syrup for immune support myself. That jar changed how I approach cold season in our house.
There’s something about watching your kid take a spoonful of something you made yourself—something that actually works—that feels quietly powerful. It’s not magic, but it sure feels close. The deep berry flavor, the hint of cinnamon and ginger, the way it coats your throat with warmth. I started making a batch every fall, and now it’s as routine as pulling out the slow cooker for soup. If you’ve never made your own syrup before, don’t worry. It’s simpler than you think, and once you taste it, you’ll wonder why you ever bought the store-bought stuff.
This recipe isn’t fancy. It’s just good, honest ingredients doing what they do best. And honestly, that’s the kind of cooking I love most.
Why You’ll Love This Recipe
Let me tell you why this homemade elderberry syrup for immune support has become a staple in our kitchen. It’s not just about the immune benefits—though that’s a big part of it. It’s about knowing exactly what’s going into your family’s bodies. No weird additives, no artificial colors, no preservatives. Just real food doing real work.
- Simple Ingredients: You only need a handful of things—dried elderberries, water, honey, and a few spices. Chances are you already have cinnamon sticks and fresh ginger in your pantry.
- Budget-Friendly: A bag of dried elderberries costs less than a couple bottles of store-bought syrup, and you’ll get multiple batches out of it. That’s real savings.
- Customizable: Want it spicier? Add more ginger. Prefer it sweeter? Adjust the honey. This recipe is forgiving and flexible.
- Kid-Approved: My daughter actually asks for her “purple medicine” every morning. It tastes like a berry cordial, not cough syrup.
- Quick to Make: The active prep time is maybe 10 minutes. The rest is just simmering and straining. You can do this while dinner cooks.
What sets this recipe apart from others I’ve tried is the balance of flavors. Some recipes are too sweet, others too medicinal. This one hits that sweet spot where the elderberries shine but the spices add warmth without overpowering. It’s the kind of recipe you’ll make on repeat because it works and it tastes good. And isn’t that what we all want when we’re trying to keep our families healthy?
What Ingredients You Will Need
This recipe uses simple, wholesome ingredients to deliver a potent immune-supporting syrup without any fuss. Most of these are pantry staples or easy to find at your local grocery store or online.
- Dried Elderberries: These are the star of the show. Look for organic dried elderberries from a trusted brand like Frontier Co-op or Starwest Botanicals. They should be dark purple, almost black, with a slightly tart smell. Avoid fresh elderberries—they need to be cooked before eating.
- Water: Filtered water works best. Tap water with chlorine can affect the flavor slightly, but it’s not a dealbreaker.
- Raw Honey: This adds sweetness and its own immune-supporting properties. Use local raw honey if you can find it—it may help with seasonal allergies too. Do not give honey to children under 1 year old. For a vegan option, use maple syrup or agave nectar.
- Cinnamon Sticks: They add warmth and a subtle sweetness. Ground cinnamon works in a pinch, but it can make the syrup cloudy. Use about 1 teaspoon ground if you don’t have sticks.
- Fresh Ginger: Peel and slice it into thin rounds. Ginger adds a gentle heat and helps with inflammation. Don’t skip it—it really rounds out the flavor.
- Whole Cloves: Just a few. They add depth and a hint of spice. Too many and they’ll overpower everything, so stick to the amount listed.
- Optional: Rose Hips or Echinacea: Add a tablespoon of dried rose hips for extra vitamin C, or a teaspoon of dried echinacea root for additional immune support. I sometimes add rose hips in the winter.
That’s it. No weird ingredients, no trips to specialty stores (though you might need to order elderberries online if your local store doesn’t carry them). The beauty of this recipe is its simplicity.
Equipment Needed
You don’t need a fancy kitchen to make this homemade elderberry syrup for immune support. Here’s what you’ll need:
- Medium Saucepan: A 2-3 quart pot works perfectly. Stainless steel or enameled cast iron are best—avoid aluminum, which can react with the berries.
- Fine-Mesh Strainer or Cheesecloth: To strain out the berries and spices. A nut milk bag works great too. I use a fine-mesh strainer lined with a coffee filter for the clearest syrup.
- Glass Jar or Bottle: A 16-ounce glass jar with a tight-fitting lid is ideal. Sterilize it by washing in hot soapy water or running through the dishwasher.
- Wooden Spoon or Silicone Spatula: For stirring. Nothing fancy.
- Measuring Cups and Spoons: You’ll need a liquid measuring cup for the water and spoons for the spices.
- Optional: Funnel: Makes pouring the syrup into the jar much less messy. I use a small stainless steel funnel.
If you don’t have cheesecloth, a clean dish towel or paper towels work in a pinch. I’ve used a clean cotton napkin before when I ran out of cheesecloth—it worked fine, just took a bit longer to strain.
Preparation Method
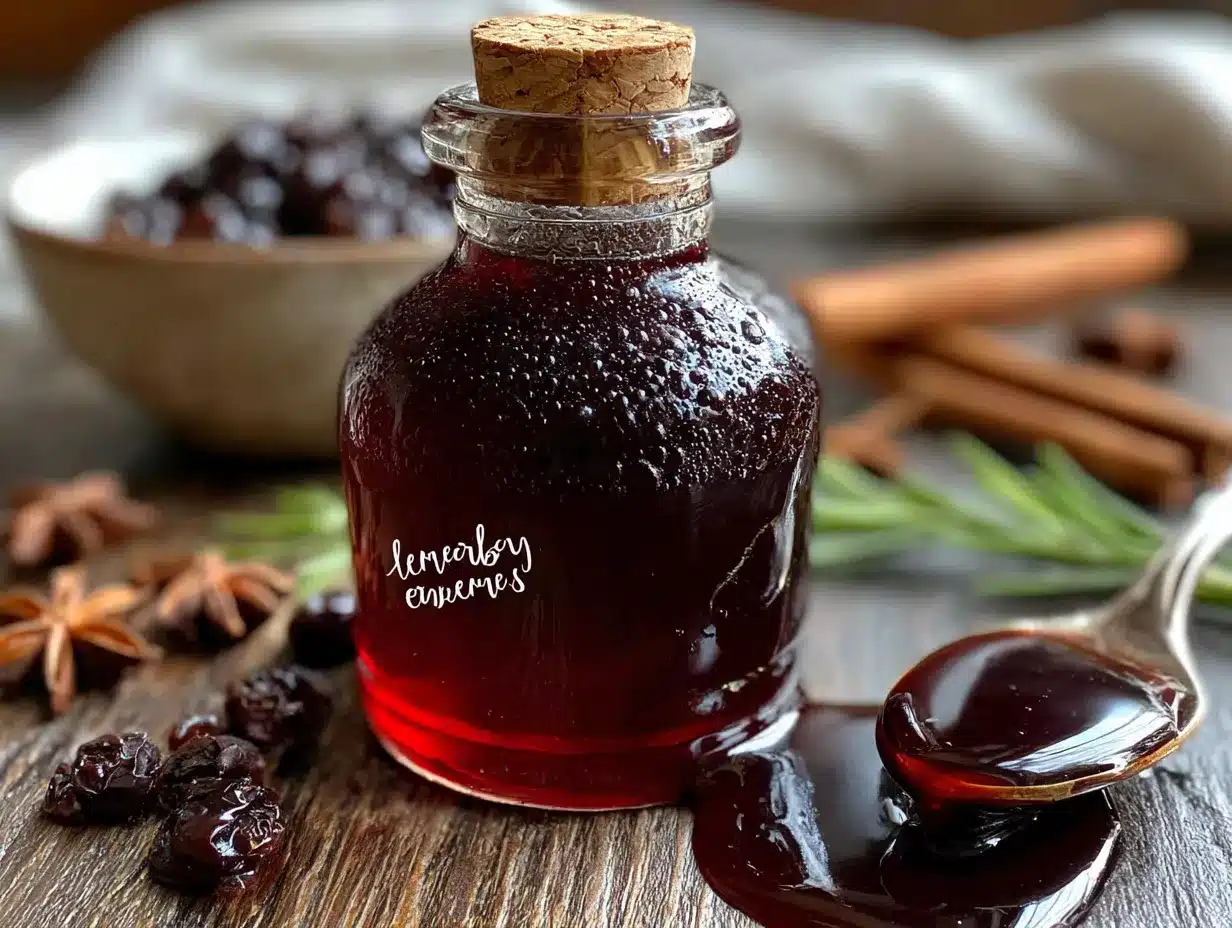
Making this syrup is almost meditative. The smell that fills your kitchen is pure comfort. Here’s how to do it:
- Combine berries and water: In your medium saucepan, add 1 cup dried elderberries and 4 cups filtered water. Give it a quick stir. The berries will float at first—that’s normal.
- Add the spices: Toss in 2 cinnamon sticks, about 1 inch of fresh ginger (peeled and sliced into thin rounds), and 1 teaspoon whole cloves. If you’re using optional rose hips or echinacea, add them now.
- Bring to a boil: Set the pan over medium-high heat and bring the mixture to a gentle boil. Watch it carefully—it can foam up a bit. Once it’s boiling, reduce the heat to low.
- Simmer: Let it simmer uncovered for 45 minutes to 1 hour. The liquid will reduce by about half, and the berries will look plump and slightly shriveled. The kitchen will smell amazing—like spiced berries and warmth. Stir occasionally.
- Strain: Place your fine-mesh strainer over a large bowl or measuring cup. Carefully pour the mixture through the strainer. Let it drain for a few minutes. Don’t press on the berries too hard, or you’ll get cloudy syrup. I gently press with the back of a spoon to get the last bit of liquid.
- Cool slightly: Let the strained liquid cool for about 10-15 minutes. It should be warm but not hot—you don’t want to kill the beneficial properties of the raw honey.
- Add honey: Stir in 1 cup raw honey until fully dissolved. Taste it. If you want it sweeter, add a bit more honey. Remember, the honey is what preserves the syrup, so don’t skimp too much.
- Bottle it: Use your funnel to pour the syrup into your sterilized glass jar. Seal with the lid and let it cool completely before refrigerating.
- Label and date: I always write the date on the lid with a permanent marker. This batch will last about 2-3 months in the fridge.
That’s it. Nine simple steps and you have a jar of golden-purple goodness that your family will actually look forward to taking.
Cooking Tips & Techniques
I’ve made this homemade elderberry syrup for immune support more times than I can count, and I’ve learned a few things along the way. Here are my best tips:
Don’t boil the honey: This is the most important tip. Raw honey contains beneficial enzymes and probiotics that are destroyed by high heat. Always let the syrup cool before adding honey. I’ve made this mistake before, and the syrup still tasted good, but I felt like I wasted some of the goodness.
Watch the simmer: A gentle simmer is key. If you boil the berries too hard, the syrup can become bitter. You want those little bubbles just barely breaking the surface. Set a timer so you don’t forget about it—I’ve definitely let it simmer too long while getting distracted by laundry.
Strain twice for clarity: If you want a crystal-clear syrup, strain it through a fine-mesh strainer first, then through a coffee filter or cheesecloth. I usually don’t bother, but it makes for prettier photos.
Use a potato masher: After simmering, gently mash the berries with a potato masher before straining. This releases more of the good stuff without pressing too hard. Just a few gentle presses.
Scale it up: This recipe doubles beautifully. I often make a double batch at the start of cold season and freeze half in ice cube trays. Pop out a cube and thaw when needed.
Don’t skip the ginger: I once made a batch without ginger because I was out, and it was noticeably less flavorful. The ginger adds a warmth that balances the sweetness of the honey and the tartness of the berries.
Variations & Adaptations
One of the best things about this recipe is how easy it is to adapt. Here are a few ways I’ve tweaked it over the years:
- Spicy Immune Booster: Add a pinch of cayenne pepper or a few slices of fresh turmeric along with the ginger. It adds a nice kick and extra anti-inflammatory power. My husband loves this version when he feels a cold coming on.
- Herbal Blend: Add a tablespoon of dried rose hips for vitamin C, or a teaspoon of dried echinacea root for extra immune support. I do this in the deep winter months when everyone seems to be sniffling.
- Low-Sugar Version: Use less honey—start with 1/2 cup instead of 1 cup. The syrup won’t be as thick, and it won’t last as long in the fridge (about 1 month), but it’s still effective. You can also use monk fruit sweetener or stevia, though the texture will be thinner.
- Kid-Friendly Sweetness: My daughter prefers it a bit sweeter, so I sometimes add an extra 1/4 cup of honey. It still works great, and she takes it without complaint.
- Alcohol-Free Tincture: If you prefer a tincture over syrup, skip the honey and simmer the berries and spices in vodka or brandy instead of water. Let it steep for 4-6 weeks, then strain. This is a more potent option, but it’s not for kids.
I once tried a version with star anise instead of cloves, and it was surprisingly good—very warming and almost licorice-like. Don’t be afraid to experiment. The worst that happens is you end up with a batch that’s not your favorite, and you can always use it in smoothies or tea.
Serving & Storage Suggestions
This syrup is incredibly versatile. Here’s how I use it:
Daily Dose: Adults take 1 tablespoon daily for maintenance, or 1 tablespoon 3-4 times daily at the first sign of illness. Children over 1 year take 1 teaspoon daily. I give it to my daughter in the morning with breakfast, straight from a spoon.
In Tea: Stir a tablespoon into hot water with a squeeze of lemon for a soothing tea. It’s especially nice in the evening when you’re winding down. Add a cinnamon stick for extra comfort.
On Pancakes or Waffles: Drizzle it over pancakes or waffles instead of maple syrup. The berry flavor pairs beautifully with breakfast foods. My daughter thinks it’s a treat.
In Smoothies: Add a tablespoon to your morning smoothie for an immune boost. It blends well with banana, berries, and spinach.
Storage: Keep the syrup in a sealed glass jar in the refrigerator. It will last 2-3 months. If you see any mold or off smells, toss it and make a fresh batch. I’ve never had that happen, but it’s good to be cautious.
Freezing: Pour the syrup into ice cube trays and freeze. Once solid, pop the cubes into a freezer bag. They’ll keep for up to 6 months. Thaw a cube in the fridge overnight or add directly to hot tea.
Nutritional Information & Benefits
While I’m not a nutritionist, I can tell you what the research says about these ingredients. Elderberries are packed with antioxidants, particularly anthocyanins, which give them that deep purple color. Studies suggest they may help reduce the duration and severity of cold and flu symptoms. Honey is a natural cough suppressant and has antimicrobial properties. Ginger and cinnamon are anti-inflammatory and support digestion.
Here’s an approximate nutritional breakdown per 1 tablespoon serving:
- Calories: 35-40
- Carbohydrates: 10g
- Sugars: 9g (from honey)
- Vitamin C: 2-4% DV (from elderberries)
- Antioxidants: High
This recipe is naturally gluten-free, dairy-free, and nut-free. It’s suitable for most dietary needs. If you’re diabetic or watching your sugar intake, use the low-sugar version with less honey or a sugar-free sweetener. Always consult your healthcare provider before using herbal remedies, especially if you’re pregnant, nursing, or on medication.
Conclusion
Making this homemade elderberry syrup for immune support has become one of those small rituals that makes me feel like I’m taking care of my family in a real, tangible way. It’s not complicated, it doesn’t require fancy equipment, and it honestly tastes so good that my kid asks for it. That’s a win in my book.
I hope you give it a try, even if you’ve never made syrup before. Start with a small batch, see how it feels to watch those berries simmer and smell that spicy aroma fill your kitchen. And when you take that first spoonful—warm, sweet, a little tart—you’ll understand why I keep a jar in my fridge all year round.
If you make this recipe, I’d love to hear about it. Leave a comment below and tell me how you use it, or share your own twist. And if you’re looking for more ways to support your family’s health through food, check out my easy high-protein turkey pinwheel wraps for a lunchbox-friendly option, or these creamy peanut butter banana overnight oats for a breakfast that keeps everyone full. Happy cooking, and stay well!
Frequently Asked Questions
Can I use fresh elderberries instead of dried?
You can, but fresh elderberries must be cooked before eating—they’re toxic raw. Use about 2 cups of fresh berries for every 1 cup of dried. The flavor will be slightly different, and the syrup might be a bit thinner. I prefer dried because they’re available year-round and easier to store.
How long does homemade elderberry syrup last?
Stored in a sealed glass jar in the refrigerator, it lasts 2-3 months. The honey acts as a natural preservative. If you use less honey, it will last about 1 month. Always check for mold or off smells before using.
Can I give this syrup to my toddler?
Yes, for children over 1 year old. The recommended dose is 1 teaspoon daily for maintenance. Never give honey to children under 1 year due to the risk of botulism. For younger babies, skip the honey and use maple syrup or simply give them the elderberry liquid without sweetener.
Do I need to sterilize the jar?
It’s a good idea, especially if you plan to store the syrup for more than a few weeks. Wash the jar and lid in hot soapy water, or run them through the dishwasher. You can also boil the jar for 10 minutes. I usually just use a clean jar from the dishwasher and haven’t had issues.
Can I make this syrup without honey?
Absolutely. For a vegan version, use maple syrup, agave nectar, or coconut sugar. The syrup will be thinner and won’t last as long in the fridge—about 1 month. You can also skip the sweetener entirely and use the syrup as a tart addition to tea or smoothies.
Pin This Recipe!
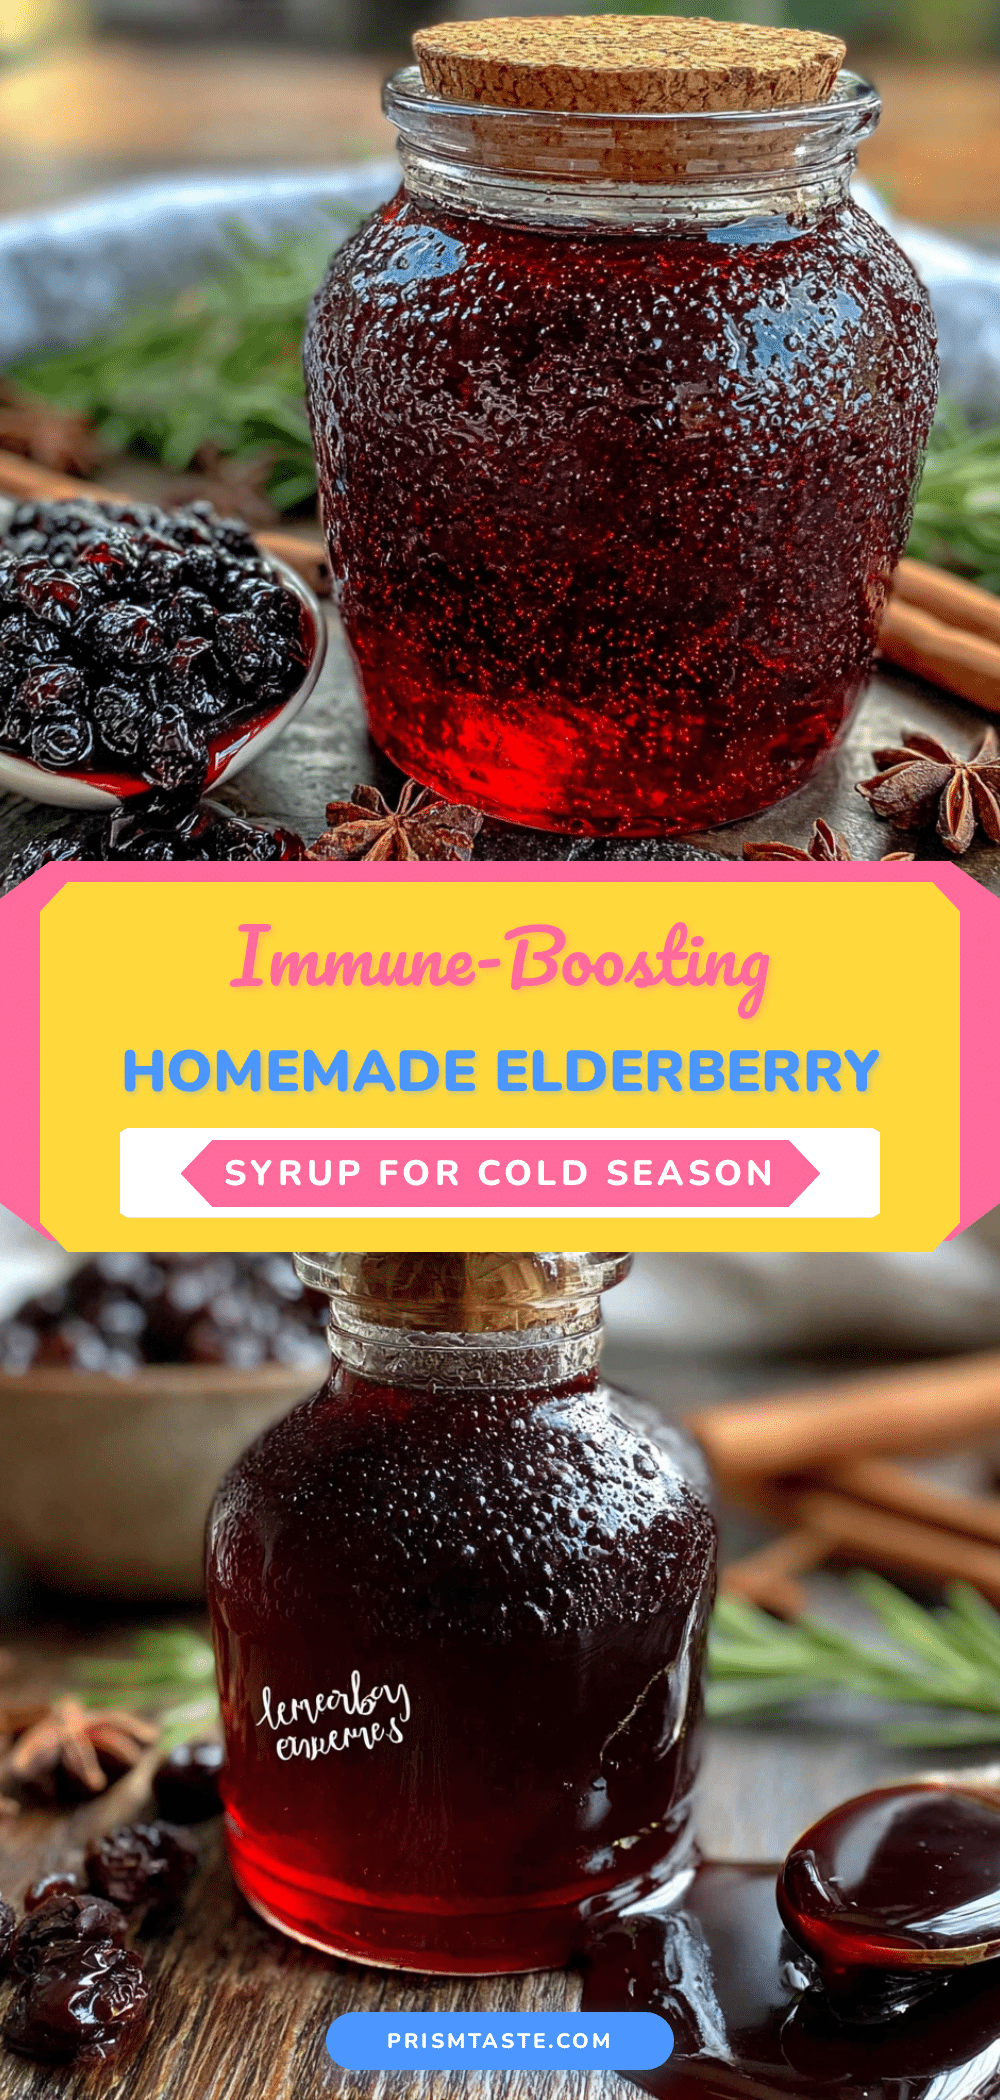
Easy Homemade Elderberry Syrup Recipe for Immune Support
This homemade elderberry syrup is a simple, budget-friendly way to support your family’s immune system during cold season. Made with dried elderberries, honey, and warming spices, it tastes like a berry cordial and is kid-approved.
- Prep Time: 10 minutes
- Cook Time: 45 minutes
- Total Time: 55 minutes
- Yield: 16 servings 1x
- Category: Condiment
- Cuisine: American
Ingredients
- 1 cup dried elderberries
- 4 cups filtered water
- 1 cup raw honey (or maple syrup/agave for vegan)
- 2 cinnamon sticks
- 1 inch fresh ginger, peeled and sliced into thin rounds
- 1 teaspoon whole cloves
- Optional: 1 tablespoon dried rose hips or 1 teaspoon dried echinacea root
Instructions
- Combine dried elderberries and filtered water in a medium saucepan. Stir briefly.
- Add cinnamon sticks, sliced ginger, and whole cloves. Add optional rose hips or echinacea if using.
- Bring the mixture to a gentle boil over medium-high heat, then reduce heat to low.
- Simmer uncovered for 45 minutes to 1 hour, until the liquid has reduced by about half and the berries are plump. Stir occasionally.
- Strain the mixture through a fine-mesh strainer or cheesecloth into a large bowl or measuring cup. Gently press the berries with the back of a spoon to extract remaining liquid, but avoid pressing too hard to keep the syrup clear.
- Let the strained liquid cool for 10-15 minutes until warm but not hot.
- Stir in the raw honey until fully dissolved. Taste and adjust sweetness if desired.
- Pour the syrup into a sterilized glass jar using a funnel. Seal with the lid.
- Let cool completely before refrigerating. Label with the date.
Notes
Do not add honey while the liquid is hot to preserve its beneficial enzymes. For a clearer syrup, strain twice (first through a fine-mesh strainer, then through a coffee filter). This syrup can be frozen in ice cube trays for up to 6 months. Always consult a healthcare provider before using herbal remedies, especially if pregnant, nursing, or on medication.
Nutrition
- Serving Size: 1 tablespoon
- Calories: 3540
- Sugar: 9
- Carbohydrates: 10
Keywords: elderberry syrup, immune support, homemade syrup, elderberry recipe, natural remedy, cold season, honey syrup


