The Saturday before Halloween last year, I found myself standing in my kitchen with a dozen hard-boiled eggs and absolutely no plan. My daughter had been asking all week if we could make something “spooky but not scary” for her school party, and every idea I had felt either too complicated or just plain gross. I wanted something that would make the kids giggle, not run away. I stared at those eggs for a solid five minutes, honestly feeling a little stuck. Then I spotted a jar of black olives sitting on the counter next to a bag of baby carrots, and something just clicked.
I grabbed a paring knife and started carving tiny little ears out of the carrots, and before I knew it, a little black cat face was staring back at me from the cutting board. It was one of those accidental kitchen moments where your hands figure it out before your brain does. I filled the egg whites with the creamy yolk mixture, placed the olive eyes just right, and added those tiny carrot ears. My daughter walked in, took one look, and let out this squeal that I swear the neighbors heard. She called them “spooky cute,” and honestly, that was the perfect name for them.
These black cat deviled eggs have become our official Halloween tradition now. They are the kind of recipe that makes you feel clever without actually having to try that hard. The kids love them because they look like little kittens, and the adults love them because, well, they are deviled eggs. I am not going to pretend I planned this one out. It was pure refrigerator desperation, and it turned into something I actually look forward to making every October.
So if you are looking for a Halloween appetizer that is equal parts adorable and delicious, you just found it. No fancy molds, no weird food coloring, and no stress. Just a classic deviled egg dressed up like a tiny black cat.
Why You Will Love This Recipe
I have tested this recipe more times than I care to admit, mostly because my family kept eating the test batches before I could photograph them. That is really the best compliment a recipe can get, is not it? Here is why these little guys are worth your time:
- Super Easy to Make : If you can boil an egg and mix a few pantry ingredients, you can absolutely make these. The decorating looks fancy, but it is mostly just assembly.
- Simple Ingredients : Eggs, mayonnaise, mustard, salt, pepper, olives, and carrots. That is literally it. No special shopping trips required.
- Perfect for Halloween Parties : These are the star of any spooky spread. Kids love them, adults love them, and they disappear faster than the candy bowl.
- Crowd-Pleaser : I have brought these to three different Halloween gatherings now, and every single time someone asks for the recipe. They are approachable and familiar with a fun twist.
- Naturally Gluten-Free and Low-Carb : This recipe works for a lot of different dietary needs without anyone feeling left out.
What makes this recipe different from the other Halloween deviled eggs out there is the balance. Some versions use food coloring that stains your fingers, and others rely on complicated piping techniques that look messy after five minutes. These black cat deviled eggs use simple ingredients to create something genuinely cute without being fussy. The olive eyes stay put, the carrot ears hold their shape, and the filling is classic and creamy. It is comfort food dressed up for a costume party.
Honestly, the first time I made these, I was not sure they would work. I thought the olives might slide off or the ears would look ridiculous. But they held together beautifully, and the look on my daughter’s face when she saw them was worth every single minute. That is the kind of recipe I want to share with you.
What Ingredients You Will Need
This recipe uses simple, everyday ingredients that come together to create something unexpectedly charming. Nothing here is complicated, but the way you prep each ingredient matters more than you might think.
- 12 large eggs : You want eggs that are at least a week old for easier peeling. Fresh eggs are great for frying, but older eggs peel much more cleanly after boiling. I usually buy my eggs a week or two before I plan to make these.
- 1/3 cup mayonnaise : I prefer full-fat mayonnaise here because it gives the filling a richer texture and better stability. Hellmann’s or Duke’s are my go-to brands. If you use a lighter mayo, the filling might be a little looser.
- 1 tablespoon yellow mustard : This adds that classic deviled egg tang. You can use Dijon if you want a milder, more sophisticated flavor, but yellow mustard gives it that nostalgic potluck taste.
- 1 teaspoon white vinegar : A tiny splash of vinegar brightens everything up without making the filling taste sour. It is one of those ingredients you do not notice until it is missing.
- 1/4 teaspoon salt : I use fine sea salt here. It dissolves more evenly than kosher salt in the creamy filling.
- 1/8 teaspoon black pepper : Freshly ground is always better, but pre-ground works just fine in a pinch.
- 1/4 teaspoon paprika : This is optional, but I love the subtle smoky flavor it adds. You can also sprinkle a tiny bit on top for color before adding the olive eyes.
- 1 can (6 ounces) whole black olives : You need the large, pitted black olives for the eyes. Do not use sliced olives or the small ones. Look for the jumbo or colossal size if you can find them. The bigger the olive, the more cat-like the eyes look.
- 2 medium carrots : You will use these to make the little cat ears. Go for carrots that are thick and straight, not skinny or curved. It makes cutting the ears much easier.
That is it. Twelve ingredients, most of which you probably already have in your fridge and pantry. The olives and carrots are the only things you might need to pick up, and they are cheap. I love recipes that do not require a special trip to a fancy grocery store.
Equipment Needed
You do not need any fancy kitchen gadgets for this recipe, which is part of why I love it. Here is what you will need:
- Large saucepan or pot : Big enough to hold all 12 eggs in a single layer. A crowded pot means uneven cooking.
- Mixing bowls : One medium bowl for the yolks and one small bowl for the olives and carrots.
- Fork or potato masher : For mashing the yolks. A fork works perfectly fine, but a potato masher makes it even faster.
- Sharp paring knife : This is crucial for cutting the olive eyes and carving the carrot ears. A dull knife will crush the olives and make the carrots look jagged.
- Cutting board : Use one that is stable and does not slide around. Put a damp paper towel underneath if needed.
- Small piping bag or zip-top bag : For filling the eggs neatly. A zip-top bag with the corner snipped off works like a charm and costs nothing.
- Serving platter : Something flat that will hold the eggs in a single layer so the faces do not get smushed.
I have made these with nothing but a fork and a butter knife before, and they still turned out fine. The piping bag makes things look prettier, but you can absolutely just spoon the filling in. Do not let equipment stop you from trying this recipe.
Preparation Method
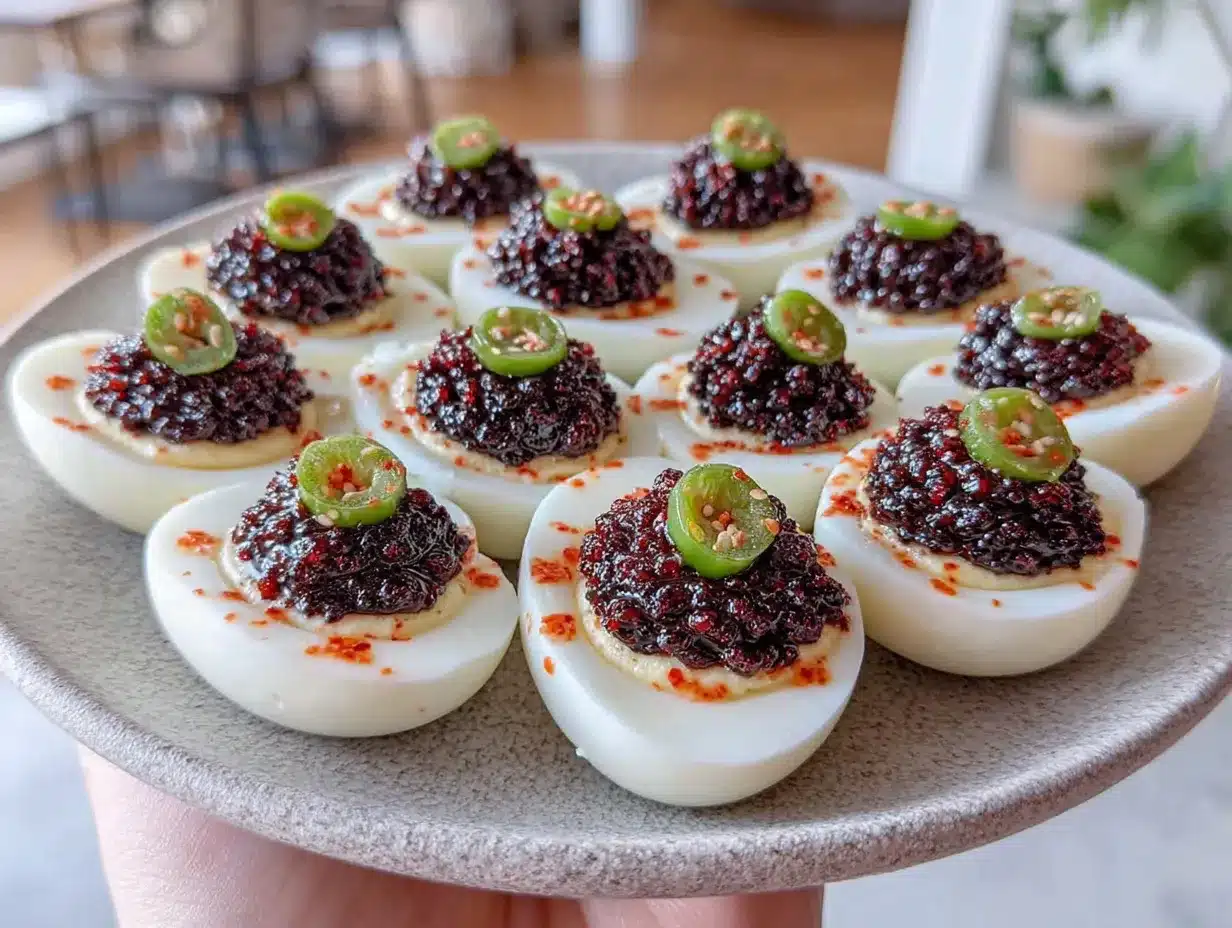
Let me walk you through this step by step. I have made these black cat deviled eggs enough times to know exactly where things can go wrong, so I will point out the tricky parts as we go.
Step 1: Boil the Eggs
Place your 12 eggs in a single layer in a large saucepan. Cover them with cold water by about an inch. Do not skip this. If you add eggs to boiling water, they are more likely to crack. Bring the water to a boil over high heat. Once it reaches a rolling boil, turn off the heat, cover the pot, and let it sit for exactly 12 minutes. This gives you hard-boiled eggs with firm yolks and no green ring around the outside. While the eggs sit, prepare an ice bath in a large bowl. After 12 minutes, transfer the eggs to the ice bath using a slotted spoon. Let them cool for at least 10 minutes. This stops the cooking process and makes peeling much easier.
Step 2: Peel the Eggs
Gently tap each egg on the counter to crack the shell all over, then roll it between your palms to loosen the shell. Start peeling from the wider end where the air pocket is. Running the eggs under cold water while you peel helps remove stubborn shell pieces. I will be honest, sometimes an egg just does not want to cooperate and ends up looking ragged. That is okay. Save those for the filling and use the prettiest ones for the cat faces.
Step 3: Cut and Prepare the Egg Whites
Slice each peeled egg in half lengthwise. Gently pop out the yolks into a medium bowl. Arrange the white halves on your serving platter cut-side up. If they wobble, slice a tiny sliver off the bottom to make them sit flat. This matters because the olive eyes will slide off a wobbly egg.
Step 4: Make the Filling
Mash the yolks with a fork until they look like fine crumbs. Add the mayonnaise, yellow mustard, white vinegar, salt, pepper, and paprika. Mix until completely smooth. Taste it. Does it need more salt? A little more mustard? Adjust it to your liking. The filling should be creamy but thick enough to hold its shape when piped. If it seems too loose, add another yolk if you have a spare, or refrigerate it for 10 minutes to firm up.
Step 5: Prepare the Cat Faces
This is where the magic happens. Drain your black olives and pat them dry with a paper towel. Using your sharp paring knife, slice each olive crosswise into rounds about 1/4 inch thick. You want these to look like round eyes. For the pupils, use the tip of your knife to cut a small slit in the center of each olive round, then gently squeeze the sides together to create a tiny oval pupil shape. It sounds fiddly, but once you do a few, it takes about five seconds per eye. You will need two olive rounds per egg half, so plan accordingly.
For the ears, peel your carrots and slice them into rounds about 1/8 inch thick. Then cut each round into a triangle shape that looks like a cat ear. I make mine about the size of my thumbnail. You want them small enough to look cute but big enough to see clearly. Each egg half needs two ears.
Step 6: Fill the Eggs
Spoon the filling into a piping bag or a zip-top bag and snip off the corner. Pipe the filling into each egg white half, mounding it slightly in the center. You want a nice rounded shape that mimics a cat’s face. Do not overfill, or the olive eyes will slide off.
Step 7: Assemble the Cats
Gently press two olive rounds into the filling near the top of each egg half to create the eyes. Position them so the pupils are facing forward. Then insert two carrot triangles into the filling at the top of the egg to create the ears. The ears should point upward and slightly outward. Press them in firmly enough that they stay put, but gently enough that they do not break. If the carrots are too thick, they might crack the egg white, so keep those slices thin.
Step 8: Chill and Serve
Refrigerate the assembled deviled eggs for at least 30 minutes before serving. This helps the filling firm up and the decorations set in place. They will hold beautifully for several hours, which makes them perfect for parties.
Cooking Tips and Techniques
I have learned a few things the hard way while making these, so let me save you some trouble.
The biggest mistake I made the first time was using fresh eggs. I had just bought them that morning, and peeling them was an absolute nightmare. The shells stuck to the whites, and I ended up with half a dozen mangled eggs that looked nothing like cats. Use eggs that are at least a week old. Trust me on this one.
Another thing I learned is that olive size matters more than you think. The first batch I made used regular-sized black olives, and the eyes looked comically small on the egg faces. They looked more like ants than cats. Splurge on the jumbo olives. They make the faces look proportional and cute instead of weird.
For the carrot ears, I found that cutting them too thick makes them heavy, and they will slide right out of the filling. Keep those slices thin, around 1/8 of an inch. If your carrots are particularly thick, you can also shave them down with a vegetable peeler before cutting the ear shapes.
If you are making these for a party, you can boil and peel the eggs up to two days ahead. Store them in the fridge in a covered container. You can also make the filling a day ahead and keep it in a piping bag in the refrigerator. Assemble everything the day of your event for the freshest look. The olive eyes can dry out and shrivel a little if they sit too long, so same-day assembly is best.
One more tip: if you are transporting these, place them on a flat platter with a rim and cover them loosely with plastic wrap. Do not stack them. They are sturdy enough to hold their shape, but stacking will absolutely crush the ears and mess up the eyes.
Variations and Adaptations
This recipe is surprisingly flexible, and I have tried several variations over the past year. Here are some of my favorites:
Spicy Black Cat Deviled Eggs : Add 1/2 teaspoon of cayenne pepper or a splash of hot sauce to the yolk mixture. The heat pairs surprisingly well with the briny olives and gives the cats a little attitude. I made these for a grown-up Halloween party, and they were a hit.
Herby Version : Mix in a tablespoon of finely chopped fresh chives or dill into the filling. The green flecks against the yellow yolk look pretty, and the fresh flavor cuts through the richness nicely. This version feels a little more sophisticated if you are serving adults.
Avocado Filling : Replace half the mayonnaise with mashed ripe avocado. The filling turns a pale green color, which is fun for Halloween, and it adds a creamy, healthy twist. Just know that avocado filling does not hold up as well overnight, so make these the same day you plan to serve them.
Gluten-Free Note : This recipe is naturally gluten-free, so no adjustments needed. Just double-check your mustard and mayonnaise labels if you are cooking for someone with celiac disease. Most brands are safe, but it is always worth confirming.
Dairy-Free Option : Use a vegan mayonnaise or make your own with aquafaba. The texture will be slightly different, but the flavor is still delicious. The olive and carrot decorations work exactly the same way.
I personally love the spicy version. Something about the heat combined with the creamy filling and the salty olive eyes feels very Halloween-appropriate. It is like giving your deviled eggs a little costume of their own.
Serving and Storage Suggestions
These black cat deviled eggs are best served cold, straight from the fridge. Arrange them on a flat platter with the cat faces facing up so everyone can see the cute little expressions. I like to garnish the platter with a few extra carrot sticks and olives scattered around for color, but that is totally optional.
These pair beautifully with other Halloween appetizers. If you are putting together a spooky snack spread, try serving them alongside a batch of easy slow cooker buffalo chicken sliders for a savory balance. The creamy deviled eggs and the spicy sliders complement each other perfectly. For a heartier spread, crockpot football chili with cheddar and green onion is another great option that keeps the party vibe going without requiring much effort from you.
For storage, place any leftover deviled eggs in a single layer in an airtight container and refrigerate. They will keep for up to two days, but the olive eyes may start to dry out and the filling can get a little weepy. I honestly do not recommend making these more than a day ahead for best results. The texture is just better fresh.
If you need to reheat anything for a party, these are served cold, so no reheating needed. That is one less thing to worry about when you are hosting. Just pull them out of the fridge about 15 minutes before serving to take the chill off, and they are ready to go.
If you are looking for a fun Halloween breakfast to go with your spooky appetizers, these pumpkin cinnamon rolls with cream cheese icing would make a fantastic morning treat before the party starts. And for a sweet finish to your Halloween meal, these soft pumpkin snickerdoodle cookies are always a crowd favorite.
Nutritional Information and Benefits
Here is the approximate nutritional breakdown for one black cat deviled egg (one half):
- Calories : 80
- Protein : 6g
- Fat : 6g
- Carbohydrates : 1g
- Fiber : 0g
- Sugar : 0g
Eggs are a fantastic source of high-quality protein and contain important nutrients like choline, which supports brain health, and lutein, which is good for your eyes. The olives add healthy monounsaturated fats and a dose of vitamin E. Carrots are packed with beta-carotene, which your body converts into vitamin A for healthy vision and immune function.
This recipe is naturally low-carb and gluten-free, making it a great option for guests following keto or paleo diets. It is also relatively low in calories for a party appetizer, so you can enjoy a few without derailing your healthy eating goals. The protein and fat content also make these surprisingly filling, which is nice when you are grazing at a party and do not want to overdo it on the chips and candy.
From a wellness perspective, I love that this recipe turns a classic comfort food into something fun without adding a bunch of processed ingredients or artificial colors. The black cat design comes entirely from whole foods, which makes me feel good about serving them to my family and friends.
Conclusion
These black cat deviled eggs are proof that you do not need fancy equipment or complicated techniques to make something truly special for Halloween. They are cute without being fussy, delicious without being complicated, and they bring a smile to everyone’s face. That is a pretty rare combination in my book.
I love that this recipe started as a complete accident and turned into a tradition. That is how the best recipes happen, is not it? You are just standing in your kitchen, staring at your ingredients, and something clicks. I hope these little cats bring you and your family the same joy they have brought mine.
If you make these, I would love to hear how they turn out. Leave a comment below and let me know if your kids loved them, if your party guests fought over the last one, or if you came up with your own variation. Do not forget to share a photo on Pinterest and tag me so I can see your spooky creations. Happy Halloween, and happy cooking!
Frequently Asked Questions
Can I make these black cat deviled eggs ahead of time?
Yes, but with some caveats. You can boil and peel the eggs up to two days ahead and store them in the fridge. The filling can also be made a day in advance. However, I recommend assembling the cat faces on the same day you plan to serve them. The olive eyes can dry out and the carrot ears may soften if they sit in the fridge for too long after assembly.
What if I cannot find jumbo black olives?
Regular-sized black olives will work, but the eyes will look noticeably smaller and might not read as clearly as cat eyes. If you can only find regular olives, try using two slices per eye to create a bigger surface area. You can also look for olive tapenade or large green olives stuffed with pimentos, though the color will be different.
How do I keep the carrot ears from falling out?
Make sure your carrot slices are thin, about 1/8 inch thick. Thick pieces are too heavy and will slide out of the filling. Also, press them into the filling firmly but gently. If the filling is too cold and stiff, let it sit at room temperature for a few minutes before assembling so it is softer and holds the ears better.
Can I use a different type of mustard?
Absolutely. Yellow mustard gives the classic deviled egg flavor, but Dijon mustard works beautifully for a milder, more sophisticated taste. Spicy brown mustard adds a nice kick. You can even use honey mustard for a slightly sweeter filling, though that will change the overall flavor profile quite a bit.
Are these safe to leave out at a party?
Deviled eggs contain mayonnaise and eggs, so they should not sit at room temperature for more than two hours. If you are serving them at a party, place the platter on ice or in a shallow dish filled with ice cubes to keep them cold. Alternatively, serve them in small batches and replenish from the fridge as needed. Safety first, even when the food is this cute.
Pin This Recipe!
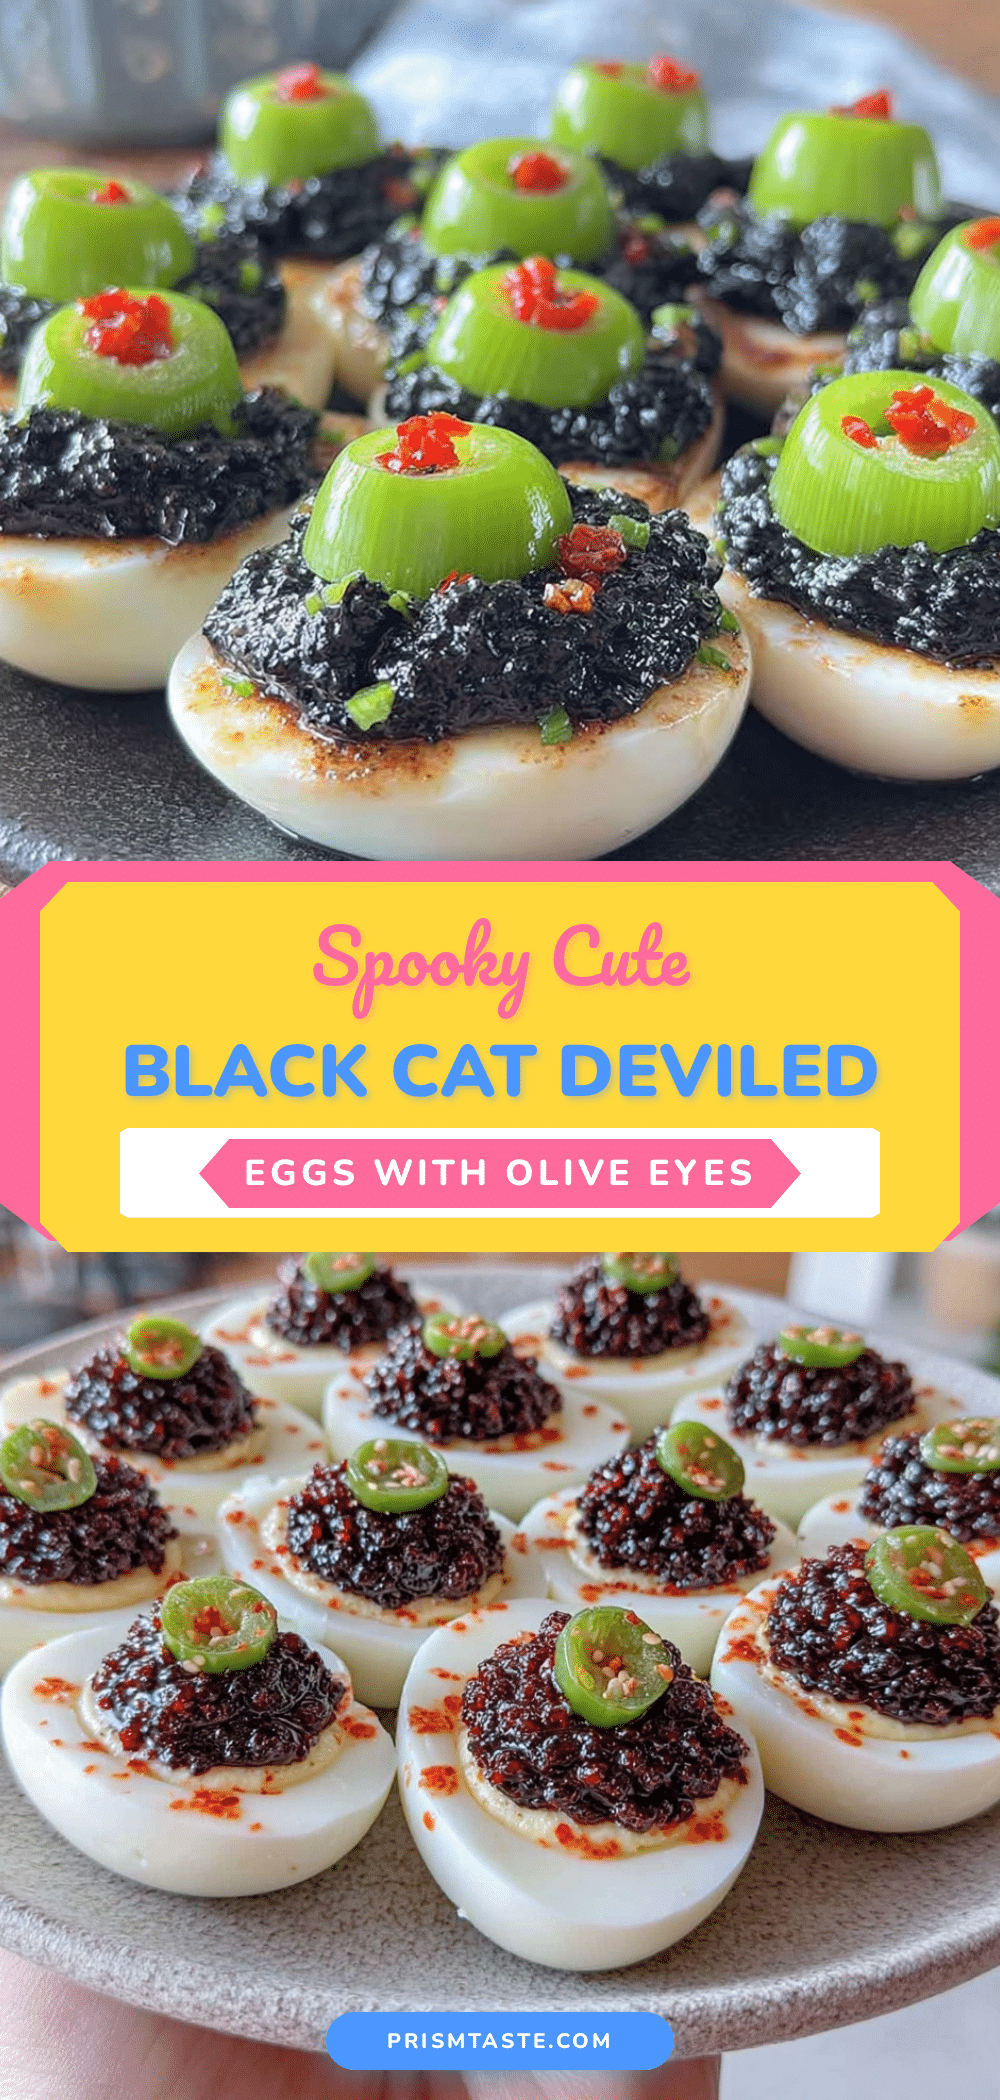
Easy Black Cat Deviled Eggs with Olive Eyes for Halloween

These adorable black cat deviled eggs are the perfect Halloween appetizer—spooky cute, easy to make, and naturally gluten-free and low-carb. With creamy filling, olive eyes, and carrot ears, they’re a crowd-pleaser for kids and adults alike.
- Prep Time: 20 minutes
- Cook Time: 12 minutes
- Total Time: 32 minutes (plus 10 minutes cooling and 30 minutes chilling)
- Yield: 24 deviled egg halves (12 servings of 2 halves each) 1x
- Category: Appetizer
- Cuisine: American
Ingredients
- 12 large eggs
- 1/3 cup mayonnaise
- 1 tablespoon yellow mustard
- 1 teaspoon white vinegar
- 1/4 teaspoon salt
- 1/8 teaspoon black pepper
- 1/4 teaspoon paprika (optional)
- 1 can (6 ounces) whole black olives (jumbo or colossal preferred)
- 2 medium carrots
Instructions
- Place 12 eggs in a single layer in a large saucepan. Cover with cold water by about 1 inch. Bring to a boil over high heat, then turn off heat, cover, and let sit for exactly 12 minutes.
- Prepare an ice bath in a large bowl. Transfer eggs to ice bath using a slotted spoon and let cool for at least 10 minutes.
- Peel eggs: gently tap each egg on the counter to crack the shell, roll between palms, and peel starting from the wider end. Run under cold water if needed.
- Slice each peeled egg in half lengthwise. Pop out yolks into a medium bowl. Arrange egg white halves on a serving platter cut-side up. If wobbly, slice a tiny sliver off the bottom to make them sit flat.
- Mash yolks with a fork until fine crumbs. Add mayonnaise, yellow mustard, white vinegar, salt, pepper, and paprika. Mix until smooth. Adjust seasoning to taste.
- Drain black olives and pat dry. Slice each olive crosswise into rounds about 1/4 inch thick. Use the tip of a knife to cut a small slit in the center of each round, then gently squeeze to create a tiny oval pupil shape.
- Peel carrots and slice into rounds about 1/8 inch thick. Cut each round into a small triangle shape resembling a cat ear (about thumbnail size).
- Spoon filling into a piping bag or zip-top bag and snip off the corner. Pipe filling into each egg white half, mounding slightly in the center.
- Gently press two olive rounds into the filling near the top of each egg half for eyes, with pupils facing forward. Insert two carrot triangles into the filling at the top for ears, pointing upward and slightly outward.
- Refrigerate assembled deviled eggs for at least 30 minutes before serving. Serve cold.
Notes
Use eggs that are at least a week old for easier peeling. Jumbo olives make the eyes look more proportional. Keep carrot slices thin (1/8 inch) so they don’t fall out. Assemble same day for best results; olive eyes can dry out if stored too long. For transport, place on a flat rimmed platter and cover loosely with plastic wrap—do not stack.
Nutrition
- Serving Size: 2 deviled egg halves
- Calories: 160
- Sodium: 320
- Fat: 12
- Saturated Fat: 3
- Carbohydrates: 2
- Protein: 12
Keywords: Halloween deviled eggs, black cat deviled eggs, spooky appetizer, Halloween party food, easy Halloween recipe, gluten-free appetizer, low-carb appetizer


