“Why can’t you just put them in the air fryer?” my nephew asked, pointing at the bowl of raw chicken strips I was prepping. I started to explain why that wouldn’t work — the breading would be uneven, the Parmesan would burn, and they’d come out dry. Then I stopped. Honestly, I had no good reason. I’d just been doing it the old way for so long that I’d forgotten to question it.
So I handed him the tongs. He tossed the strips in a bag with panko and Parmesan, shook it like a maraca, and laid them in the basket. I braced for failure. Twenty minutes later, I was eating my words — and some of the best chicken tenders I’d ever made. The air fryer gave them a crunch that deep frying couldn’t touch, and the Parmesan stayed put, forming a golden, salty crust.
That Tuesday night taught me something: sometimes the simplest idea wins. I mean, how many times have we overcomplicated dinner for no reason? You know that feeling when you’re sure a shortcut will ruin everything, but it turns out to be the secret to the best version? That was this recipe. Now it’s the only way I make chicken tenders for my family, and they’ve never complained once.
The best part? It costs next to nothing. A pound of chicken, some pantry staples, and about 15 minutes of active time. No oil splatter, no soggy coating, no fuss. If you’ve been looking for a weeknight dinner that actually works — and makes everyone happy — this is it.
Why You’ll Love This Recipe
Let me tell you why this recipe has earned a permanent spot in our weekly rotation. I’ve tested it more times than I can count, and it never fails.
- Quick & Easy: From start to finish, these tenders are ready in under 25 minutes. Perfect for those nights when you walk through the door at 5:30 and need dinner on the table by 6.
- Simple Ingredients: You probably have everything in your kitchen right now. Chicken, panko, Parmesan, eggs, and a few seasonings. No fancy grocery trips required.
- Perfect for Family Meals: This is the kind of dinner that pleases picky eaters and adults alike. My kids gobble them up, and I’ve caught my husband sneaking extras straight from the basket.
- Crowd-Pleaser: I brought these to a neighborhood potluck last summer, and they disappeared before the burgers were even flipped. Someone asked if they were from a restaurant.
- Unbelievably Delicious: The air fryer creates a crunch that’s almost magical — crispy on the outside, juicy on the inside, with that nutty Parmesan flavor in every bite.
What makes this recipe different from the rest? It’s the technique. Instead of a traditional three-step breading station, we use a simple shake-and-bake method in a zip-top bag. The Parmesan gets mixed right into the panko, so every single tender has an even coating. No clumps, no bare spots. Plus, the air fryer circulates hot air so efficiently that the coating stays crunchy without any oil bath. It’s comfort food reimagined — faster, cleaner, but with the same soul-soothing satisfaction.
This isn’t just another chicken tender recipe. It’s the one that makes you close your eyes after the first bite and think, why didn’t I try this sooner?
What Ingredients You Will Need
This recipe uses simple, wholesome ingredients that work together to deliver big flavor without any fuss. Most of these are pantry staples, so you can whip up a batch anytime the craving hits.
- Boneless, skinless chicken breasts (1 pound / 450g) — Look for even-sized breasts so they cook uniformly. I prefer to buy them whole and cut them myself into strips, but pre-cut tenders work too. If using frozen, thaw completely first and pat dry with paper towels.
- Panko breadcrumbs (1 cup / 90g) — These give the crunchiest coating. Regular breadcrumbs will work, but they won’t get as crispy. I recommend Kikkoman or Ian’s brand for best texture.
- Grated Parmesan cheese (1/2 cup / 50g) — Use the real stuff from a can or a wedge. The powdery kind in the green bottle melts differently and can burn. I’ve learned this the hard way — twice.
- Large eggs (2) — These help the coating stick. If you’re out of eggs, you can use buttermilk or even plain yogurt as a binder.
- Garlic powder (1 teaspoon) — Adds savory depth without overwhelming the chicken. Fresh garlic can burn in the air fryer, so stick with powder here.
- Paprika (1 teaspoon) — For color and a mild smokiness. Smoked paprika works beautifully if you want a deeper flavor.
- Salt (1/2 teaspoon) — I use fine sea salt. Adjust to taste, especially if your Parmesan is already salty.
- Black pepper (1/4 teaspoon) — Freshly ground is best, but pre-ground works in a pinch.
- Cooking spray (olive oil or avocado oil) — A light spritz helps the coating brown evenly. Don’t skip this — it makes a real difference in the crunch.
Equipment Needed
You don’t need a fancy kitchen to pull this off. Here’s what you’ll need:
- Air fryer — Any model works. I use a 5.8-quart basket style, but an oven-style air fryer is fine too. Just keep an eye on cooking time, as models vary.
- Large zip-top bag — For the shake-and-bake method. A gallon-size bag gives you room to work.
- Cutting board and sharp knife — For slicing the chicken into even strips. A dull knife will tear the meat.
- Two shallow bowls — One for the egg wash, one for the panko mixture if you prefer the traditional dipping method.
- Tongs — For transferring the coated tenders to the air fryer basket. They keep your hands clean and prevent the coating from falling off.
- Paper towels — Essential for patting the chicken dry. This step is non-negotiable for crispy results.
If you don’t have an air fryer yet, don’t worry. You can bake these in a conventional oven at 425°F (220°C) for 12-15 minutes, flipping halfway. They won’t be quite as crunchy, but they’ll still be delicious. I used a $30 air fryer from a discount store for two years before upgrading, and it worked perfectly for this recipe.
Preparation Method
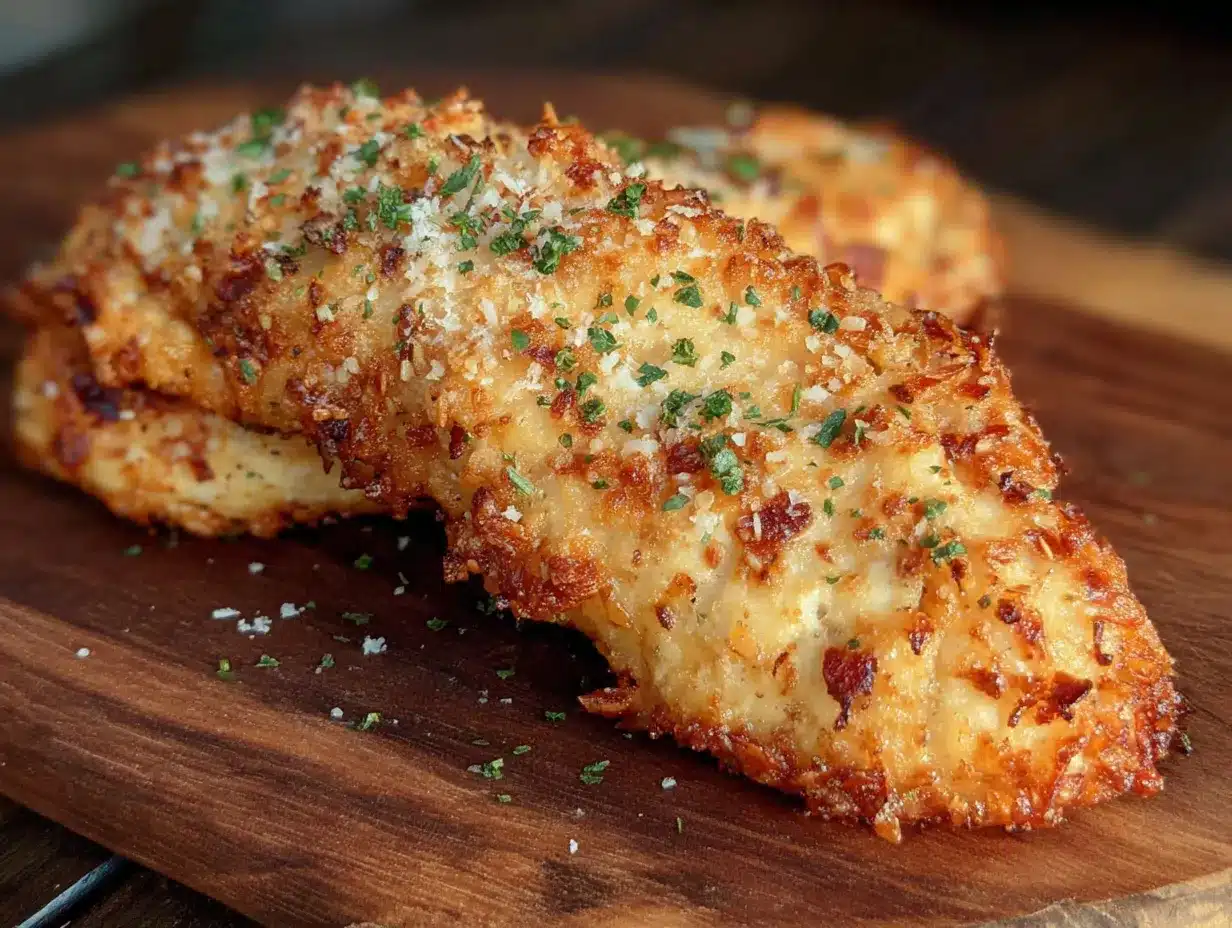
Let’s get cooking. Follow these steps, and you’ll have perfect tenders every time.
- Prep the chicken: Place the chicken breasts on a cutting board. Slice them lengthwise into strips about 1 inch (2.5 cm) wide. You should get 4-5 strips per breast. Pat them dry with paper towels — this helps the coating stick better. Season lightly with salt and pepper.
- Set up your coating station: In a large zip-top bag, combine the panko, Parmesan cheese, garlic powder, paprika, salt, and pepper. Seal the bag and shake it to mix everything together. In a shallow bowl, beat the two eggs with a fork until they’re smooth and slightly frothy.
- Coat the chicken: Dip each chicken strip into the egg wash, letting the excess drip off. Then drop it into the bag with the panko mixture. Seal the bag and shake it gently until the strip is fully coated. Don’t over-shake — you want an even layer, not a thick clump. Place the coated strip on a plate and repeat with the remaining chicken.
- Preheat the air fryer: Set your air fryer to 400°F (200°C) and let it preheat for 3 minutes. This step ensures the coating starts crisping immediately.
- Arrange the tenders: Lightly spray the air fryer basket with cooking spray. Place the coated chicken strips in a single layer in the basket. Don’t overcrowd — leave a little space between each strip for air to circulate. You may need to cook in batches if your basket is small.
- Cook the first side: Spray the tops of the tenders lightly with cooking spray. Cook at 400°F (200°C) for 8 minutes. The coating should start turning golden brown.
- Flip and finish: Using tongs, carefully flip each tender. Spray the tops again with a light mist of cooking spray. Cook for another 6-8 minutes, until the internal temperature reaches 165°F (74°C) on an instant-read thermometer. The coating should be deep golden and crispy.
- Rest and serve: Remove the tenders from the air fryer and let them rest on a wire rack for 2 minutes. This keeps the coating from getting soggy on the bottom. Serve immediately while they’re hot and crunchy.
Pro tip: If you’re cooking a full batch, keep the finished tenders warm in a 200°F (90°C) oven while you cook the rest. Just place them on a baking sheet in a single layer — don’t stack them or they’ll lose their crunch.
Cooking Tips & Techniques
I’ve made this recipe more times than I can count, and I’ve learned a few things along the way. Here are my best tips for success.
Don’t skip drying the chicken. Moisture is the enemy of crispiness. If the chicken is even slightly damp, the coating will steam instead of crunch. Pat it down with paper towels until it feels tacky to the touch.
Watch your Parmesan. Freshly grated Parmesan is lovely, but it can burn faster than the pre-grated stuff. If you’re using fresh, mix it with the panko and check the tenders a minute or two early. I once scorched a whole batch because I got distracted by a phone call — the smoke alarm reminded me.
Don’t overcrowd the basket. This is the most common mistake. If the tenders are touching, the air can’t circulate, and you’ll end up with soft spots. Cook in batches if needed. It adds a few minutes but makes a huge difference.
Use an instant-read thermometer. Chicken is done at 165°F (74°C), but the coating can look golden before the inside is fully cooked. I always check the thickest tender to be safe. It’s the only way to guarantee juicy meat without guessing.
Spray, don’t brush. A light mist of cooking spray gives you an even, thin coating. Brushing on oil can knock off the panko and create bare spots. Hold the can about 6 inches away and give it a quick pass.
Let them rest. That 2-minute rest on a wire rack isn’t optional. It lets steam escape so the bottom stays crispy. If you put them directly on a plate, the trapped moisture will soften the coating in minutes.
Variations & Adaptations
One of the best things about this recipe is how easy it is to tweak. Here are some variations I’ve tried and loved.
- Spicy version: Add 1/2 teaspoon of cayenne pepper or red pepper flakes to the panko mixture. My brother-in-law loves these with a drizzle of hot honey on top. It’s a game-changer for heat seekers.
- Gluten-free option: Swap the panko for gluten-free panko or crushed pork rinds. I’ve used both, and the pork rinds actually give an extra-crunchy texture that’s surprisingly good.
- Herb-infused: Mix in 1 teaspoon of dried oregano or Italian seasoning with the panko. It gives the tenders a subtle herb flavor that pairs beautifully with marinara sauce.
- Cheese swap: Try Pecorino Romano or Asiago instead of Parmesan. Each cheese brings a different saltiness and depth. I once used a mix of Parmesan and sharp cheddar — it was a hit with the kids.
- Air fryer to oven: If your air fryer is too small for a big batch, bake the tenders at 425°F (220°C) on a wire rack set over a baking sheet. Bake for 12-15 minutes, flipping halfway. They won’t be as crunchy, but they’re still delicious.
My personal favorite variation? I add a tablespoon of nutritional yeast to the panko mixture. It gives a subtle cheesy, nutty flavor that even my pickiest eater can’t identify but always asks for more of.
Serving & Storage Suggestions
These tenders are best served hot, straight from the air fryer. Here’s how to make the most of them.
Serving temperature: Serve immediately while the coating is still crisp. If you’re making a big batch, keep them warm in a 200°F (90°C) oven on a wire rack — not a plate — to prevent sogginess.
Dipping sauces: These are perfect with classic ranch, honey mustard, or barbecue sauce. For a lighter option, try Greek yogurt mixed with lemon juice and dill. My kids love them with ketchup, which I pretend not to notice.
Side dish ideas: Pair with a simple green salad, roasted vegetables, or sweet potato fries. For a complete meal, serve alongside steamed broccoli and rice. The tenders also make great sandwich fillers — just tuck them into a bun with lettuce and tomato.
Storage: Leftover tenders can be stored in an airtight container in the refrigerator for up to 3 days. To reheat, place them back in the air fryer at 375°F (190°C) for 3-4 minutes. The microwave will make them rubbery, so avoid it if you can.
Freezing: These freeze beautifully. Cool the cooked tenders completely, then place them in a single layer on a baking sheet and freeze until solid. Transfer to a freezer bag and store for up to 2 months. Reheat directly from frozen in the air fryer at 375°F (190°C) for 6-8 minutes.
Flavors actually improve after a day in the fridge — the Parmesan seems to deepen overnight. I’ve been known to make a double batch just for leftovers the next day.
Nutritional Information & Benefits
Here’s the nutritional breakdown per serving (about 3-4 tenders, based on 4 servings):
| Nutrient | Amount |
|---|---|
| Calories | 320 |
| Protein | 35g |
| Fat | 12g |
| Saturated Fat | 4g |
| Carbohydrates | 16g |
| Fiber | 1g |
| Sugar | 1g |
| Sodium | 680mg |
This recipe is naturally low in sugar and provides a solid dose of protein — perfect for growing kids or post-workout recovery. The Parmesan adds calcium and a boost of umami without needing much salt. If you’re watching your sodium, reduce the added salt and use a low-sodium Parmesan.
For a lower-carb version, replace the panko with crushed pork rinds or almond flour. Each serving drops to about 8g of carbs while keeping the crunch. I’ve tried both, and the pork rind version is surprisingly satisfying — my kids didn’t even notice the swap.
Potential allergens include dairy (Parmesan) and eggs. For a dairy-free version, use nutritional yeast instead of Parmesan and a flax egg (1 tablespoon ground flaxseed mixed with 3 tablespoons water) as a binder.
Conclusion
This easy air fryer Parmesan chicken tenders recipe has become a staple in my kitchen, and I honestly think it will in yours too. It’s quick, affordable, and uses ingredients you probably already have. The air fryer does all the heavy lifting, giving you that deep-fried crunch without the mess or the guilt.
What I love most about this recipe is how forgiving it is. You can tweak the seasonings, swap the cheese, or double the batch without any fuss. It’s the kind of dinner that makes you feel like a hero — even on a Tuesday night when you’re running on empty.
So go ahead and give it a try. Let me know how it turns out in the comments — I’d love to hear about your variations and which dipping sauce your family loved most. And if you’ve got a picky eater who finally cleaned their plate, I want to hear about that too.
Happy cooking, friends. You’ve got this.
Frequently Asked Questions
Can I use frozen chicken tenders instead of fresh?
Yes, but you’ll need to thaw them first and pat them very dry. Frozen tenders release a lot of water as they cook, which can make the coating soggy. If you’re in a hurry, you can cook them from frozen using the same method, but add 3-4 minutes to the cooking time and expect a less crispy result.
Why did my coating fall off in the air fryer?
This usually happens if the chicken wasn’t dried properly or if the egg wash was too thick. Make sure to pat the chicken dry with paper towels and let the excess egg drip off before coating. Also, avoid shaking the bag too vigorously — gentle tossing is all you need.
Can I make these ahead of time for a party?
Absolutely. Cook the tenders as directed, let them cool completely, and store them in an airtight container in the refrigerator. Reheat in the air fryer at 375°F (190°C) for 3-4 minutes just before serving. They’ll crisp right back up.
What if I don’t have an air fryer?
No problem. Bake the coated tenders on a wire rack set over a baking sheet at 425°F (220°C) for 12-15 minutes, flipping halfway. They won’t be quite as crunchy as the air fryer version, but they’re still delicious. You can also pan-fry them in a shallow layer of oil for a traditional approach.
How do I know when the chicken is fully cooked?
Use an instant-read thermometer inserted into the thickest part of a tender. It should read 165°F (74°C). If you don’t have a thermometer, cut into the thickest tender — the juices should run clear, and there should be no pink in the center.
Pin This Recipe!
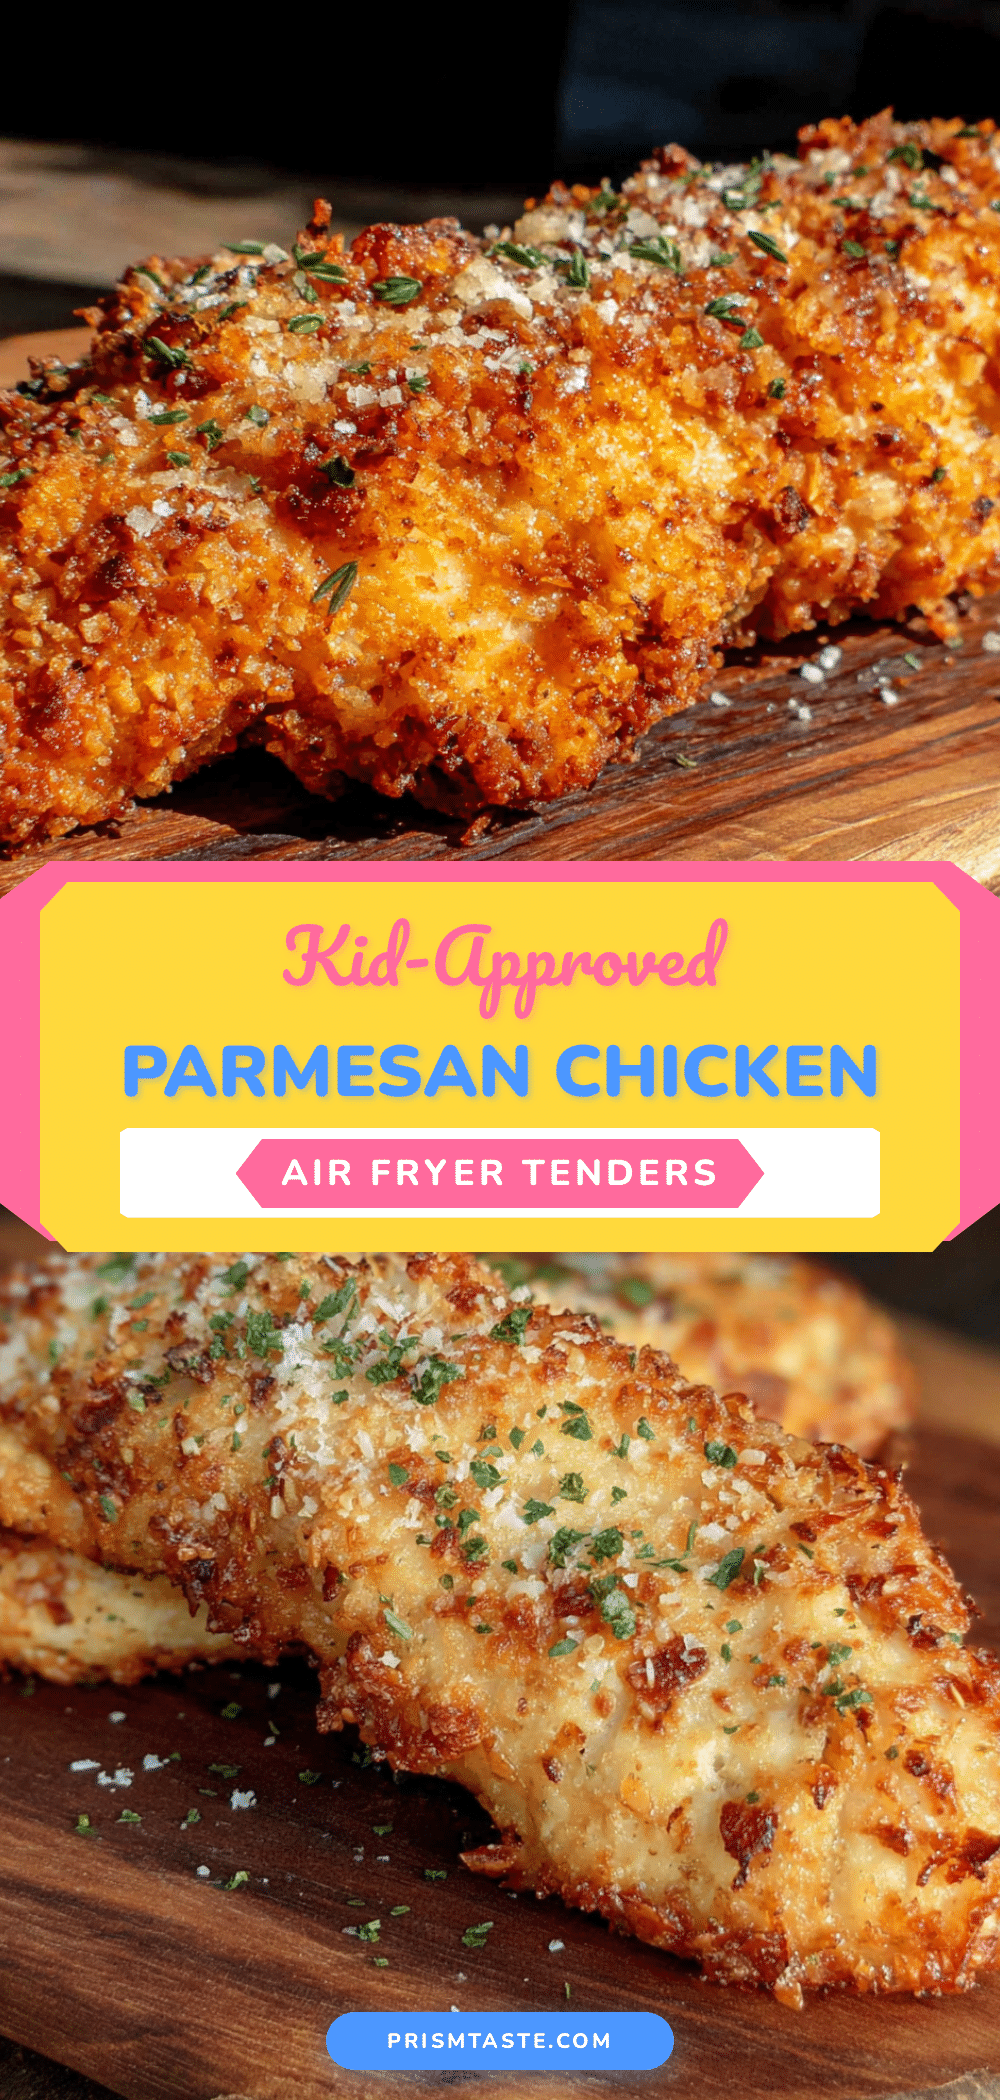
Easy Air Fryer Parmesan Chicken Tenders (Kid-Approved!)
These air fryer Parmesan chicken tenders are quick, easy, and incredibly crispy. Made with simple pantry ingredients and a shake-and-bake method, they’re a family-friendly weeknight dinner that delivers deep-fried crunch without the mess.
- Prep Time: 15 minutes
- Cook Time: 14-16 minutes
- Total Time: 29-31 minutes
- Yield: 4 servings 1x
- Category: Main Course
- Cuisine: American
Ingredients
- 1 pound (450g) boneless, skinless chicken breasts
- 1 cup (90g) panko breadcrumbs
- 1/2 cup (50g) grated Parmesan cheese
- 2 large eggs
- 1 teaspoon garlic powder
- 1 teaspoon paprika
- 1/2 teaspoon fine sea salt
- 1/4 teaspoon black pepper
- Cooking spray (olive oil or avocado oil)
Instructions
- Prep the chicken: Place the chicken breasts on a cutting board. Slice them lengthwise into strips about 1 inch (2.5 cm) wide. You should get 4-5 strips per breast. Pat them dry with paper towels — this helps the coating stick better. Season lightly with salt and pepper.
- Set up your coating station: In a large zip-top bag, combine the panko, Parmesan cheese, garlic powder, paprika, salt, and pepper. Seal the bag and shake it to mix everything together. In a shallow bowl, beat the two eggs with a fork until they’re smooth and slightly frothy.
- Coat the chicken: Dip each chicken strip into the egg wash, letting the excess drip off. Then drop it into the bag with the panko mixture. Seal the bag and shake it gently until the strip is fully coated. Don’t over-shake — you want an even layer, not a thick clump. Place the coated strip on a plate and repeat with the remaining chicken.
- Preheat the air fryer: Set your air fryer to 400°F (200°C) and let it preheat for 3 minutes. This step ensures the coating starts crisping immediately.
- Arrange the tenders: Lightly spray the air fryer basket with cooking spray. Place the coated chicken strips in a single layer in the basket. Don’t overcrowd — leave a little space between each strip for air to circulate. You may need to cook in batches if your basket is small.
- Cook the first side: Spray the tops of the tenders lightly with cooking spray. Cook at 400°F (200°C) for 8 minutes. The coating should start turning golden brown.
- Flip and finish: Using tongs, carefully flip each tender. Spray the tops again with a light mist of cooking spray. Cook for another 6-8 minutes, until the internal temperature reaches 165°F (74°C) on an instant-read thermometer. The coating should be deep golden and crispy.
- Rest and serve: Remove the tenders from the air fryer and let them rest on a wire rack for 2 minutes. This keeps the coating from getting soggy on the bottom. Serve immediately while they’re hot and crunchy.
Notes
Don’t skip drying the chicken — moisture is the enemy of crispiness. Watch your Parmesan; freshly grated can burn faster than pre-grated. Don’t overcrowd the basket; cook in batches if needed. Use an instant-read thermometer to ensure chicken reaches 165°F (74°C). Spray, don’t brush, the coating with oil. Let the tenders rest on a wire rack for 2 minutes to keep the bottom crispy. For a gluten-free version, use gluten-free panko or crushed pork rinds. For a dairy-free version, use nutritional yeast instead of Parmesan and a flax egg as a binder.
Nutrition
- Serving Size: 3-4 tenders
- Calories: 320
- Sugar: 1
- Sodium: 680
- Fat: 12
- Saturated Fat: 4
- Carbohydrates: 16
- Fiber: 1
- Protein: 35
Keywords: air fryer chicken tenders, Parmesan chicken tenders, easy chicken tenders, kid-friendly chicken tenders, quick weeknight dinner


