My neighbor texted me a photo of an empty plate last October. “Made these three times already,” she wrote. “My kids keep asking for more.” I hadn’t even posted the recipe yet—she was my taste tester for a batch I’d dropped off the week before. That was the moment I knew these pumpkin snickerdoodle blondies were different. Not because I said so, but because someone else proved it.
Let me back up. I’d been playing around with pumpkin desserts all season, trying to find something that wasn’t just another muffin or loaf. Don’t get me wrong, I love a good cozy small batch pumpkin bread with maple butter as much as anyone, but I wanted a bar that felt special. Something that combined the warm, spiced comfort of a snickerdoodle with the soft, almost fudgy texture of a blondie. And honestly? I wanted it to be easy enough that I wouldn’t dread cleaning up.
The first batch came out of the oven and I knew I was onto something. The edges were perfectly chewy, the centers were soft and tender, and that cinnamon-sugar coating on top? It crackled just like a real snickerdoodle. But it was my neighbor’s unsolicited photo that sealed it. These blondies had staying power. They’re the kind of dessert you make for a potluck and end up emailing the recipe to three people before the night’s over.
Why You’ll Love This Recipe
I’ve tested a lot of pumpkin recipes over the years, and these blondies earned a permanent spot in my fall rotation. Here’s why they stand out:
- Quick & Easy : From mixing bowl to oven in under 15 minutes. No stand mixer required, no chilling time, no fuss.
- Simple Ingredients : You probably have most of these in your pantry right now. Canned pumpkin, butter, sugar, flour, and cinnamon—that’s the backbone.
- Perfect for Fall Gatherings : These bars travel well, slice cleanly, and disappear fast. I’ve brought them to tailgates, Thanksgiving potlucks, and casual dinner parties.
- Crowd-Pleaser : Kids love the soft, cake-like texture and the sugary cinnamon coating. Adults appreciate that they’re not overly sweet or heavy.
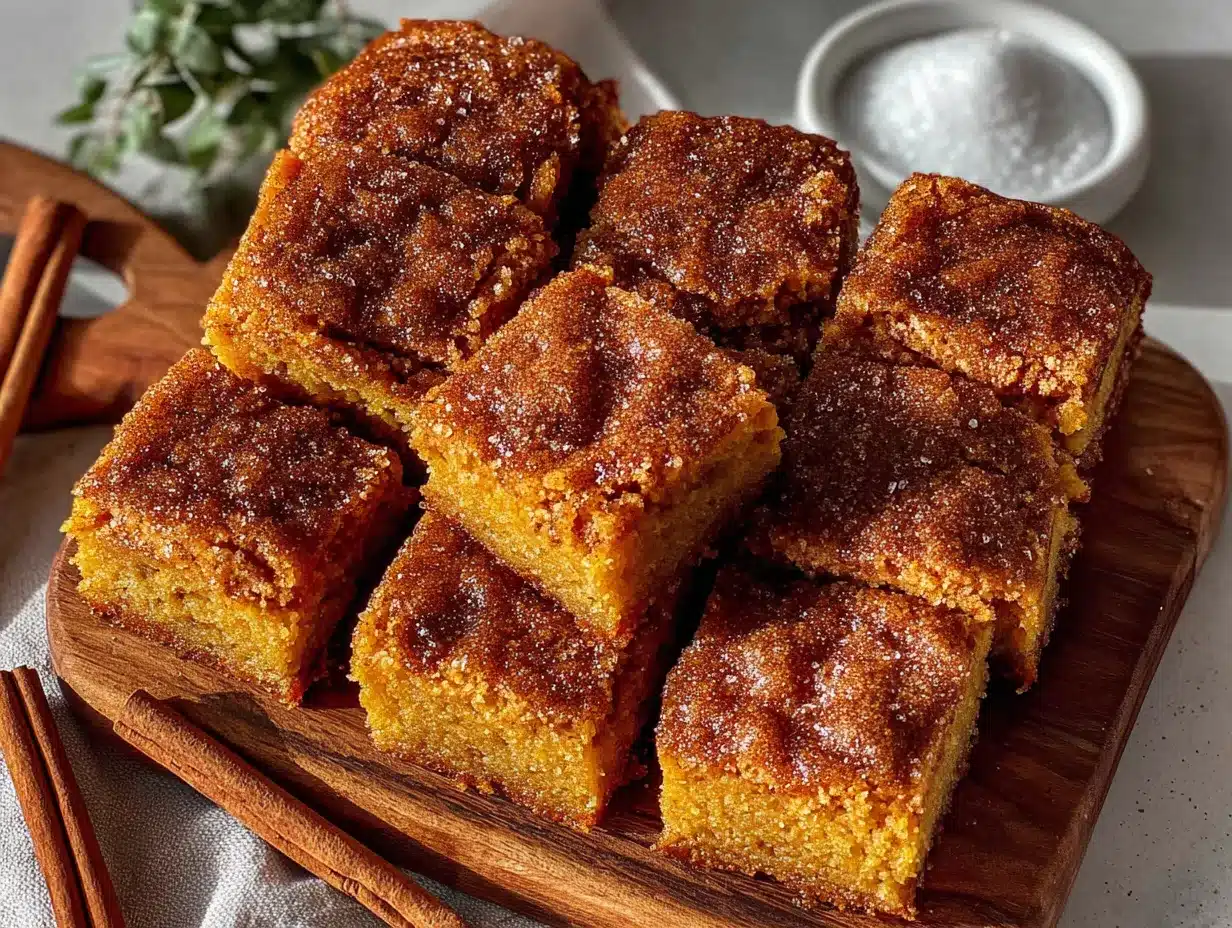
- Unbelievably Delicious : That crackly cinnamon-sugar top gives way to a tender, pumpkin-spiced center that’s almost like a cross between a blondie and a soft cookie. It’s comfort food in bar form.
What makes this recipe different from the dozens of other pumpkin bars out there? It’s the texture. Most pumpkin desserts lean toward cakey or dense. These blondies hit that sweet spot in between—chewy edges, soft centers, and a top that shatters slightly when you bite into it. I figured out that using melted butter instead of creamed butter gives you that chewier texture, and the right ratio of pumpkin to flour keeps things from getting gummy.
This is the kind of dessert that makes you close your eyes after the first bite. It’s familiar but surprising, cozy but not heavy. Perfect for when you want something that feels special without spending all afternoon in the kitchen.
What Ingredients You Will Need
This recipe relies on simple, pantry-friendly ingredients that come together to create something genuinely special. Nothing weird, nothing expensive—just good basics working in harmony.
For the Blondies:
- Unsalted butter, melted and slightly cooled (1/2 cup, 1 stick) — Melting the butter gives these blondies their signature chewy texture. I use Land O’Lakes or Kerrygold for the best flavor.
- Light brown sugar, packed (1 cup, 200g) — Brown sugar adds moisture and that deep, almost caramel-like sweetness that pairs perfectly with pumpkin. Dark brown sugar works too, but the flavor will be more intense.
- Granulated sugar (1/4 cup, 50g) — A little white sugar helps with browning and keeps the texture from getting too dense.
- Pumpkin puree (1/2 cup, 120g) — Not pumpkin pie filling! Make sure you grab 100% pure pumpkin puree. Libby’s is my go-to because it’s consistently thick and not watery.
- Large egg, room temperature (1) — Room temperature eggs incorporate more evenly into the batter. If you forgot to set one out, place it in a bowl of warm water for 5 minutes.
- Vanilla extract (1 teaspoon) — Pure vanilla makes a difference here. Imitation works in a pinch, but the flavor won’t be as warm and rounded.
- All-purpose flour (1 and 1/3 cups, 166g) — Spoon and level your flour. Scooping directly from the bag can add too much flour and make your blondies dry.
- Pumpkin pie spice (1 and 1/2 teaspoons) — You can use store-bought or make your own with cinnamon, nutmeg, ginger, and cloves. I usually make a big batch at the start of fall.
- Ground cinnamon (1 teaspoon) — Cinnamon reinforces the snickerdoodle flavor and adds warmth.
- Baking powder (1/2 teaspoon) — Gives the blondies a slight lift without making them cakey.
- Salt (1/4 teaspoon) — Salt balances the sweetness and enhances all the warm spices. Don’t skip it.
For the Cinnamon-Sugar Topping:
- Granulated sugar (2 tablespoons)
- Ground cinnamon (1 tablespoon) — Yes, a full tablespoon. This is what gives these blondies that signature snickerdoodle crackle.
Substitution Notes: For a dairy-free version, use melted coconut oil or vegan butter in place of the butter. For a gluten-free option, swap the all-purpose flour with a 1:1 gluten-free baking flour blend (I like King Arthur’s). The texture will be slightly more delicate, but still delicious. If you don’t have pumpkin pie spice, use 1 teaspoon cinnamon, 1/4 teaspoon nutmeg, 1/4 teaspoon ginger, and a pinch of cloves.
Equipment Needed
You don’t need fancy equipment for these blondies, which is honestly one of my favorite things about them.
- 8×8-inch baking pan — This is the perfect size for a 9-serving batch. A 9×9 pan works too, but your blondies will be thinner and may bake a few minutes faster.
- Parchment paper — Lining the pan with parchment paper (with overhang on two sides) makes lifting the blondies out a breeze. No scraping, no sticking.
- Large mixing bowl — Any medium-to-large bowl will do. I use a glass Pyrex bowl because it’s easy to see when everything is combined.
- Whisk — For mixing the wet ingredients and the dry ingredients separately.
- Rubber spatula — For folding the dry ingredients into the wet without overmixing.
- Small bowl — For mixing the cinnamon-sugar topping.
- Measuring cups and spoons — Accurate measurements matter in baking. I recommend using a kitchen scale for the flour if you have one.
- Cooling rack — Helps the blondies cool evenly so the edges don’t get soggy.
If you don’t have an 8×8 pan, you can use a 9-inch round cake pan or even a cast-iron skillet. Just adjust the baking time slightly and keep an eye on the edges—they should be golden brown when done.
Preparation Method
Let’s get baking. These blondies come together in one bowl (well, two if you count the topping) and the whole process takes about 15 minutes of active time.
Step 1: Preheat and Prep
Preheat your oven to 350°F (175°C). Line your 8×8-inch baking pan with parchment paper, leaving about 2 inches of overhang on two opposite sides. This creates little handles that make lifting the blondies out super easy later. Lightly spray the parchment with nonstick cooking spray just to be safe.
Step 2: Mix the Wet Ingredients
In a large mixing bowl, whisk together the melted butter (make sure it’s not hot—just warm to the touch), packed brown sugar, and granulated sugar until smooth. The mixture should look glossy and smell amazing. Add the pumpkin puree, room temperature egg, and vanilla extract. Whisk until everything is fully combined and the batter is a uniform orange-tan color. Don’t worry if it looks a little thin—that’s normal.
Step 3: Combine the Dry Ingredients
In a separate small bowl, whisk together the all-purpose flour, pumpkin pie spice, ground cinnamon, baking powder, and salt. This step ensures the spices and leavening are evenly distributed throughout the batter. Nobody wants a bite that’s all baking powder or a clump of cinnamon.
Step 4: Fold It All Together
Add the dry ingredients to the wet ingredients in two additions, folding gently with a rubber spatula after each addition. Stop mixing as soon as you no longer see streaks of flour. Overmixing will make your blondies tough, and we want them tender. The batter will be thick and slightly sticky—similar to a soft cookie dough.
Step 5: Make the Cinnamon-Sugar Topping
In a small bowl, stir together the granulated sugar and ground cinnamon. This is a generous amount of cinnamon, and that’s intentional. It creates that signature snickerdoodle crust that makes these blondies so addictive.
Step 6: Assemble and Top
Spread the batter evenly into your prepared pan. It’s thick, so use the spatula to coax it into the corners and smooth the top. Sprinkle the cinnamon-sugar mixture evenly over the batter. Don’t be shy—cover every bit of the surface. The sugar will melt and crackle as it bakes, creating that beautiful top crust.
Step 7: Bake
Bake at 350°F for 22-26 minutes. At 22 minutes, check the blondies. The edges should be golden brown and set, and the center should look slightly underdone—a little jiggly and puffed. A toothpick inserted into the center should come out with a few moist crumbs, not wet batter. If it comes out clean, you’ve overbaked them. Trust the jiggle test more than the toothpick test for these.
Step 8: Cool Completely
Place the pan on a cooling rack and let the blondies cool completely in the pan. This is the hardest part, I know. But if you cut into them while they’re warm, they’ll crumble and fall apart. The texture sets as they cool, giving you those clean, beautiful squares. Patience pays off here.
Step 9: Slice and Serve
Once completely cool, use the parchment paper handles to lift the entire block of blondies out of the pan. Place on a cutting board and slice into 9 even squares (a 3×3 grid) or 16 smaller squares if you want bite-sized portions. For the cleanest cuts, wipe your knife clean between slices.
Cooking Tips & Techniques
I’ve made these blondies more times than I can count, and I’ve learned a few things along the way. Here are the tips that make the difference between good blondies and great ones.
Don’t overmix the batter. This is the number one mistake I see people make. Mix until the flour just disappears. Overmixing develops gluten, and too much gluten makes blondies tough and bread-like instead of tender and chewy. I speak from experience—my first batch was more like a hockey puck than a blondie.
Use room temperature ingredients. I know it seems fussy, but a cold egg can seize the melted butter and create a lumpy batter. Leave your egg on the counter for 30 minutes before you start, or place it in a bowl of warm water for 5 minutes. Your blondies will thank you.
Measure your flour correctly. If you don’t have a kitchen scale, use the spoon-and-level method. Fluff the flour in its bag, spoon it into your measuring cup, and level it off with a straight edge. Scooping directly from the bag can pack in up to 25% more flour, which makes your blondies dry and dense.
Watch the baking time closely. Every oven runs a little differently. My old oven baked these in 24 minutes exactly. My new one takes 26. Start checking at 22 minutes and go from there. The edges should be golden and the center should look slightly underdone. Remember, they continue to bake in the hot pan after you pull them out.
Let them cool completely. I can’t stress this enough. Warm blondies are fragile and will fall apart. The texture firms up beautifully as they cool, giving you that perfect chewy-yet-tender bite. If you absolutely can’t wait, warm them up later in the microwave for 10 seconds.
For extra chewy edges, press the batter slightly higher up the sides of the pan before baking. This creates more surface area for those caramelized edges that everyone fights over.
Variations & Adaptations
One of the best things about this recipe is how adaptable it is. I’ve tried several variations over the years, and they’ve all been winners.
Chocolate Chip Pumpkin Blondies: Fold in 1/2 cup of semi-sweet chocolate chips along with the dry ingredients. The chocolate melts into little pockets of richness that pair beautifully with the pumpkin and cinnamon. My kids say this version is their favorite.
Maple Glazed Blondies: Skip the cinnamon-sugar topping and instead whisk together 1/2 cup powdered sugar, 2 tablespoons maple syrup, and 1 tablespoon milk. Drizzle over the cooled blondies and let set for 10 minutes. This version feels extra fancy and is perfect for Thanksgiving dessert tables.
Gluten-Free Option: Substitute the all-purpose flour with a 1:1 gluten-free baking blend that contains xanthan gum. I’ve tested this with King Arthur Measure for Measure and Bob’s Red Mill 1:1, and both worked well. The texture is slightly more tender, so let them cool completely before slicing.
Vegan Adaptation: Replace the butter with melted coconut oil or vegan butter, and use a flax egg (1 tablespoon ground flaxseed mixed with 3 tablespoons water, let sit for 5 minutes). The texture will be a bit more delicate, but the flavor is still spot-on.
Spice It Up: Add 1/4 teaspoon of cardamom or allspice to the pumpkin pie spice for a more complex flavor profile. I tried this on a whim one rainy Sunday and it was a revelation—the cardamom adds a slightly floral note that’s unexpected but wonderful.
Serving & Storage Suggestions
These blondies are incredibly versatile when it comes to serving. Here’s how I like to enjoy them.
Serving Temperature: They’re perfect at room temperature, but I also love them slightly warm. Pop a blondie in the microwave for 10-15 seconds and serve with a scoop of vanilla ice cream or a dollop of whipped cream. The warm blondie with cold ice cream is pure fall comfort.
Presentation Ideas: For a casual gathering, arrange the blondies on a wooden board or cake stand. For something fancier, dust them with a little extra cinnamon or drizzle with caramel sauce. They also look beautiful arranged on a platter alongside cozy pumpkin chai latte muffins with maple glaze for a full fall dessert spread.
Pairings: These blondies pair beautifully with coffee, chai tea, or a warm mug of apple cider. For a dessert board, serve them with easy homemade pumpkin spice latte syrup drizzled over ice cream on the side. The combination of flavors is pure autumn magic.
Storage Instructions: Store blondies in an airtight container at room temperature for up to 4 days. Place a piece of parchment paper between layers if stacking to prevent sticking. They actually taste even better on day two as the flavors meld together.
Freezer Instructions: These blondies freeze beautifully. Wrap individual squares tightly in plastic wrap, then place them in a freezer-safe bag or container. They’ll keep for up to 3 months. To thaw, leave them at room temperature for about 30 minutes, or microwave for 15-20 seconds for that just-baked taste.
Flavor Development: The pumpkin and spice flavors deepen over time. I actually prefer these on day two or three—the texture stays soft and the cinnamon-sugar top remains perfectly crackly. If you can resist eating them all on day one, you’re in for a treat.
Nutritional Information & Benefits
While these blondies are definitely a treat, they do offer some nutritional perks thanks to the pumpkin.
Estimated Nutritional Values (per blondie, based on 9 servings):
| Nutrient | Amount |
|---|---|
| Calories | 285 |
| Total Fat | 12g |
| Saturated Fat | 7g |
| Carbohydrates | 42g |
| Fiber | 2g |
| Sugar | 28g |
| Protein | 3g |
Health Benefits of Pumpkin: Pumpkin is packed with vitamin A (beta-carotene), which supports eye health and immune function. It’s also a good source of fiber, which helps with digestion and keeps you feeling full. Plus, it adds moisture and natural sweetness to baked goods, which means you can use a little less butter and sugar than traditional recipes.
Dietary Considerations: This recipe is vegetarian and can easily be made gluten-free or vegan with the substitutions mentioned above. It contains dairy (butter) and gluten (flour) in its standard form. If you have nut allergies, rest assured this recipe is nut-free as written.
My Personal Take: I believe in balance. These blondies are a dessert, and I enjoy them as such. But knowing there’s real pumpkin in there—with its vitamins and fiber—makes me feel a little less guilty about grabbing a second one. They’re comfort food that happens to have a few redeeming qualities, and I’m okay with that.
Conclusion
These cozy pumpkin snickerdoodle blondies have become my go-to fall dessert for a reason. They’re easy enough for a weekday treat but special enough for holiday gatherings. The crackly cinnamon-sugar top, the tender pumpkin-spiced center, the chewy edges—every bite reminds me why I love baking in the fall.
I hope you give these a try and make them your own. Maybe you’ll add chocolate chips, or drizzle them with maple glaze, or just enjoy them exactly as written. That’s the beauty of a good recipe—it’s a starting point for your own kitchen adventures.
If you make these blondies, I’d love to hear about it. Leave a comment below and let me know how they turned out, or share a photo on social media and tag me. Did you try a variation? Did your family love them? Tell me everything. And if you’re looking for more fall baking inspiration, don’t miss my cozy pumpkin snickerdoodle cookies with cinnamon sugar—they’re like the cookie version of these blondies, and they’re just as addictive.
Happy baking, friends. Here’s to cozy kitchens, warm ovens, and desserts that make you close your eyes after the first bite.
Frequently Asked Questions
Can I use pumpkin pie filling instead of pumpkin puree?
No, I wouldn’t recommend it. Pumpkin pie filling is pre-sweetened and spiced, which will throw off the sugar and spice balance in this recipe. Stick with 100% pure pumpkin puree for the best results. Libby’s is the most consistent brand I’ve found.
Why did my blondies turn out dry?
Dry blondies usually mean one of three things: too much flour, overbaking, or not enough pumpkin. Make sure you’re measuring your flour correctly (spoon and level, don’t scoop) and pulling the blondies out when the center still looks slightly underdone. They continue to bake in the hot pan as they cool.
Can I make these ahead of time?
Absolutely. These blondies actually taste better on day two as the flavors meld together. Bake them a day ahead, cool completely, and store in an airtight container at room temperature. They’ll stay fresh for up to 4 days. You can also freeze them for up to 3 months.
Can I double this recipe?
Yes! Double all the ingredients and bake in a 9×13-inch pan. You’ll need to increase the baking time to about 30-35 minutes. Start checking at 30 minutes and look for the same doneness cues—golden edges and a slightly underdone center.
My blondies stuck to the pan. What went wrong?
This happens when you don’t use parchment paper or don’t grease the pan well enough. Always line your pan with parchment paper, leaving overhang on two sides. Lightly spray the parchment with nonstick spray for extra insurance. The parchment handles make lifting the blondies out effortless.
Pin This Recipe!
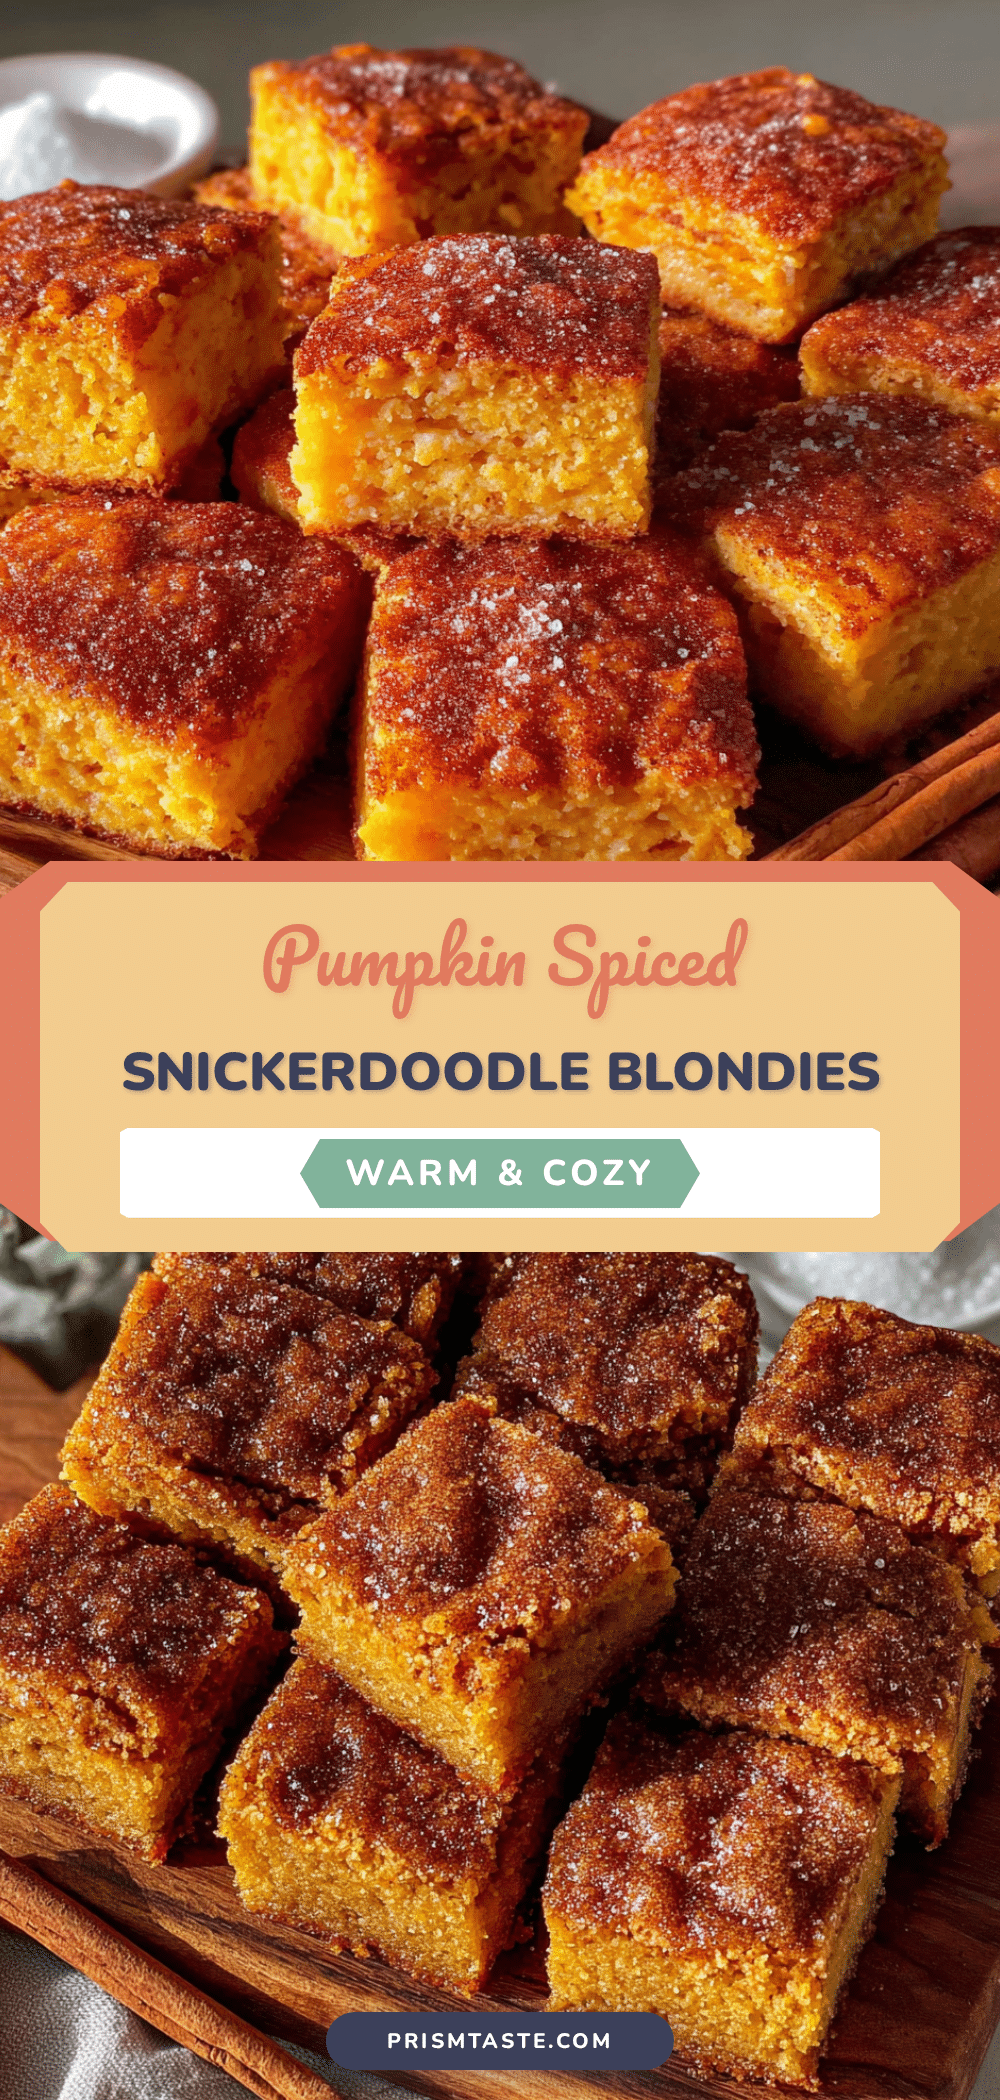
Cozy Pumpkin Snickerdoodle Blondies: Easy Fall Dessert
These pumpkin snickerdoodle blondies combine the warm, spiced comfort of a snickerdoodle with the soft, almost fudgy texture of a blondie. They’re easy to make, perfect for fall gatherings, and feature a crackly cinnamon-sugar top.
- Prep Time: 15 minutes
- Cook Time: 22-26 minutes
- Total Time: 37-41 minutes
- Yield: 9 servings 1x
- Category: Dessert
- Cuisine: American
Ingredients
- 1/2 cup (1 stick) unsalted butter, melted and slightly cooled
- 1 cup (200g) light brown sugar, packed
- 1/4 cup (50g) granulated sugar
- 1/2 cup (120g) pumpkin puree (100% pure, not pumpkin pie filling)
- 1 large egg, room temperature
- 1 teaspoon vanilla extract
- 1 and 1/3 cups (166g) all-purpose flour
- 1 and 1/2 teaspoons pumpkin pie spice
- 1 teaspoon ground cinnamon
- 1/2 teaspoon baking powder
- 1/4 teaspoon salt
- 2 tablespoons granulated sugar (for topping)
- 1 tablespoon ground cinnamon (for topping)
Instructions
- Preheat oven to 350°F (175°C). Line an 8×8-inch baking pan with parchment paper, leaving about 2 inches of overhang on two opposite sides. Lightly spray the parchment with nonstick cooking spray.
- In a large mixing bowl, whisk together melted butter, packed brown sugar, and granulated sugar until smooth and glossy.
- Add pumpkin puree, room temperature egg, and vanilla extract. Whisk until fully combined and the batter is a uniform orange-tan color.
- In a separate small bowl, whisk together all-purpose flour, pumpkin pie spice, ground cinnamon, baking powder, and salt.
- Add the dry ingredients to the wet ingredients in two additions, folding gently with a rubber spatula after each addition. Mix just until no streaks of flour remain. The batter will be thick and slightly sticky.
- In a small bowl, stir together the 2 tablespoons granulated sugar and 1 tablespoon ground cinnamon for the topping.
- Spread the batter evenly into the prepared pan. Sprinkle the cinnamon-sugar mixture evenly over the batter.
- Bake at 350°F for 22-26 minutes. The edges should be golden brown and set, and the center should look slightly underdone (a little jiggly and puffed). A toothpick inserted into the center should come out with a few moist crumbs.
- Place the pan on a cooling rack and let the blondies cool completely in the pan.
- Once completely cool, use the parchment paper handles to lift the entire block of blondies out of the pan. Place on a cutting board and slice into 9 even squares (3×3 grid) or 16 smaller squares.
Notes
Don’t overmix the batter. Use room temperature ingredients. Measure flour correctly using the spoon-and-level method. Watch baking time closely; start checking at 22 minutes. Let blondies cool completely before slicing to avoid crumbling. For extra chewy edges, press batter slightly higher up the sides of the pan before baking.
Nutrition
- Serving Size: 1 blondie (based on
- Calories: 285
- Sugar: 28
- Fat: 12
- Saturated Fat: 7
- Carbohydrates: 42
- Fiber: 2
- Protein: 3
Keywords: pumpkin snickerdoodle blondies, easy fall dessert, pumpkin blondies, snickerdoodle blondies, fall baking, pumpkin dessert


