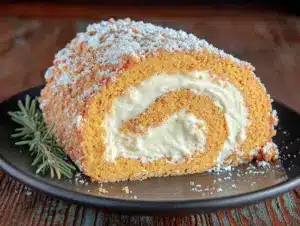
This was supposed to be a batch of soft pumpkin dinner rolls for a Friendsgiving I was hosting last October. I had the pumpkin puree measured, the yeast proofing in its little warm-water bath, and my favorite stand mixer ready to go. Then the phone rang, my neighbor Carla needed help coaxing her cat down from a tree, and by the time I got back twenty minutes later, the yeast had gone completely dormant. Dead. Kaput. I stood there staring at this sad, flat puddle of yeast water, and honestly, I wanted to cry. The rolls were ruined before they even started.
But I had all this pumpkin puree sitting there, and I was not about to waste it. So I did what any slightly desperate cook would do—I switched gears entirely. I tossed the dead yeast (RIP), grabbed some baking powder and baking soda instead, and started winging it. I added a little more sugar, a little more spice, and crossed my fingers. What came out of the oven was nothing like the plan—and better. These pumpkin scones were flaky, tender, and smelled like autumn in a bakery. The maple glaze was a last-minute decision because I found a bottle of maple syrup hiding in the back of my pantry. Maybe you have been there, staring at a kitchen failure, wondering if you should just order takeout. Let me tell you, this happy little accident turned into my most-requested fall recipe, and I keep making them because they taste like the cozy hug I did not know I needed.
Why You Will Love This Recipe
These cozy pumpkin scones are the kind of baked good that makes people close their eyes after the first bite. I have tested this recipe at least a dozen times across different ovens and altitudes (my sister lives in Colorado, and yes, these still work up there). Here is why they are different from every other pumpkin scone recipe out there:
- Quick and Easy: From mixing bowl to cooling rack in under 35 minutes. No yeast, no rising time, no fuss. Perfect for a lazy Saturday morning or a last-minute brunch contribution.
- Simple Ingredients: You probably have everything in your pantry right now. Canned pumpkin, flour, butter, sugar, and a few warm spices. No fancy grocery store trips required.
- Perfect for Fall Gatherings: These scones are made for crisp October mornings, Thanksgiving brunches, or cozy coffee dates with friends. They scream autumn in the best way.
- Crowd-Pleaser: I have brought these to potlucks, book club meetings, and even a neighborhood block party. They vanish fast. Kids love the sweet maple drizzle, and adults appreciate that they are not cloyingly sugary.
- Unbelievably Delicious: The texture is the real star here. Crispy on the outside, soft and almost creamy on the inside, with that perfect pumpkin-spice warmth. The maple glaze adds a subtle sweetness that does not overpower the pumpkin.
What makes this recipe my best version is the technique of grating frozen butter into the dry ingredients. I learned this trick from an old pastry chef, and it creates those flaky layers without the hassle of cutting butter in with a pastry blender. It is comfort food reimagined—faster, simpler, but with the same soul-soothing satisfaction. Perfect for impressing guests without stress, or turning a rainy Tuesday into something memorable.
What Ingredients You Will Need
This recipe uses simple, wholesome ingredients to deliver bold pumpkin flavor and that perfect tender crumb. Most of these are pantry staples, especially if you bake during the fall months. Here is what you need and why each one matters:
- All-purpose flour (2 ½ cups / 300g): The backbone of the scone. I use Gold Medal or King Arthur for consistent results. Spoon and level your flour—do not scoop directly from the bag or you will end up with dry, dense scones.
- Granulated sugar (½ cup / 100g): Adds just enough sweetness to balance the pumpkin and spices. You can reduce it to ⅓ cup if you prefer less sweet scones.
- Baking powder (1 tablespoon): The main leavening agent. Make sure it is fresh—test it by dropping a little in hot water; if it fizzes, it is good.
- Baking soda (½ teaspoon): Works with the buttermilk to give the scones a little extra lift and a tender texture.
- Pumpkin pie spice (2 teaspoons): I use a store-bought blend from McCormick, but you can make your own with cinnamon, nutmeg, ginger, and cloves. The spice mix is what gives these scones that cozy, autumnal soul.
- Salt (½ teaspoon): Do not skip it. Salt balances the sweetness and enhances the pumpkin flavor.
- Unsalted butter (½ cup / 113g, frozen): This is the secret to flaky scones. Freeze the butter, then grate it on the large holes of a box grater. It distributes evenly and creates those tiny butter pockets that steam and flake in the oven.
- Canned pumpkin puree (¾ cup / 170g): Use pure pumpkin, not pumpkin pie filling. Libbys is my go-to. Make sure to blot the pumpkin with paper towels to remove excess moisture—wet pumpkin makes soggy scones.
- Buttermilk (¼ cup / 60ml): Adds tanginess and activates the baking soda. If you do not have buttermilk, add 1 teaspoon of lemon juice or vinegar to regular milk and let it sit for 5 minutes.
- Vanilla extract (1 teaspoon): Pure vanilla, not imitation. It rounds out the flavors beautifully.
- For the maple glaze:
- Powdered sugar (1 cup / 120g): Sifted to avoid lumps.
- Pure maple syrup (2 tablespoons): Use real maple syrup, not pancake syrup. Grade A dark amber gives the best flavor.
- Milk (1-2 tablespoons): To thin the glaze to drizzling consistency. Start with 1 tablespoon and add more as needed.
For a gluten-free option, swap the all-purpose flour with a 1:1 gluten-free baking blend that contains xanthan gum. I have tried Bobs Red Mill with good results. For a dairy-free version, use cold vegan butter and substitute the buttermilk with almond milk mixed with a teaspoon of apple cider vinegar.
Equipment Needed
You do not need a professional bakery setup for these scones. Here is what I use and what works:
- Box grater: For grating the frozen butter. This is non-negotiable in my kitchen—it makes the flakiest scones with zero effort. A food processor with a grating disc works too, but cleanup is easier with a hand grater.
- Large mixing bowl: Any medium-to-large bowl will do. I prefer a wide stainless steel bowl for easy mixing.
- Pastry brush or silicone brush: For brushing the scones with buttermilk before baking. A paper towel works in a pinch.
- Baking sheet: A half-sheet pan lined with parchment paper. Do not skip the parchment—these scones have butter that can stick.
- Bench scraper or sharp knife: For cutting the scone dough into wedges. A bench scraper gives cleaner cuts.
- Cooling rack: Essential for letting the glaze set properly without making the scones soggy.
- Whisk and spatula: A whisk for dry ingredients and a rubber spatula for folding the wet into the dry.
I once made these scones using a butter knife and a cereal bowl at my parents house, and they still turned out great. So do not stress if you are missing a piece of equipment—baking is forgiving as long as you follow the method.
Preparation Method
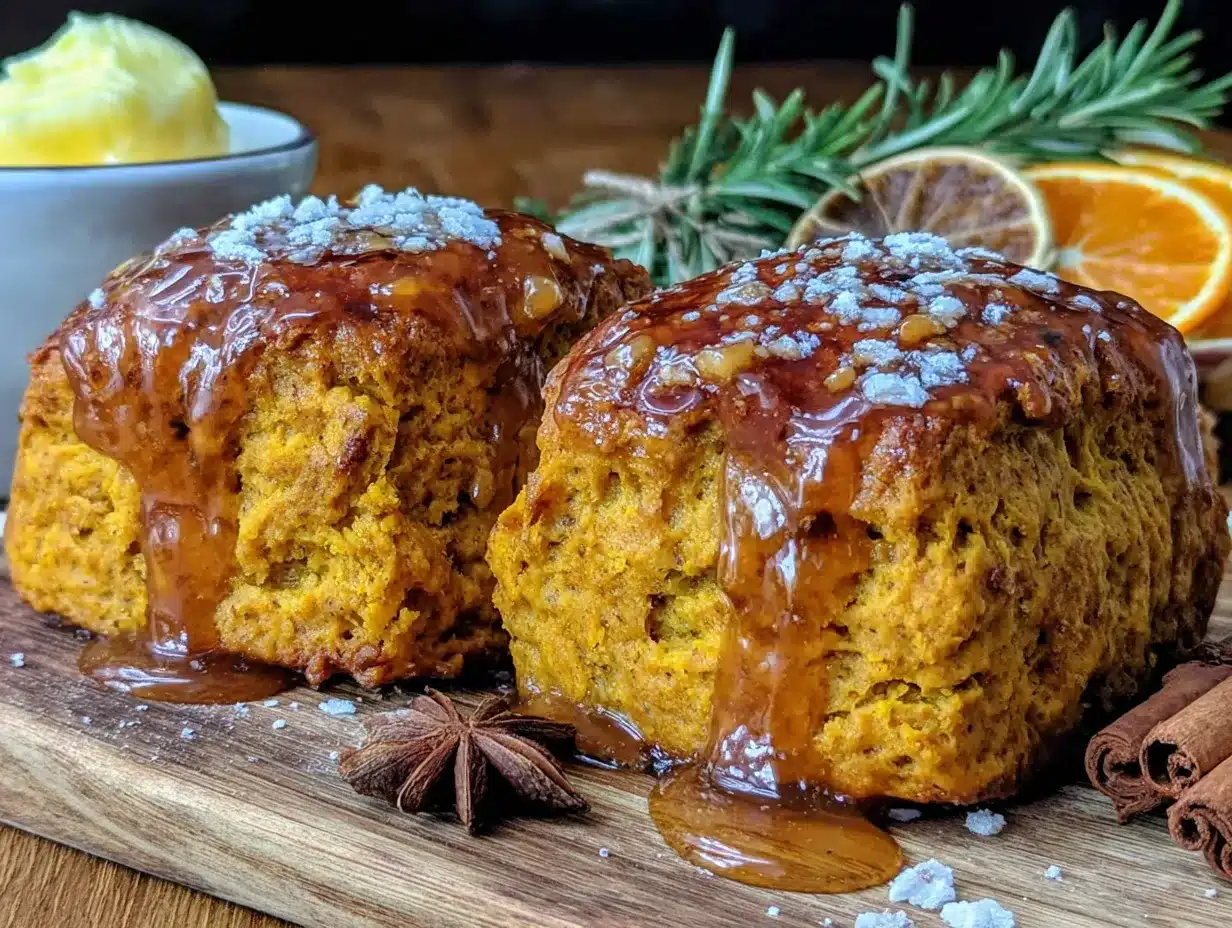
Preheat your oven to 400°F (200°C). Line a large baking sheet with parchment paper. This step is important—do not grease the pan, just use parchment.
- Grate the frozen butter: Take your stick of unsalted butter straight from the freezer. Using the large holes of a box grater, grate the butter into a small bowl. Pop the grated butter back into the freezer while you prepare the dry ingredients. This keeps the butter cold, which is the whole point of flaky scones.
- Mix the dry ingredients: In a large bowl, whisk together 2½ cups all-purpose flour, ½ cup granulated sugar, 1 tablespoon baking powder, ½ teaspoon baking soda, 2 teaspoons pumpkin pie spice, and ½ teaspoon salt. Make sure everything is evenly distributed—you do not want a pocket of baking powder in one bite.
- Add the grated butter: Take the frozen grated butter from the freezer and add it to the flour mixture. Use your fingertips or a fork to gently toss the butter pieces with the flour until each piece is coated. Do not rub the butter into the flour—you want distinct, visible bits of butter throughout. This is what creates those flaky layers.
- Prepare the wet ingredients: In a separate small bowl, whisk together ¾ cup canned pumpkin puree (blotted dry), ¼ cup buttermilk, and 1 teaspoon vanilla extract. The mixture should be smooth and a little thick. If your pumpkin seems watery, blot it with a paper towel first—trust me, this prevents soggy scones.
- Combine wet and dry: Pour the pumpkin mixture into the flour-butter mixture. Use a rubber spatula to fold everything together gently. Stop as soon as the dough comes together—overmixing develops gluten and makes tough scones. The dough will look shaggy and a little dry in spots. That is perfect.
- Shape the dough: Turn the dough out onto a lightly floured surface. Gently bring it together with your hands, patting it into a circle about ¾-inch thick. Do not use a rolling pin—your hands are better here. The dough should be cohesive but not perfectly smooth.
- Cut the scones: Using a sharp knife or bench scraper, cut the circle into 8 wedges like a pizza. Transfer the wedges to your prepared baking sheet, spacing them about 2 inches apart. They will spread slightly.
- Brush with buttermilk: Lightly brush the tops of each scone with a little extra buttermilk. This helps them brown beautifully in the oven. Sprinkle a tiny pinch of coarse sugar on top if you want extra crunch.
- Bake: Place the baking sheet in the preheated oven and bake for 14 to 17 minutes. The scones should be golden brown on the edges and firm to the touch. A toothpick inserted into the center should come out clean or with a few moist crumbs. My oven runs hot, so I always check at the 14-minute mark.
- Cool completely: Transfer the scones to a wire cooling rack and let them cool completely before glazing. If you glaze them while warm, the maple glaze will melt into a puddle instead of sitting beautifully on top.
- Make the maple glaze: In a small bowl, whisk together 1 cup sifted powdered sugar, 2 tablespoons pure maple syrup, and 1 tablespoon milk. Whisk until smooth. Add more milk a teaspoon at a time if the glaze is too thick—it should flow slowly off the whisk. Drizzle the glaze over the cooled scones using a spoon or a piping bag with a small tip. Let the glaze set for about 10 minutes before serving.
Cooking Tips and Techniques
I have made these scones at least fifteen times now, and I have learned a few things the hard way. Here are my best tips:
- Keep everything cold: Cold butter is the non-negotiable secret to flaky scones. If your kitchen is warm, pop the shaped scones in the freezer for 10 minutes before baking. This firms up the butter and prevents the scones from spreading into flat discs.
- Do not overmix: I know it is tempting to keep stirring until the dough looks smooth and uniform, but stop the moment the flour is incorporated. Overmixing develops gluten, and gluten makes scones tough and chewy instead of tender and flaky.
- Blot the pumpkin: Canned pumpkin holds a surprising amount of water. Spread the puree on a paper towel-lined plate and press another paper towel on top to absorb excess moisture. This step alone transformed my scones from dense and gummy to light and fluffy.
- Use a sharp cutter: If you prefer round scones instead of wedges, use a sharp biscuit cutter and press straight down without twisting. Twisting seals the edges and prevents the scones from rising evenly.
- Check your baking powder: I once made a batch with expired baking powder, and the scones came out like hockey pucks. If your baking powder is older than six months, test it before using.
- Glaze with patience: Let the scones cool completely—at least 20 minutes on the rack. I learned this lesson when I glazed a warm scone and watched the beautiful maple drizzle slide right off onto the counter. Patience pays off here.
Variations and Adaptations
One of the best things about this recipe is how adaptable it is. Here are some variations I have tried and loved:
- Chocolate Chip Pumpkin Scones: Fold in ½ cup of mini chocolate chips along with the wet ingredients. The chocolate pairs beautifully with the pumpkin spice, and my kids devour these.
- Vegan Pumpkin Scones: Use cold vegan butter (I like Miyokos), replace the buttermilk with unsweetened almond milk mixed with 1 teaspoon apple cider vinegar, and use a simple powdered sugar glaze with maple syrup and non-dairy milk. They are slightly less flaky but still delicious.
- Gluten-Free Version: Substitute the all-purpose flour with a 1:1 gluten-free baking blend that contains xanthan gum. Add an extra tablespoon of buttermilk to compensate for the drier texture. Bake for the same time, but check at the 15-minute mark.
- Savory Pumpkin Scones: Reduce the sugar to 2 tablespoons, omit the pumpkin pie spice, and add ½ cup shredded sharp cheddar cheese, 2 tablespoons chopped fresh sage, and ¼ teaspoon black pepper. Brush with melted butter instead of buttermilk. These are incredible with soup.
- Spiced Maple Glaze: Add ¼ teaspoon of cinnamon or a pinch of nutmeg to the maple glaze for an extra layer of warmth. I do this every time in November.
Serving and Storage Suggestions
These scones are best served the day they are made, preferably still slightly warm from the oven with a hot cup of coffee or chai tea. The maple glaze should be set but not hard—just soft enough to leave a little sweetness on your lips.
For serving, arrange the scones on a wooden board or a simple white platter. They look gorgeous with a few fresh cranberries scattered around and a small dish of extra maple glaze for dipping. I like to serve them for brunch alongside a frittata or a bowl of roasted butternut squash soup for a cozy fall lunch.
Storage: Store unglazed scones in an airtight container at room temperature for up to 2 days. If you have already glazed them, store them in a single layer in a container with the lid slightly ajar to prevent the glaze from getting sticky. Do not refrigerate—the fridge dries them out.
Freezing: You can freeze the unbaked scone wedges on a baking sheet until solid, then transfer them to a freezer bag. Bake directly from frozen, adding 2-3 minutes to the baking time. Alternatively, freeze baked and unglazed scones for up to 3 months. Thaw at room temperature, then reheat in a 300°F oven for 5 minutes before glazing.
Reheating: The best way to revive day-old scones is to pop them in a 300°F oven for 5 to 7 minutes. The microwave makes them rubbery, so avoid it if you can. The flavors actually deepen overnight—the pumpkin and spices meld together beautifully.
Nutritional Information and Benefits
Here is the estimated nutritional breakdown for one scone with maple glaze (based on 8 servings):
- Calories: 310
- Total Fat: 12g
- Saturated Fat: 7g
- Cholesterol: 30mg
- Sodium: 290mg
- Total Carbohydrates: 47g
- Dietary Fiber: 2g
- Sugars: 24g
- Protein: 4g
Pumpkin is packed with vitamin A, which supports eye health and immune function. It is also a good source of fiber and antioxidants. The buttermilk adds calcium and a little protein, while the maple syrup provides trace minerals like zinc and manganese. These scones are not health food, but they are a more wholesome treat than the coffee shop versions that are loaded with preservatives and artificial flavors.
If you are watching your sugar intake, reduce the maple glaze to a light drizzle or skip it entirely—the scones are still delicious on their own. For a lower-fat option, replace half the butter with Greek yogurt, though the texture will be more cake-like than flaky.
Conclusion
These cozy pumpkin scones started as a kitchen failure, but honestly, I am grateful that yeast gave up on me that day. They have become my signature fall bake—the one I bring to every gathering, the one friends text me about in September asking when I am making them again. They are simple enough for a beginner baker but impressive enough to fool anyone into thinking you spent hours in the kitchen.
I love that this recipe is forgiving. You can mess up the measurements a little, forget to blot the pumpkin, or glaze them while they are still warm (I have done all three), and they still taste wonderful. That is the kind of recipe I want in my back pocket—one that works with you, not against you.
So go ahead and give these a try. Make them for a rainy Sunday morning, a Friendsgiving brunch, or just because it is October and you deserve something warm and sweet. And if you make them, I would love to hear how they turned out. Leave a comment below, tag me in your photos, or tell me what happy accident led you to your favorite recipe. Happy baking!
Frequently Asked Questions
Can I use fresh pumpkin instead of canned?
Yes, you can use fresh pumpkin puree, but you need to make sure it is well-drained. Fresh pumpkin tends to be more watery than canned. Roast the pumpkin, puree it, then let it sit in a fine-mesh strainer lined with cheesecloth for at least an hour to remove excess moisture. You want a thick, almost paste-like consistency.
Why did my scones turn out dry?
Dry scones usually come from overmixing the dough or using too much flour. Make sure you spoon and level your flour rather than scooping it. Also, do not skip blotting the pumpkin—excess moisture in the pumpkin can actually make the scones seem dry because the liquid does not integrate properly. If your dough feels too dry, add a tablespoon more buttermilk.
Can I make the dough ahead of time?
Absolutely. You can prepare the scone dough, cut it into wedges, and refrigerate them on the baking sheet for up to 24 hours. Cover them tightly with plastic wrap. Bake directly from the fridge, adding 1-2 minutes to the baking time. You can also freeze the unbaked wedges for up to 3 months.
How do I get a thicker maple glaze?
If your glaze is too thin and runs off the scones, add more sifted powdered sugar, one tablespoon at a time, until it reaches a thick, drizzling consistency. If it is too thick, add a drop more milk. The glaze should flow slowly off a spoon but hold its shape slightly on the scone.
Can I use pumpkin pie filling instead of pumpkin puree?
I do not recommend it. Pumpkin pie filling contains added sugar and spices, which will throw off the balance of this recipe. The scones will turn out too sweet and the texture may be off. Stick with 100% pure pumpkin puree for the best results.
Pin This Recipe!
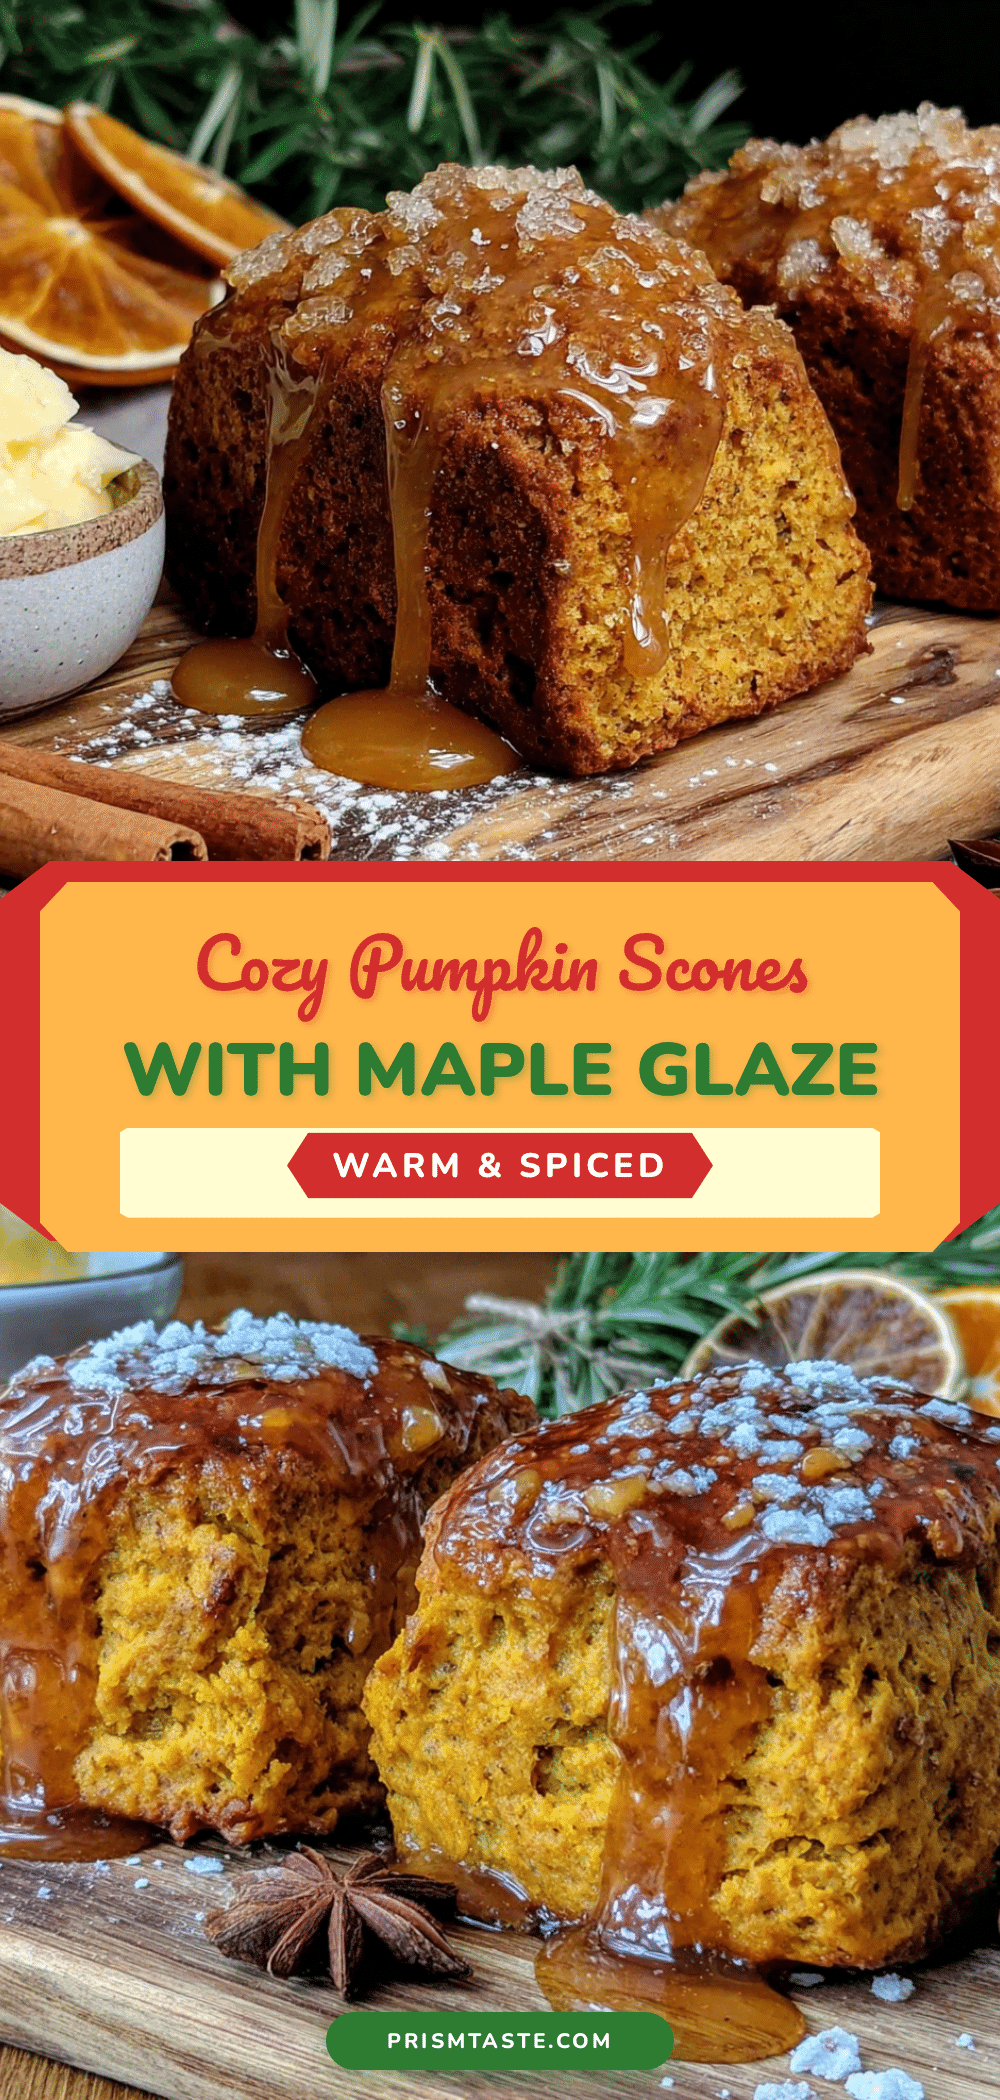
Cozy Pumpkin Scones with Easy Maple Glaze
Flaky, tender pumpkin scones with a sweet maple glaze, made without yeast and ready in under 35 minutes. A happy accident turned into a beloved fall recipe.
- Prep Time: 15 minutes
- Cook Time: 17 minutes
- Total Time: 32 minutes
- Yield: 8 servings 1x
- Category: Breakfast, Brunch, Dessert
- Cuisine: American
Ingredients
- 2 ½ cups (300g) all-purpose flour
- ½ cup (100g) granulated sugar
- 1 tablespoon baking powder
- ½ teaspoon baking soda
- 2 teaspoons pumpkin pie spice
- ½ teaspoon salt
- ½ cup (113g) unsalted butter, frozen
- ¾ cup (170g) canned pumpkin puree, blotted dry
- ¼ cup (60ml) buttermilk
- 1 teaspoon vanilla extract
- For the maple glaze:
- 1 cup (120g) powdered sugar, sifted
- 2 tablespoons pure maple syrup
- 1–2 tablespoons milk
Instructions
- Preheat oven to 400°F (200°C). Line a large baking sheet with parchment paper.
- Grate the frozen butter using the large holes of a box grater. Place grated butter back in the freezer.
- In a large bowl, whisk together flour, sugar, baking powder, baking soda, pumpkin pie spice, and salt.
- Add frozen grated butter to the flour mixture. Toss gently with fingertips or a fork until butter pieces are coated. Do not rub in.
- In a small bowl, whisk together blotted pumpkin puree, buttermilk, and vanilla extract.
- Pour the pumpkin mixture into the flour-butter mixture. Fold gently with a rubber spatula until just combined. Dough will be shaggy.
- Turn dough onto a lightly floured surface. Pat into a ¾-inch thick circle.
- Cut the circle into 8 wedges. Transfer to prepared baking sheet, spacing 2 inches apart.
- Brush tops with extra buttermilk. Sprinkle with coarse sugar if desired.
- Bake for 14-17 minutes until golden brown on edges and firm to touch. Cool completely on a wire rack.
- For the glaze: Whisk together sifted powdered sugar, maple syrup, and 1 tablespoon milk. Add more milk if needed to reach drizzling consistency.
- Drizzle glaze over cooled scones. Let set for 10 minutes before serving.
Notes
Keep butter and dough cold for flaky scones. Do not overmix. Blot pumpkin to remove excess moisture. Let scones cool completely before glazing. For gluten-free, use a 1:1 gluten-free baking blend with xanthan gum. For dairy-free, use cold vegan butter and buttermilk substitute.
Nutrition
- Serving Size: 1 scone with glaze
- Calories: 310
- Sugar: 24
- Sodium: 290
- Fat: 12
- Saturated Fat: 7
- Carbohydrates: 47
- Fiber: 2
- Protein: 4
Keywords: pumpkin scones, maple glaze, fall baking, easy scones, pumpkin recipe, flaky scones