My neighbor, a woman named Carol who I barely knew at the time, wasn’t trying to impress anyone. I’d stopped by to borrow a ladder for a lightbulb that had gone out in my vaulted ceiling, and the smell of garlic and butter hit me before I even got past her screen door. It was a Tuesday afternoon, and she was standing in her kitchen with flour dusted on her jeans, wrapping strips of dough around a wheel of brie like she was changing a tire or something equally mundane. She looked up, totally nonchalant, and said, “Oh, it’s just something the grandkids help me make for Halloween.” She wasn’t trying to be a hero. She was just feeding people she loved.
Honestly, I stood there for a second, ladder completely forgotten. The way that cheese was melting from the inside out, the buttery, flaky crust puffing up around those little dough strips—it looked like something from a bakery window, not a casual Tuesday snack. She let me try a piece warm from the oven, and I mean this sincerely, I had to stop myself from eating the entire thing on her porch. It was that good. And the best part? She told me the whole thing cost her less than eight dollars. Eight dollars for something that felt that special. I’ve been making it ever since, and it’s become the one thing my kids actually get excited about when I say we’re having a “fancy snack” night. Maybe you’ve been there, trying to find something that feels like a treat but doesn’t blow the grocery budget for the week. This is it.
Why You’ll Love This Recipe
This isn’t just another baked brie recipe you scroll past. I’ve tested this about six different ways to make sure it works for real families on real budgets. Trust me when I say this one checks every box.
- Budget-Friendly Feast: A whole wheel of brie, a tube of biscuits, and a few pantry staples. That’s it. No fancy ingredients, no special trips to a gourmet store.
- Kid-Approved Magic: My kids think the mummy wrappers are hilarious. They actually fight over who gets to “unwrap” the first piece. It turns snack time into a game.
- Surprisingly Easy: You don’t need to be a pastry chef. If you can cut strips of dough and wrap them around cheese, you can make this. It looks way more complicated than it is.
- Perfect for Halloween (or Any Day): Sure, it’s a spooky season showstopper, but honestly? We make this for movie nights, birthday parties, and even as a weird-but-wonderful Thanksgiving appetizer. It works everywhere.
- Crowd-Pleaser: I’ve served this to picky eaters, cheese snobs, and kids who only eat chicken nuggets. Every single person goes back for seconds. It’s got that warm, gooey, buttery thing that nobody can resist.
What makes this version different from all the others? It’s the technique. Instead of using a complicated homemade dough that might not puff up right, I use refrigerated biscuits. They’re cheap, they’re foolproof, and they get that perfect golden-brown flakiness that makes the whole dish feel like a bakery creation. The secret is rolling them out thin enough so they cook through without getting doughy. I’ve burnt enough biscuits to know the exact thickness that works. This is the best version, hands down.
This recipe is the kind that makes you close your eyes after the first bite. It’s comfort food reimagined—faster, cheaper, but with the same soul-soothing satisfaction. Perfect for impressing guests without stress, or turning a simple Tuesday into something memorable.
What Ingredients You Will Need
This recipe uses simple, everyday ingredients to deliver big flavor without the fuss. Most of these are probably in your kitchen right now, which is exactly the point.
- 1 small wheel of brie cheese (8 oz / 225 g): You want the small, personal-sized wheel. Don’t get the giant one—it takes too long to melt and the dough will burn. Look for a brand like Presidente or Ile de France if you can splurge a little, but honestly, the store brand works great too. Make sure it’s cold when you start working with it; it’s much easier to handle.
- 1 can (16.3 oz / 463 g) refrigerated biscuits: I use Pillsbury Grands! Buttermilk biscuits. They’re cheap, reliable, and they puff up beautifully. Do not use the flaky layers kind—they separate too easily and your mummy will fall apart. You want the classic homestyle or buttermilk variety.
- 2 tablespoons (28 g) unsalted butter, melted: This is what gives the dough that gorgeous golden color and rich flavor. You can use salted butter in a pinch, just skip the extra salt on top.
- 1 clove garlic, minced (or 1/2 teaspoon garlic powder): Fresh garlic gives a punchier flavor, but garlic powder is totally fine and even easier. I’ve used both, and honestly, my kids can’t tell the difference.
- 1 tablespoon (15 ml) honey or maple syrup: Just a little sweetness to balance the savory butter and garlic. It also helps the dough brown nicely. Use honey for a classic vibe, or maple syrup if you want a slightly more earthy sweetness.
- 1/4 teaspoon salt: Just a pinch to bring everything together. Skip this if you’re using salted butter.
- Optional for serving: crackers, apple slices, or fresh vegetables: Whatever you have on hand. We love it with simple water crackers and green apple slices. The tartness of the apple cuts through the rich cheese perfectly.
Ingredient Selection Tip: For the best texture, look for brie that feels slightly springy when you press it—not rock hard and not super squishy. It should be cold from the fridge but not frozen. And for the biscuits, check the expiration date! Old baking powder won’t give you that good puff.
Substitution Guidance: Need a gluten-free option? Use gluten-free biscuit dough (there are some good brands now) or even gluten-free puff pastry sheets cut into strips. For a dairy-free version, you can try a vegan brie-style cheese, though the melting texture will be different. The honey can be swapped for agave or even a little brown sugar mixed with water.
Equipment Needed
You don’t need a fancy kitchen for this one. Here’s what you’ll actually use:
- Baking sheet: A standard half-sheet pan works perfectly. Line it with parchment paper for easy cleanup—trust me, the melted cheese can get sticky.
- Rolling pin: You can use a wine bottle or even a clean glass in a pinch. I’ve used a mason jar before when my rolling pin was MIA. It works fine.
- Small bowl: For mixing the butter, garlic, and honey.
- Pastry brush: Or just use a spoon to drizzle the butter mixture. A brush gives a more even coat, but a spoon works in a pinch.
- Sharp knife or pizza cutter: For cutting the biscuit dough into strips. A pizza cutter makes it way easier and gives cleaner edges.
- Small spatula: For transferring the finished brie to a serving plate. The cheese will be very soft, so be gentle.
Budget-Friendly Option: If you don’t have a pastry brush, just use a clean paintbrush that’s never been used for paint. Seriously, it works perfectly. Or just drizzle the butter with a spoon—it’s not as pretty, but it tastes the same.
Preparation Method
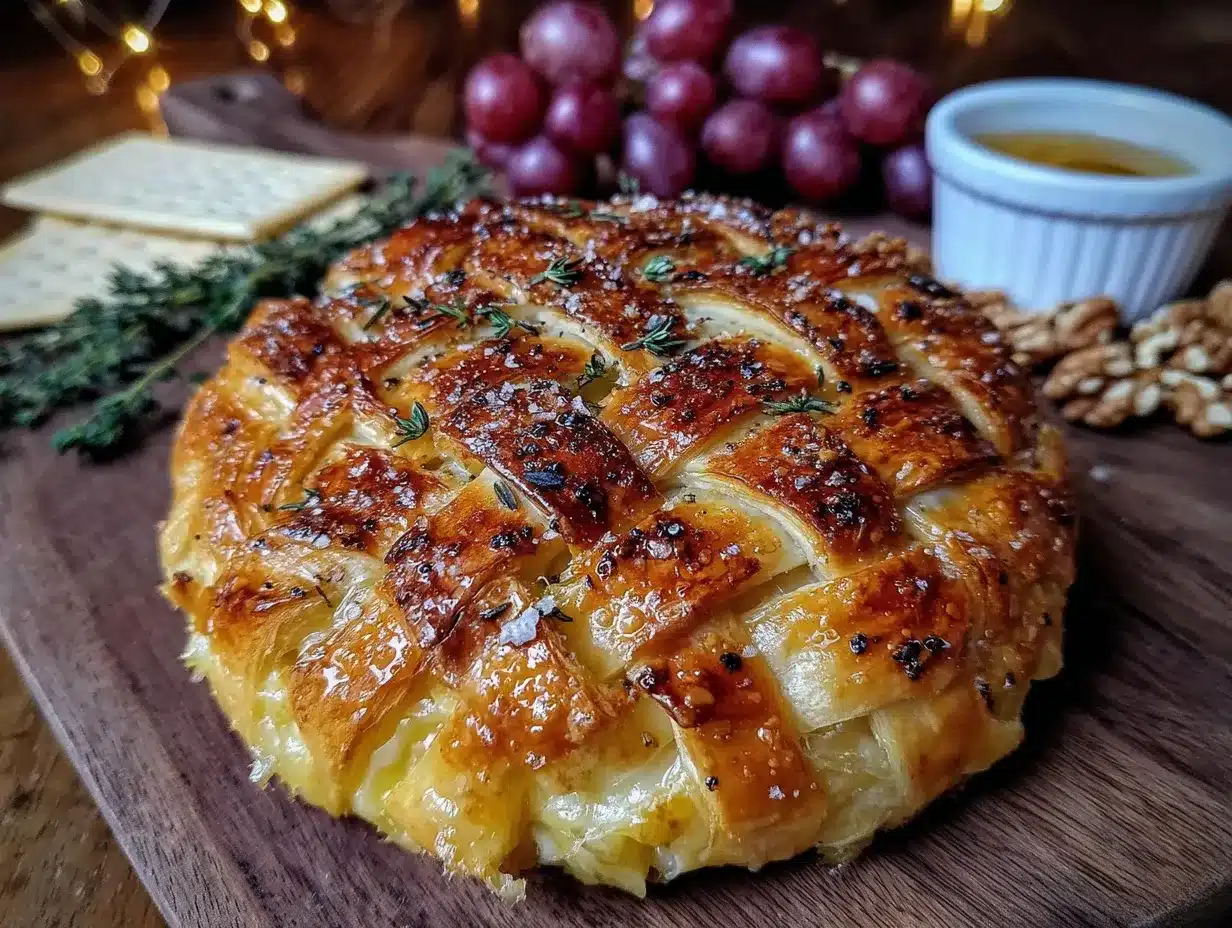
Let’s get rolling! This comes together faster than you think, so have everything ready before you start.
- Preheat your oven to 375°F (190°C). Line a baking sheet with parchment paper. Don’t skip the parchment—the cheese will leak a little as it melts, and scraping it off a bare pan is no fun.
- Take your brie out of the fridge. Leave it in its packaging for now. Let it sit on the counter for about 10 minutes while you prep the dough. You want it cold but not rock-hard. If it’s too cold, the dough will slide around. Too warm, and it’ll get messy.
- Open the can of biscuits. Separate them and place them on a lightly floured surface. You’ll have 8 biscuits. Take 6 of them and roll each one out into a rough rectangle, about 4 inches by 3 inches (10 cm by 7.5 cm). They don’t have to be perfect—this isn’t a geometry test. The other 2 biscuits? Just set them aside for now. You’ll use them for decoration.
- Cut the rolled biscuits into strips. Using a sharp knife or pizza cutter, slice each rectangle lengthwise into 3 or 4 strips, depending on how wide you want your mummy wrappers. I like them about 1/2 inch (1.25 cm) wide. You should end up with about 18-24 strips total.
- Unwrap the brie. Carefully remove any plastic wrap or paper. Place the wheel of brie right in the center of your parchment-lined baking sheet. Don’t try to move it later—trust me, it’s easier to do the wrapping right there.
- Start wrapping your mummy. Take your dough strips and begin laying them across the brie, slightly overlapping each one. Start from the bottom and work your way up. Leave a small gap at the top for the “face.” You want the strips to cross over the center of the cheese, like you’re wrapping a present. Don’t pull the strips too tight—they’ll shrink a little as they bake, and you want some room for the cheese to puff.
- Use the reserved 2 biscuits for eyes. Roll them into two small balls. Place them on the exposed cheese at the top of the mummy. Then, use a tiny piece of dough to make a little mouth if you want. My kids insist on a “happy mummy” face, so I curve the mouth into a smile. Press the eyes and mouth gently into the cheese so they stay put.
- Mix your glaze. In a small bowl, combine the melted butter, minced garlic, honey, and salt. Stir it up until everything is combined. It should smell amazing already.
- Brush the glaze all over the dough strips. Don’t forget the edges! This is what gives it that gorgeous golden color and that garlicky, buttery flavor. Use all of the glaze—don’t be shy. If you don’t have a brush, just drizzle it on with a spoon and spread it around with the back of the spoon.
- Bake for 18-22 minutes. Keep an eye on it. You want the dough to be golden brown and puffed, and the cheese should be visibly melted and oozing a little from the gaps. If the dough is browning too fast but the cheese isn’t melted yet, tent the whole thing loosely with foil for the last 5 minutes.
- Let it rest for 5 minutes. This is the hardest part, I know. But if you cut into it immediately, the cheese will flood everywhere and you’ll lose the fun mummy effect. Let it sit on the baking sheet for exactly 5 minutes. The cheese will stay hot and gooey, but it’ll hold its shape better.
- Transfer carefully to a serving plate. Use a large, flat spatula. Slide it under the brie and lift gently. Place it on a platter surrounded by crackers, apple slices, or whatever you’re serving with it.
Sensory Cue: When it’s done, the kitchen will smell like a garlic butter dream. The dough should be a deep golden brown, and you’ll see little bubbles of melted cheese peeking through the cracks. If you tap the top gently, it should feel firm but give a little underneath.
Cooking Tips & Techniques
I’ve made this recipe at least a dozen times, and I’ve learned a few things the hard way. Here’s what I wish I’d known from the start.
Don’t overwork the dough. When you roll out the biscuits, handle them as little as possible. If you roll them too many times, the gluten develops and the dough gets tough. Just a few gentle rolls until it’s flat is all you need. I learned this after making a batch of “armored” mummies that were more like hockey pucks than flaky pastry.
Cold cheese is your friend. I know it’s tempting to let the brie come to room temperature so it melts faster, but trust me, cold cheese is much easier to wrap. The dough strips stick better, and the cheese holds its shape while the dough bakes. If the brie gets too soft, it’ll just squish out the sides and you’ll have a puddle instead of a mummy.
Watch the oven like a hawk. Every oven is different. My old oven would burn the bottom of the dough before the top was even brown. If you notice the bottom getting dark, move the baking sheet to a higher rack. Or, if the top is browning too fast, tent it with foil. I ruined two batches before I figured out my oven runs hot on the bottom.
Multitasking strategy: While the brie is baking, get your serving platter ready. Arrange your crackers, slice your apples, and set out any dips you want. That way, when the timer goes off, you can just transfer and serve without scrambling. I always forget to do this and end up frantically slicing apples while the cheese gets cold.
Consistency tip: For the most even bake, make sure all your dough strips are roughly the same thickness. If some are thick and some are thin, the thin ones will burn while the thick ones are still doughy. Take the extra 30 seconds to even them out with your fingers after cutting.
Variations & Adaptations
This recipe is surprisingly flexible. Here are a few ways I’ve changed it up depending on what I have on hand or who I’m feeding.
Savory Herb Version: Add 1/2 teaspoon of dried rosemary or thyme to the butter glaze. It gives the whole thing a more grown-up, earthy flavor that pairs beautifully with the brie. I made this for a holiday party once, and people couldn’t stop talking about it. Just crush the dried herbs between your fingers before adding them to release the oils.
Sweet Maple Pecan Twist: After brushing the glaze, sprinkle 2 tablespoons of chopped pecans over the top of the mummy before baking. Then, after it comes out of the oven, drizzle a little extra maple syrup over the hot cheese. The nuts get toasty and the syrup creates a sticky, sweet crust. My kids call this the “dessert mummy,” and it’s amazing with apple slices.
Spicy Southwest Version: Add 1/4 teaspoon of smoked paprika and a pinch of cayenne pepper to the butter glaze. Then, after baking, top the warm brie with a spoonful of salsa verde or pickled jalapeños. It sounds weird, but the spicy, tangy kick cuts through the rich cheese perfectly. My husband loves this one, though the kids are less enthusiastic.
Air Fryer Adaptation: You can absolutely make this in an air fryer! Preheat your air fryer to 350°F (175°C). Wrap the brie exactly the same way, but place it on a piece of parchment paper that fits in your air fryer basket. Cook for 10-12 minutes, checking at the 8-minute mark. The air fryer gives an incredibly crispy crust, but watch it closely—it can go from golden to burnt in 30 seconds.
Gluten-Free Option: Use gluten-free biscuit dough or even gluten-free puff pastry sheets cut into strips. I’ve tried both, and the puff pastry actually works better—it’s flakier and doesn’t get as dense. Just make sure to roll it thin enough so it cooks through. The bake time might be slightly shorter, so start checking at 15 minutes.
Serving & Storage Suggestions
This is best served warm, straight from the oven. That’s when the cheese is at its gooiest and the dough is at its flakiest. But I’ve also eaten it cold the next day, and honestly, it’s still pretty great.
Serving Temperature: Serve it within 10 minutes of coming out of the oven. If it sits too long, the cheese will start to firm up and the dough will lose its crispness. If you need to keep it warm for a party, place it on a warming tray set to low, or just pop it back in a 300°F (150°C) oven for 5 minutes before serving.
What to Serve With It: Classic water crackers are always a hit. But we also love it with crisp apple slices (the tartness balances the rich cheese), pear slices, or even carrot and celery sticks for a little crunch. For a more filling snack, serve it alongside a bowl of mixed olives or some salami slices. It’s also amazing spread on warm, crusty bread.
Storage Instructions: If you have leftovers (ha!), let the brie cool completely, then wrap it tightly in plastic wrap or aluminum foil. Store it in the refrigerator for up to 3 days. The dough will soften, but the flavor will still be good.
Reheating Methods: To bring it back to life, place the wrapped brie on a baking sheet and reheat in a 350°F (175°C) oven for 10-12 minutes. You can also microwave individual portions for about 20 seconds, but the dough will be soft, not crispy. I actually like the soft, chewy leftovers spread on toast the next morning—it’s like a weird, wonderful breakfast treat.
Flavor Development: Honestly, the flavors actually meld together even more after a day in the fridge. The garlic and honey seep into the cheese, and it gets this almost caramelized quality. It’s different from fresh, but not in a bad way. Just don’t expect the same crispy dough experience.
Nutritional Information & Benefits
Let’s be real—this is a treat, not a health food. But it’s not as bad as you might think, and there are a few surprising benefits hidden in that cheesy, buttery goodness.
Estimated Nutritional Values (per serving, based on 8 servings):
- Calories: 280
- Fat: 18g
- Saturated Fat: 10g
- Carbohydrates: 22g
- Fiber: 0g
- Sugar: 4g
- Protein: 9g
- Sodium: 520mg
Health Benefits: Brie is actually a good source of calcium and protein, which are important for bone health and muscle function. It also contains beneficial bacteria that can support gut health. The garlic in the glaze has anti-inflammatory properties and may help boost the immune system. And hey, the honey is a natural sweetener with antioxidants. I’m not saying this is a superfood, but it’s not empty calories either.
Dietary Considerations: This recipe is vegetarian. It’s not gluten-free unless you use a gluten-free dough, and it’s not dairy-free (obviously). For a lower-fat option, you can use a reduced-fat brie, but the texture won’t be as creamy. If you’re watching your sodium, use unsalted butter and skip the added salt in the glaze.
Potential Allergens: This recipe contains dairy (brie, butter) and gluten (biscuits). It may also contain traces of nuts if you use the pecan variation. Always check your ingredient labels, especially if you’re serving guests with allergies.
My Personal Perspective: I believe in balance. We eat mostly whole foods in our house, but I also believe that food should bring joy. This recipe is one of those joyful moments. It’s not something we eat every day, but when we do, we savor every bite. And honestly, sharing a warm, gooey, silly-looking mummy brie with my family is worth every calorie.
Conclusion
This budget-friendly mummy baked brie is the kind of recipe that makes you look like a kitchen wizard without actually being one. It’s fun, it’s delicious, and it costs less than a pizza delivery. What’s not to love?
I hope you’ll give it a try—and don’t be afraid to make it your own. Change up the glaze, add different toppings, or let your kids design the mummy face. That’s the beauty of this recipe. It’s forgiving, it’s flexible, and it always delivers.
I’d love to hear how yours turns out! Drop a comment below and tell me about your mummy’s face, or share a photo on social media and tag me. Did your kids love it? Did you try a crazy variation? Let me know! And if you’re looking for more fun, budget-friendly recipes the whole family will love, be sure to check out our Halloween snack board ideas or this easy cheesy pull-apart bread for another crowd-pleasing appetizer.
Happy cooking, and remember—the best recipes are the ones made with love, not stress. You’ve got this!
Frequently Asked Questions
Can I make this ahead of time?
You can assemble the wrapped brie up to 4 hours ahead and keep it in the fridge, unbaked. Just wrap it tightly in plastic wrap so the dough doesn’t dry out. When you’re ready to bake, add 3-5 minutes to the baking time since you’re starting from cold. I wouldn’t recommend baking it fully ahead of time—it’s just not as good reheated.
What if I can’t find brie at my local store?
No worries! You can substitute camembert, which is very similar, or even a small wheel of soft goat cheese. The texture will be a little different (goat cheese is crumblier), but it’ll still be delicious. Just avoid super hard cheeses like cheddar—they won’t melt the same way.
My dough strips kept breaking. What did I do wrong?
This usually happens if the dough is too cold or too dry. Let the biscuits sit at room temperature for 5 minutes before rolling them out. Also, make sure your work surface is lightly floured so the dough doesn’t stick. If the strips do break, just press them back together with your fingers—the butter glaze will hide any imperfections.
Can I use puff pastry instead of biscuits?
Absolutely! Thaw a sheet of puff pastry and cut it into strips. It will be flakier and more buttery than biscuits. The bake time might be slightly shorter (about 15-18 minutes), so keep an eye on it. Puff pastry is a little more expensive, but it works beautifully.
How do I keep the cheese from leaking out everywhere?
A little leakage is normal and actually looks cool—it adds to the “mummy coming to life” effect. But if you want to minimize it, make sure your brie is very cold when you wrap it, and don’t cut the strips too thin. Thicker strips hold the cheese in better. Also, don’t overbake it—as soon as the dough is golden and you see the first bubbles of cheese, it’s done.
Pin This Recipe!
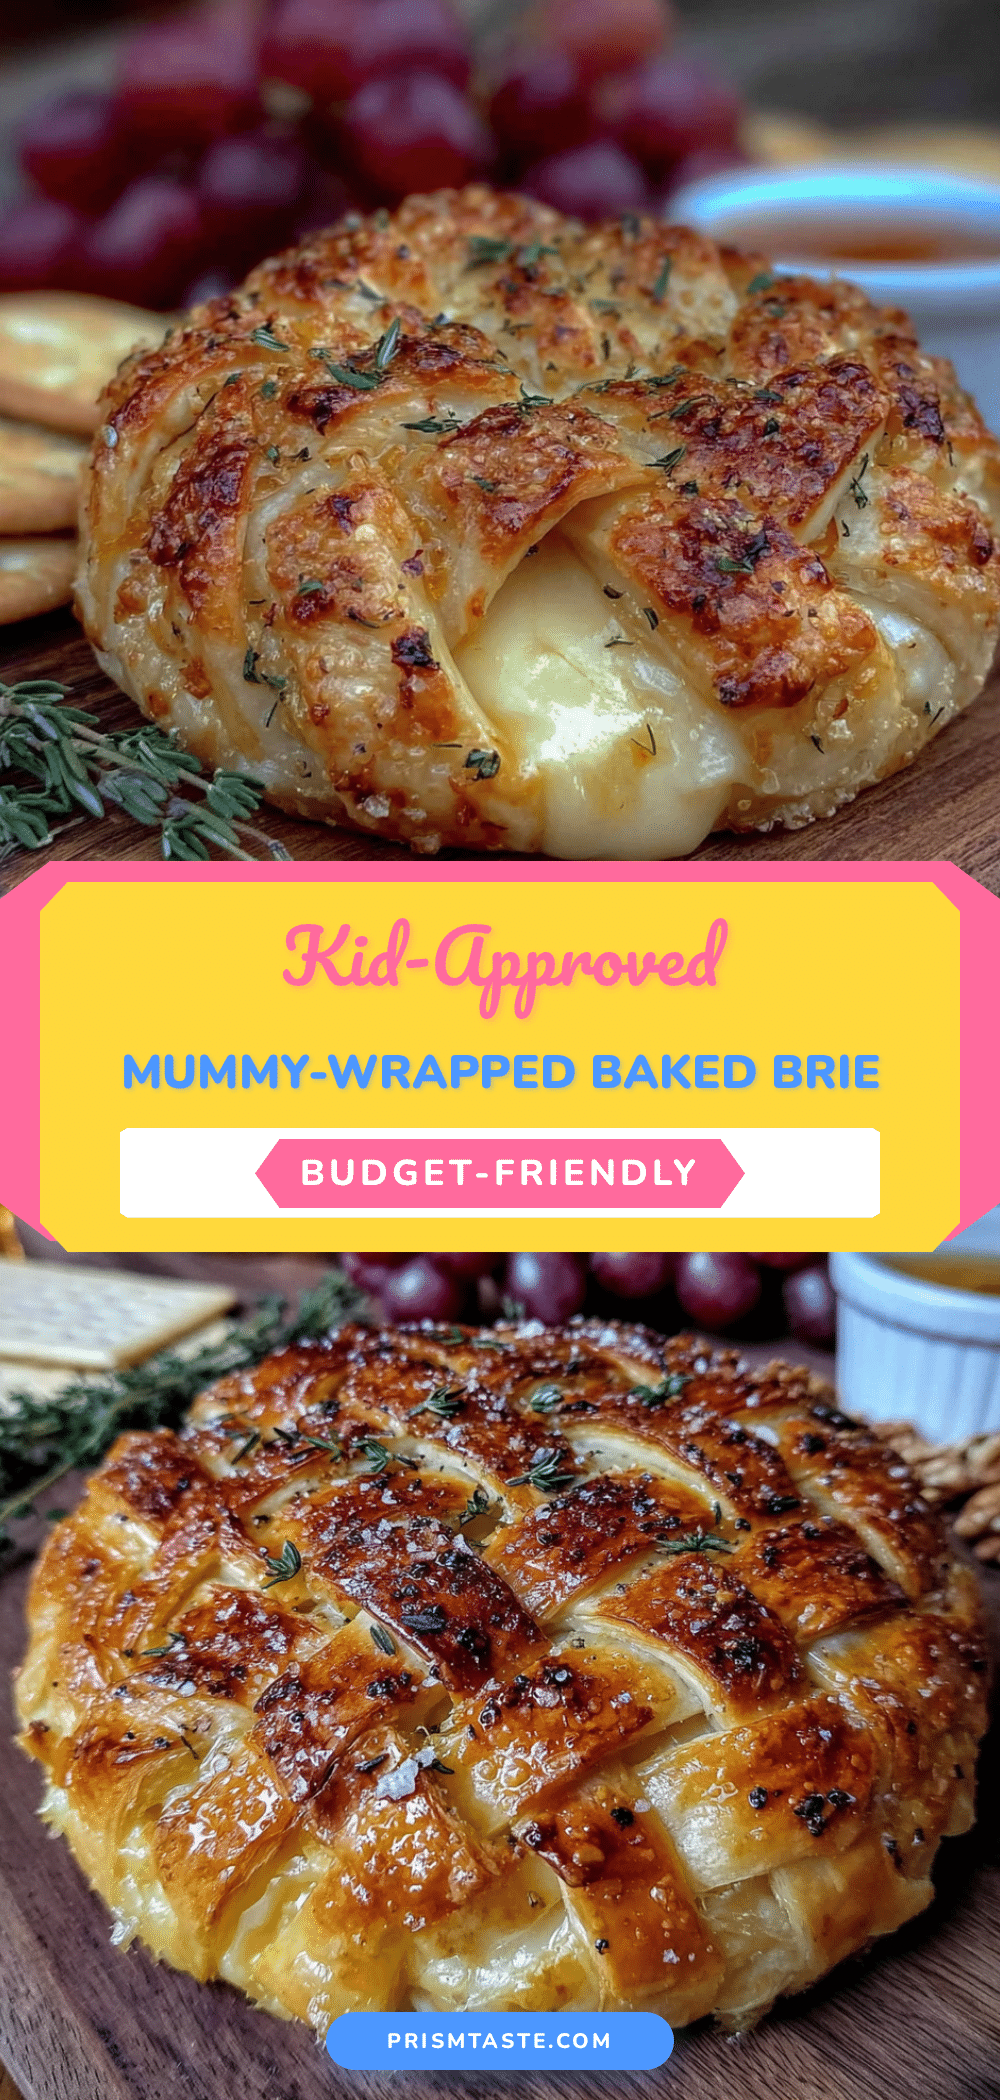
Budget-Friendly Mummy Baked Brie: Easy Kid-Approved Recipe

A fun, budget-friendly baked brie wrapped in biscuit dough to look like a mummy. Perfect for Halloween or any occasion, this easy appetizer is kid-approved and surprisingly simple to make.
- Prep Time: 15 minutes
- Cook Time: 20 minutes
- Total Time: 35 minutes
- Yield: 8 servings 1x
- Category: Appetizer
- Cuisine: American
Ingredients
- 1 small wheel of brie cheese (8 oz / 225 g)
- 1 can (16.3 oz / 463 g) refrigerated biscuits (Pillsbury Grands! Buttermilk recommended)
- 2 tablespoons (28 g) unsalted butter, melted
- 1 clove garlic, minced (or 1/2 teaspoon garlic powder)
- 1 tablespoon (15 ml) honey or maple syrup
- 1/4 teaspoon salt
- Optional for serving: crackers, apple slices, or fresh vegetables
Instructions
- Preheat your oven to 375°F (190°C). Line a baking sheet with parchment paper.
- Take your brie out of the fridge and let it sit on the counter for about 10 minutes while you prep the dough.
- Open the can of biscuits. Separate them and place on a lightly floured surface. Take 6 biscuits and roll each out into a rough rectangle, about 4 inches by 3 inches (10 cm by 7.5 cm). Set the other 2 biscuits aside for decoration.
- Cut the rolled biscuits into strips. Using a sharp knife or pizza cutter, slice each rectangle lengthwise into 3 or 4 strips, about 1/2 inch (1.25 cm) wide. You should have about 18-24 strips total.
- Unwrap the brie and place it in the center of the parchment-lined baking sheet.
- Start wrapping your mummy: Lay the dough strips across the brie, slightly overlapping each one, starting from the bottom and working your way up. Leave a small gap at the top for the face. Do not pull the strips too tight.
- Use the reserved 2 biscuits for eyes: Roll them into two small balls and place them on the exposed cheese at the top. Use a tiny piece of dough to make a mouth if desired.
- In a small bowl, combine the melted butter, minced garlic, honey, and salt. Stir until combined.
- Brush the glaze all over the dough strips, including the edges. Use all of the glaze.
- Bake for 18-22 minutes, until the dough is golden brown and puffed, and the cheese is melted and oozing slightly. If the dough browns too fast, tent loosely with foil for the last 5 minutes.
- Let it rest for 5 minutes on the baking sheet.
- Transfer carefully to a serving plate using a large, flat spatula. Serve with crackers, apple slices, or vegetables.
Notes
For best results, keep the brie cold while wrapping. Do not overwork the dough. Watch the oven closely to prevent burning. Let the baked brie rest for 5 minutes before serving to allow the cheese to set slightly.
Nutrition
- Serving Size: 1 serving (based on
- Calories: 280
- Sugar: 4
- Sodium: 520
- Fat: 18
- Saturated Fat: 10
- Carbohydrates: 22
- Protein: 9
Keywords: baked brie, mummy brie, Halloween appetizer, budget-friendly, kid-friendly, easy appetizer, biscuit dough brie


