My friend Jenna texted me a photo of ghost meringues last October and said, “You have to make these for the Halloween party.” I looked at the picture and thought, yeah right. Meringue is that fussy thing my grandmother made that took all afternoon and collapsed if you looked at it wrong. And ghosts? They always look goofy or melt into sad puddles in my experience. I told her I’d bring a store-bought pumpkin pie instead.
But the image stuck in my head. Little white ghosts with chocolate chip eyes, sitting on a baking sheet, looking almost too cute to eat. A week later, I was staring at a carton of egg whites in my fridge (leftover from making pumpkin coffee cake, actually) and I thought, fine. I’ll try it once. If they flop, no one has to know.
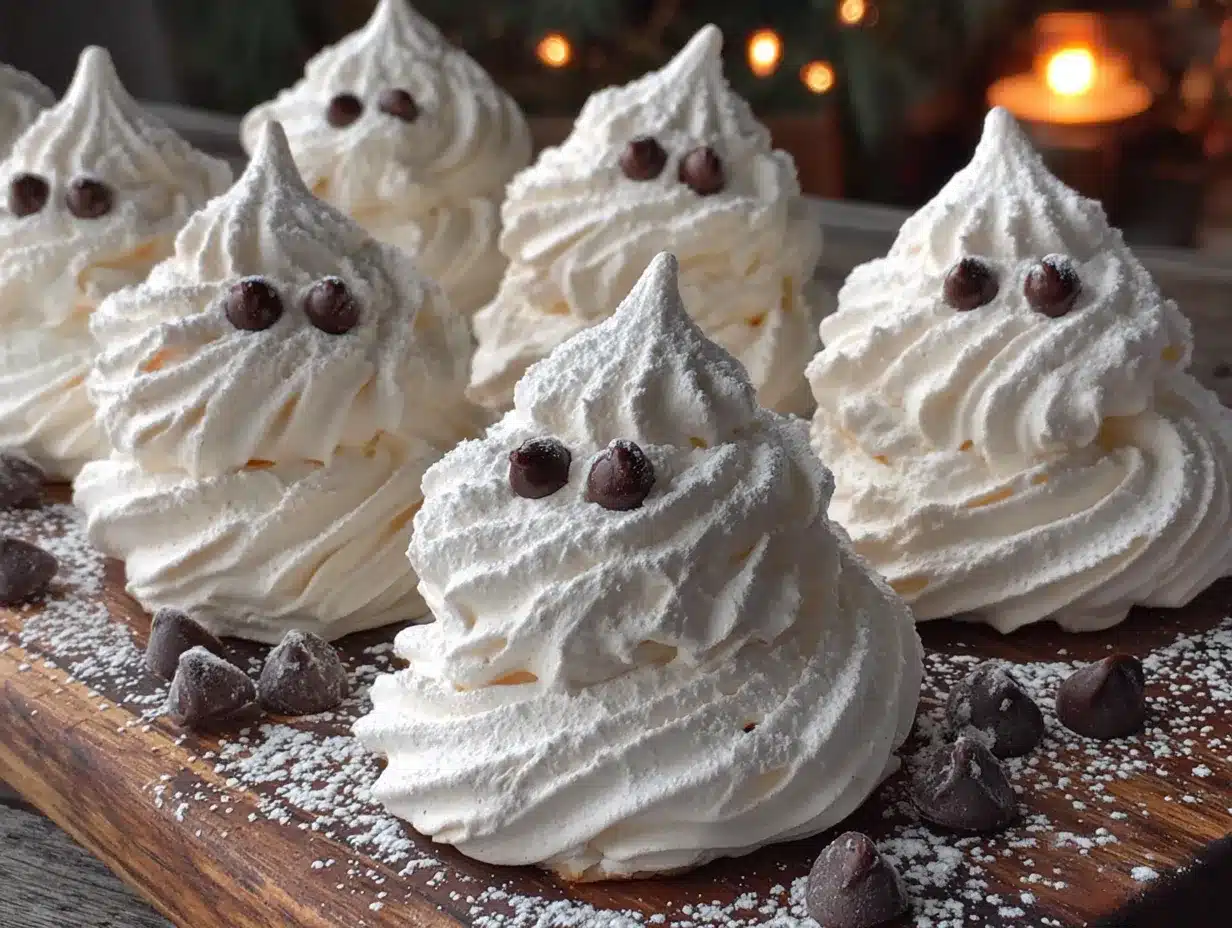
So I pulled up a few recipes, ignored the parts that sounded overly complicated, and just went for it. I whipped those egg whites until my arm ached, folded in the sugar, and piped little ghost shapes onto parchment. I popped them in the oven, crossed my fingers, and walked away. Two hours later, I opened the oven door and honestly, I laughed out loud. They were perfect. Tiny, lightweight, crisp little spirits staring back at me with dark chocolate eyes. My husband ate six before I could even photograph them.
That’s the thing about these adorable ghost meringue cookies with chocolate chip eyes. They look like you spent hours on something impossibly delicate, but really, they’re just egg whites, sugar, and a little patience. They taught me that meringue isn’t as scary as I thought. And now I make them every Halloween without hesitation. Sometimes twice.
Why You’ll Love This Recipe
These ghost meringue cookies aren’t just cute. They’re genuinely easy to pull off, even for someone who’s never made meringue before. I’ve tested this recipe five times now, tweaking the sugar ratios and baking times, and I can tell you with confidence: this version works.
- Quick & Easy: The active prep time is only about 15 minutes. The oven does the rest of the work while you go do something else.
- Simple Ingredients: You need exactly four ingredients. Egg whites, sugar, cream of tartar, and mini chocolate chips. That’s it.
- Perfect for Halloween: These little ghosts are the star of any Halloween dessert table. Kids go wild for them, and adults can’t resist snapping photos.
- Crowd-Pleaser: They’re naturally gluten-free and low-fat, so almost everyone can enjoy them. I’ve brought them to three different parties and they disappeared every time.
- Unbelievably Delicious: Light, airy, with a subtle sweetness and a tiny bit of crunch from the chocolate eyes. They melt in your mouth like a sweet little cloud.
What makes this recipe different from the dozens of meringue recipes out there is the technique. I use a slightly lower oven temperature and a longer drying time, which gives you perfectly crisp ghosts without any cracking or browning. No weeping, no sticky bottoms. Just pure, white, adorable ghosts every single time.
Honestly, the first time I made these, I was shocked at how easy they were. I kept checking the oven, waiting for something to go wrong. But they just sat there, looking perfect. That’s the kind of recipe I want to share. The one that makes you feel like a baking genius with almost no effort.
What Ingredients You Will Need
This recipe uses simple, pantry-friendly ingredients to create something that looks special. You probably already have most of these in your kitchen right now.
- Egg whites (3 large, room temperature) — Room temperature egg whites whip up higher and more stable than cold ones. Separate your eggs carefully, making sure no yolk gets in. A tiny bit of yolk can ruin the whole batch.
- Granulated sugar (¾ cup, 150g) — Regular white sugar works best. Don’t use powdered sugar or brown sugar. The granules need to dissolve completely into the egg whites for that smooth, glossy meringue.
- Cream of tartar (¼ teaspoon) — This stabilizes the egg whites and helps them hold their shape. If you don’t have it, you can use ½ teaspoon of lemon juice or white vinegar instead.
- Mini chocolate chips (¼ cup, 45g) — These become the eyes. Regular-sized chocolate chips are too heavy and will sink into the meringue. Mini chips are perfect. I like Enjoy Life brand for allergy-friendly options.
- Vanilla extract (½ teaspoon, optional) — Not strictly necessary, but it gives the meringues a lovely subtle flavor. You can also use almond extract for a different twist.
- Pinch of salt — Just a tiny pinch balances the sweetness and helps the egg whites whip up.
For best results, use fresh egg whites. The carton kind works in a pinch, but fresh eggs give you a more stable meringue. If you’re using carton egg whites, let them come to room temperature first and add an extra tablespoon or two.
I’ve tested this with both organic and conventional eggs and honestly, there’s no difference in the final result. Just make sure your bowl and whisk are completely clean and free of any grease. A tiny bit of oil can prevent your egg whites from whipping up properly.
One more thing — if you’re making these for a party and want to double the batch, you absolutely can. Just make sure your mixer bowl is big enough to handle six egg whites. My KitchenAid handles it fine, but a hand mixer might struggle with that much volume.
Equipment Needed
You don’t need much fancy equipment for these ghost meringues. Here’s what I use:
- Stand mixer or hand mixer — A stand mixer makes this easier, but a hand mixer works just fine. You’ll be whipping for about 8-10 minutes, so your arm might get a little tired with a hand mixer.
- Large mixing bowl — Glass, metal, or ceramic. Avoid plastic bowls because they can hold onto grease even after washing.
- Piping bag with a round tip — I use a Wilton 1A tip. If you don’t have a piping bag, a sturdy ziplock bag with the corner snipped off works perfectly.
- Baking sheet — A standard half-sheet pan works great.
- Parchment paper — Don’t skip this. Meringues will stick to foil or silicone mats if you’re not careful. Parchment is your friend.
- Rubber spatula — For folding in the chocolate chips gently.
- Cooling rack — For cooling the meringues completely after baking.
If you don’t have a piping bag, seriously, just use a ziplock bag. I’ve done it many times. Just don’t overfill it and make sure the corner cut is clean. And if you don’t have a round tip, you can just snip the corner of the bag directly. The ghosts will look a little more rustic, but that’s fine.
I recommend buying a roll of good parchment paper. The cheap stuff can curl up and slide around on the baking sheet. A little dab of meringue under each corner of the parchment will hold it in place.
Preparation Method
- Preheat your oven to 200°F (93°C) and line a baking sheet with parchment paper. This low temperature is key. You’re not baking the meringues, you’re drying them out slowly. Too hot and they’ll brown or crack.
- Separate your eggs while they’re cold, then let the whites come to room temperature. Cold egg whites don’t whip as well. I usually separate them, put the whites in my mixer bowl, and let them sit on the counter for 20 minutes while I clean up.
- Add the cream of tartar and salt to the egg whites. Start mixing on medium speed until the mixture becomes frothy and bubbly, about 1-2 minutes. You should see lots of tiny bubbles forming.
- Gradually add the sugar, about 1 tablespoon at a time, while the mixer runs on medium-high speed. Don’t dump it all in at once. Adding it slowly helps the sugar dissolve properly. This step takes about 2-3 minutes.
- Increase speed to high and whip until stiff peaks form. You’ll know it’s ready when you lift the whisk and the meringue stands up straight without drooping. The mixture should look glossy and smooth, not grainy. Rub a tiny bit between your fingers — if it feels gritty, keep whipping. This usually takes 5-7 minutes total.
- Add vanilla extract if using, and whip for another 30 seconds to combine.
- Test for doneness by turning the bowl upside down. If the meringue stays put, you’re good. If it slides, keep whipping. This is the most reliable test I know.
- Fold in the mini chocolate chips gently with a rubber spatula. Use a light hand here. You don’t want to deflate all that air you just whipped in. Fold just until the chips are distributed.
- Transfer the meringue to your piping bag. If using a ziplock bag, snip about ½ inch off one corner. Work quickly so the meringue doesn’t start to deflate.
- Pipe ghost shapes onto the parchment. Hold the bag straight up and down, about ½ inch above the paper. Squeeze out a round base, then pull straight up to create a tall, slightly tapered shape. Release pressure and pull away quickly to create a little peak on top. Leave about 1 inch between ghosts — they don’t spread much, but they need a little breathing room.
- Add extra chocolate chips to the ghosts if you want more eyes or a little mouth. I usually press two chips in for eyes and sometimes one for a tiny mouth. Don’t press too hard or you’ll deflate the meringue.
- Bake for 90 minutes at 200°F (93°C). Do not open the oven door during baking. The temperature fluctuation can cause cracking. After 90 minutes, turn the oven off but leave the meringues inside to cool completely. Let them sit in the closed oven for at least 1 hour, or overnight if you have time.
- Check for doneness by lifting one off the parchment. It should release easily and feel completely dry and light. If it sticks or feels soft, leave them in the turned-off oven longer.
One thing I learned the hard way — don’t make these on a humid day. Meringue is basically sugar and air, and humidity is its enemy. If it’s raining outside, pick another day. Your meringues will thank you.
Cooking Tips & Techniques
I’ve made meringue probably thirty times now, and I’ve messed up more batches than I’d like to admit. Here’s what I’ve learned.
The clean bowl rule is real. I once used a bowl that I thought was clean, but there must have been a tiny bit of butter residue. My egg whites never got past the frothy stage. Wash your bowl and whisk with hot soapy water, then wipe them down with a little lemon juice or vinegar to remove any lingering grease.
Don’t rush the sugar. I know it’s tempting to dump it all in and walk away. But adding sugar slowly is what gives you that glossy, stable meringue. If you add it too fast, the sugar won’t dissolve properly and you’ll end up with grainy, weeping meringues.
Low and slow is the way. I see recipes that call for 225°F or even 250°F. Don’t do it. 200°F is perfect. Yes, it takes longer, but you won’t get any browning or cracking. Your ghosts will stay pure white.
Watch the humidity. This is the biggest factor I can’t control. If you live in a humid climate like I do, save meringue-making for a dry day. You can also run a dehumidifier in your kitchen a few hours before you start.
Storage matters. These need to be stored in an airtight container at room temperature. If you put them in the fridge, they’ll absorb moisture and get sticky. I keep mine in a tin with a tight lid, layered between sheets of parchment paper.
I once left a batch out uncovered overnight and they turned soft and chewy by morning. Still edible, but not the same crisp texture. So seal them up tight.
Variations & Adaptations
Once you master the basic ghost, you can play around a little. Here are some variations I’ve tried.
Colorful ghosts. Add a drop of gel food coloring to the meringue before piping. Pink, purple, or even green ghosts are fun for a non-traditional Halloween look. Just fold the color in gently with a spatula.
Flavor swaps. Replace the vanilla extract with peppermint, almond, or coconut extract. Start with ¼ teaspoon since these extracts are stronger than vanilla. Peppermint ghosts with dark chocolate eyes are amazing for a Christmas party.
Different chips. Use mini white chocolate chips for a monochrome look, or mini dark chocolate chips for a more intense chocolate flavor. You could even use colored candy melts for the eyes if you want pink or blue ghosts.
Gluten-free and dairy-free. These are naturally gluten-free and dairy-free as long as you use dairy-free chocolate chips. I’ve made them with Enjoy Life brand chips and they work perfectly.
Spooky variations. Pipe the meringue into different shapes. You can make little pumpkins by piping a round mound and using a green M&M for the stem. Or make bats by piping two small triangles for wings. The possibilities are endless.
I tried a batch once with cocoa powder folded in to make chocolate ghosts. They tasted great, but they didn’t look as white and ghostly, obviously. Save that idea for a different project.
Serving & Storage Suggestions
These ghost meringues are best served at room temperature. They’re light and airy, almost like a sweet little cloud that dissolves on your tongue.
For presentation, I like to arrange them on a white platter or cake stand. The contrast between the white meringues and a dark surface makes them pop. You can also scatter a few around a Halloween cake or cupcake display for an extra festive touch.
They pair beautifully with a warm drink. I love serving them alongside a pumpkin spice latte or a cup of hot apple cider. The sweetness of the meringue balances the warmth of the drink perfectly.
For storage, keep them in an airtight container at room temperature. They’ll stay fresh for up to 2 weeks if stored properly. Don’t refrigerate them. The moisture in the fridge will make them sticky and soft.
You can also freeze them. Place them in a single layer in a freezer-safe container with parchment between layers. They’ll keep for up to 3 months. Thaw at room temperature for about 30 minutes before serving. They won’t be quite as crisp as fresh, but they’re still delicious.
If you’re making these ahead for a party, I recommend baking them no more than 3 days in advance. They’re at their absolute best within the first 48 hours.
Nutritional Information & Benefits
Per serving (2 ghosts): approximately 65 calories, 1g fat, 14g carbohydrates, 1g protein, 12g sugar. These numbers are estimates and will vary based on the exact ingredients you use.
These ghost meringues are naturally low in calories and fat compared to most cookies. They’re also gluten-free and dairy-free, making them a great option for people with dietary restrictions.
Egg whites are a good source of protein and contain no cholesterol or fat. They’re also rich in selenium and B vitamins. Of course, these are still a sweet treat, so enjoy them in moderation.
One thing I appreciate about this recipe is that it satisfies my sweet tooth without leaving me feeling heavy or overly full. Two or three ghosts are enough to feel like a treat, and they don’t have the butter or oil that most cookies do.
If you’re watching your sugar intake, you can try using a sugar substitute like Swerve or Monk Fruit sweetener. I’ve tested this with Swerve and it works, but the texture is slightly different and the ghosts aren’t quite as crisp. Still tasty though.
Conclusion
These adorable ghost meringue cookies with chocolate chip eyes are the kind of recipe that makes you look like a baking hero with almost no effort. They’re cute, they’re delicious, and they’re surprisingly forgiving once you know a few basic tricks.
I love making them for Halloween parties, but honestly, I’ve made them just because. There’s something deeply satisfying about watching a bowl of egg whites transform into a cloud of glossy meringue, then into a tray of perfect little ghosts. It feels a little bit like magic.
If you try these, don’t be afraid to make them your own. Add different extracts, change up the chip colors, or pipe different shapes. The basic recipe is solid, and it’s meant to be played with.
I’d love to hear how yours turn out. Drop a comment below and let me know if your ghosts came out as cute as mine. And if you have any questions, I’m here to help. Happy Halloween baking, friends.
Frequently Asked Questions
Can I make these ghost meringues without a stand mixer?
Absolutely. A hand mixer works just fine. It will take a little longer, about 10-12 minutes of whipping, but the results are the same. Just make sure your bowl is deep enough to prevent splashing.
Why did my meringues crack?
Cracking usually happens when the oven temperature is too high or fluctuates too much. Make sure your oven is at a steady 200°F and don’t open the door during baking. Also, let them cool completely in the turned-off oven before removing them.
Can I use liquid egg whites from a carton?
Yes, but the results aren’t quite as stable. Let the carton egg whites come to room temperature first. You may need to whip them a little longer to get stiff peaks. I recommend fresh eggs for the best results.
How do I store leftover ghost meringues?
Store them in an airtight container at room temperature for up to 2 weeks. Layer them between sheets of parchment paper to prevent sticking. Do not refrigerate them, as moisture will make them sticky.
Can I make these meringues on a rainy day?
I don’t recommend it. Humidity is the enemy of meringue. The sugar in the meringue absorbs moisture from the air, which can make them sticky and prevent them from drying out properly. Wait for a dry day for best results.
Pin This Recipe!
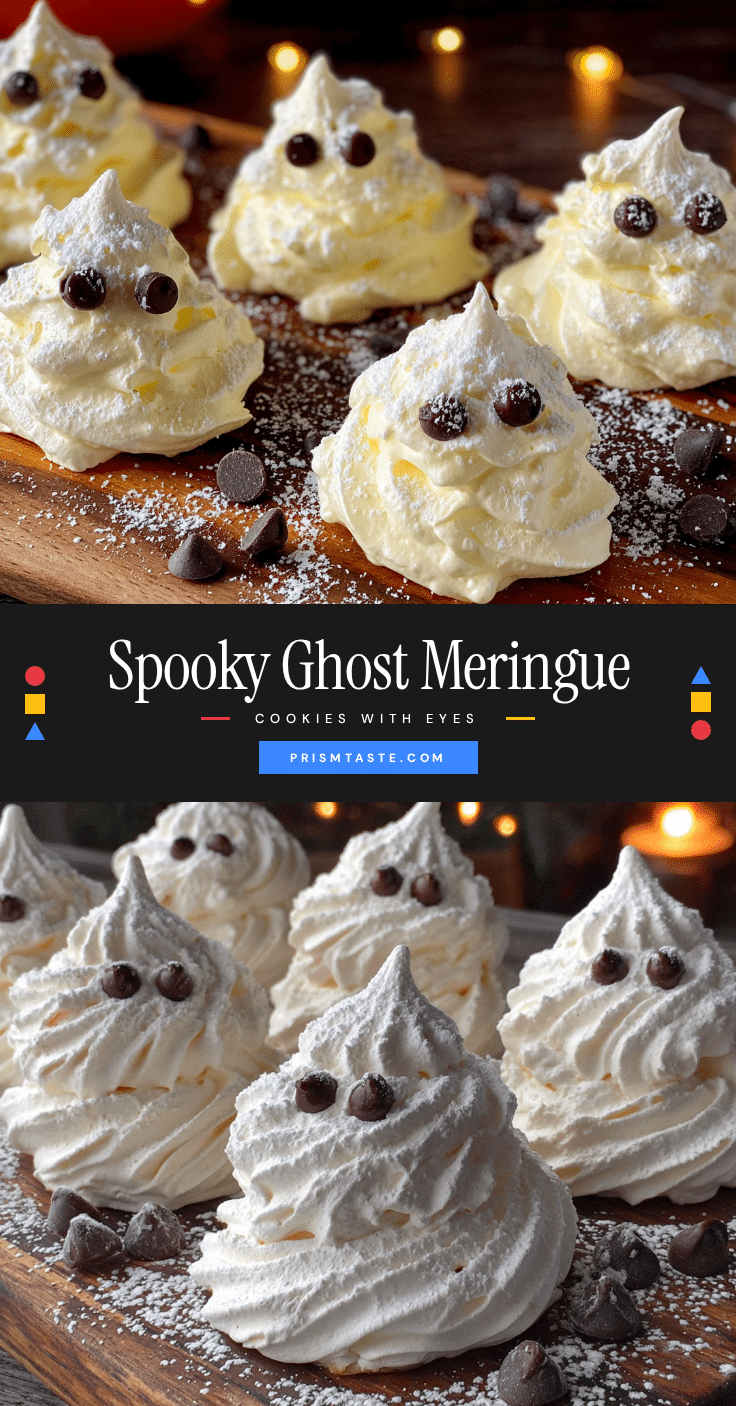
Adorable Ghost Meringue Cookies with Easy Chocolate Eyes

These adorable ghost meringue cookies with chocolate chip eyes are light, airy, and surprisingly easy to make. Perfect for Halloween parties, they require just four simple ingredients and a little patience.
- Prep Time: 15 minutes
- Cook Time: 90 minutes
- Total Time: 2 hours 45 minutes (including cooling time)
- Yield: 24 servings 1x
- Category: Dessert
- Cuisine: American
Ingredients
- 3 large egg whites, room temperature
- ¾ cup (150g) granulated sugar
- ¼ teaspoon cream of tartar
- ¼ cup (45g) mini chocolate chips
- ½ teaspoon vanilla extract (optional)
- Pinch of salt
Instructions
- Preheat your oven to 200°F (93°C) and line a baking sheet with parchment paper.
- Separate your eggs while they’re cold, then let the whites come to room temperature.
- Add the cream of tartar and salt to the egg whites. Start mixing on medium speed until the mixture becomes frothy and bubbly, about 1-2 minutes.
- Gradually add the sugar, about 1 tablespoon at a time, while the mixer runs on medium-high speed. This step takes about 2-3 minutes.
- Increase speed to high and whip until stiff peaks form. The mixture should look glossy and smooth, not grainy. This usually takes 5-7 minutes total.
- Add vanilla extract if using, and whip for another 30 seconds to combine.
- Test for doneness by turning the bowl upside down. If the meringue stays put, you’re good.
- Fold in the mini chocolate chips gently with a rubber spatula.
- Transfer the meringue to your piping bag. If using a ziplock bag, snip about ½ inch off one corner.
- Pipe ghost shapes onto the parchment. Hold the bag straight up and down, about ½ inch above the paper. Squeeze out a round base, then pull straight up to create a tall, slightly tapered shape. Release pressure and pull away quickly to create a little peak on top. Leave about 1 inch between ghosts.
- Add extra chocolate chips to the ghosts if you want more eyes or a tiny mouth.
- Bake for 90 minutes at 200°F (93°C). Do not open the oven door during baking. After 90 minutes, turn the oven off but leave the meringues inside to cool completely. Let them sit in the closed oven for at least 1 hour, or overnight if you have time.
- Check for doneness by lifting one off the parchment. It should release easily and feel completely dry and light.
Notes
Do not make these on a humid day. Humidity is the enemy of meringue. Ensure your bowl and whisk are completely clean and free of any grease. For best results, use fresh egg whites at room temperature. Store in an airtight container at room temperature for up to 2 weeks. Do not refrigerate.
Nutrition
- Serving Size: 2 ghosts
- Calories: 65
- Sugar: 12
- Sodium: 20
- Fat: 1
- Saturated Fat: 0.5
- Carbohydrates: 14
- Protein: 1
Keywords: ghost meringue cookies, Halloween cookies, meringue ghosts, easy meringue recipe, gluten-free cookies, dairy-free cookies, low-fat cookies, Halloween dessert


