“You brought peaches? I can’t wait to try your jam!” That’s what my neighbor said last summer, right after I handed over a tiny jar of this easy small batch peach vanilla bean jam. Honestly, I wasn’t expecting much when I first tried making it. I had a few ripe peaches on the counter, a vanilla bean tucked away in the fridge, and zero plans for a big canning day. I figured, why not whip up a small batch — nothing fancy, just enough to spread on toast. Turns out, the simplicity of this recipe caught me off guard. The jam wasn’t overly sweet or sticky, just the right balance of fresh peach flavor with a gentle hint of vanilla that made it feel special.
What really surprised me was how little time it took and how forgiving it was — no fancy equipment, no long hours stirring. I came back to it again and again that week, spooning it over pancakes, dolloping it on yogurt, and even playing with it as a glaze for grilled chicken (because why not?). This jam recipe isn’t about complicated steps or huge yields; it’s about savoring the season’s best peaches in a way that’s approachable for anyone, even if you’re not usually a jam-maker.
That quiet moment of realization — that homemade jam could be this easy and this good — is what stuck with me. If you’ve been hesitant about making your own preserves, this recipe will gently nudge you into the world of fruity goodness without overwhelming you. It’s that small, sweet victory that feels like a little gift from your kitchen to your table.
Why You’ll Love This Recipe
After countless tests and tweaks in my kitchen, this easy small batch peach vanilla bean jam recipe stands out for several reasons I’m confident you’ll appreciate:
- Quick & Easy: Ready in under an hour, it fits perfectly into a busy afternoon or a spontaneous craving session.
- Simple Ingredients: No need for specialty stores — just peaches, sugar, lemon juice, and real vanilla bean. I personally trust Nielsen-Massey vanilla beans for consistent flavor.
- Perfect for Small Batches: Makes about 2 half-pint jars, ideal if you want to avoid wasting fruit or storage space.
- Crowd-Pleaser: Whether on toast, biscuits, or stirred into oatmeal, it’s a hit with everyone from kids to seasoned jam lovers.
- Unbelievably Delicious: The vanilla bean adds a warm, cozy note that turns simple peach jam into something memorable.
What sets this peach vanilla bean jam apart is the balance — it’s not too sweet, not too tart, and that vanilla bean infusion isn’t just a token ingredient; it’s the heart of the flavor. I’ve tried versions with vanilla extract, but the bean’s little flecks and aroma really make your taste buds sit up and take notice. Plus, you don’t need to spend all day stirring a big batch or dealing with complicated canning. This is comfort food made easy, and it has become my go-to when peaches are in season.
What Ingredients You Will Need
This recipe uses simple, wholesome ingredients to deliver bold flavor and satisfying texture without the fuss. Everything you need can usually be found in your pantry or local market during peach season.
- Fresh Peaches: About 3 cups peeled and chopped (roughly 4-5 medium peaches). Look for ripe but firm peaches — they hold up better during cooking.
- Granulated Sugar: 3/4 cup (150 g). You can adjust slightly depending on sweetness of your peaches.
- Fresh Lemon Juice: 2 tablespoons (30 ml). This balances the sweetness and helps with natural preservation.
- Vanilla Bean: 1 whole bean, split and seeds scraped. I prefer Nielsen-Massey beans for their rich aroma, but any quality vanilla bean works.
- Water: 1/4 cup (60 ml). Helps with the initial cooking process to soften the fruit.
Substitution tips: If you want a sugar-free version, try using a natural sweetener like honey or maple syrup, though this may change the texture slightly. For a vegan option, this recipe is naturally plant-based. And if you don’t have a vanilla bean, vanilla extract can be used, but add it at the end of cooking to maintain flavor freshness.
Pro tip: In late summer, I sometimes swap peaches for nectarines or even apricots to create a subtly different flavor profile. Just keep the quantities similar.
Equipment Needed
- Medium Saucepan: A non-reactive pan (like stainless steel) works best to avoid any metallic taste.
- Wooden Spoon or Silicone Spatula: For stirring gently without scratching your pan.
- Sharp Knife: For peeling and chopping peaches.
- Small Bowl: To mix lemon juice and sugar before adding to fruit.
- Sterilized Jars: Half-pint (8 oz / 240 ml) jars with lids for storing your jam.
If you don’t have a fancy jar sterilizer, simply boil your jars and lids in hot water for 10 minutes — it works great. I’ve also used wide-mouth mason jars that are easy to fill and clean afterward. No jam-making pot needed here, making this an easy recipe for even the most basic home kitchen setup.
Preparation Method
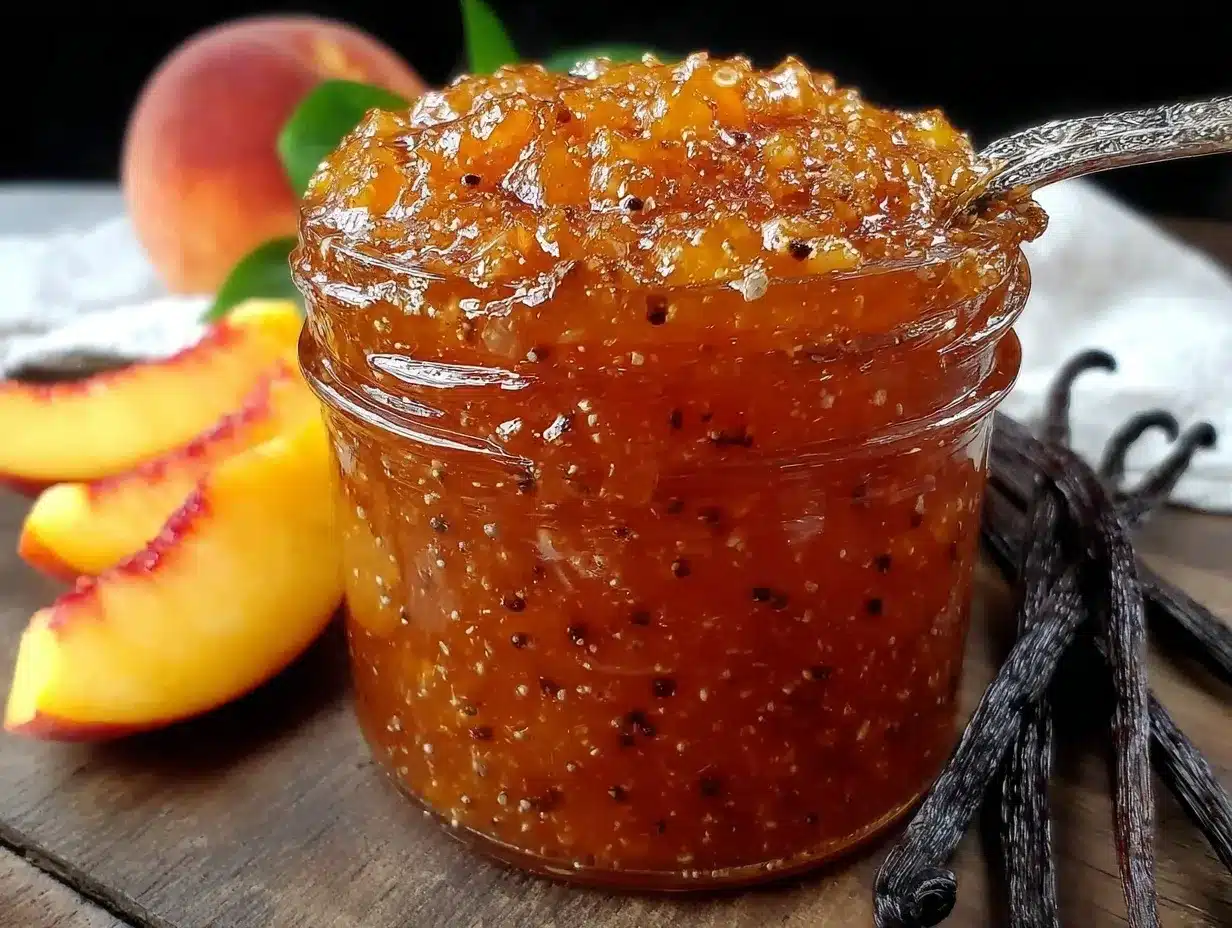
- Prepare the peaches: Start by peeling your peaches. A quick way is to score a shallow “X” on the bottom of each peach and blanch them in boiling water for 30 seconds, then plunge into ice water. The skins slip right off. Chop into small pieces, about 1/2 inch chunks. You want bite-sized bits that will soften but still give texture. This should take about 10 minutes.
- Combine sugar and lemon juice: In a small bowl, mix the sugar and lemon juice until the sugar is moistened. This helps the sugar dissolve more evenly when cooking.
- Cook the jam base: In your saucepan, add the chopped peaches and water. Bring to a gentle boil over medium heat, then reduce to a simmer. Stir occasionally so fruit softens evenly. This takes about 10-15 minutes. You’ll notice the peaches breaking down and releasing their juices.
- Add sugar mixture and vanilla bean: Stir in the sugar-lemon mix and scrape in the seeds from the vanilla bean pod, then toss the pod itself into the pot. Keep simmering and stirring regularly to prevent sticking. The mixture will thicken as water evaporates. This step takes around 20-25 minutes.
- Test the jam consistency: To check if the jam is ready, place a small spoonful on a chilled plate. After a minute, run your finger through it. If it wrinkles and holds shape, it’s done. If not, cook a little longer, testing every 5 minutes.
- Remove vanilla bean pod and jar the jam: Take out the bean pod and discard. Carefully ladle your hot jam into sterilized jars, leaving about 1/4 inch headspace. Seal with lids and let cool to room temperature. The jam will thicken further as it cools.
Note: Stir gently but frequently during cooking to avoid scorching. If jam foams on top, skim it off for clearer preserves. If you want to speed things up, a wide, shallow pan helps evaporate liquid faster, but watch closely.
Cooking Tips & Techniques
Jam-making can intimidate, but this recipe keeps it simple with a few pro tips I picked up after a few sticky kitchen mishaps:
- Don’t rush peeling: Removing the skin improves texture and prevents bitterness. The blanch-and-shock method is my favorite shortcut.
- Patience with simmering: Low and slow lets natural pectin do its magic. Rushing with high heat can scorch or result in runny jam.
- Use fresh lemon juice: Bottled lemon juice sometimes lacks the acidity needed for proper setting.
- Vanilla bean pods add flavor: Don’t throw away the pod after scraping. Toss it in and remove later — it imparts subtle aroma.
- Test consistency early and often: Jam thickens as it cools, so don’t overcook or it’ll be too stiff.
- Clean as you go: Jam can stick quickly, so washing utensils promptly saves hassle later.
My first batch was a bit too watery because I didn’t simmer long enough, but I learned that gentle stirring and patience pay off. Also, avoid metal spoons with acidic jams to keep flavors pure. A wooden spoon is my go-to.
Variations & Adaptations
This recipe is a canvas for your creativity, and it’s easy to tweak for different tastes or needs:
- Berry Blend: Add 1 cup of fresh blueberries or raspberries for a mixed fruit jam with a pop of color and tang.
- Spiced Version: Stir in a pinch of cinnamon or a small piece of ginger during cooking for cozy warmth.
- Low-Sugar Alternative: Use half the sugar and add a tablespoon of chia seeds at the end to help thicken naturally.
- Vegan-Friendly: Naturally vegan, but try using maple syrup instead of sugar for a different sweetness.
- Alternative Fruit: Swap peaches for nectarines or apricots, keeping quantities the same for seasonal variety.
Once, I added a splash of bourbon after cooking to make a grown-up version that paired beautifully with morning toast. It’s fun to experiment within this simple framework!
Serving & Storage Suggestions
This jam is best served at room temperature, spooned over warm buttered toast or swirled into creamy yogurt. It’s also delightful slathered on warm biscuits or dolloped on pancakes — a quick way to brighten breakfast.
Store your jam in the fridge for up to 3 weeks. For longer storage, freeze in airtight containers for up to 3 months. Thaw overnight in the fridge and stir gently before serving.
Flavors actually deepen after a day or two, so if you can wait (though it’s tough), the jam tastes even better. For a fun twist, try pairing it with soft cheeses or as a topping for a simple vanilla ice cream sundae.
By the way, if you love small batch preserves, you might enjoy the delicate layering of flavors in the creamy key lime pie bars — another recipe that balances tart and sweet beautifully.
Nutritional Information & Benefits
Each serving of this peach vanilla bean jam (about 1 tablespoon) contains approximately:
| Calories | 45 |
|---|---|
| Carbohydrates | 12g |
| Fiber | 1g |
| Sugar | 11g |
| Fat | 0g |
Peaches are a good source of vitamins A and C, which support skin and immune health. The lemon juice adds a vitamin C boost, while the vanilla bean contains trace antioxidants. This jam is naturally fat-free and can be made low-sugar with easy swaps. It’s a wholesome way to enjoy fruit without added preservatives or artificial flavors.
Conclusion
Making this easy small batch peach vanilla bean jam has become one of those simple pleasures I look forward to every peach season. It’s forgiving, quick, and produces a jam that feels homemade without the fuss. Whether you’re a beginner or just want a small amount of fresh jam without a big commitment, this recipe fits the bill.
Feel free to tweak it to your liking — maybe a dash of spice or a handful of berries — and let it become your own kitchen favorite. I love how it brings a little sunshine to my mornings, and I hope it does the same for you.
If you try it, I’d love to hear how you customize your batch or what you serve it with. Sharing these little successes makes cooking even sweeter.
FAQs
Can I use frozen peaches for this jam?
Yes, frozen peaches work well. Thaw and drain any excess liquid before cooking to avoid a watery jam.
Do I need to use a vanilla bean, or can I substitute vanilla extract?
You can use 1 teaspoon of vanilla extract added at the end of cooking, but the flavor won’t be quite as rich or aromatic as with the bean.
How long does this jam last once opened?
Keep it refrigerated and use within 3 weeks for the best flavor and safety.
Is this recipe suitable for canning and long-term storage?
This recipe is designed for small batches and refrigeration. For proper canning, follow USDA guidelines to ensure safety.
Can I make this jam without added sugar?
Yes, though sugar helps with preservation and texture. Using natural sweeteners or reducing sugar will change the consistency and shelf life.
Pin This Recipe!
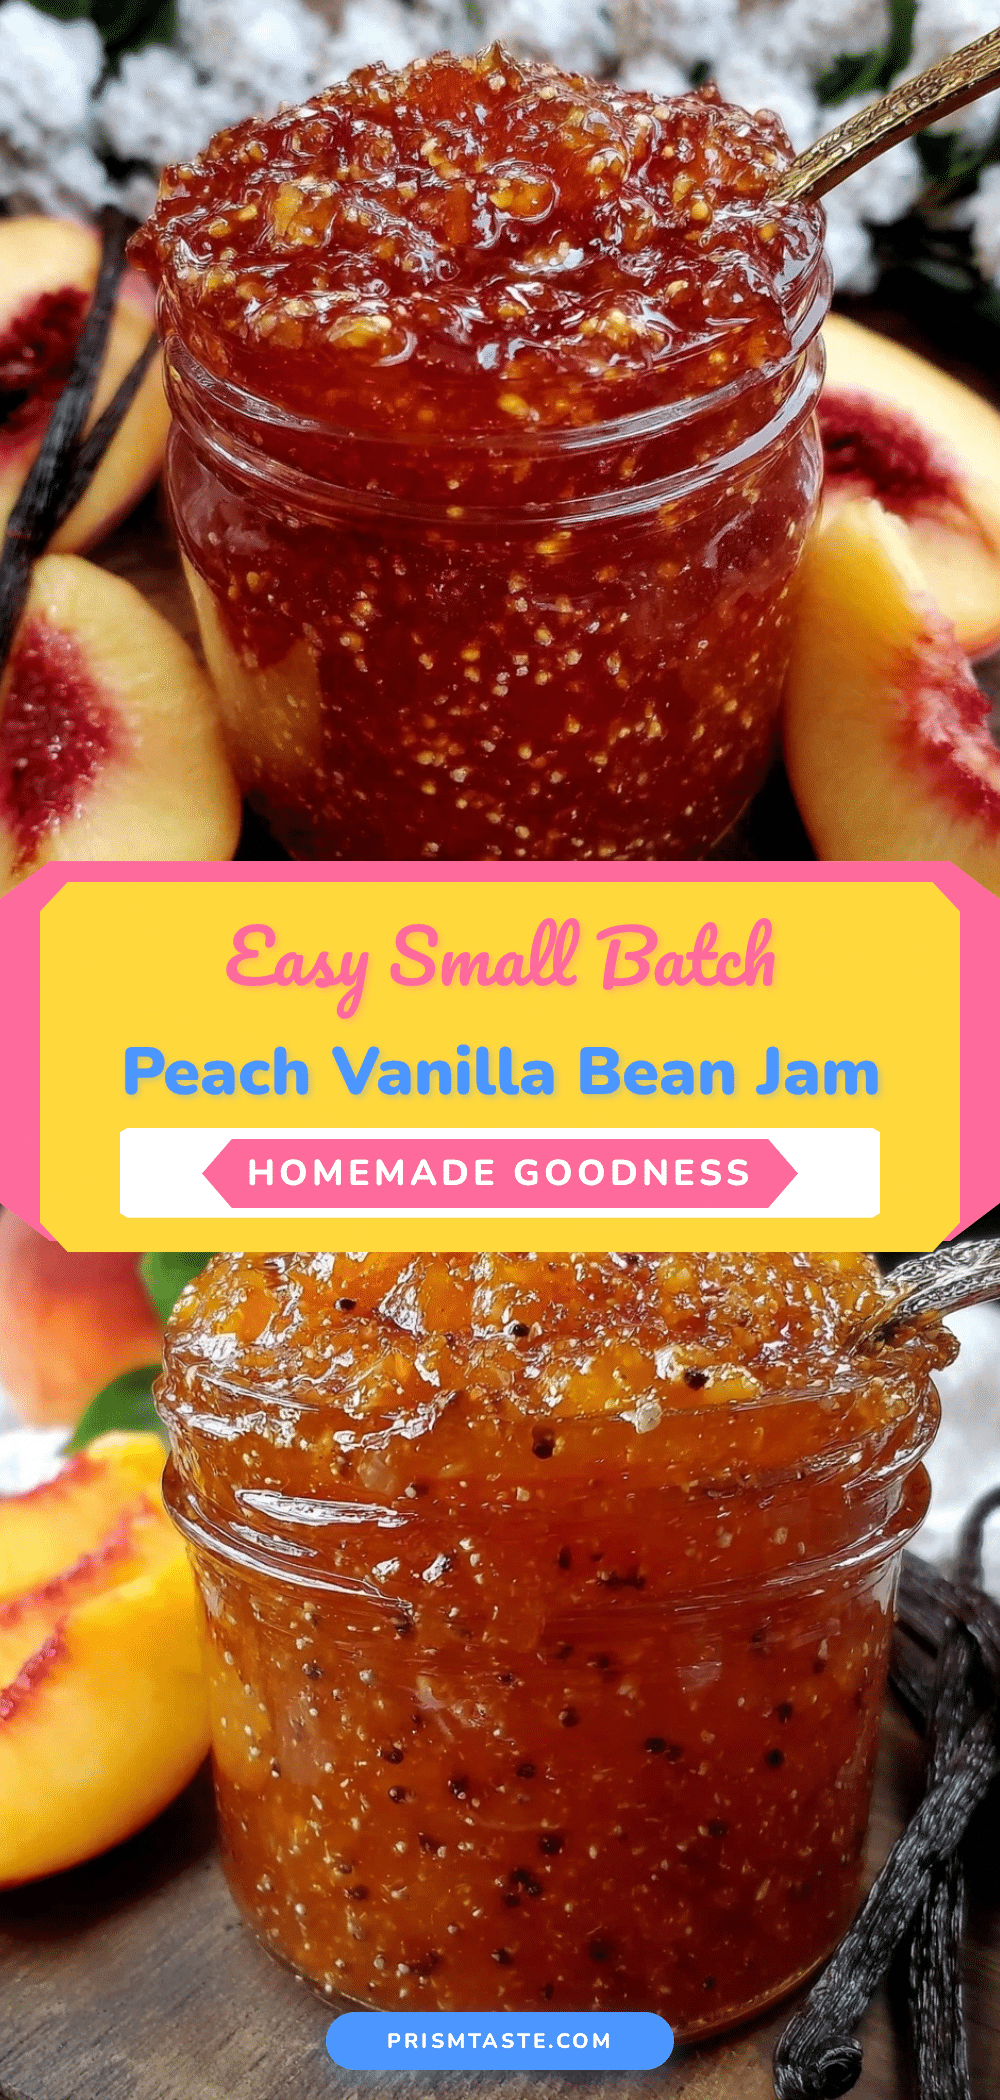
Easy Small Batch Peach Vanilla Bean Jam Recipe Perfect for Beginners
A quick and easy small batch peach vanilla bean jam that balances fresh peach flavor with a gentle hint of vanilla, perfect for beginners and small yields.
- Prep Time: 10 minutes
- Cook Time: 35-40 minutes
- Total Time: 45-50 minutes
- Yield: 2 half-pint jars (about 1 cup each) 1x
- Category: Preserves
- Cuisine: American
Ingredients
- 3 cups peeled and chopped fresh peaches (about 4–5 medium peaches)
- 3/4 cup granulated sugar (150 g)
- 2 tablespoons fresh lemon juice (30 ml)
- 1 whole vanilla bean, split and seeds scraped
- 1/4 cup water (60 ml)
Instructions
- Prepare the peaches by scoring a shallow ‘X’ on the bottom of each peach and blanching them in boiling water for 30 seconds, then plunge into ice water. Peel off skins and chop into 1/2 inch chunks.
- In a small bowl, mix the sugar and lemon juice until the sugar is moistened.
- In a medium saucepan, add the chopped peaches and water. Bring to a gentle boil over medium heat, then reduce to a simmer. Stir occasionally for 10-15 minutes until peaches soften and release juices.
- Stir in the sugar-lemon mixture and scrape in the seeds from the vanilla bean pod, then add the pod to the pot. Simmer and stir regularly for 20-25 minutes until the mixture thickens.
- Test the jam consistency by placing a spoonful on a chilled plate. After a minute, run your finger through it; if it wrinkles and holds shape, it is done. If not, cook longer, testing every 5 minutes.
- Remove the vanilla bean pod and discard. Ladle hot jam into sterilized half-pint jars, leaving 1/4 inch headspace. Seal with lids and let cool to room temperature.
Notes
Use the blanch-and-shock method to peel peaches easily. Stir gently but frequently to avoid scorching. Skim foam if it appears for clearer preserves. Vanilla bean pods add subtle aroma; remove pod before jarring. Test jam consistency on a chilled plate. For faster evaporation, use a wide shallow pan but watch closely.
Nutrition
- Serving Size: 1 tablespoon
- Calories: 45
- Sugar: 11
- Carbohydrates: 12
- Fiber: 1
Keywords: peach jam, vanilla bean jam, small batch jam, easy jam recipe, beginner jam recipe, homemade preserves, peach vanilla jam


