“You sure you don’t want to try it?” my neighbor asked, holding out a little cup layered in red, white, and blue. Honestly, I was skeptical at first—cheesecake in a cup? Patriotic layers? But one bite, and I was hooked. It happened last Fourth of July, when a last-minute invite to a backyard barbecue sent me scrambling for a dessert that was quick, festive, and actually tasty. I grabbed some basic ingredients and tossed together these Firecracker Cheesecake Cups, thinking they’d be a fun gimmick. Turns out, they’re way more than that.
The smooth, creamy cheesecake filling contrasted with the crisp, crumbly crust and bursts of fruity and sweet layers. It was like a little fireworks show on my palate, without the mess or fuss of a traditional pie. What’s wild is how easy it was to assemble—no baking skills required, which was perfect because the kitchen was chaos that afternoon (kids running, dogs barking, and everyone hungry). I made a batch that afternoon and ended up making them again the next day for a picnic. Somehow, these cups managed to feel festive without being over the top, and honestly, they quickly became my go-to summer dessert.
What made these Firecracker Cheesecake Cups stick with me is their perfect balance of flavors and colors that scream celebration but deliver comfort. They’re sweet, tangy, and fresh all at once, with a little crunch hiding beneath that creamy layer. Plus, you don’t have to worry about slicing or serving—just grab a spoon. It’s a dessert that invites you to relax and savor without stress.
So if you’re looking for a dessert that’s both visually stunning and incredibly satisfying, these Firecracker Cheesecake Cups might just become your new favorite for summer parties or any day that calls for a little color and sweetness.
Why You’ll Love This Firecracker Cheesecake Cups Recipe
After testing and tweaking this recipe several times (honestly, I made these cheesecake cups like three times in one week), I can say it’s a solid winner for a bunch of reasons. Here’s what makes it stand out:
- Quick & Easy: Ready in under 30 minutes, no oven needed—perfect for busy summer days when the last thing you want is to heat up the kitchen.
- Simple Ingredients: You probably have everything in your pantry or fridge already—cream cheese, graham crackers, a bit of sugar, and some fresh or frozen berries.
- Perfect for Summer Gatherings: Whether it’s a Fourth of July BBQ, Memorial Day picnic, or just a casual get-together, these cups bring that festive flair without fuss.
- Crowd-Pleaser: Kids and adults alike can’t get enough of the creamy texture paired with the crunchy base and fruity layers.
- Unbelievably Delicious: The layers of sweet cream cheese, tart berries, and buttery crust come together into a flavor combo that’s both nostalgic and fresh.
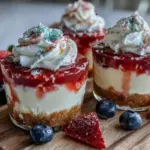
What really sets this recipe apart is the layering technique that creates those striking patriotic stripes—red from juicy strawberries or raspberries, white from classic cheesecake filling, and blue from blueberries or a homemade blueberry compote. I like to use a blend of cream cheese and a bit of Greek yogurt for a smoother, lighter texture, which makes it feel less heavy but still indulgent.
Plus, it’s not just a pretty face—these cups offer that homemade charm with none of the stress. If you want to impress guests without spending hours in the kitchen, these cheesecake cups are your secret weapon. They remind me a bit of the creamy goodness found in my fluffy lemon ricotta cake—light, flavorful, and irresistibly smooth.
What Ingredients You Will Need for Firecracker Cheesecake Cups
This recipe keeps things straightforward, relying on simple, wholesome ingredients that come together for big flavor and texture. You can swap out or tweak a few items depending on what you have on hand or dietary preferences.
- For the Crust:
- Graham cracker crumbs (about 1 ½ cups / 150g) – I prefer a fine crumb for the best texture. You can buy pre-crumbled or crush your own.
- Unsalted butter, melted (5 tablespoons / 70g) – adds richness and binds the crust.
- Granulated sugar (2 tablespoons / 25g) – balances the buttery crust with a touch of sweetness.
- For the Cheesecake Filling:
- Cream cheese, softened (16 ounces / 450g) – use full-fat for that creamy, rich taste. Philadelphia brand is my go-to.
- Greek yogurt (½ cup / 120g) – adds a slight tang and lightens the texture.
- Powdered sugar (1 cup / 120g) – for smooth sweetness without grit.
- Vanilla extract (1 teaspoon) – classic flavor boost.
- Heavy cream (⅓ cup / 80ml) – whipped slightly to fold in for extra fluffiness.
- For the Patriotic Layers:
- Fresh or frozen strawberries, hulled and sliced (1 cup / 150g) – for the red layer.
- Fresh or frozen blueberries (1 cup / 150g) – for the blue layer.
- Sugar (optional, 1-2 tablespoons / 15-30g) – to macerate the berries if desired.
For the berry layers, I like to gently mash half of the strawberries and blueberries with a little sugar to create a sauce-like consistency, leaving some bits whole for texture. This adds a fresh, natural sweetness and vibrant color.
If you want a gluten-free version, swap the graham crackers with almond flour or gluten-free cookie crumbs. And if you prefer dairy-free, you can swap cream cheese with a vegan alternative and use coconut yogurt, though texture will vary slightly.
Equipment Needed
- Mixing bowls – a couple of medium-sized bowls for crust, filling, and berries.
- Electric mixer or handheld mixer – makes beating cream cheese and whipping cream much easier.
- Measuring cups and spoons – for precise ingredient amounts.
- Spoons or small spatulas – for folding ingredients and layering.
- 12 to 16 small serving cups or jars (4-ounce / 120ml size) – perfect for assembling individual portions.
- Food processor or resealable bag and rolling pin – for crushing graham crackers if you don’t have pre-crumbbled ones.
If you don’t have an electric mixer, you can use a sturdy whisk and some elbow grease, but I’d recommend a handheld mixer for smooth, lump-free cheesecake filling. Small glass jars or clear plastic cups work great to show off those patriotic layers—you know, making that red, white, and blue pop!
Preparation Method

- Prepare the Crust: In a mixing bowl, combine the graham cracker crumbs, melted butter, and sugar. Stir until the mixture resembles wet sand and holds together when pressed. This usually takes about 3 minutes. Tip: If your crumbs feel too dry, add a teaspoon more melted butter.
- Assemble the Crust Layer: Spoon about 2 tablespoons (30g) of the crust mixture into each serving cup. Press down firmly with the back of a spoon to create an even base. Chill in the fridge while preparing the filling (about 10 minutes).
- Make the Cheesecake Filling: In a clean bowl, beat softened cream cheese with powdered sugar and vanilla extract until smooth and creamy (about 2-3 minutes). Add Greek yogurt and mix until combined. In a separate bowl, lightly whip the heavy cream until soft peaks form, then gently fold it into the cream cheese mixture. This step adds lightness to the filling.
- Prepare the Berry Layers: Take half of the strawberries and blueberries and mash them gently with sugar to create a sauce. Leave the rest whole for texture. Let sit for 5 minutes to macerate and release juices.
- Layer the Cups: Start with a spoonful of the mashed strawberry mixture on top of the crust, then add a layer of cheesecake filling (about 2-3 tablespoons / 30-45g). Next, add a layer of mashed blueberry sauce, then another spoonful of cheesecake filling. Use the whole berries to garnish the top for a fresh, colorful finish.
- Chill the Cups: Cover with plastic wrap or lids and refrigerate for at least 2 hours, or overnight if you can wait. The cheesecake filling firms up and the flavors meld beautifully. Note: These cups hold well for up to 3 days in the fridge.
Pro tip: To speed up chilling, place the cups in the coldest part of your fridge and avoid stacking them until set. Also, using room temperature cream cheese is key—it whips up smoother and prevents lumps.
Cooking Tips & Techniques for Perfect Cheesecake Cups
Getting that smooth, creamy cheesecake filling right can be tricky, but a few tricks make a big difference. First, always make sure your cream cheese is very soft—take it out of the fridge at least 30 minutes before mixing. If you’re short on time, a quick zap in the microwave for 10 seconds helps soften it without melting.
When beating the cream cheese and sugar, don’t rush. Beat until silky smooth, scraping down the bowl often to avoid lumps. Incorporating whipped cream at the end is what gives the filling that light, airy texture, so fold gently to keep the air in.
For the crust, pressing firmly is important to get that satisfying crunch under the creamy filling. If the crust is too loose, your cups might fall apart when you eat them. Melting the butter just right and mixing well helps everything stick together.
Layering is where the fun begins. Try to keep the layers distinct but not too thick—thin layers let each flavor shine and make the colors pop. Using clear cups is a great way to show off those patriotic stripes.
Don’t rush the chilling! Cheesecake needs time to set, or else you’ll end up with a runny mess. Two hours minimum is a must, but overnight is best if you can swing it. The flavors mellow and come together with time.
Variations & Adaptations to Customize Your Firecracker Cheesecake Cups
These cheesecake cups are super versatile and easy to tweak to suit different tastes or dietary needs.
- Berry Swaps: Replace strawberries and blueberries with raspberries and blackberries for a different berry combo that’s equally vibrant.
- Flavor Twists: Add a teaspoon of lemon zest to the cheesecake filling for a bright citrus note that pairs beautifully with the berries.
- Non-Dairy Version: Use dairy-free cream cheese and coconut cream whipped topping for a vegan-friendly take. The texture will be slightly different but still delicious.
- Gluten-Free Crust: Swap graham cracker crumbs with crushed gluten-free cookies or almond flour mixed with a little coconut oil for a nutty twist.
- Alcohol Infusion: For adults, a splash of bourbon or raspberry liqueur in the berry layers adds a subtle boozy kick perfect for summer parties.
Personally, I once tried folding in a little white chocolate ganache into the cheesecake mixture, which gave it a silkier texture and a hint of sweetness that was unexpected but delightful. If you like a richer dessert, give it a shot!
Serving & Storage Suggestions
These Firecracker Cheesecake Cups are best served chilled, straight from the fridge. The layers are more pronounced and the filling has that perfect creamy firmness that’s easy to scoop with a spoon. For presentation, garnish with fresh whole berries or a sprig of mint for a pop of green.
They pair wonderfully with sparkling lemonade or iced tea to keep things light and refreshing. If you want to serve a heartier summer dessert spread, pair these with something like crispy banh mi sandwiches or crispy chicken and waffle sliders for a fun balance of savory and sweet.
Store leftovers in the refrigerator covered tightly, and they’ll keep for up to 3 days. Avoid freezing if possible, as the texture of the cheesecake might change when thawed. To reheat slightly, just let them sit at room temperature for 10-15 minutes before serving—this softens the filling without melting it.
Fun fact: the flavors actually get better after sitting overnight, as the berries infuse the creamy layers with their juices, making each bite more flavorful.
Nutritional Information & Benefits
Each Firecracker Cheesecake Cup serves about 1/12th of the recipe and roughly contains:
| Nutrient | Amount |
|---|---|
| Calories | 220 kcal |
| Fat | 14 g |
| Carbohydrates | 18 g |
| Protein | 4 g |
| Sugar | 13 g |
This dessert offers some calcium and protein from the cream cheese and Greek yogurt, plus antioxidants from the berries. It’s not a health food, but it fits nicely into a balanced diet when enjoyed in moderation. The use of Greek yogurt lightens the overall fat content and adds a bit of tang that cuts through the sweetness.
For those with dietary restrictions, the recipe can be adapted to gluten-free or dairy-free versions as noted earlier, making it approachable for many.
Conclusion
These Firecracker Cheesecake Cups with Patriotic Layers are a straightforward yet stunning way to celebrate summer and holidays with a sweet treat that’s both fun and satisfying. I love how easy they are to pull together, even when the kitchen feels like chaos, and how they bring a bit of festive joy without requiring fancy ingredients or equipment. Whether you stick to the classic version or try one of the tweaks, these cups are sure to become a go-to dessert for your gatherings.
Give them a try, tweak them to your liking, and let me know how they turn out! I’m always curious to hear how readers make these their own. There’s just something about creamy cheesecake and fresh berries that feels like a little celebration in every bite.
So next time you want a dessert that’s easy, colorful, and downright delicious, these Firecracker Cheesecake Cups might just be your new best friend.
Frequently Asked Questions About Firecracker Cheesecake Cups
Can I make these cheesecake cups ahead of time?
Yes! These cups actually taste better after chilling overnight, which allows the flavors to meld and the filling to set perfectly.
What can I use if I don’t have graham crackers for the crust?
You can substitute crushed digestive biscuits, vanilla wafers, or gluten-free cookie crumbs. For a nutty twist, almond flour mixed with a bit of melted coconut oil works well too.
Are these cheesecake cups suitable for a dairy-free diet?
They can be! Use dairy-free cream cheese alternatives and coconut or almond yogurt, plus a non-dairy whipped topping instead of heavy cream for a vegan or dairy-free version.
Can I use frozen berries instead of fresh?
Absolutely! Just thaw and drain excess liquid before using to avoid watery layers. I often use frozen berries when fresh ones aren’t in season.
How long do these cheesecake cups last?
Store them covered in the fridge for up to 3 days. Avoid freezing as it can affect texture and cause separation.
Pin This Recipe!
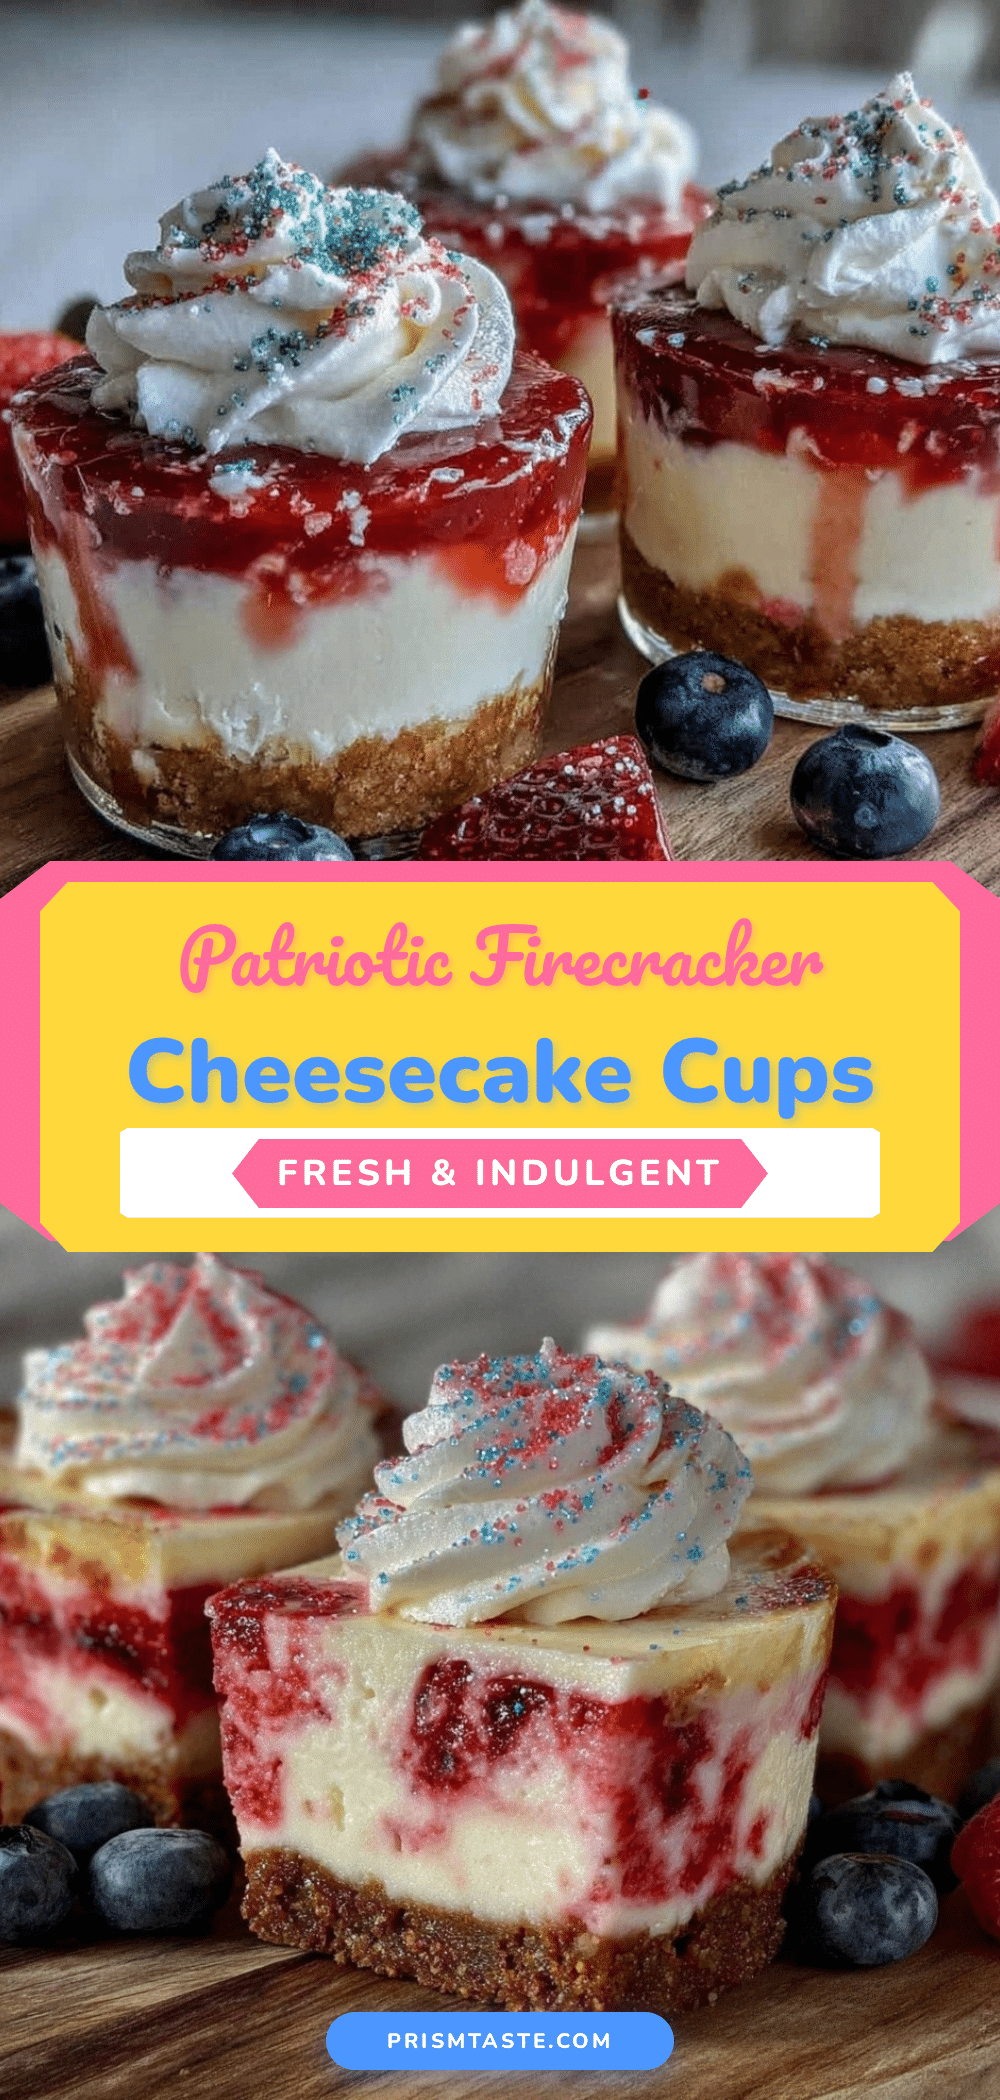
Firecracker Cheesecake Cups
A quick, no-bake patriotic dessert featuring layers of creamy cheesecake, crunchy graham cracker crust, and fresh red, white, and blue berries. Perfect for summer gatherings and easy to assemble.
- Prep Time: 15 minutes
- Cook Time: 0 minutes
- Total Time: 2 hours 15 minutes
- Yield: 12 servings 1x
- Category: Dessert
- Cuisine: American
Ingredients
- 1 ½ cups graham cracker crumbs (about 150g)
- 5 tablespoons unsalted butter, melted (about 70g)
- 2 tablespoons granulated sugar (about 25g)
- 16 ounces cream cheese, softened (about 450g)
- ½ cup Greek yogurt (about 120g)
- 1 cup powdered sugar (about 120g)
- 1 teaspoon vanilla extract
- ⅓ cup heavy cream (about 80ml)
- 1 cup fresh or frozen strawberries, hulled and sliced (about 150g)
- 1 cup fresh or frozen blueberries (about 150g)
- 1–2 tablespoons sugar (optional, about 15-30g) for macerating berries
Instructions
- Prepare the crust by combining graham cracker crumbs, melted butter, and sugar in a mixing bowl until the mixture resembles wet sand and holds together when pressed. Add more butter if too dry.
- Spoon about 2 tablespoons (30g) of the crust mixture into each serving cup and press firmly to create an even base. Chill in the fridge for about 10 minutes.
- Make the cheesecake filling by beating softened cream cheese with powdered sugar and vanilla extract until smooth and creamy (2-3 minutes). Mix in Greek yogurt until combined.
- Whip heavy cream until soft peaks form, then gently fold into the cream cheese mixture for a light texture.
- Prepare berry layers by mashing half of the strawberries and blueberries with sugar to create a sauce, leaving some berries whole for texture. Let sit for 5 minutes.
- Layer the cups starting with mashed strawberry sauce on the crust, then a layer of cheesecake filling (2-3 tablespoons / 30-45g), followed by mashed blueberry sauce, another cheesecake layer, and garnish with whole berries on top.
- Cover cups with plastic wrap or lids and refrigerate for at least 2 hours or overnight to set and meld flavors.
Notes
Use room temperature cream cheese for smooth filling. Chill at least 2 hours or overnight for best results. To speed chilling, place cups in the coldest part of the fridge and avoid stacking. For gluten-free, substitute graham crackers with almond flour or gluten-free cookie crumbs. For dairy-free, use vegan cream cheese and coconut yogurt.
Nutrition
- Serving Size: 1 cup (about 4 ounce
- Calories: 220
- Sugar: 13
- Fat: 14
- Carbohydrates: 18
- Protein: 4
Keywords: firecracker cheesecake cups, patriotic dessert, no bake cheesecake, summer dessert, fourth of July dessert, easy cheesecake cups, berry cheesecake cups