“Can you make that banana bread again?” My husband asked this while peeking over my shoulder at a bunch of spotty bananas on the counter. Not a request. More like a statement of fact. And honestly? He wasn’t wrong to ask. I’ve been on a quest for the perfect classic one-bowl banana bread for years, and I think I finally cracked the code.
It started on a rainy Tuesday when I had three overripe bananas that were basically begging for a purpose. You know those bananas—the ones that look sad but smell like pure potential. I tried a dozen recipes before this one. Some were too dry. Some were too dense. Some had that weird, almost-bitter taste from too much baking soda. This one? It’s the Goldilocks of banana breads. Just right.
The thing about this particular loaf is that it doesn’t try to be fancy. No sour cream, no yogurt, no weird secret ingredients that send you to three different grocery stores. It’s just honest, moist banana bread that tastes like the kind your grandma made—if your grandma was really into perfectly caramelized edges and a center that’s somehow both tender and sturdy enough to hold a pat of butter without disintegrating.
I’ve made this recipe more times than I can count. For brunches, for sick friends, for those days when you just need something warm and sweet and familiar. It’s never let me down. And the best part? You can literally make it in one bowl. No mixer required. No complicated steps. Just you, a fork, and a bunch of bananas that finally found their purpose.
Let me show you how it’s done.
Why You’ll Love This Recipe
I’m not going to tell you this is the only banana bread recipe you’ll ever need. But I will tell you it’s the one I reach for every single time, and I’ve tested a lot of banana bread in my day. Here’s why this one stands out:
- One Bowl, No Mixer – Seriously. You mash, stir, pour, and bake. The fewer dishes, the better, right? This is the kind of recipe you can make while half-awake on a Sunday morning.
- Perfectly Moist Every Time – The ratio of wet to dry ingredients is dialed in so you get that tender crumb without any gummy spots. It’s moist banana bread that stays moist for days—if it lasts that long.
- Simple Pantry Ingredients – You probably have everything already. Butter, sugar, eggs, flour, baking soda, salt, and those sad bananas on your counter. No trips to the store for buttermilk or fancy extracts.
- Forgiving and Foolproof – This recipe handles substitutions like a champ. Swap in whole wheat flour? Sure. Use coconut oil instead of butter? Go for it. It still works.
- Freezes Beautifully – Make two loaves. Eat one now. Freeze one for later. Future you will be so grateful.
I’ve made this for my toddler’s playgroup, for book club, and for my neighbor who just had a baby. Every single time, someone asks for the recipe. Not because it’s fancy or trendy, but because it tastes like home. That first bite—warm, buttery, with those little pockets of melted banana—it’s comfort food at its simplest and best.
What Ingredients You Will Need
This recipe uses simple, everyday ingredients to create something truly special. No weird science experiments here—just honest baking that works.
- 3 ripe bananas, mashed – The riper, the better. You want them spotty, almost black. That’s where all the sweetness and banana flavor lives. I’ve used frozen and thawed bananas too—they work great and release extra moisture.
- 1/3 cup melted butter – Unsalted is my go-to so I can control the salt. But salted butter works fine too—just skip the extra salt in the recipe. I melt it in the microwave while I’m mashing bananas. Efficiency!
- 3/4 cup granulated sugar – Regular white sugar keeps the texture light. You can swap in coconut sugar for a deeper flavor, but the bread will be slightly denser.
- 1 large egg – Room temperature if you remember. If not, just run it under warm water for 30 seconds. It makes a difference in how evenly everything mixes.
- 1 teaspoon vanilla extract – Pure vanilla if you have it. Imitation works fine too. Don’t skip it—it rounds out the banana flavor beautifully.
- 1 1/2 cups all-purpose flour – Spoon and level your flour. Scooping directly from the bag packs it down and gives you dry bread. Trust me on this one.
- 1 teaspoon baking soda – Make sure it’s fresh. Baking soda loses its oomph after a few months. If it doesn’t fizz when you drop it in vinegar, get a new box.
- 1/4 teaspoon salt – Just enough to balance the sweetness and make the banana flavor pop.
- Optional: 1/2 cup mix-ins – Chocolate chips, chopped walnuts, or pecans. I’m a chocolate chip person myself, but my mom swears by walnuts. Both are correct.
I recommend using a good-quality vanilla extract like Nielsen-Massey if you can find it. It’s pricier, but the flavor is noticeably cleaner. And for chocolate chips, I’m partial to Ghirardelli 60% cacao bittersweet chips—they don’t sink to the bottom and they add a nice grown-up contrast to the sweet banana.
Equipment Needed
You don’t need a fancy kitchen for this recipe. Here’s what you’ll need:
- One large mixing bowl – Any bowl will do. I use a ceramic one because it feels sturdy, but glass or metal works fine.
- A fork or potato masher – For mashing those bananas. A fork gives you more control over texture. I like mine a little chunky.
- A 9×5-inch loaf pan – This is standard. If you use an 8×4-inch pan, your bread will be taller and可能需要bake a few minutes longer. Grease it well or line it with parchment.
- Measuring cups and spoons – For accuracy. Baking is a science, even if this recipe is forgiving.
- A rubber spatula – For scraping the bowl clean. Every bit of batter matters.
- Parchment paper (optional but helpful) – Makes lifting the loaf out super easy. I leave an overhang on two sides for handles.
- Cooling rack – Lets air circulate so your bread doesn’t get soggy on the bottom.
If you don’t have a loaf pan, you can bake this in a 9-inch square pan—just reduce the baking time by about 10 minutes. I’ve also made muffins with this batter (about 18-20 minutes at 350°F). They’re perfect for lunchboxes!
Preparation Method
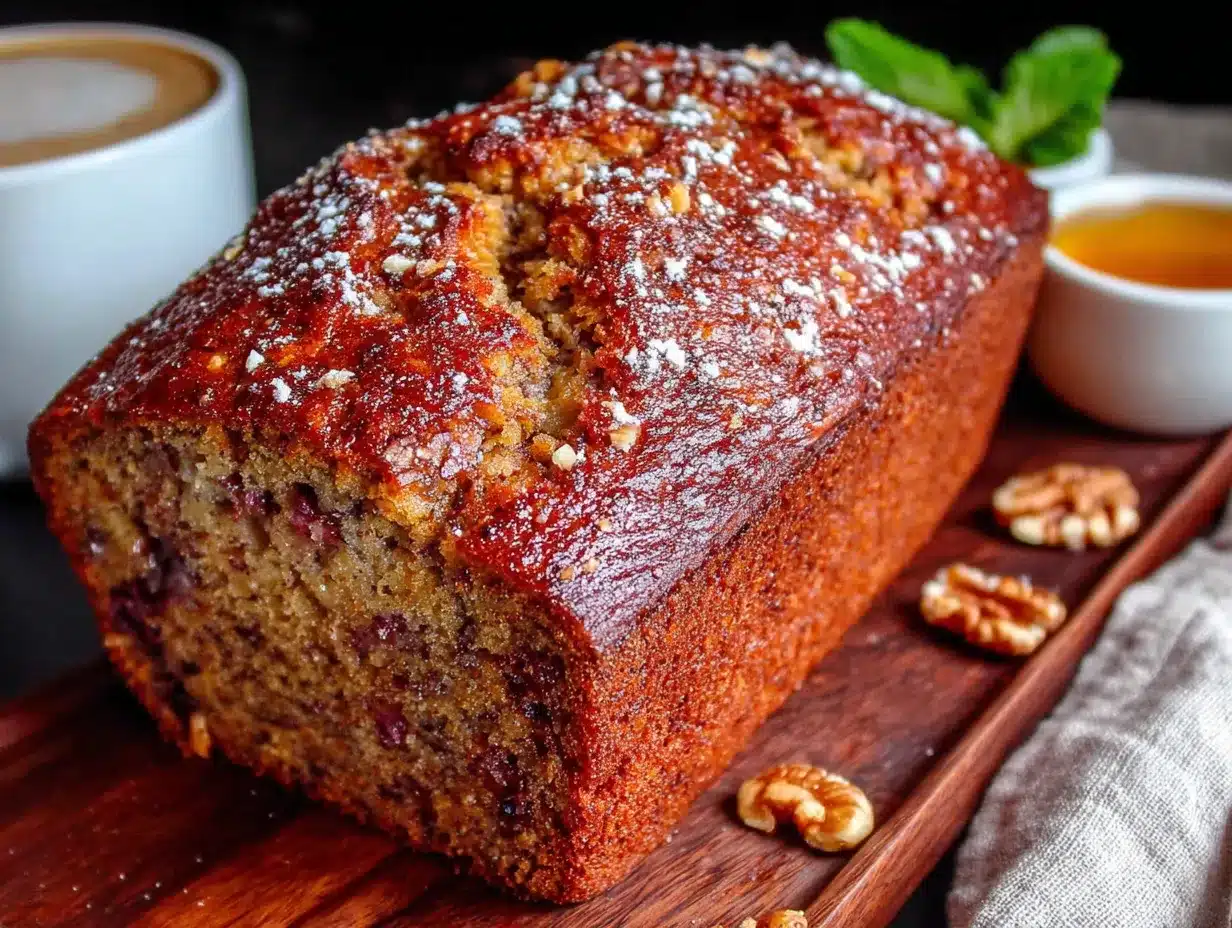
- Preheat your oven to 350°F (175°C). Grease a 9×5-inch loaf pan with butter or non-stick spray. If you’re using parchment paper, leave an overhang on the long sides for easy removal later.
- Mash those bananas. In your large mixing bowl, add the three ripe bananas. Mash them with a fork until they’re mostly smooth with a few small lumps. You want some texture here—completely smooth banana puree makes the bread too dense. Aim for the consistency of a chunky applesauce.
- Add the melted butter. Pour it right over the mashed bananas and stir until combined. The butter should be warm but not hot—you don’t want to cook the banana. If it’s too hot, let it cool for a minute.
- Mix in the sugar, egg, and vanilla. Add the sugar and stir until it’s fully incorporated. Then crack in the egg and add the vanilla. Stir until everything is smooth and glossy. The mixture will look a little thin at this point—that’s normal.
- Add the dry ingredients. Sprinkle the flour, baking soda, and salt over the wet mixture. Don’t dump them all in one pile—distribute them a bit so the baking soda doesn’t clump. Stir gently with your spatula or fork until just combined. A few streaks of flour are okay. Overmixing is the enemy of tender banana bread. Stop when you can’t see any more dry flour.
- Fold in your mix-ins (if using). Gently fold in chocolate chips, nuts, or whatever you’re adding. About 10 folds should do it. You want them evenly distributed without overworking the batter.
- Pour the batter into your prepared pan. Use your spatula to spread it evenly. Give the pan a gentle tap on the counter to release any air bubbles. Smooth the top if you want a nice even dome.
- Bake for 55-65 minutes. Start checking at 55 minutes. A toothpick inserted into the center should come out clean or with just a few moist crumbs. If the top is browning too quickly (around 45 minutes), tent it loosely with foil.
- Cool in the pan for 10 minutes. This lets the bread set so it doesn’t fall apart when you remove it. After 10 minutes, lift it out using the parchment handles (or invert it onto a cooling rack).
- Cool completely before slicing. I know, I know—you want to eat it now. But slicing warm banana bread can make it crumbly and gummy. Give it at least 30 minutes on the rack. The wait is worth it.
Sensory cues to look for: The batter should be thick but scoopable—like a thick pancake batter. During baking, your kitchen will smell like heaven. The loaf should be deep golden brown on top, and a crack down the center is totally normal—that’s the mark of a good banana bread. When you tap the top, it should feel firm and spring back slightly.
Cooking Tips & Techniques
I’ve made this recipe at least thirty times, and I’ve learned a few things the hard way. Here are my best tips:
Don’t overmix the batter. This is the number one mistake people make. Stir until the flour just disappears. Overmixing develops gluten, which makes your bread tough and dense instead of tender and cakey. You want to see a few tiny flour streaks—they’ll disappear as the batter rests.
Use room temperature eggs. Cold eggs can make your butter seize up and create a lumpy batter. If you forgot to take the egg out ahead of time, place it in a bowl of warm water for 5 minutes. Problem solved.
Let your bananas get really ugly. The best banana bread comes from bananas that look like they’ve seen better days. Black spots are good. Mostly black is even better. If your bananas aren’t ripe enough, you can speed things up by baking them at 300°F for 15-20 minutes until they’re soft and fragrant. Let them cool before using.
Weigh your flour if you can. A cup of all-purpose flour should weigh about 120-125 grams. Scooping directly from the bag can give you up to 150 grams, which makes dry bread. If you don’t have a scale, spoon the flour into your measuring cup and level it off with a knife.
Check for doneness with a thermometer. This is my secret weapon. Banana bread is done when the internal temperature reaches 200-205°F (93-96°C). No more guessing with toothpicks! I use a simple instant-read thermometer and it never fails.
Let it cool completely. I know I said this already, but it bears repeating. Cutting into warm banana bread releases steam and moisture, making the texture gummy. If you can wait overnight, the flavors actually deepen and the texture improves. That’s a pro tip right there.
Variations & Adaptations
This recipe is a chameleon. Here are some of my favorite ways to change it up:
Chocolate Chip Banana Bread – Add 1/2 cup of semi-sweet or dark chocolate chips. I like to toss them in a tablespoon of flour before folding them in—it keeps them from sinking to the bottom.
Nutty Banana Bread – Fold in 1/2 cup of toasted walnuts or pecans. Toasting them first really brings out their flavor. Just spread them on a baking sheet at 350°F for 5-7 minutes.
Vegan Banana Bread – Replace the butter with melted coconut oil or vegan butter. Use a flax egg (1 tablespoon ground flaxseed mixed with 3 tablespoons water, let sit for 5 minutes). The texture is slightly denser but still delicious.
Gluten-Free Banana Bread – Swap the all-purpose flour for a 1:1 gluten-free baking flour blend. I like Bob’s Red Mill or King Arthur. Add an extra tablespoon of flour to compensate for the different absorption rate.
Spiced Banana Bread – Add 1 teaspoon of cinnamon and 1/4 teaspoon of nutmeg to the dry ingredients. It gives the bread a warm, cozy vibe that’s perfect for fall. If you love fall flavors, you might also enjoy this cozy small batch pumpkin bread with maple butter.
Streusel Topping – Mix 1/4 cup flour, 1/4 cup brown sugar, 2 tablespoons cold butter, and a pinch of cinnamon. Sprinkle it over the batter before baking. It creates a crunchy, buttery crust that’s absolutely addictive.
I once made a version with shredded coconut and macadamia nuts—it was like a tropical vacation in loaf form. Don’t be afraid to experiment. This recipe is forgiving enough to handle your creativity.
Serving & Storage Suggestions
This banana bread is delicious in so many ways. Here’s how I like to serve and store it:
Serving: Slice it thick and serve it warm with a pat of salted butter melting into the crumb. It’s also fantastic toasted—just pop a slice in the toaster or under the broiler for a minute. For an extra treat, spread it with cream cheese or Nutella. Pair it with a hot cup of coffee or a cold glass of milk. It’s also perfect alongside a bowl of cozy creamy roasted tomato fall soup for a sweet-savory lunch combo.
Storage: Wrap the cooled loaf tightly in plastic wrap or aluminum foil. Store it at room temperature for up to 4 days. The moisture actually improves after a day—the flavors meld and the texture becomes even more tender. Do not refrigerate it! The fridge dries out baked goods faster.
Freezing: This bread freezes like a dream. Wrap the whole loaf (or individual slices) in plastic wrap, then foil, and freeze for up to 3 months. To thaw, leave it on the counter for a few hours or pop a slice in the microwave for 20 seconds. I always keep a loaf in the freezer for unexpected guests or lazy Sunday mornings.
Flavor development: Honestly, this banana bread tastes even better on day two. The banana flavor deepens and the texture becomes more cohesive. If you can resist eating it all on day one, you’re in for a treat.
Nutritional Information & Benefits
Here’s the approximate nutritional breakdown for one slice (assuming 12 slices per loaf, without mix-ins):
- Calories: 195
- Fat: 8g
- Carbohydrates: 30g
- Fiber: 1g
- Sugar: 16g
- Protein: 3g
Health benefits: Bananas are a great source of potassium, vitamin B6, and vitamin C. They also contain resistant starch, which is good for gut health. Using whole wheat flour adds more fiber, and swapping in coconut oil provides healthy medium-chain triglycerides (MCTs).
Dietary considerations: This recipe is vegetarian. It can be made vegan and gluten-free with the substitutions mentioned above. It contains dairy (butter) and gluten (flour), so it’s not suitable for those with allergies unless adapted. Always check your ingredient labels for potential cross-contamination if you have severe allergies.
Personal perspective: I love that this banana bread feels like a treat but isn’t loaded with refined sugar or unhealthy fats. It’s the kind of thing I feel good about giving my toddler—real food, real ingredients, real love.
Conclusion
This classic one-bowl banana bread is more than just a recipe—it’s a solution to the eternal question of what to do with overripe bananas. It’s the bread that saves the day when you need a last-minute dessert, a thoughtful gift, or just something warm and comforting on a quiet morning.
I’ve made this loaf for countless occasions, and it never fails to bring smiles. There’s something about the smell of banana bread baking that makes everything feel right in the world. And knowing that you made it yourself, with just one bowl and a few simple ingredients, makes it taste even better.
I’d love to hear how yours turns out! Did you add chocolate chips? Walnuts? Did you try the streusel topping? Drop a comment below and let me know. Share your photos on social media and tag me—I love seeing your creations. And if you’re looking for another easy, one-bowl recipe, check out these easy one-bowl chocolate zucchini muffins for another way to use up produce.
Happy baking, friend. May your bananas always be spotty and your loaf always be moist.
Frequently Asked Questions
Can I use frozen bananas for this recipe?
Absolutely! Frozen bananas work great. Thaw them completely, then drain off any excess liquid before mashing. The texture will be slightly softer, but the flavor is just as good. I actually keep a bag of frozen overripe bananas in my freezer specifically for this recipe.
Why did my banana bread sink in the middle?
This usually happens for a few reasons: the batter was overmixed, the oven temperature was too low, or the bread was underbaked. Make sure your oven is properly preheated to 350°F and check for doneness with a toothpick or thermometer. Also, resist the urge to open the oven door during the first 40 minutes of baking.
Can I reduce the sugar in this recipe?
Yes, you can reduce the sugar to 1/2 cup without major issues. The bread will be less sweet and slightly less moist. If your bananas are very ripe and sweet, you can get away with even less. I’ve made it with 1/2 cup of coconut sugar and it turned out great—just a bit darker in color.
How do I make this recipe dairy-free?
Replace the butter with melted coconut oil, vegetable oil, or a vegan butter substitute. The texture will be slightly different—coconut oil gives a lighter crumb, while vegan butter mimics the original most closely. All other ingredients are already dairy-free.
Can I make this into muffins instead of a loaf?
Yes! This batter makes about 12 standard muffins. Fill greased muffin cups about 3/4 full and bake at 350°F for 18-22 minutes. They’re perfect for lunchboxes, breakfast on the go, or freezing for later. Check them with a toothpick at 18 minutes—they should come out clean or with a few moist crumbs.
Pin This Recipe!
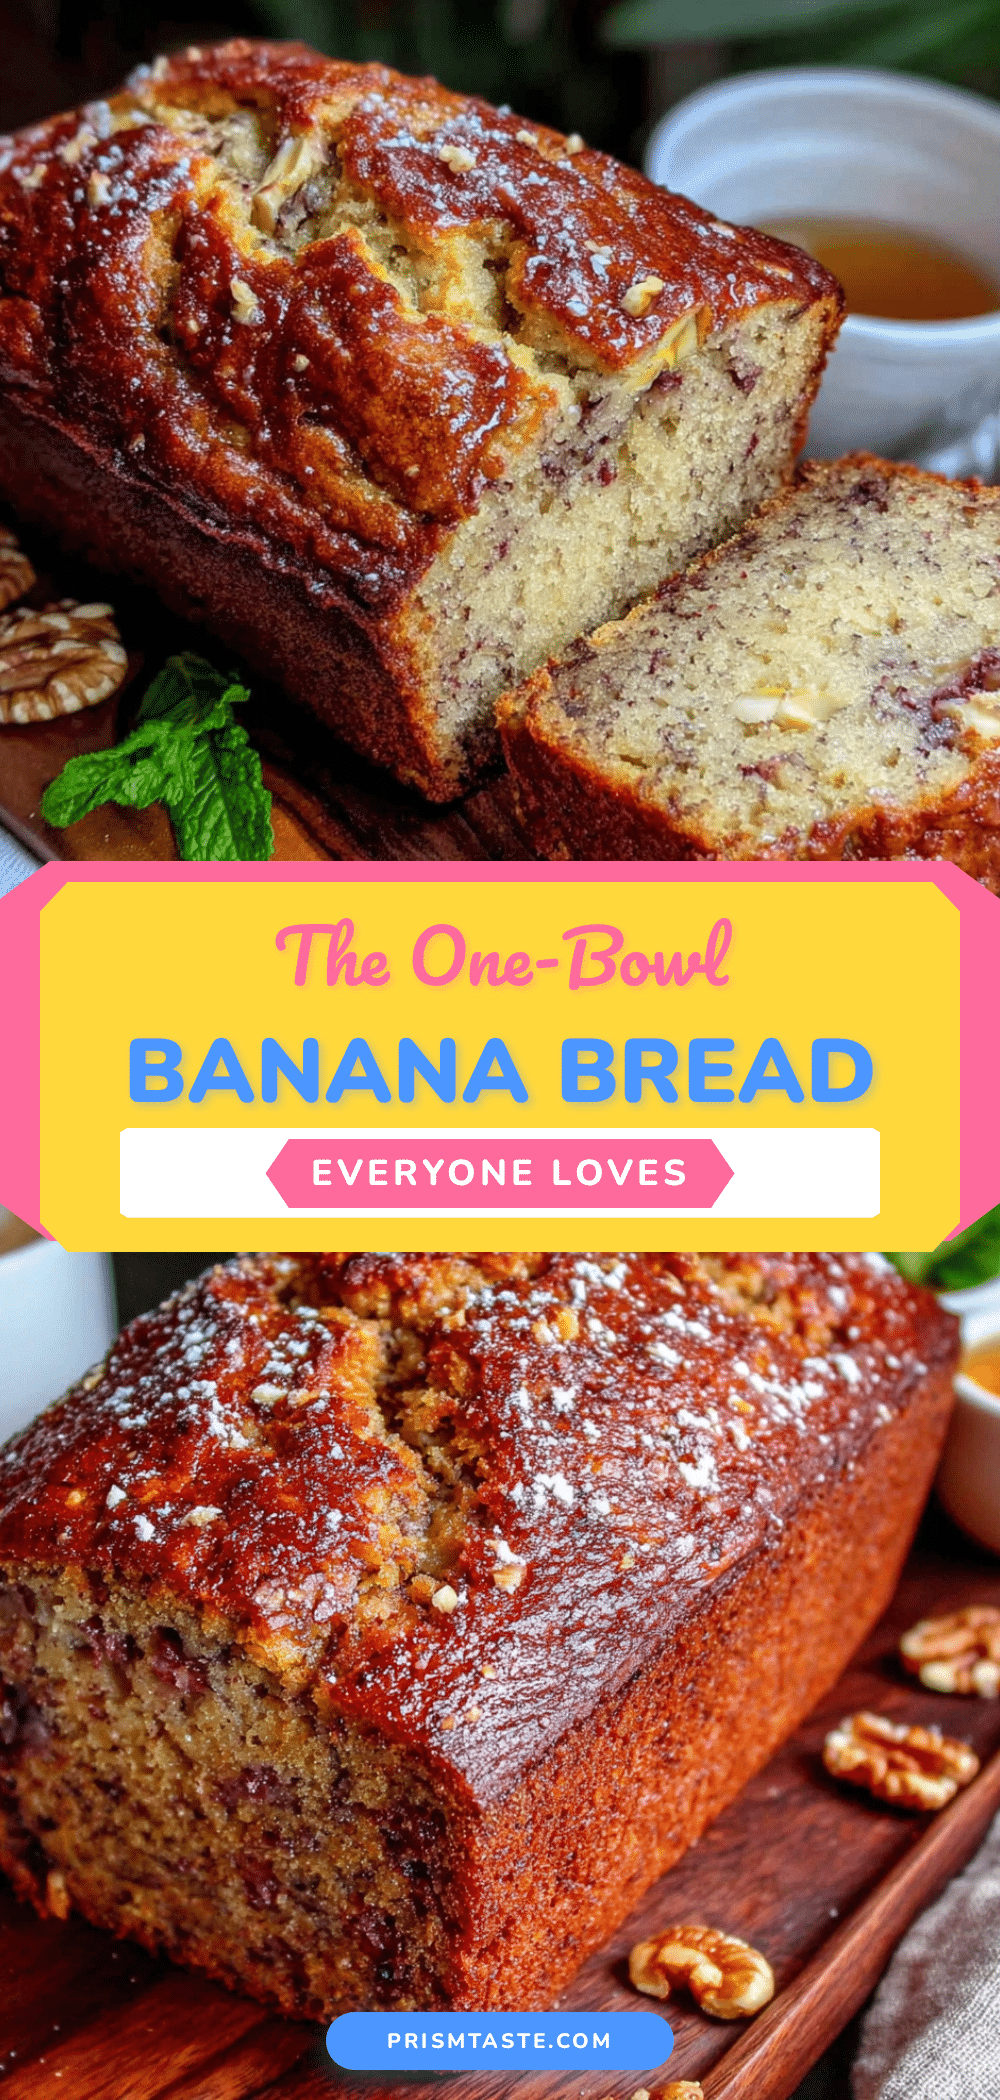
The Best Classic One-Bowl Banana Bread: Moist & Easy
This classic one-bowl banana bread is moist, tender, and made with simple pantry ingredients. It’s the perfect way to use up overripe bananas and requires no mixer.
- Prep Time: 15 minutes
- Cook Time: 55 minutes
- Total Time: 1 hour 10 minutes
- Yield: 12 servings 1x
- Category: Dessert
- Cuisine: American
Ingredients
- 3 ripe bananas, mashed
- 1/3 cup melted butter (unsalted)
- 3/4 cup granulated sugar
- 1 large egg (room temperature)
- 1 teaspoon vanilla extract
- 1 1/2 cups all-purpose flour (spooned and leveled)
- 1 teaspoon baking soda
- 1/4 teaspoon salt
- Optional: 1/2 cup mix-ins (chocolate chips, chopped walnuts, or pecans)
Instructions
- Preheat your oven to 350°F (175°C). Grease a 9×5-inch loaf pan with butter or non-stick spray. Optionally, line with parchment paper leaving an overhang on the long sides.
- In a large mixing bowl, mash the ripe bananas with a fork until mostly smooth with a few small lumps.
- Pour the melted butter over the mashed bananas and stir until combined.
- Add the sugar, egg, and vanilla extract. Stir until smooth and glossy.
- Sprinkle the flour, baking soda, and salt over the wet mixture. Stir gently until just combined. A few streaks of flour are okay.
- If using, gently fold in the mix-ins (chocolate chips, nuts, etc.) with about 10 folds.
- Pour the batter into the prepared loaf pan and spread evenly. Tap the pan gently on the counter to release air bubbles.
- Bake for 55-65 minutes, or until a toothpick inserted into the center comes out clean or with a few moist crumbs. If the top browns too quickly, tent loosely with foil after 45 minutes.
- Cool in the pan for 10 minutes, then lift out using parchment handles or invert onto a cooling rack.
- Cool completely before slicing (at least 30 minutes).
Notes
For best results, use very ripe (spotty or black) bananas. Do not overmix the batter. Let the bread cool completely before slicing to avoid a gummy texture. The bread can be stored at room temperature for up to 4 days or frozen for up to 3 months.
Nutrition
- Serving Size: 1 slice
- Calories: 195
- Sugar: 16
- Sodium: 180
- Fat: 8
- Saturated Fat: 4
- Carbohydrates: 30
- Fiber: 1
- Protein: 3
Keywords: banana bread, one-bowl banana bread, moist banana bread, easy banana bread, classic banana bread


