Pumpkin puree dripping down the side of the can, a half-empty bag of oats on the counter, and the clock ticking toward the school bus arrival. That was the scene last Tuesday when I realized I had nothing prepped for breakfast, and those store-bought oatmeal packets were just not going to cut it anymore. I needed something fast, something I could grab with one hand while wrangling a backpack with the other, and something that actually tasted like fall, not like cardboard.
So I started throwing things into a bowl. Oats, pumpkin, a splash of maple syrup, a handful of warm spices. I poured the batter into a muffin tin, crossed my fingers, and slid it into the oven. Twenty minutes later, the kitchen smelled like a cozy autumn morning, and I had a dozen perfectly portable, healthy pumpkin baked oatmeal cups cooling on the rack. Honestly, I ate two before the kids even got their shoes on.
These little cups became my breakfast lifeline that week. They are soft, lightly sweet, and packed with enough fiber and protein to keep everyone full until lunch. No more mid-morning hangry meltdowns. No more drive-thru regrets. Just a simple, real-food breakfast that actually works for real life.
If you are looking for a way to make your mornings easier without sacrificing flavor or nutrition, these healthy pumpkin baked oatmeal cups might just become your new favorite thing.
Why You’ll Love This Recipe
I have tested this recipe about six times now, tweaking the oat-to-pumpkin ratio, swapping sweeteners, and even trying it with different milk alternatives. What I landed on is the version that checks every box: easy, delicious, and genuinely good for you. Here is why I think you will love it too.
- Quick & Easy: From bowl to oven in under 10 minutes, and they bake in just 20 minutes. Perfect for a Sunday meal prep session or a weekday morning when you are running on fumes.
- Simple Ingredients: You probably have most of these in your pantry right now. Oats, pumpkin puree, eggs, milk, maple syrup, and a few spices. No weird health-food store finds required.
- Perfect for Busy Mornings: These are grab-and-go in the best way. Make a batch on Sunday, and you have breakfast sorted for the whole week. They also freeze beautifully, so you can double the batch and never run out.
- Crowd-Pleaser: My kids devour these, my husband packs them for work, and even my picky neighbor asked for the recipe. They are sweet enough to feel like a treat but wholesome enough to feel good about serving.
- Unbelievably Delicious: The texture is the real star here. Soft and tender on the inside with a slightly chewy edge from the oats. The pumpkin keeps them incredibly moist without being dense, and the warm spices make the whole house smell incredible.
What sets this recipe apart is the balance. I have tried versions that were too dry, too sweet, or just bland. This one hits that sweet spot where the pumpkin flavor shines without being overpowering, and the oats give it a hearty, satisfying bite. It is comfort food you can feel good about eating for breakfast.
Honestly, the first time I made these, I closed my eyes after the first bite. It was one of those rare moments where a healthy recipe actually delivers on flavor. No compromise, no sad texture, just pure fall goodness in a little paper liner.
What Ingredients You Will Need
This recipe relies on simple, wholesome ingredients that work together to create a breakfast that is both satisfying and nutritious. Most of these are pantry staples, which makes this recipe even more appealing when you are short on time or motivation.
- Rolled Oats: The backbone of these cups. I recommend using old-fashioned rolled oats for the best texture. Quick oats will work in a pinch, but they absorb liquid differently and can make the cups a bit mushy. For a gluten-free version, use certified gluten-free oats.
- Pumpkin Puree: Not pumpkin pie filling! Make sure you grab 100% pure pumpkin puree. It adds moisture, a subtle earthy sweetness, and a serious dose of vitamin A. I usually go with Libby’s, but any brand works as long as it is pure pumpkin.
- Eggs: They bind everything together and add structure. Large eggs at room temperature work best. If you need an egg-free option, a flax egg (1 tablespoon flaxseed meal mixed with 3 tablespoons water) works surprisingly well here.
- Milk: Any milk works. I have used dairy milk, oat milk, and almond milk with great results. Oat milk adds a touch of extra creaminess, while almond milk keeps things lighter. Just avoid sweetened or flavored varieties unless you want to adjust the sugar.
- Maple Syrup: My sweetener of choice for that deep, caramel-like flavor that pairs so well with pumpkin. Honey or agave nectar are good substitutes, but they will change the flavor slightly. You can also use brown sugar if you prefer a more traditional sweetness.
- Vanilla Extract: A splash of vanilla rounds out the flavors and makes everything taste a little more indulgent. Pure vanilla extract is best, but imitation works fine too.
- Pumpkin Pie Spice: This is your shortcut to that classic fall flavor. If you do not have it, mix 1 teaspoon cinnamon, 1/2 teaspoon ginger, 1/4 teaspoon nutmeg, and a pinch of cloves. Cinnamon is the star here, so do not skimp on it.
- Baking Powder: A little lift goes a long way. It helps the cups puff up slightly in the oven, giving them a lighter texture rather than a dense, heavy puck.
- Salt: Just a pinch to balance the sweetness and enhance all the other flavors. Trust me on this one, it makes a difference.
- Optional Add-ins: Chocolate chips, chopped nuts, dried cranberries, or shredded coconut. I love adding a handful of dark chocolate chips for a little indulgence, or some chopped pecans for crunch. You can really make these your own.
Equipment Needed
You do not need a fancy kitchen to make these healthy pumpkin baked oatmeal cups. Just a few basic tools that you probably already own.
- Muffin Tin: A standard 12-cup muffin tin is perfect. I have used both metal and silicone pans with success. Silicone pans make removal a breeze, but metal pans give a slightly crisper edge. If you use a metal pan, make sure to grease it well or use paper liners.
- Mixing Bowls: One large bowl for the wet ingredients and one medium bowl for the dry ingredients. Glass or stainless steel work great.
- Whisk: For combining the wet ingredients smoothly. A fork works too if you are in a pinch.
- Spatula: A rubber spatula is ideal for folding everything together without overmixing. Overmixing can make the cups tough, so gentle is the name of the game.
- Measuring Cups and Spoons: Accurate measurements matter here, especially with the oats and pumpkin. Too much oats and they will be dry, too much pumpkin and they might not hold together.
- Ice Cream Scoop or Cookie Scoop: This is my secret for even, perfectly portioned cups. It makes filling the muffin tin so much faster and less messy. A 1/4 cup measure works too.
- Cooling Rack: Letting the cups cool completely on a rack prevents them from getting soggy on the bottom. If you are impatient like me, at least give them 10 minutes in the pan before transferring.
I have made these with nothing but a fork and a cereal bowl when I was camping, and they still turned out great. So do not stress if you are missing something. Just get creative.
Preparation Method
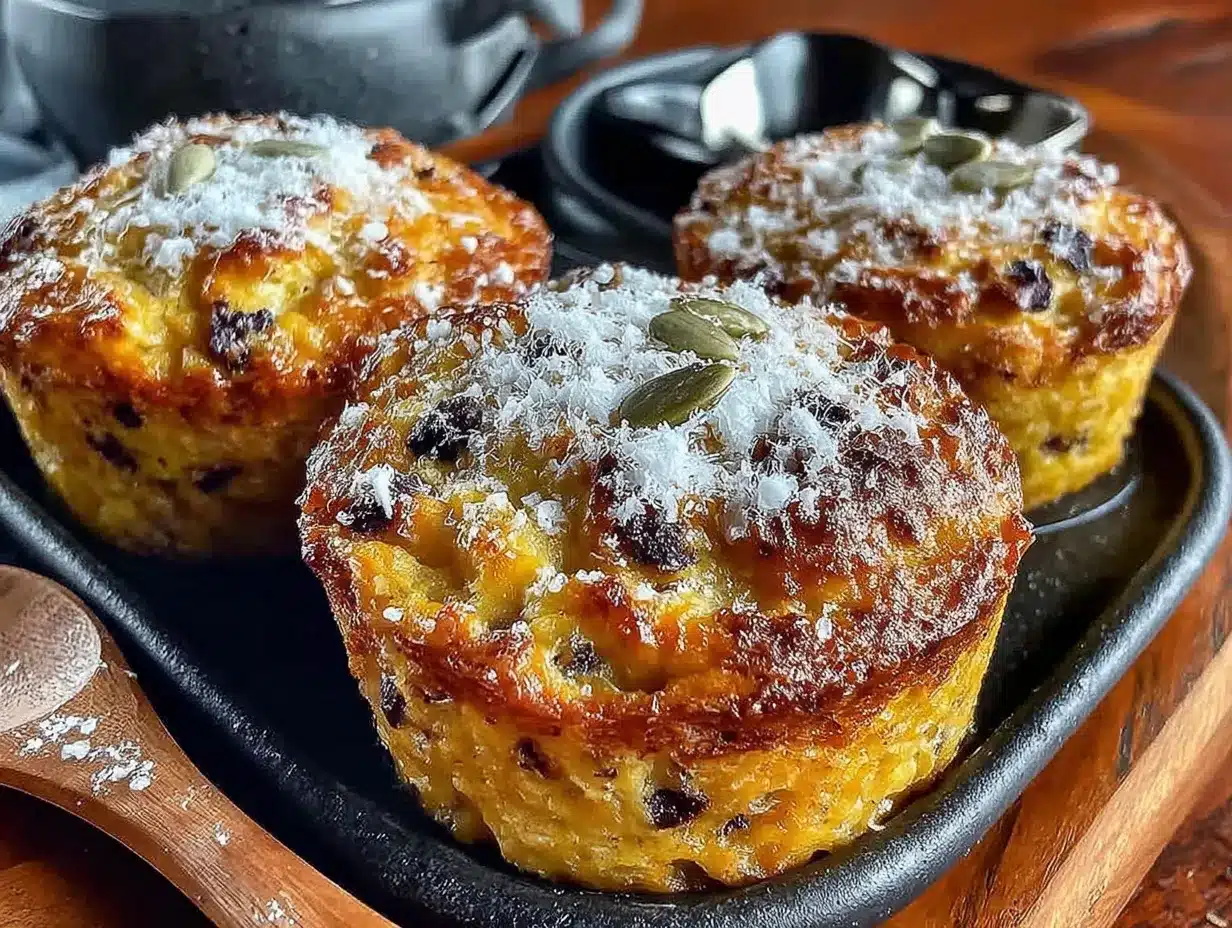
This is where the magic happens. Follow these steps, and you will have a batch of warm, fragrant pumpkin oatmeal cups in under 30 minutes.
- Preheat your oven to 375°F (190°C). Line a 12-cup muffin tin with paper liners or grease it well with butter or cooking spray. I prefer paper liners for easy cleanup and portability.
- In a large bowl, whisk together the wet ingredients: 1 cup (240g) pumpkin puree, 2 large eggs, 1 cup (240ml) milk of your choice, 1/3 cup (80ml) maple syrup, and 1 teaspoon vanilla extract. Whisk until smooth and fully combined. The mixture should be a beautiful, vibrant orange.
- In a separate medium bowl, combine the dry ingredients: 3 cups (270g) rolled oats, 2 teaspoons pumpkin pie spice, 1 1/2 teaspoons baking powder, and 1/4 teaspoon salt. Stir with a fork or whisk to distribute everything evenly.
- Pour the wet ingredients into the dry ingredients. Use a rubber spatula to fold everything together gently. Stir just until the oats are fully coated and no dry spots remain. Do not overmix. The batter will be thick and porridge-like, which is exactly what you want.
- If you are adding mix-ins, now is the time. Fold in 1/2 cup (90g) dark chocolate chips, chopped pecans, or dried cranberries. I usually go with chocolate chips because, well, chocolate.
- Divide the batter evenly among the 12 muffin cups. An ice cream scoop makes this step mess-free and ensures even portions. Fill each cup to the top, pressing down gently with the back of the scoop to pack the mixture slightly.
- Bake for 18-22 minutes, or until the tops are set and golden brown, and a toothpick inserted into the center comes out mostly clean. The edges should be slightly firm to the touch. My oven runs hot, so I start checking at 18 minutes.
- Let the cups cool in the pan for 10 minutes. This is important because they need time to set. If you try to remove them too early, they might fall apart. After 10 minutes, transfer them to a wire rack to cool completely.
- Serve warm or at room temperature. They are delicious both ways. If you are meal prepping, let them cool completely before storing.
A quick note on texture: these cups are soft and tender, not crunchy like a granola bar. The oats absorb the liquid as they bake, creating a moist, almost muffin-like interior. If you prefer a firmer texture, you can bake them for an extra 2-3 minutes.
Cooking Tips & Techniques
I have made plenty of mistakes in the kitchen, and I am happy to share them so you do not have to repeat them. Here are the lessons I learned the hard way with these oatmeal cups.
Do not overmix the batter. I know it is tempting to keep stirring until everything is perfectly smooth, but overmixing can make the cups dense and gummy. Stir just until the oats are hydrated and no dry flour or oat bits remain. A few lumps are totally fine.
Let the batter rest for 5 minutes before baking. This gives the oats a chance to absorb some of the liquid, which helps the cups hold their shape better. I usually mix the batter, wash my mixing bowl, and then scoop. That little pause makes a noticeable difference.
Use room temperature eggs and milk. Cold ingredients can cause the batter to seize up, especially if your kitchen is cool. If you forgot to take them out ahead of time, place the eggs in a bowl of warm water for 5 minutes, and microwave the milk for 15 seconds.
Press the batter down firmly in the muffin cups. This ensures the cups bake evenly and hold together well. If you leave the batter loose, they might crumble when you try to remove them. I use the back of my cookie scoop to gently compact each portion.
Check for doneness with a toothpick. The toothpick should come out with a few moist crumbs attached, not wet batter. If it comes out clean, you might have overbaked them. Every oven is different, so trust your senses more than the timer.
Let them cool completely before freezing. If you freeze them while they are still warm, they will develop ice crystals and turn mushy when thawed. Patience is a virtue here, even though it is hard.
Variations & Adaptations
One of the best things about this recipe is how adaptable it is. You can change it up based on what you have in the pantry or what you are craving. Here are some of my favorite variations.
Vegan Version: Replace the eggs with flax eggs (2 tablespoons flaxseed meal mixed with 6 tablespoons water) and use a plant-based milk. I have tested this with oat milk and flax eggs, and the texture is slightly softer but still delicious. The cups might be a bit more delicate, so handle them gently.
Gluten-Free Option: Use certified gluten-free rolled oats. That is literally the only change. Make sure your baking powder is also gluten-free, just to be safe. Everything else is naturally gluten-free.
Protein-Packed Version: Add a scoop of vanilla or unflavored protein powder to the dry ingredients. You will need to increase the milk by about 2-3 tablespoons to compensate for the extra dry ingredient. I have used both whey and plant-based protein powders with good results.
Apple Pumpkin Twist: Fold in 1/2 cup finely diced apple (I like Honeycrisp or Fuji) along with the mix-ins. The apple adds little bursts of sweetness and a slightly different texture. It is like fall in a cup.
Lower Sugar Option: Reduce the maple syrup to 1/4 cup and add 1 mashed very ripe banana. The banana adds natural sweetness and moisture without the extra sugar. This is my go-to when I am trying to cut back on sweeteners.
Savory-ish Version: Skip the maple syrup and vanilla, reduce the pumpkin pie spice to 1 teaspoon, and add 1/2 teaspoon garlic powder, 1/4 teaspoon black pepper, and 1/2 cup shredded cheddar cheese. It sounds weird, but it works. Think of it as a savory pumpkin oatmeal bake. My husband loves these with a fried egg on top.
I once made a batch with leftover cranberry sauce stirred in, and it was surprisingly amazing. Do not be afraid to experiment. These cups are forgiving.
Serving & Storage Suggestions
These healthy pumpkin baked oatmeal cups are incredibly versatile when it comes to serving and storing. Here is how I handle them in my kitchen.
Serving Temperature: They are delicious warm, at room temperature, or even cold straight from the fridge. Warm them up for about 15-20 seconds in the microwave if you want that fresh-from-the-oven experience. A little pat of butter on top while they are warm is a game-changer.
What to Serve With: A dollop of Greek yogurt, a drizzle of extra maple syrup, or a sprinkle of cinnamon on top. For a more complete breakfast, serve them alongside a healthy high-protein overnight oats recipe or a simple side of fresh fruit. They also pair beautifully with a hot cup of coffee or a chai latte.
Storage: Store the cups in an airtight container in the refrigerator for up to 5 days. Place a paper towel at the bottom of the container to absorb any excess moisture, and change it out after a day or two. This keeps them from getting soggy.
Freezing: These freeze like a dream. Arrange the cooled cups in a single layer on a baking sheet and freeze for 1-2 hours, then transfer them to a freezer-safe bag or container. They will keep for up to 3 months. To thaw, leave them in the fridge overnight or microwave for 30-40 seconds from frozen.
Reheating: Microwave for 20-30 seconds, or pop them in a toaster oven at 350°F for 5-7 minutes for a slightly crisper exterior. If you are taking them on the go, they thaw perfectly in a lunchbox by lunchtime. I often pack them for my kids’ school lunches alongside a turkey and cheese pinwheel wrap for a balanced meal.
The flavors actually deepen after a day or two in the fridge. So if you can resist eating them all on day one, you are in for a treat on day two.
Nutritional Information & Benefits
These healthy pumpkin baked oatmeal cups are packed with nutrients that make them a smart choice for breakfast or a snack. Here is a rough breakdown per cup, based on the recipe as written without mix-ins.
| Nutrient | Amount Per Cup |
|---|---|
| Calories | 185 |
| Protein | 6g |
| Carbohydrates | 30g |
| Fiber | 4g |
| Sugar | 10g |
| Fat | 4g |
| Vitamin A | 80% DV |
The star ingredient here is pumpkin, which is loaded with vitamin A for eye health and immune support. Oats provide soluble fiber that helps keep you full and supports heart health. Eggs add high-quality protein, and milk contributes calcium and vitamin D.
These cups are naturally low in added sugar compared to most store-bought breakfast options. If you use the lower sugar variation with banana, the sugar content drops even further. They are also dairy-free if you use plant-based milk, and easily made gluten-free with certified oats.
From a wellness perspective, I love that these cups give me sustained energy without the crash. No mid-morning slump, no sugar cravings. Just steady, reliable fuel that tastes like a treat.
Conclusion
These healthy pumpkin baked oatmeal cups are the kind of recipe that makes you wonder why you ever struggled with breakfast. They are simple, forgiving, and genuinely delicious. Whether you are meal prepping for a busy week, looking for a portable breakfast for school or work, or just craving something cozy and pumpkin-spiced, these little cups deliver every time.
I love that I can customize them based on what I have in the pantry or what my family is in the mood for. Some weeks it is chocolate chips, other weeks it is dried cranberries and pecans. They never get boring.
If you give these a try, I would love to hear how they turn out. Did you add something unexpected? Did your kids love them? Drop a comment below and let me know. And if you are looking for more easy, healthy breakfast ideas, check out my easy mini muffin tin egg bites for another grab-and-go option.
Happy baking, and here is to mornings that actually feel manageable.
Frequently Asked Questions
Can I use steel-cut oats instead of rolled oats?
I would not recommend it. Steel-cut oats are much denser and need a lot more liquid and a longer cooking time. They will not soften enough during the short bake time, leaving you with crunchy, undercooked cups. Stick with rolled oats for the best texture.
Can I make these ahead of time for meal prep?
Absolutely. That is actually the whole point of this recipe. Bake a batch on Sunday, let them cool completely, and store them in the fridge for up to 5 days. They are perfect for grabbing on your way out the door.
Why did my oatmeal cups turn out dry?
You might have overbaked them or used too many oats. Every oven is different, so start checking at 18 minutes. Also, make sure you are measuring your oats correctly. Scooping directly from the bag can pack them down and give you too much. Use the spoon-and-level method for accuracy.
Can I use canned pumpkin pie filling instead of pumpkin puree?
No, please do not. Pumpkin pie filling is pre-sweetened and spiced, and it contains added sugar and preservatives. It will throw off the sweetness and texture of the recipe. Always use 100% pure pumpkin puree.
How do I keep the cups from sticking to the liners?
Use good-quality paper liners, or spray them lightly with cooking spray before filling. If you are using a silicone muffin pan, you do not need liners at all. Let the cups cool completely before peeling off the liners for the best results.
Pin This Recipe!
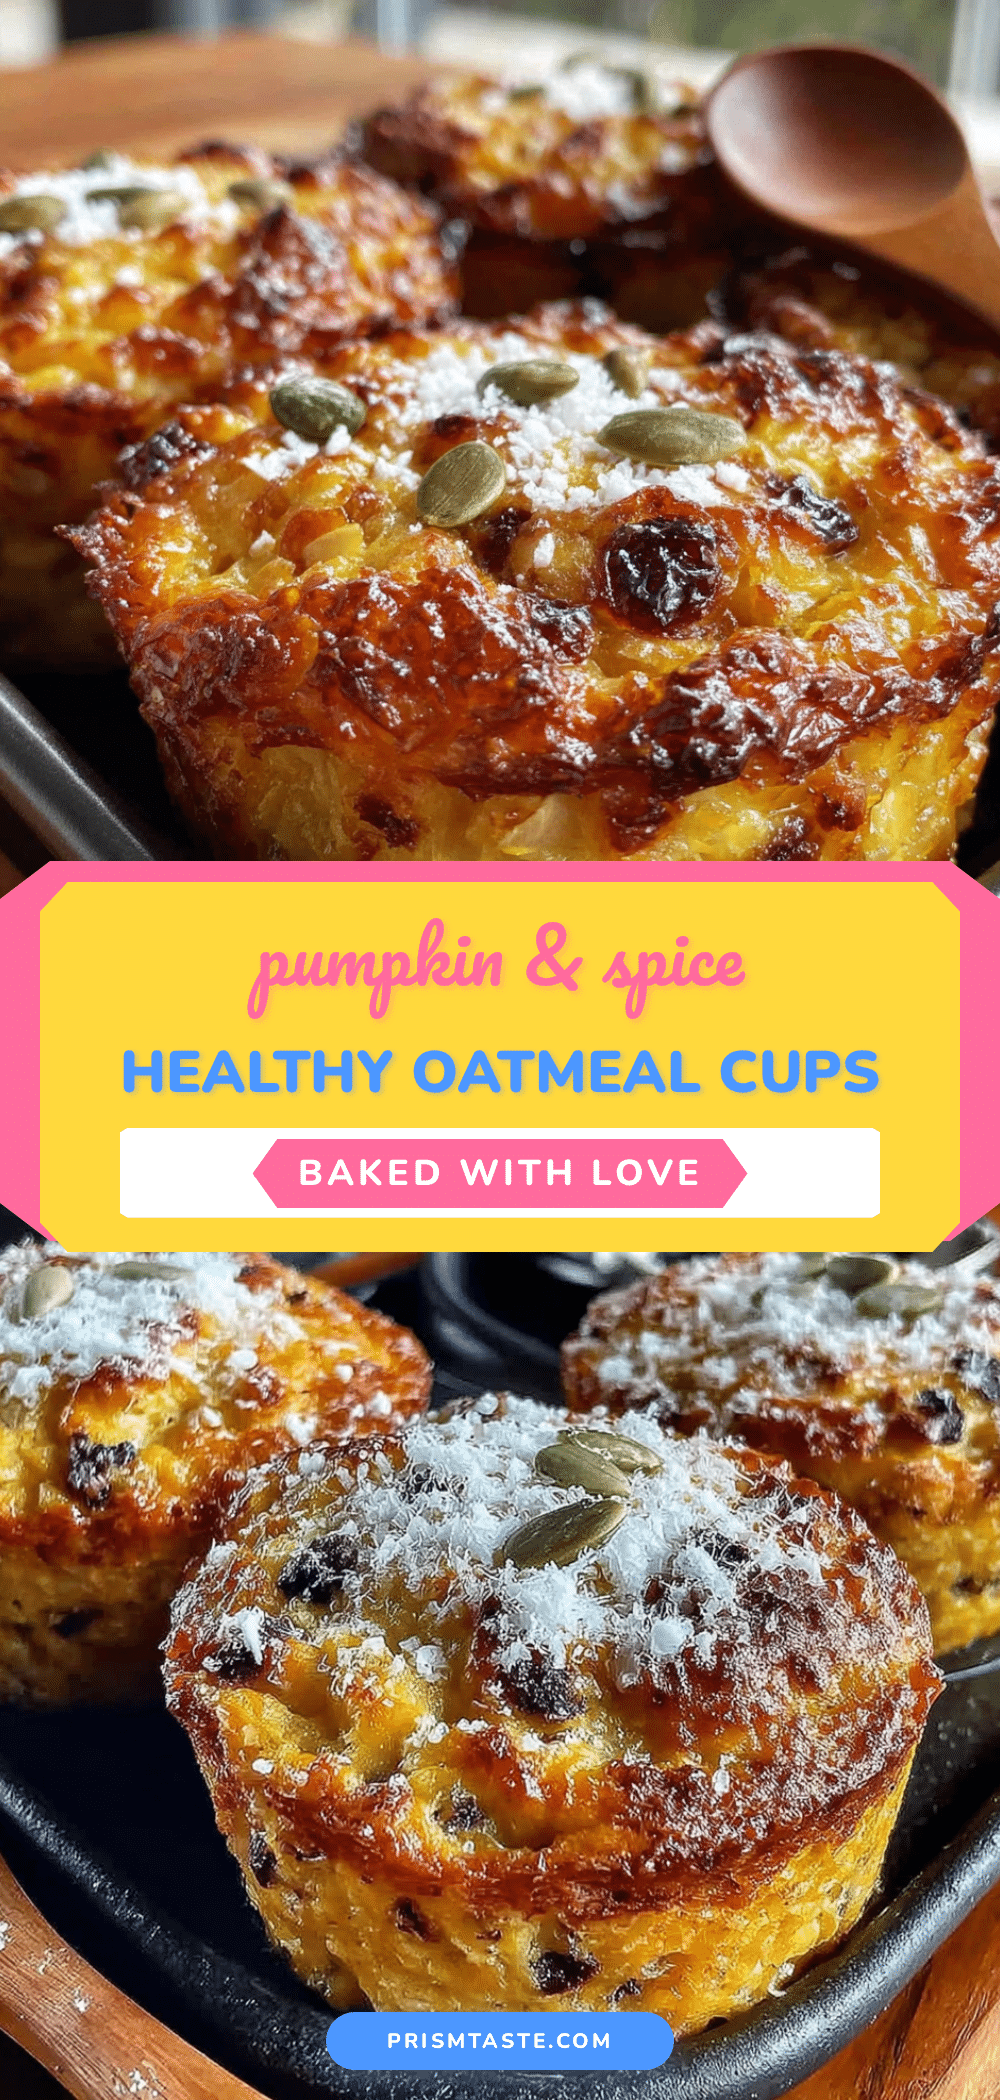
Healthy Pumpkin Baked Oatmeal Cups: Easy Fall Breakfast

These healthy pumpkin baked oatmeal cups are soft, lightly sweet, and packed with fiber and protein. Perfect for grab-and-go breakfasts or meal prep, they are made with simple ingredients and ready in under 30 minutes.
- Prep Time: 10 minutes
- Cook Time: 20 minutes
- Total Time: 30 minutes
- Yield: 12 cups 1x
- Category: Breakfast
- Cuisine: American
Ingredients
- 3 cups (270g) rolled oats
- 1 cup (240g) pumpkin puree (100% pure, not pumpkin pie filling)
- 2 large eggs
- 1 cup (240ml) milk (dairy, oat, or almond)
- 1/3 cup (80ml) maple syrup
- 1 teaspoon vanilla extract
- 2 teaspoons pumpkin pie spice
- 1 1/2 teaspoons baking powder
- 1/4 teaspoon salt
- Optional: 1/2 cup (90g) dark chocolate chips, chopped pecans, or dried cranberries
Instructions
- Preheat your oven to 375°F (190°C). Line a 12-cup muffin tin with paper liners or grease it well with butter or cooking spray.
- In a large bowl, whisk together the wet ingredients: 1 cup pumpkin puree, 2 large eggs, 1 cup milk, 1/3 cup maple syrup, and 1 teaspoon vanilla extract until smooth.
- In a separate medium bowl, combine the dry ingredients: 3 cups rolled oats, 2 teaspoons pumpkin pie spice, 1 1/2 teaspoons baking powder, and 1/4 teaspoon salt. Stir to distribute evenly.
- Pour the wet ingredients into the dry ingredients. Use a rubber spatula to fold together gently until the oats are fully coated and no dry spots remain. Do not overmix. The batter will be thick and porridge-like.
- If using mix-ins, fold in 1/2 cup dark chocolate chips, chopped pecans, or dried cranberries.
- Divide the batter evenly among the 12 muffin cups. Fill each cup to the top, pressing down gently with the back of a scoop to pack the mixture slightly.
- Bake for 18-22 minutes, or until the tops are set and golden brown, and a toothpick inserted into the center comes out mostly clean.
- Let the cups cool in the pan for 10 minutes, then transfer them to a wire rack to cool completely.
- Serve warm or at room temperature.
Notes
Do not overmix the batter to avoid dense cups. Let the batter rest for 5 minutes before baking to allow oats to absorb liquid. Use room temperature eggs and milk for best results. Press the batter down firmly in the muffin cups to ensure even baking. Check for doneness with a toothpick; it should come out with a few moist crumbs. Let cups cool completely before freezing to prevent ice crystals.
Nutrition
- Serving Size: 1 cup
- Calories: 185
- Sugar: 10
- Sodium: 150
- Fat: 4
- Saturated Fat: 1
- Carbohydrates: 30
- Fiber: 4
- Protein: 6
Keywords: pumpkin baked oatmeal cups, healthy breakfast, fall breakfast, oatmeal cups, grab-and-go breakfast, meal prep breakfast


