Three-time in a week and the jars still haven’t lasted longer than a couple of days. That’s how many times I’ve whipped up this batch of easy refrigerator dill pickles just because the crunch, the tang, and the sharpness kept pulling me back. Honestly, no matter how many times I tried to pace myself, the crisp snap of those pickles was like a tiny addiction I couldn’t shake. It started as a simple curiosity — could something this straightforward actually beat store-bought pickles? Spoiler: it did, every single time.
One evening, I caught myself standing over the kitchen sink, slicing cucumbers at 10 PM, humming a tune, and perfectly layering dill sprigs and garlic cloves in the jars. The brine simmered quietly on the stove, filling the air with hints of vinegar and spice. Even after three rounds this week, the smell felt fresh and exciting, like I was discovering pickles anew. What kept me hooked wasn’t just the flavor but that satisfying crunch that held up even after days in the fridge.
It’s funny how something so simple — cucumbers, vinegar, dill — can spiral into a small obsession. But that’s the charm of this easy refrigerator dill pickles recipe for a crisp homemade snack: it’s approachable, rewarding, and honestly, a little addictive. Sometimes, the best kitchen discoveries come from repeating the same recipe until it finally clicks, and this one definitely stuck around for good. I guess I just trust that jar in my fridge now — it’s my go-to crispy little companion for snacking, sandwiches, or whenever a pickle craving sneaks up.
Why You’ll Love This Recipe
After testing countless versions (and yes, making it three times in a week), I can say this easy refrigerator dill pickles recipe stands out for several reasons:
- Quick & Easy: Ready to enjoy in just 24 hours, perfect for busy days or last-minute snack cravings.
- Simple Ingredients: No need for fancy spices or hard-to-find items — mostly pantry staples you already have.
- Perfect for Any Occasion: Whether you’re prepping for a casual get-together or just want a crunchy side for your sandwiches, these pickles fit right in.
- Crowd-Pleaser: Family-tested and approved — even the kids who usually avoid pickles happily crunch away.
- Unbelievably Delicious: The balance of garlic, dill, and vinegar creates a tangy, fresh flavor that feels homemade without fuss.
What sets this recipe apart from the rest? It’s the perfectly balanced brine that doesn’t overpower the natural cucumber flavor. Plus, I’ve found that layering fresh dill and garlic in the jars instead of mixing everything in the brine helps keep the pickles crisp and flavorful longer. It’s not just another pickle recipe — it’s the one that keeps me slicing extra cucumbers on a whim.
This recipe isn’t just about making pickles; it’s about capturing that satisfying crunch and tang that makes you pause mid-bite. It’s the kind of snack that turns ordinary moments into something a little more special, like a homemade treat you didn’t expect but now can’t live without.
What Ingredients You Will Need
This recipe uses simple, wholesome ingredients to deliver bold flavor and satisfying texture without the fuss. Most of these are kitchen staples, and you can easily swap a few if needed.
- Fresh cucumbers: About 4-5 medium Kirby or Persian cucumbers, sliced into spears or rounds. These varieties hold their crunch best.
- Fresh dill sprigs: 3-4 sprigs per jar, plus extra for garnish (adds that signature herbaceous punch).
- Garlic cloves: 2-3 cloves per jar, peeled and lightly smashed for maximum flavor release.
- White vinegar: 1 cup (240 ml) for the brine — use distilled white vinegar for the cleanest taste.
- Water: 1 cup (240 ml) — I prefer filtered water to avoid any off-flavors.
- Pickling salt or kosher salt: 1 tablespoon — avoid iodized table salt to prevent cloudiness and off-tastes.
- Granulated sugar: 1 teaspoon — balances the acidity (optional but recommended).
- Black peppercorns: 1 teaspoon per jar — whole, for a subtle peppery kick.
- Red pepper flakes: Optional, 1/4 teaspoon for a mild heat (skip if you prefer classic dill).
- Bay leaf: Optional, 1 leaf per jar for a gentle earthy aroma.
Ingredient tip: When selecting cucumbers, look for firm, unblemished ones to get the best crunch. If you want to experiment, you can try swapping white vinegar with apple cider vinegar for a fruitier twist, or use sea salt as a substitute for kosher salt. For a dairy-free, allergy-safe garnish, fresh dill works beautifully—no dairy or nuts needed here.
Equipment Needed
- Glass jars with lids: Quart-sized Mason jars or any wide-mouth glass containers work perfectly. I prefer Mason jars because they seal tightly and are easy to store.
- Measuring cups and spoons: For precise brine ratios — accuracy is key for taste and safety.
- Sharp knife and cutting board: For slicing cucumbers evenly.
- Large saucepan: To heat the brine mixture gently.
- Tongs or fork: For packing cucumbers into jars without bruising them.
- Optional funnel: Makes filling jars with brine mess-free and quick.
If you don’t have Mason jars, any clean, airtight glass container will do. Plastic containers can work but might absorb vinegar odors over time. I’ve used inexpensive glass containers from the dollar store that surprisingly hold up well. Just remember to wash everything thoroughly before use — sterilizing jars isn’t mandatory here since it’s a refrigerator pickle recipe, but clean equipment helps keep your pickles fresh longer.
Preparation Method
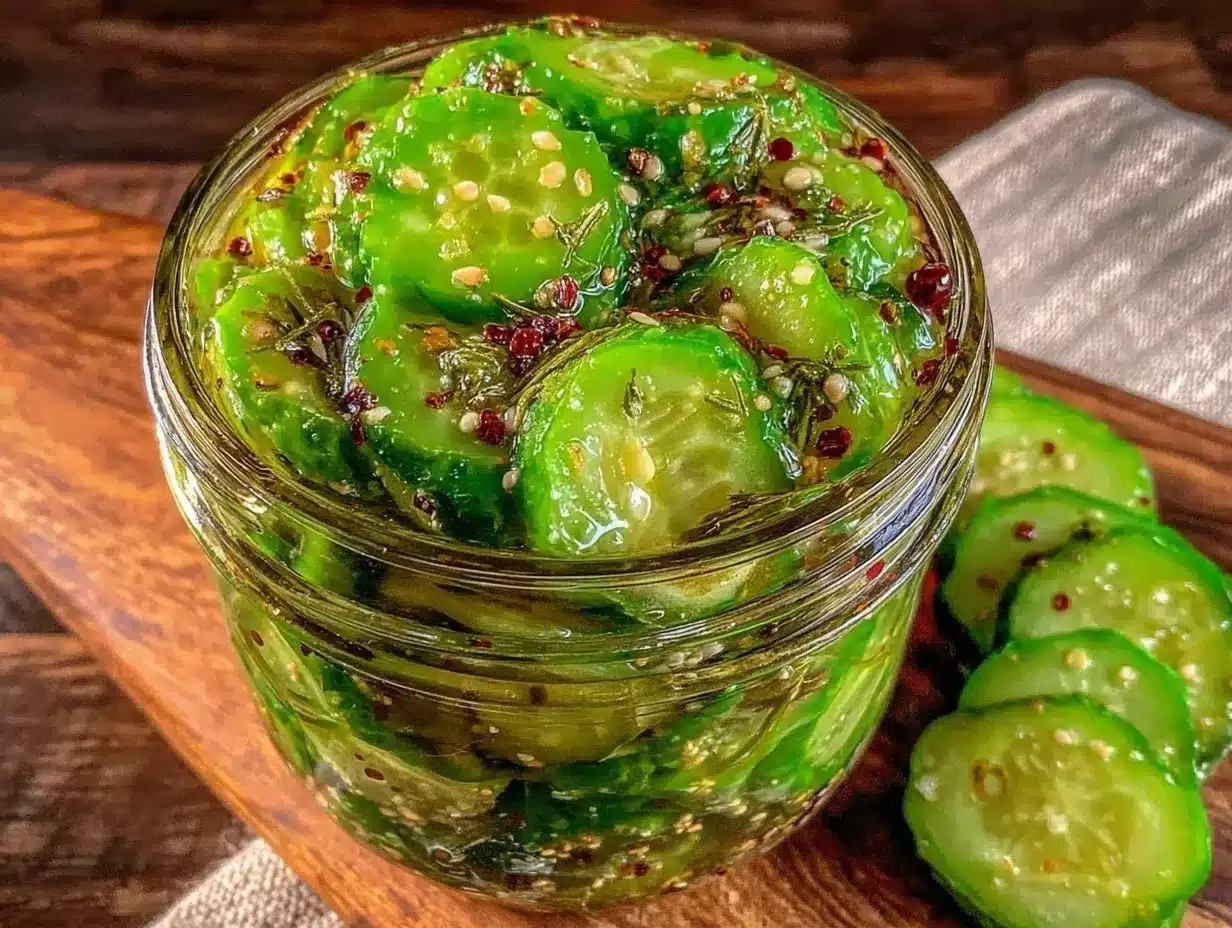
- Wash and slice your cucumbers: Rinse the cucumbers under cold water and dry them. Slice into spears about 3 to 4 inches long or into 1/4-inch thick rounds depending on your preference. I find spears give a better crunch and are easier to snack on.
- Prepare your jars: Place 3-4 fresh dill sprigs, 2-3 garlic cloves, 1 teaspoon black peppercorns, and optional red pepper flakes and bay leaf into the bottom of each clean jar.
- Pack the cucumbers: Tightly pack the cucumber slices into the jars on top of the herbs and spices. Don’t smash them, but try to avoid large air gaps. This layering helps infuse flavor evenly.
- Make the brine: In a medium saucepan, combine 1 cup white vinegar, 1 cup water, 1 tablespoon pickling or kosher salt, and 1 teaspoon sugar. Heat over medium heat, stirring occasionally until the salt and sugar dissolve completely. Do not boil.
- Pour the brine: Carefully pour the hot brine over the cucumbers in each jar, filling right up to cover everything. Leave about 1/2 inch of headspace at the top. If any cucumbers float, gently press them down with a clean utensil.
- Seal and cool: Screw the lids on tightly. Let the jars cool to room temperature, then place them in the refrigerator.
- Wait: For best flavor and crispness, chill for at least 24 hours before enjoying. The pickles will keep well for up to 4 weeks in the fridge.
Quick tip: If your cucumbers seem a bit watery or soft, try salting them lightly and letting them sit in a colander for 30 minutes before pickling. This draws out excess moisture and helps maintain that crunch. Also, warm brine helps the flavors meld faster, but avoid boiling as it can break down the cucumbers.
Cooking Tips & Techniques
Getting those pickles perfectly crisp and full of flavor isn’t rocket science, but a few tricks can make a world of difference.
- Use the right salt: Pickling or kosher salt is a must — iodized salts can cloud your brine and add off-flavors.
- Freshness matters: The fresher the cucumbers, the crunchier the pickles. Avoid cucumbers that are soft or have yellow spots.
- Don’t rush the brine cooling: Let the brine cool slightly before pouring it into the jars to avoid cooking the cucumbers, which can lead to mushiness.
- Layer flavors: Placing dill and garlic in the jars directly helps the flavors infuse slowly and evenly.
- Press down floating cucumbers: Floating pieces may not get fully pickled; gently pressing them ensures they stay submerged.
- Temperature control: Keep your pickles refrigerated at all times — this recipe isn’t for canning or long-term shelf storage.
- Patience: While you can taste them after 24 hours, the flavor deepens after a couple of days.
One time I tried skipping the sugar, thinking it was unnecessary, and the pickle flavor felt a bit too sharp and one-dimensional. Including just a teaspoon helps balance the vinegar’s bite perfectly. Also, I learned the hard way that boiling the brine ruins the crunch — so I keep it just hot enough to dissolve salt and sugar.
Variations & Adaptations
- Spicy Kick: Add sliced fresh jalapeños or increase red pepper flakes for a fiery twist.
- Garlic Lover’s: Double the garlic cloves for a more pungent, savory pickle experience.
- Herb Mix-Up: Swap dill for fresh thyme or tarragon to experiment with different herbal notes.
- Low-Sodium: Reduce salt by half and increase refrigeration time slightly to compensate.
- Vegan-Friendly Flavor Boost: Add a splash of apple cider vinegar or a few mustard seeds for added complexity.
For a seasonal adaptation, I once tossed in some thinly sliced carrots and green beans alongside the cucumbers — a colorful, crunchy medley that made for a fun snack platter. If you prefer pickled cucumber chips, slicing thinly and increasing the brine time to 48 hours works well.
Serving & Storage Suggestions
Serve your easy refrigerator dill pickles cold straight from the jar for maximum crunch. They’re fantastic alongside sandwiches, burgers, or as a tangy snack to nibble on during movie nights. I often slice them up on a salad or mix them into potato salad for an extra punch of flavor.
Store pickles in the refrigerator with tight lids to keep them fresh and crisp. They’ll last about 3-4 weeks, but honestly, they rarely stay that long in my kitchen. Before serving leftovers, give the jar a gentle shake to redistribute spices and flavors. Reheating isn’t recommended since these are best enjoyed cold and crunchy.
Flavors tend to deepen the longer they sit, so if you can wait, a couple of days in the fridge really lets the dill, garlic, and spices meld beautifully. Just keep an eye on the texture — if they start to get soft, it’s time to enjoy them quickly or toss.
Nutritional Information & Benefits
Per serving (approx. 1/4 cup):
| Calories | 10 |
|---|---|
| Carbohydrates | 2g |
| Fiber | 1g |
| Sodium | 350mg |
| Fat | 0g |
| Protein | 0g |
Cucumbers are low in calories and provide hydration, while dill offers antioxidants and antimicrobial properties. Using vinegar supports digestion and adds a probiotic-friendly acidic environment, though these pickles are not fermented. This recipe is naturally gluten-free, vegan, and dairy-free — ideal for many dietary needs.
From a wellness perspective, homemade pickles let you control salt levels and avoid preservatives common in store-bought versions, making this a cleaner, fresher snack option.
Conclusion
This easy refrigerator dill pickles recipe is exactly the kind of homemade snack that keeps me coming back to the kitchen — again and again. It’s simple, reliable, and delivers that crave-worthy crispness that store-bought just can’t match. Whether you’re a pickle newbie or a seasoned pro, this recipe offers flexibility and flavor without fuss.
Feel free to adjust the garlic, spice, or herb levels to make it your own signature batch. Personally, I love how it brightens up a sandwich or adds crunch to a casual snack plate. And if you ever want to mix things up, you might find inspiration in other homemade favorites like my easy classic refrigerator dill pickles or even balance out the snack with something sweet like these lemon blueberry zucchini muffins.
Give this recipe a try and see how quickly it becomes your go-to crunchy companion. It’s the kind of snack that feels homemade, wholesome, and just right. Happy pickling!
FAQs
How long do refrigerator dill pickles last?
They typically stay fresh and crunchy for up to 3-4 weeks when stored properly in the refrigerator with sealed lids.
Can I use regular cucumbers instead of Kirby or Persian?
Yes, but Kirby or Persian cucumbers tend to hold their crunch better. Regular slicing cucumbers might become softer faster.
Do I need to boil the brine?
No need to boil—just heat until the salt and sugar dissolve. Boiling can soften the cucumbers and reduce crunch.
Can I make these pickles spicy?
Absolutely! Add red pepper flakes or sliced jalapeños to the jars for a spicy kick.
Is this recipe suitable for canning?
No, this recipe is designed for refrigerator pickles only and should be kept chilled. It’s not safe for shelf storage or traditional canning.
Pin This Recipe!
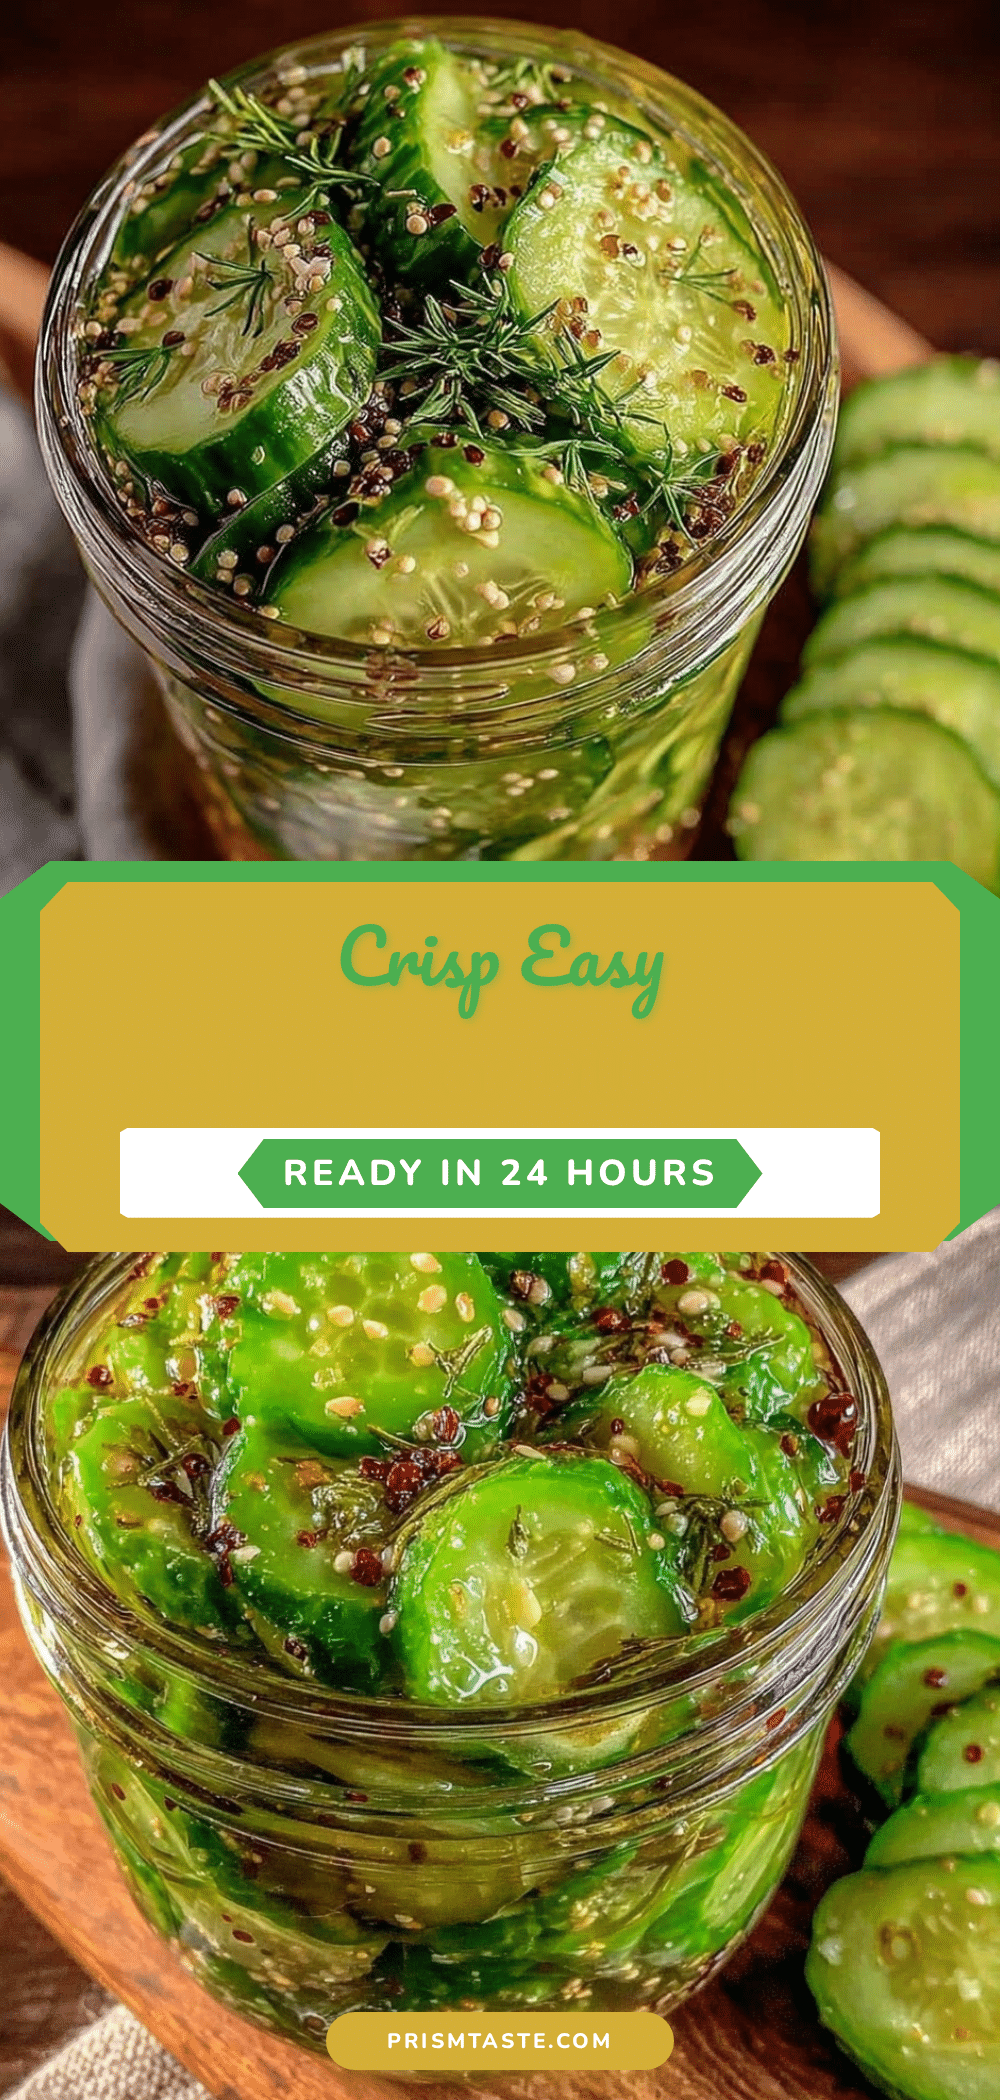
Easy Refrigerator Dill Pickles Recipe for the Best Crisp Homemade Snack
This easy refrigerator dill pickles recipe delivers a crisp, tangy, and flavorful homemade snack that’s quick to prepare and perfect for sandwiches or snacking. Ready in 24 hours, these pickles stay crunchy and fresh for weeks.
- Prep Time: 15 minutes
- Cook Time: 10 minutes
- Total Time: 25 minutes plus 24 hours chilling
- Yield: 4-5 jars (approx. 8 servings) 1x
- Category: Snack
- Cuisine: American
Ingredients
- 4–5 medium Kirby or Persian cucumbers, sliced into spears or rounds
- 3–4 fresh dill sprigs per jar, plus extra for garnish
- 2–3 garlic cloves per jar, peeled and lightly smashed
- 1 cup (240 ml) distilled white vinegar
- 1 cup (240 ml) filtered water
- 1 tablespoon pickling salt or kosher salt
- 1 teaspoon granulated sugar (optional but recommended)
- 1 teaspoon black peppercorns per jar
- 1/4 teaspoon red pepper flakes (optional)
- 1 bay leaf per jar (optional)
Instructions
- Wash and slice your cucumbers into 3 to 4 inch spears or 1/4-inch thick rounds.
- Place 3-4 fresh dill sprigs, 2-3 garlic cloves, 1 teaspoon black peppercorns, and optional red pepper flakes and bay leaf into the bottom of each clean jar.
- Tightly pack the cucumber slices into the jars on top of the herbs and spices without smashing them.
- In a medium saucepan, combine 1 cup white vinegar, 1 cup water, 1 tablespoon pickling or kosher salt, and 1 teaspoon sugar. Heat over medium heat, stirring occasionally until salt and sugar dissolve. Do not boil.
- Carefully pour the hot brine over the cucumbers in each jar, filling to cover everything with about 1/2 inch headspace. Press down any floating cucumbers gently.
- Screw the lids on tightly. Let jars cool to room temperature, then refrigerate.
- Chill for at least 24 hours before enjoying. Pickles keep well for up to 4 weeks in the fridge.
Notes
Use pickling or kosher salt to avoid cloudiness and off-flavors. Do not boil the brine; heat only until salt and sugar dissolve. For extra crunch, salt cucumbers and let sit for 30 minutes before pickling. Keep pickles refrigerated and consume within 3-4 weeks. Flavor improves after a couple of days in the fridge.
Nutrition
- Serving Size: Approx. 1/4 cup
- Calories: 10
- Sodium: 350
- Carbohydrates: 2
- Fiber: 1
Keywords: refrigerator dill pickles, easy pickles, homemade pickles, quick pickles, crisp pickles, dill pickle recipe, no canning pickles


