Introduction
There’s this craving that hits, right? Like, “I want a super smooth, sweet, and salty ice cream but don’t want to haul out the ice cream maker.” Honestly, that’s how this creamy no-churn salted caramel ice cream recipe came into my kitchen life. I had a jar of homemade salted caramel sauce sitting around—leftover from a failed caramel tart attempt—and a sudden urge for something cold and indulgent. No fancy equipment, no fuss, just that deep caramel flavor folded into luscious cream. The texture had to be just right: velvety but thick enough to scoop, with little ribbons of salty caramel running through. After a few tries, I nailed it—the kind of ice cream that makes you pause mid-spoonful, close your eyes, and just savor.
The best part? It’s ridiculously easy. You know, sometimes life demands a dessert that feels like a treat but won’t eat up your whole afternoon. This recipe is exactly that—comfort food with a no-churn twist that tastes anything but simple. And if you love the balance of sweet and salty, trust me, this ice cream is the kind of thing you’ll want to keep in your freezer for whenever the sweet tooth strikes.
This salted caramel ice cream recipe stuck with me because it’s the kind of dessert that’s perfect for those quiet evenings when you just want a little something special without the hassle. It’s creamy, indulgent, and honestly, it feels like a tiny celebration in every scoop.
Why You’ll Love This Recipe
- Quick & Easy: Ready in under 20 minutes, plus freezing time—ideal for last-minute cravings or when you want a homemade dessert without the wait.
- Simple Ingredients: Pantry staples like heavy cream and sweetened condensed milk come together with your favorite salted caramel sauce—no obscure ingredients required.
- Perfect for Any Occasion: Whether it’s a cozy night in or impressing friends after a dinner party, this no-churn ice cream fits the bill.
- Crowd-Pleaser: The mix of creamy sweetness and a hint of saltiness always wins over adults and kids alike.
- Unbelievably Delicious: The texture is silky smooth with just enough caramel ribbons to keep every bite exciting and indulgent.
This isn’t just another no-churn ice cream recipe—it’s my best version because I’ve tinkered to get the caramel swirls just right, avoiding that icy crystallization that sometimes plagues homemade ice cream. Plus, folding in the cream gently preserves that cloud-like softness. It’s comfort food reimagined: easier, faster, but with all the soul-soothing satisfaction.
Honestly, if you’ve ever been intimidated by making ice cream from scratch, this is the recipe that’ll make you realize you don’t need fancy gear or hours of work to get that creamy, dreamy texture. And if you love desserts like the easy lemon blueberry dump cake, this ice cream would be a perfect cool companion.
What Ingredients You Will Need
This recipe uses straightforward, wholesome ingredients to deliver that rich salted caramel flavor with a creamy texture, all without churning. Most are pantry basics, and the caramel sauce is the star that brings it all together.
- Heavy Whipping Cream (2 cups / 480 ml) – For that silky, smooth base. I prefer brands like Organic Valley for the best texture.
- Sweetened Condensed Milk (1 can – 14 oz / 396 g) – Adds natural sweetness and creaminess, no refined sugar needed here.
- Salted Caramel Sauce (3/4 cup / 180 ml) – Use your favorite store-bought brand or homemade. I love using a slightly thick sauce so the swirls hold up well.
- Vanilla Extract (1 tsp) – Just a little boost to round out the flavors.
- Flaky Sea Salt (1/2 tsp, optional) – For that finishing touch of salty crunch that makes every bite pop.
Pro tip: If you want to keep things dairy-free, swap the heavy cream for canned coconut cream and use sweetened condensed coconut milk. The caramel sauce should be checked or replaced with a vegan-friendly version.
For a seasonal twist, try folding in chopped toasted pecans or walnuts for texture, or swirl in a bit of dark chocolate ganache for a salted caramel chocolate combo. If you’re curious about pairing, this ice cream goes beautifully alongside a warm dessert like the brown butter peach galette.
Equipment Needed
- Mixing Bowls: One large bowl for whipping cream and a medium one for blending the condensed milk and vanilla.
- Electric Mixer or Stand Mixer: Helps whip the cream to soft peaks quickly and easily. Hand whisking is possible but requires muscle.
- Rubber Spatula: Essential for folding the whipped cream gently into the condensed milk mixture without deflating it.
- Loaf Pan or Airtight Container: For freezing the ice cream. I like using a metal loaf pan because it freezes the ice cream faster, but any freezer-safe container works fine.
- Measuring Cups and Spoons: Precision matters here to keep the balance of flavors just right.
If you don’t have an electric mixer, a good-quality balloon whisk and some patience will do the trick. For cleanup, a non-stick spatula makes scraping easier, especially with sticky caramel sauce.
Preparation Method
- Whip the Cream: Pour 2 cups (480 ml) of cold heavy whipping cream into a chilled large bowl. Using an electric mixer, beat on medium-high speed until soft peaks form—this usually takes about 3-4 minutes. Stop before it gets too stiff; you want it fluffy but not dry.
- Mix Condensed Milk and Vanilla: In a separate bowl, combine 1 can (14 oz / 396 g) of sweetened condensed milk with 1 teaspoon of vanilla extract. Stir until smooth. This mixture is your sweet, creamy base.
- Fold Whipped Cream into Condensed Milk: Gently fold about one-third of the whipped cream into the condensed milk mixture using a rubber spatula. This lightens the base, making it easier to incorporate the rest without losing volume. Then fold in the remaining whipped cream carefully until fully combined. Avoid overmixing.
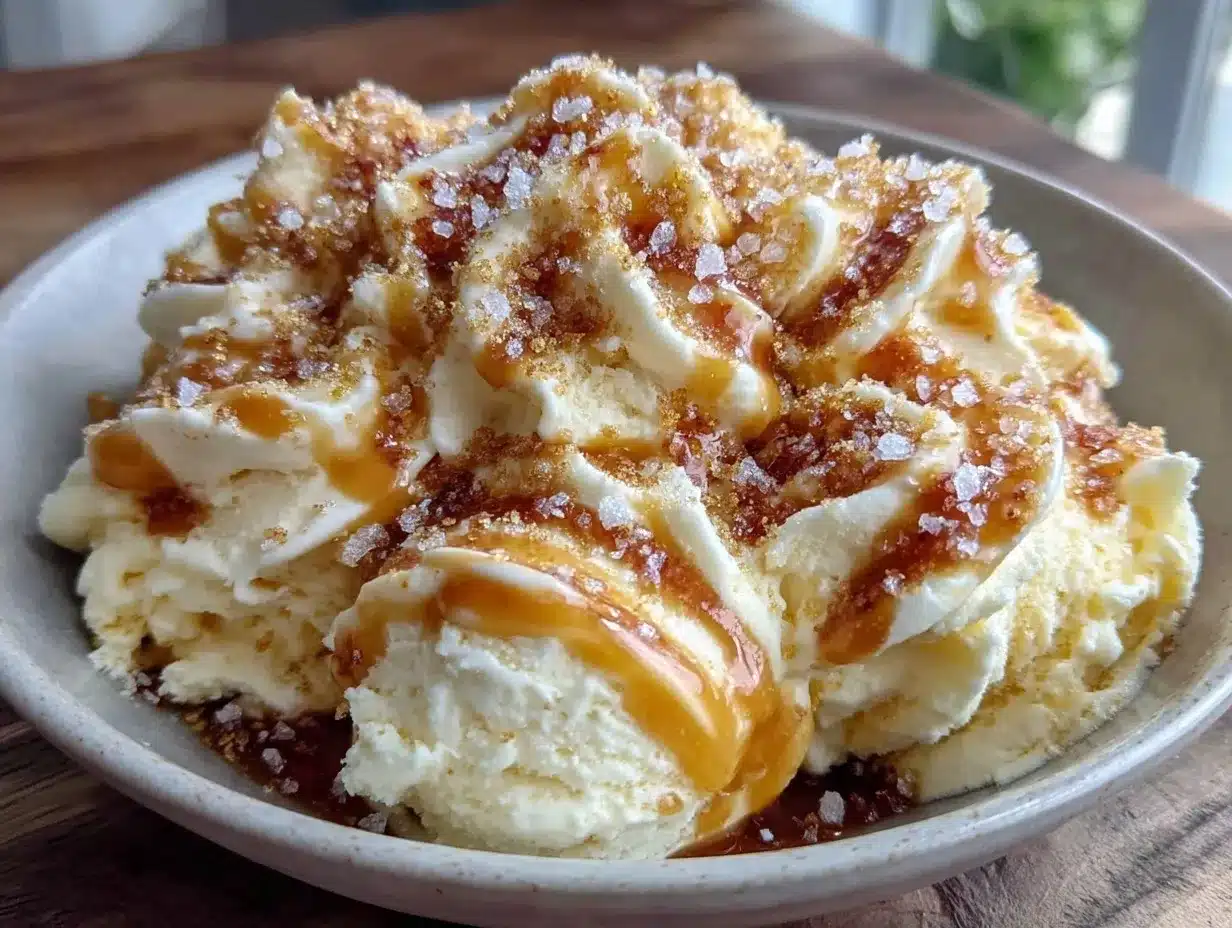
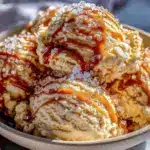
- Add Salted Caramel Sauce: Spoon 3/4 cup (180 ml) of salted caramel sauce over the ice cream mixture. Use a butter knife or skewer to gently swirl the caramel through. Don’t stir too much—you want visible ribbons of caramel for texture and flavor contrast.
- Transfer to Container: Pour the mixture into a loaf pan or airtight container, spreading it evenly. Sprinkle 1/2 teaspoon of flaky sea salt on top for that perfect salty crunch.
- Freeze: Cover tightly with plastic wrap or a lid and freeze for at least 6 hours, preferably overnight. The ice cream will firm up beautifully without needing an ice cream maker.
- Serve: When ready, let it sit at room temperature for 5 minutes before scooping to soften slightly, making it easier to serve.
Tips: If your caramel sauce is very runny, chill it before swirling to keep the ribbons distinct. Also, don’t rush the freezing step—this recipe depends on slow freezing to create a creamy texture rather than icy crystals.
Cooking Tips & Techniques
Whipping cream might seem simple, but getting the perfect texture is key. I’ve learned that chilling your bowl and beaters beforehand makes a big difference—cold cream whips faster and holds air better. Stop whipping once you see soft peaks; over-whipping turns the cream grainy and butter-like, which you don’t want here.
Folding is an art, honestly. You want to use a gentle under-and-over motion with a spatula to keep as much air as possible trapped in the mixture. If you stir aggressively, your ice cream ends up dense and heavy.
Salted caramel sauce consistency varies a lot. If it’s too thin, the caramel will just sink and disappear in the ice cream. A thicker sauce helps maintain those beautiful swirls. Homemade or store-bought, try to pick one with a rich, buttery texture and a good balance of saltiness—not too overpowering.
Freezing time is crucial. I’ve made the mistake of scooping too early, and the ice cream was more like a cold soup. Patience pays off here; waiting overnight ensures that perfect scoopable creaminess.
Multitasking tip: While the ice cream freezes, you can prep a quick dessert plate with fresh fruit or whip up a batch of grilled peach and burrata salad to balance the richness.
Variations & Adaptations
- Nutty Caramel Crunch: Fold in 1/2 cup of toasted pecans or walnuts just before freezing for a delightful crunch.
- Chocolate Swirl: Add 1/4 cup of melted dark chocolate drizzled and swirled through the mixture for a salted caramel chocolate twist.
- Vegan Friendly: Use coconut cream in place of heavy cream, sweetened condensed coconut milk instead of regular, and a vegan caramel sauce to keep it plant-based.
- Spiced Caramel: Stir in 1/2 teaspoon cinnamon or a pinch of cayenne for a subtle warmth that complements the salted caramel.
- Alcohol Infused: Mix in 2 tablespoons of bourbon or dark rum to add depth and a boozy edge to the ice cream (skip if serving kids).
I once tried adding a swirl of espresso syrup for a salted caramel mocha vibe—it was a game changer for coffee lovers. Feel free to experiment; this base is forgiving and welcomes creativity.
Serving & Storage Suggestions
Serve this creamy no-churn salted caramel ice cream chilled but not frozen rock hard—about 5-10 minutes at room temperature softens it perfectly. Scoop into bowls or cones and sprinkle a little extra flaky sea salt on top if you like that salty crunch.
It pairs wonderfully with warm desserts like apple pie or a simple brownie. For a lighter touch, try it alongside fresh berries or a drizzle of balsamic reduction—yes, that unexpected combo works surprisingly well!
Store leftovers in an airtight container in the freezer for up to 2 weeks. Cover the surface with plastic wrap before sealing to prevent ice crystals from forming. When reheating, let it soften at room temperature, then stir gently if needed to regain creaminess.
Flavors actually deepen after a day or two in the freezer, so if you can wait, the ice cream tastes even better the next day. Just be sure to give it a good stir before serving to redistribute the caramel ribbons evenly.
Nutritional Information & Benefits
This recipe is rich and indulgent, with each half-cup serving providing roughly 300 calories, primarily from fats and sugars. The heavy cream offers a good dose of calcium and vitamin A, while the caramel adds a touch of energy-boosting carbs.
Though it’s not a low-calorie treat, the portion size can be controlled thanks to its rich flavor. Using homemade or quality caramel sauce lets you avoid artificial additives and excess preservatives.
For those needing gluten-free dessert options, this ice cream is naturally gluten-free—just double-check your caramel sauce ingredients. And dairy-free eaters can enjoy the vegan version without missing out on creaminess or flavor.
Personally, I think treating yourself to this ice cream now and then fits perfectly into a balanced life, especially when paired with wholesome meals like the Greek chicken bowls with homemade tzatziki I often make for dinner.
Conclusion
This creamy no-churn salted caramel ice cream recipe is one I keep coming back to whenever I want a sweet treat without the fuss. It’s simple, satisfying, and seriously delicious. Plus, it’s flexible—you can tweak the caramel, add mix-ins, or keep it classic to suit your mood.
What I love most is how it delivers that rich, homemade ice cream feel without needing a machine or a big time investment. It’s a small luxury you can make anytime with just a few ingredients and a bit of patience.
If you try it, I’d love to hear how you make it your own—whether you swirl in nuts, add chocolate, or keep it plain and perfect. Sharing those little tweaks is what makes cooking fun, after all. So go ahead, scoop a bowl, and enjoy that creamy, salty-sweet bliss.
FAQs
Can I use store-bought caramel sauce for this recipe?
Yes! Just pick a thick, rich salted caramel sauce for the best flavor and texture. Avoid very runny sauces as they won’t hold the swirls well.
How long can I store the no-churn salted caramel ice cream?
Store it in an airtight container in the freezer for up to 2 weeks. Covering the surface with plastic wrap helps prevent ice crystals.
Can I make this recipe without an electric mixer?
You can whisk the cream by hand, but it will take more time and effort to get soft peaks. An electric mixer speeds things up and gives better results.
Is this recipe suitable for vegans?
You can make a vegan version by substituting heavy cream with coconut cream, using sweetened condensed coconut milk, and vegan caramel sauce.
Why does the ice cream sometimes become icy?
Overmixing or freezing too quickly without enough fat can cause ice crystals. Using sweetened condensed milk and gently folding whipped cream helps keep it creamy and smooth.
Pin This Recipe!
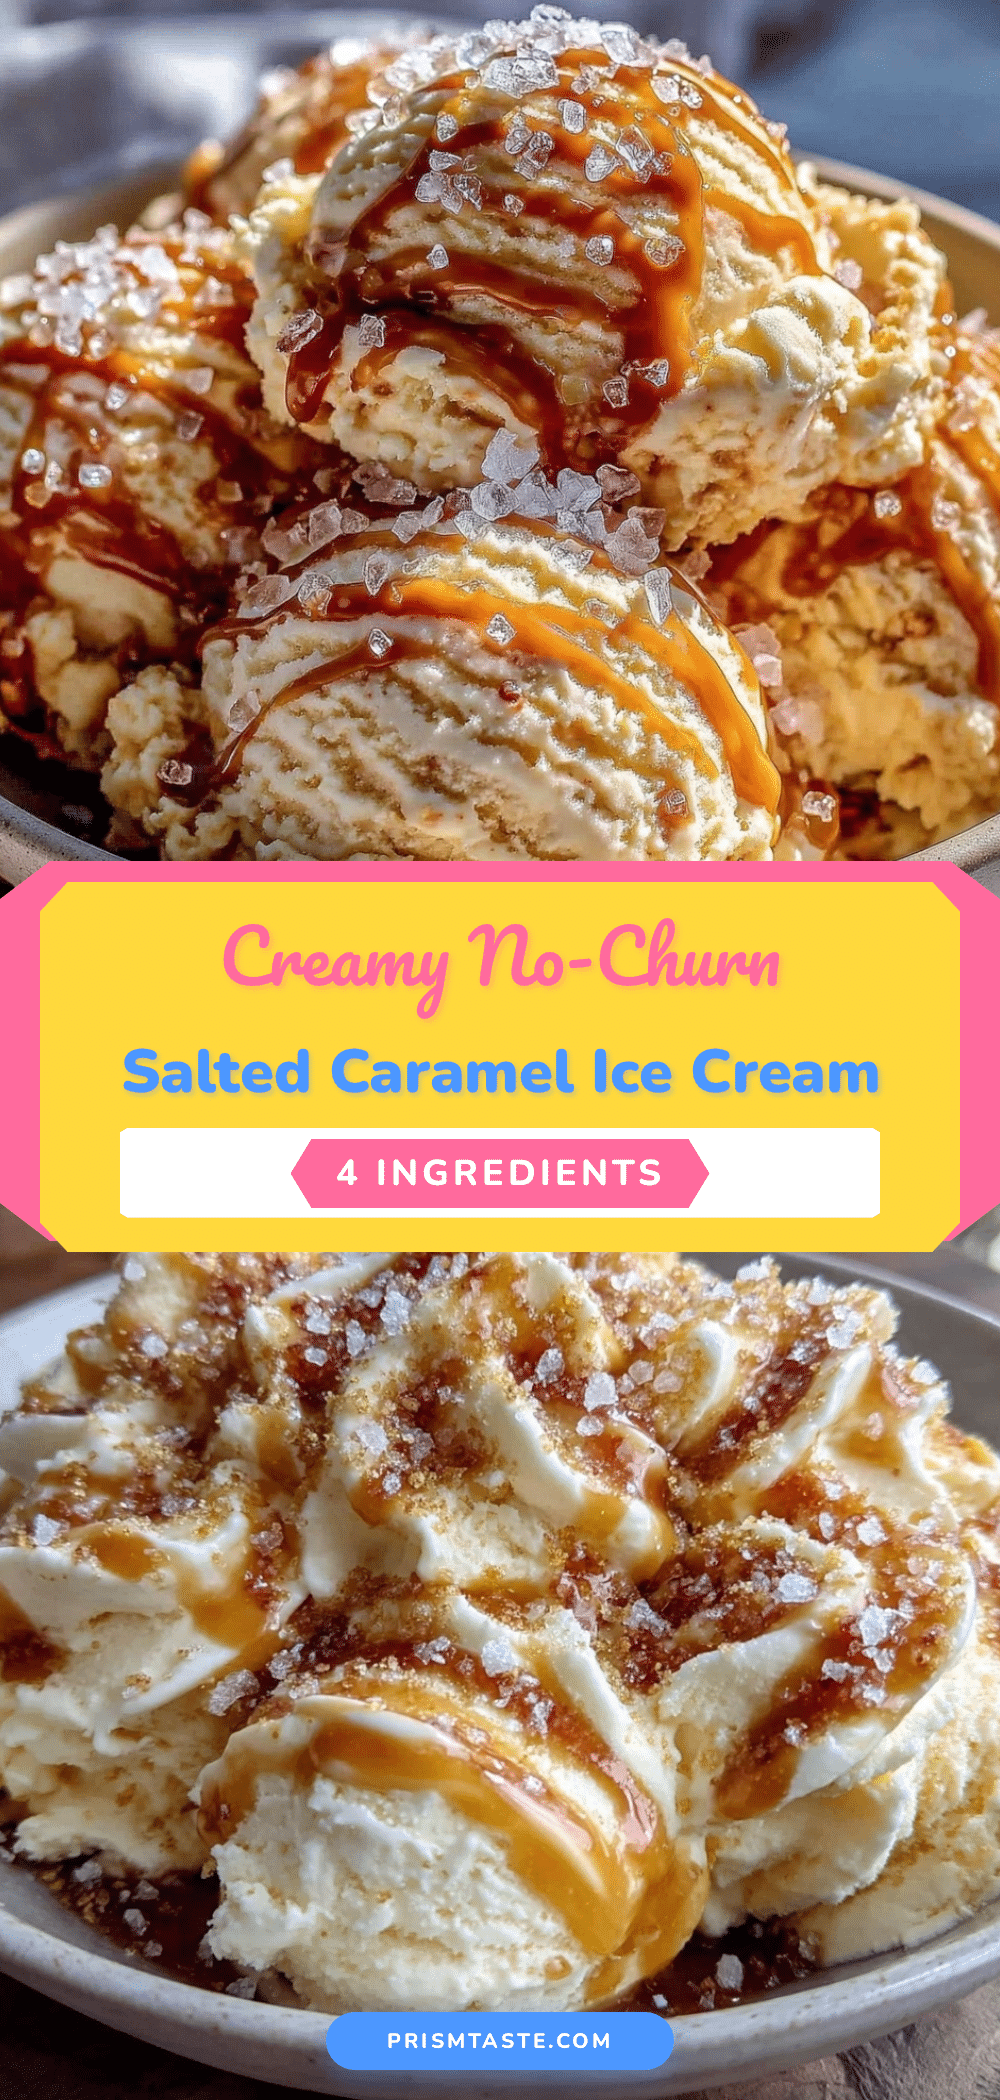
Creamy No-Churn Salted Caramel Ice Cream
A super smooth, sweet, and salty no-churn ice cream featuring luscious caramel ribbons, made easily without an ice cream maker.
- Prep Time: 15 minutes
- Cook Time: 0 minutes
- Total Time: 6 hours 15 minutes
- Yield: 8 servings 1x
- Category: Dessert
- Cuisine: American
Ingredients
- 2 cups (480 ml) heavy whipping cream
- 1 can (14 oz / 396 g) sweetened condensed milk
- 3/4 cup (180 ml) salted caramel sauce
- 1 teaspoon vanilla extract
- 1/2 teaspoon flaky sea salt (optional)
Instructions
- Pour 2 cups (480 ml) of cold heavy whipping cream into a chilled large bowl. Using an electric mixer, beat on medium-high speed until soft peaks form, about 3-4 minutes. Stop before it gets too stiff.
- In a separate bowl, combine 1 can (14 oz / 396 g) sweetened condensed milk with 1 teaspoon vanilla extract. Stir until smooth.
- Gently fold about one-third of the whipped cream into the condensed milk mixture using a rubber spatula. Then fold in the remaining whipped cream carefully until fully combined. Avoid overmixing.
- Spoon 3/4 cup (180 ml) salted caramel sauce over the ice cream mixture. Use a butter knife or skewer to gently swirl the caramel through without stirring too much.
- Pour the mixture into a loaf pan or airtight container, spreading evenly. Sprinkle 1/2 teaspoon flaky sea salt on top.
- Cover tightly with plastic wrap or a lid and freeze for at least 6 hours, preferably overnight.
- Before serving, let sit at room temperature for 5 minutes to soften slightly.
Notes
Chill bowl and beaters before whipping cream for better volume. Use a thick caramel sauce to maintain visible swirls. Freeze overnight for best texture. Let ice cream soften 5-10 minutes before serving. For dairy-free, substitute coconut cream and sweetened condensed coconut milk with vegan caramel sauce.
Nutrition
- Serving Size: 1/2 cup
- Calories: 300
- Sugar: 27
- Sodium: 120
- Fat: 20
- Saturated Fat: 13
- Carbohydrates: 28
- Protein: 3
Keywords: no-churn ice cream, salted caramel ice cream, easy homemade dessert, no ice cream maker, creamy ice cream, caramel swirl