My neighbor, Mrs. Gable, wasn’t trying to impress anyone. I’d stopped by to borrow a cup of sugar—cliché, I know—and the smell hit me before I even knocked. It was warm, sweet, and nutty, like someone had captured autumn and baked it into a single, tiny morsel. She opened the door with a flour-dusted apron and a tray of what looked like golden, glistening seeds. “Oh, those?” she said, waving her hand. “Just cleaning out the pumpkin from the kids’ carving project. Couldn’t let them go to waste.” She was so nonchalant about it, like she hadn’t just created the most addictive, cozy snack I’d ever smelled. I mean, honestly, who does that?
She handed me a warm, paper towel-lined bowl—the sugar was still a little sticky—and told me to take them home. I barely made it to the end of her driveway before I popped one in my mouth. It was a revelation. The crunch was perfect, not hard like a rock, but satisfyingly snappy. The cinnamon and sugar had caramelized into a thin, crackly shell that shattered when you bit down. I stood there on the sidewalk, eating them one after another, thinking about how something so simple could feel so special. You know that feeling when a recipe just clicks into your brain and you know you’ll be making it forever? That was it.
I went home, dumped my sugar on the counter, and immediately started planning. I had to figure out how she did it. Was it the temperature? The ratio of sugar to cinnamon? The secret, as I later learned, was patience and a little bit of egg white magic. I’ve tweaked her recipe over the years, making it my own, but the soul of it—that cozy, slightly-spiced warmth—is all her. This is the snack I make now on cold afternoons, the one that fills my kitchen with that same incredible smell. It’s the one I hope you’ll make, too.
Why You’ll Love This Recipe
Let me tell you why this isn’t just another pumpkin seed recipe. I’ve tested this dozens of times, tweaking oven temperatures and spice blends until it was absolutely perfect. This is the version that my family fights over, the one that disappears from the snack bowl in minutes. It’s a certified crowd-pleaser, and here’s why it stands out:
- Quick & Easy: From pumpkin to plate in under 30 minutes. Perfect for when you need a cozy snack, stat.
- Simple Ingredients: You probably have everything in your pantry right now. No trips to a specialty store required.
- Perfect for Fall & Winter: This is the ultimate cool-weather treat. It pairs perfectly with a hot cup of cider or a steaming mug of tea.
- Crowd-Pleaser: I’ve brought these to potlucks and movie nights, and they always get rave reviews. Kids love the sweet crunch, and adults appreciate the nostalgic flavor.
- Unbelievably Delicious: The texture is the star here. The seeds are perfectly crunchy on the outside with a satisfying, nutty pop on the inside. The cinnamon-sugar coating is not just a dusting; it’s a proper, caramelized crust.
What makes this recipe different from the rest is the technique. Most baked pumpkin seeds end up either chewy or burnt. This method uses a simple egg white wash to help the sugar and cinnamon adhere and create that incredible, crackly shell. It’s a small step that makes a massive difference. This isn’t just a good snack—it’s the kind that makes you close your eyes after the first bite. It’s comfort food, reimagined as a tiny, crunchy, soul-soothing treat. Perfect for impressing guests without any stress, or turning a simple afternoon into something memorable.
What Ingredients You Will Need
This recipe uses simple, wholesome ingredients to deliver that big, cozy flavor. Most of these are pantry staples, so you can whip up a batch whenever the craving hits. Here’s what you’ll need:
- Pumpkin Seeds: 1 cup (120g) fresh, raw pumpkin seeds, cleaned and patted dry. You can use seeds from a sugar pumpkin or a carving pumpkin—both work great. Just make sure to rinse off all the stringy pulp and dry them thoroughly. Wet seeds won’t crisp up properly.
- Large Egg White: 1 large egg white. This is the secret to the crunchy, caramelized coating. It acts as a binder for the sugar and spice, creating that signature shell. Don’t skip it!
- Granulated Sugar: 3 tablespoons (36g) granulated sugar. This provides the sweetness and helps create the crackly texture. I’ve tried it with brown sugar, and while it’s tasty, it doesn’t get as crunchy.
- Ground Cinnamon: 1 teaspoon (2.6g) ground cinnamon. The star of the show! Use a good-quality cinnamon for the best flavor. I prefer Saigon cinnamon for its warm, intense sweetness.
- Kosher Salt: ¼ teaspoon (1.5g) kosher salt. Don’t skip this! The salt balances the sweetness and enhances the nutty flavor of the seeds. It’s a crucial flavor booster.
- Optional – Vanilla Extract: ½ teaspoon (2.5ml) pure vanilla extract. This adds a lovely, warm depth of flavor that complements the cinnamon beautifully. It’s a small addition that makes a big difference.
- Optional – Melted Butter: 1 tablespoon (14g) unsalted butter, melted. For an even richer, more decadent flavor, you can toss the baked seeds in a little melted butter right when they come out of the oven. It’s not necessary, but it’s a delicious indulgence.
Ingredient Tips: For the best texture, I recommend using fresh pumpkin seeds. The ones you scoop out of a pumpkin are ideal. If you’re using store-bought raw pepitas, the texture will be a bit different—they’ll be smaller and slightly more delicate. The cooking time will also be a little shorter, so keep an eye on them. For a trusted brand of spices, I love using Simply Organic or McCormick. Their cinnamon is always fresh and fragrant.
Equipment Needed
You don’t need any fancy gadgets for this recipe, which is part of its charm. Here’s what you’ll need to get the job done:
- Baking Sheet: A standard 13×18-inch rimmed baking sheet. The rim is important to keep the seeds from rolling off. I prefer a light-colored metal sheet, as dark sheets can cause the seeds to brown too quickly.
- Parchment Paper: Lining your baking sheet makes cleanup a breeze and prevents the sugary coating from sticking. It’s a lifesaver.
- Mixing Bowls: One large bowl for mixing the seeds with the egg white, and a small bowl for whisking the sugar and cinnamon together.
- Whisk: A small whisk to combine the dry ingredients and to lightly beat the egg white.
- Spatula: A rubber spatula is perfect for gently folding the seeds into the coating without breaking them.
- Colander: For rinsing the pumpkin seeds after you scoop them out of the pumpkin.
- Paper Towels: For patting the seeds dry. This step is crucial for achieving maximum crunch.
- Cooling Rack: Optional, but highly recommended. It allows air to circulate around the baked seeds, keeping them crunchy as they cool.
If you don’t have parchment paper, you can use a silicone baking mat. It works just as well. And if you don’t have a cooling rack, just let the seeds cool directly on the baking sheet—they’ll still be delicious, though they might not be quite as crunchy on the bottom.
Preparation Method
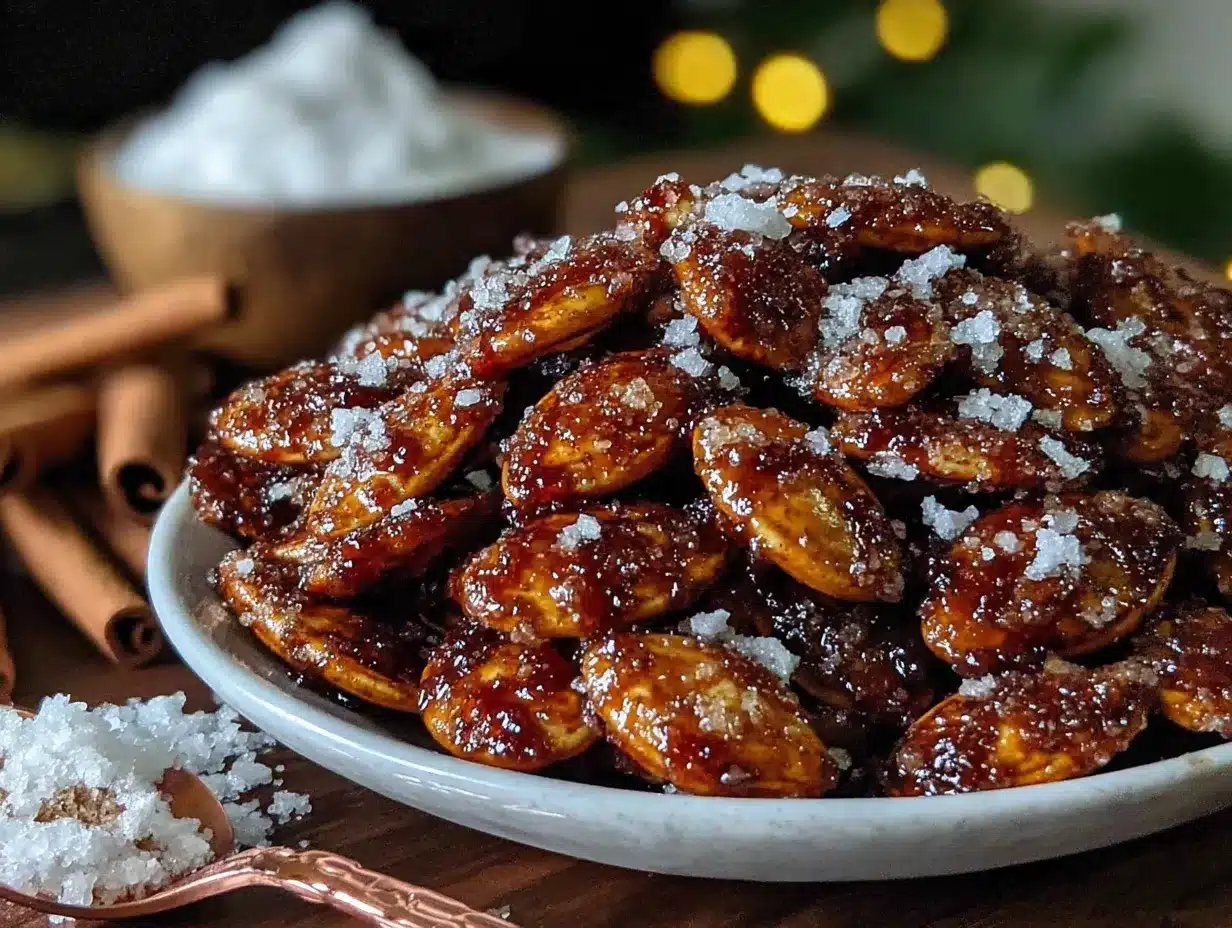
Follow these steps carefully, and you’ll have a perfect batch of cozy cinnamon sugar baked pumpkin seeds every time. The key is patience and a light touch.
- Preheat & Prepare: Preheat your oven to 300°F (150°C). Line a rimmed baking sheet with parchment paper. This lower temperature is the secret to getting them crunchy all the way through without burning the sugar.
- Clean the Seeds: Place your fresh pumpkin seeds in a colander and rinse them under cold water. Use your fingers to gently rub off any remaining stringy pumpkin pulp. It’s okay if a little bit is left on—it adds flavor. Shake off the excess water.
- Dry Thoroughly: This is a crucial step. Spread the rinsed seeds out on a clean kitchen towel or a layer of paper towels. Pat them very dry. Any moisture left on the seeds will steam in the oven, preventing them from getting crispy. Let them air dry for about 10 minutes while you get the coating ready.
- Make the Coating: In a small bowl, whisk together the granulated sugar, ground cinnamon, and kosher salt until well combined. In a separate large bowl, add the egg white and whisk it lightly until it’s frothy and broken up, but not stiff. If you’re using the vanilla extract, whisk it into the egg white now.
- Coat the Seeds: Add the dry, clean pumpkin seeds to the bowl with the egg white. Use a rubber spatula to gently fold and stir until every single seed is coated in the egg white mixture. It will look a little slimy—that’s perfect. Then, sprinkle the cinnamon-sugar mixture over the seeds. Fold again until the seeds are evenly coated. Make sure there are no clumps of sugar left in the bowl.
- Spread on the Sheet: Pour the coated seeds onto the prepared baking sheet. Use your spatula to spread them out into a single, even layer. Try to make sure they aren’t overlapping too much. A little bit is fine, but a single layer is best for even baking.
- Bake: Place the baking sheet on the center rack of your preheated oven. Bake for 25-30 minutes, stirring the seeds every 10 minutes with your spatula. This ensures they toast evenly and don’t burn on the edges. At the 25-minute mark, check them. They should be a deep, golden brown and feel dry to the touch. The sugar will have caramelized and the kitchen will smell incredible.
- Cool Completely: Remove the baking sheet from the oven. If you’re using the optional melted butter, drizzle it over the hot seeds and toss to coat. Let the seeds cool completely on the baking sheet, or transfer them to a cooling rack. They will continue to crisp up as they cool. This is the hardest part—waiting! But trust me, it’s worth it. They need at least 20 minutes to cool fully.
Troubleshooting Tip: If your seeds are still a little chewy after 30 minutes, they might not have been dry enough. Put them back in the oven for another 5 minutes, checking frequently. If they are browning too quickly, your oven might run hot. Lower the temperature to 275°F (135°C) next time.
Cooking Tips & Techniques
Over the years, I’ve made a few mistakes with these seeds so you don’t have to. Here are my best tips for getting them perfect every single time.
The Drying Secret: I cannot stress this enough: dry your seeds thoroughly. The first time I made these, I was impatient and tossed them in the egg white while they were still a bit damp. The result was a soggy, sad batch that took forever to bake. Now, I spread them out on a towel and let them sit for a full 15 minutes while I clean up the kitchen. It makes all the difference.
Don’t Overcrowd: If you’re making a double batch, use two baking sheets. If you crowd the seeds, they will steam instead of roast, and you’ll lose that wonderful crunch. They need their space to get toasty and golden.
The Stirring Rhythm: Set a timer for every 10 minutes. I once forgot to stir, and the seeds on the outer edges of the pan burned while the ones in the center were still pale. Stirring ensures even toasting and prevents the sugar from burning in one spot. It’s a small step that guarantees a perfect batch.
Timing is Everything: Every oven is different. Start checking your seeds at the 20-minute mark. You’re looking for a deep, golden brown color. They will also sound different when you stir them—they’ll make a pleasant, rattling sound instead of a soft, muffled one. That’s how you know they’re done.
The Cool-Down is Crucial: Don’t be tempted to eat them straight out of the oven. They will be soft and bendy. As they cool, they undergo a magical transformation, becoming crunchy and crisp. If you eat them too early, you’ll think you did something wrong. Just wait. I promise the payoff is worth it.
Variations & Adaptations
One of the best things about this recipe is how easy it is to adapt. Once you have the basic technique down, the flavor possibilities are endless. Here are a few of my favorite twists.
- Spicy-Sweet Kick: Add a pinch (⅛ teaspoon) of cayenne pepper or chipotle powder to the cinnamon-sugar mixture. The heat from the chili plays beautifully with the sweet coating, creating a complex, addictive snack. It’s my go-to for movie nights.
- Pumpkin Pie Spice Blend: Swap the 1 teaspoon of cinnamon for a teaspoon of pumpkin pie spice. This adds warm notes of ginger, nutmeg, and allspice. It’s like eating the best part of a pumpkin pie, but in a crunchy, snackable form. Perfect for Thanksgiving leftovers.
- Maple-Brown Sugar Version: For a deeper, more complex sweetness, replace the granulated sugar with 2 tablespoons of brown sugar and add 1 tablespoon of pure maple syrup to the egg white mixture. The baking time might need to be increased by 2-3 minutes, as brown sugar retains more moisture. The result is a chewier, more decadent seed.
- Vegan Adaptation: To make this recipe vegan, replace the egg white with 1 tablespoon of aquafaba (the liquid from a can of chickpeas). Whisk it until it’s frothy, just like you would with the egg white. The result is remarkably similar—crunchy, sweet, and perfectly coated.
- Savory Twist: If you’re not in the mood for sweet, simply omit the sugar and cinnamon. Toss the dried seeds with the egg white, 1 teaspoon of smoked paprika, ½ teaspoon of garlic powder, and ½ teaspoon of salt. Bake as directed for a smoky, savory snack that’s perfect on salads or eaten by the handful.
Serving & Storage Suggestions
These cozy cinnamon sugar baked pumpkin seeds are incredibly versatile. Here’s how to serve and store them to keep them at their best.
Serving: These are best served at room temperature, right after they’ve cooled. Pile them into a beautiful bowl and set them out for a party, or keep a small jar on your counter for a quick snack. They are fantastic on their own, but they also make a wonderful topping for yogurt, oatmeal, or even a bowl of vanilla ice cream. The sweet crunch adds a lovely texture to creamy dishes. For a cozy evening, pair them with a hot cup of chai tea or a mug of spiced apple cider. They’re also a great addition to a fall-themed charcuterie board alongside sharp cheddar cheese and dried apples.
Storage: To keep them perfectly crunchy, store the cooled seeds in an airtight container at room temperature. I like to use a glass jar with a tight-fitting lid. They will stay fresh and crispy for up to two weeks—if they last that long! The key is to make sure they are completely cool before you seal them up. Any residual warmth will create condensation, which will make them soft.
Reheating: If your seeds do lose their crunch over time (which is rare, but it happens), you can easily revive them. Spread them out on a baking sheet and pop them into a 300°F (150°C) oven for 3-5 minutes. Let them cool completely, and they’ll be as good as new. Do not microwave them—it will make them chewy.
Nutritional Information & Benefits
These little seeds are more than just a tasty treat—they’re packed with good-for-you nutrients. A ¼-cup serving of these baked pumpkin seeds (using the recipe as written) contains approximately:
- Calories: 180-200
- Fat: 14g (mostly healthy unsaturated fats)
- Carbohydrates: 12g
- Fiber: 2g
- Protein: 8g
- Sugar: 8g
Health Benefits: Pumpkin seeds are a fantastic source of magnesium, zinc, and healthy fats. Magnesium is great for relaxation and sleep, which makes these a perfect evening snack. The zinc supports a healthy immune system, and the fiber and protein help keep you feeling full and satisfied. While this version has added sugar, the portion size is small, and you’re getting a serious nutritional boost from the seeds themselves. It’s a treat you can feel good about!
Dietary Considerations: This recipe is naturally gluten-free and dairy-free (if you skip the optional butter). I’ve also included a vegan adaptation above. The main allergen to be aware of is eggs, but the vegan version with aquafaba solves that problem perfectly.
Conclusion
So there you have it—my absolute favorite way to use up those pumpkin seeds. This recipe has become a staple in my kitchen, not just because it’s delicious, but because it captures a feeling. It’s the smell of a cozy afternoon, the taste of a happy memory, and the satisfaction of turning something simple into something special. I hope you give it a try and make it your own. Maybe you’ll add a pinch of nutmeg or a dash of cardamom. Maybe you’ll double the batch because one is never enough. Whatever you do, I’d love to hear about it.
Have you made these cozy cinnamon sugar baked pumpkin seeds? Did you try a fun variation? Drop a comment below and let me know how they turned out! And if you loved this recipe, don’t forget to share it with a friend who needs a little cozy snack in their life. Happy snacking, friends!
Frequently Asked Questions
Can I use store-bought raw pepitas instead of fresh pumpkin seeds?
Absolutely! Store-bought raw pepitas (the green, shell-less pumpkin seeds) work great. They are smaller and more delicate, so you’ll need to reduce the baking time. Start checking them at the 15-minute mark. They will be delicious, just with a slightly different texture.
Why did my pumpkin seeds turn out chewy instead of crunchy?
This is usually due to one of two things: the seeds weren’t dried thoroughly before baking, or they weren’t baked long enough. Make sure to pat them very dry with a towel. Also, be patient with the baking time. They need to be deeply golden and dry to the touch before they will get crunchy as they cool.
Can I make these in an air fryer?
Yes, you can! The air fryer works wonderfully for this recipe. Preheat your air fryer to 300°F (150°C). Place the coated seeds in the basket in a single layer. Cook for 10-12 minutes, shaking the basket every 4 minutes to ensure even cooking. Keep a close eye on them, as air fryers can vary in temperature.
How do I keep the seeds from sticking to the parchment paper?
Using a high-quality parchment paper is key. The sugar can sometimes stick if the paper is cheap. If you’re worried about it, you can lightly spray the parchment paper with non-stick cooking spray before spreading the seeds. Letting them cool completely on the sheet before trying to remove them also helps a lot.
Can I use a sugar substitute to make these low-carb?
Yes, you can use a granulated monk fruit sweetener or erythritol in place of the granulated sugar. Keep in mind that these substitutes don’t caramelize in the same way, so the texture will be slightly different—a bit more sandy and less crackly. The flavor will still be delicious, though! Reduce the baking time by a few minutes, as sugar substitutes can burn faster.
Pin This Recipe!
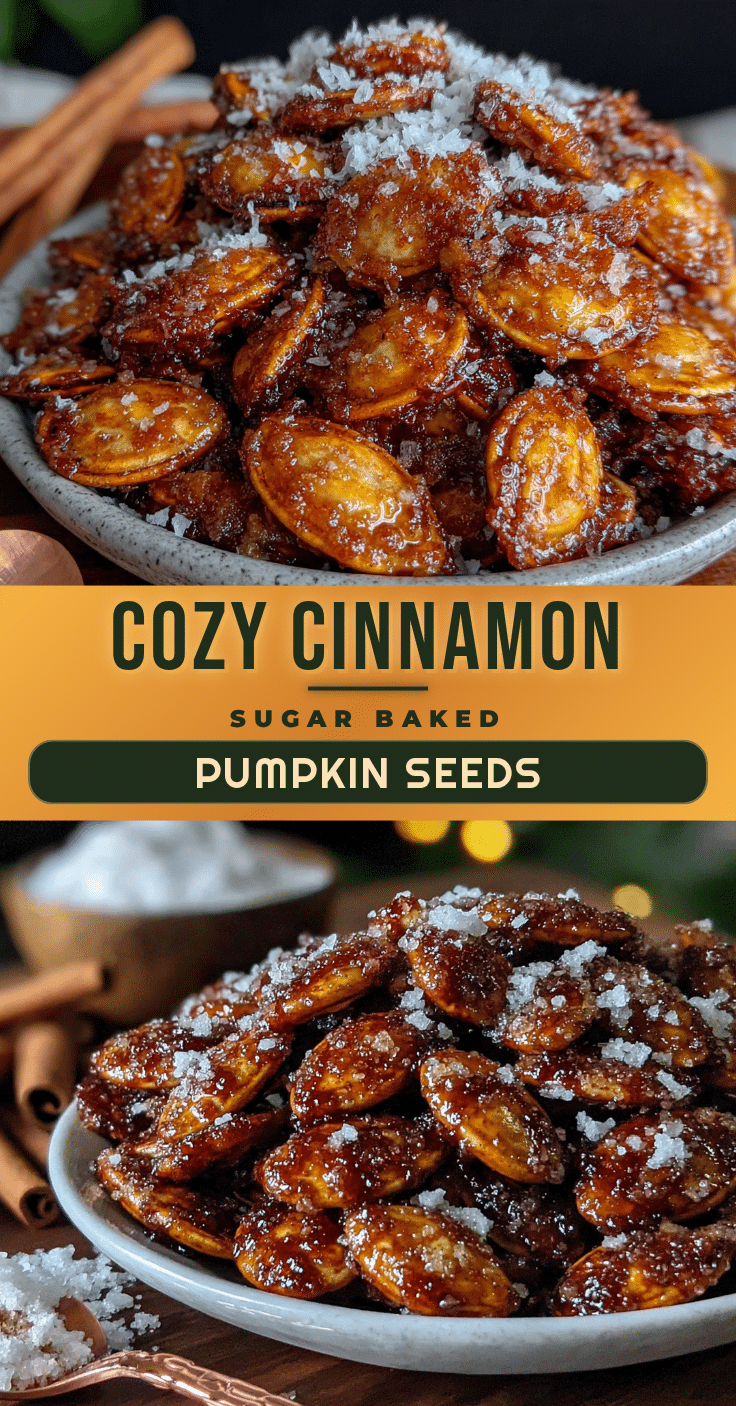
Cozy Cinnamon Sugar Baked Pumpkin Seeds

These baked pumpkin seeds are perfectly crunchy with a sweet, caramelized cinnamon-sugar coating. An easy, addictive snack that captures the cozy flavors of fall.
- Prep Time: 15 minutes
- Cook Time: 25-30 minutes
- Total Time: 40-45 minutes
- Yield: 4 servings 1x
- Category: Snack
- Cuisine: American
Ingredients
- 1 cup (120g) fresh, raw pumpkin seeds, cleaned and patted dry
- 1 large egg white
- 3 tablespoons (36g) granulated sugar
- 1 teaspoon (2.6g) ground cinnamon
- ¼ teaspoon (1.5g) kosher salt
- ½ teaspoon (2.5ml) pure vanilla extract (optional)
- 1 tablespoon (14g) unsalted butter, melted (optional)
Instructions
- Preheat your oven to 300°F (150°C). Line a rimmed baking sheet with parchment paper.
- Place fresh pumpkin seeds in a colander and rinse under cold water, gently rubbing off any remaining pulp. Shake off excess water.
- Spread rinsed seeds on a clean kitchen towel or paper towels and pat very dry. Let air dry for about 10 minutes.
- In a small bowl, whisk together granulated sugar, ground cinnamon, and kosher salt. In a separate large bowl, lightly whisk the egg white until frothy. If using vanilla extract, whisk it into the egg white now.
- Add the dry pumpkin seeds to the bowl with the egg white. Use a rubber spatula to gently fold until all seeds are coated. Sprinkle the cinnamon-sugar mixture over the seeds and fold again until evenly coated.
- Pour the coated seeds onto the prepared baking sheet and spread into a single, even layer.
- Bake for 25-30 minutes, stirring every 10 minutes, until the seeds are deep golden brown and dry to the touch.
- Remove from the oven. If using melted butter, drizzle over hot seeds and toss to coat. Let seeds cool completely on the baking sheet or a cooling rack (at least 20 minutes) before serving.
Notes
Dry seeds thoroughly for maximum crunch. Stir every 10 minutes for even toasting. Let cool completely before eating to achieve crispiness. For a vegan version, replace egg white with 1 tablespoon aquafaba.
Nutrition
- Serving Size: ¼ cup
- Calories: 180200
- Sugar: 8
- Sodium: 150
- Fat: 14
- Saturated Fat: 2
- Carbohydrates: 12
- Fiber: 2
- Protein: 8
Keywords: pumpkin seeds, cinnamon sugar, baked snack, fall recipe, easy snack, crunchy seeds, Halloween treat


