It was 11:47 PM on a random Tuesday, and I had that specific, almost aggressive craving for crispy chicken skin. You know the one. But here’s the thing—I had completely forgotten to buy eggs, and my usual breading station plan was a total bust. I didn’t have flour, panko, or even a single cracker to crush. What I did have were six bone-in, skin-on chicken thighs sitting in the fridge, a brand new air fryer I’d barely touched, and a desperate idea that felt both reckless and brilliant at the same time.
Honestly, I almost just ordered takeout. But something about the late hour made me stubborn. I thought, “What if I just… season the heck out of them and let the air fryer do all the work?” No breading, no mess, just pure chicken and heat. I pulled out my favorite spice blend, patted those thighs dry like my life depended on it, and tossed them in. Twenty minutes later, I pulled out the crispiest, juiciest chicken thighs I had ever made in my entire life. The skin was crackling, the meat was falling off the bone, and I stood there in my kitchen at midnight, eating one straight out of the basket like a feral creature. Maybe you’ve been there—that moment of late-night culinary desperation that accidentally becomes a core memory.
That night changed my weeknight dinner game forever. I’ve made these crispy air fryer chicken thighs at least twice a week since then, tweaking the seasoning, testing the timing, and perfecting the technique. No breading, no fuss, just pure flavor and that impossible crunch. This is the recipe that made me fall in love with my air fryer, and I’m pretty sure it’ll do the same for you.
Why You’ll Love This Recipe
Let me tell you why these crispy air fryer chicken thighs have become my go-to dinner obsession. First off, they come together in under 20 minutes with zero prep drama. I mean, who doesn’t love a meal that’s faster than waiting for delivery?
- Quick & Easy: From fridge to plate in about 20 minutes. Perfect for those nights when you’re starving and patience is not a virtue you’re practicing.
- Simple Ingredients: You probably have everything in your pantry right now. No fancy grocery runs, no obscure spices. Just salt, pepper, garlic powder, and a few pantry heroes.
- Perfect for Busy Weeknights: This is the dinner you make when you forgot to meal prep, the kids are hangry, and you need something satisfying fast.
- Crowd-Pleaser: I’ve served these at casual dinners and even a small gathering, and they disappear every single time. Kids love them, adults fight over the last piece.
- Unbelievably Delicious: The skin gets so crispy it shatters when you bite into it, while the meat stays incredibly juicy. No breading needed—the air fryer does magic with the natural fat.
What makes this recipe different from all the other chicken recipes out there? It’s the technique. Most recipes tell you to just season and cook, but I’ve figured out the exact drying method, the precise oil amount, and the perfect temperature that gives you restaurant-quality skin without any of the mess. This isn’t just another version—it’s the version I’ve tested and retested until it was absolutely flawless.
And honestly, this recipe is comfort food at its finest. There’s something deeply satisfying about biting into that crispy, salty skin and feeling the warm, juicy meat underneath. It’s the kind of meal that makes you close your eyes after the first bite and forget about whatever stressful thing happened during your day.
What Ingredients You Will Need
This recipe uses simple, everyday ingredients that come together to create something truly special. No complicated shopping list, no weird specialty items—just honest, flavorful components that work together beautifully.
- Bone-in, skin-on chicken thighs (4-6 thighs, about 2 lbs / 900g): This is non-negotiable for the crispiest results. The skin renders fat and gets incredibly crunchy, while the bone keeps the meat moist. I prefer thighs from local farms when I can find them, but any good-quality supermarket brand works wonders.
- Olive oil (1 tablespoon / 15 ml): Just enough to help the seasoning stick and encourage browning. Don’t overdo it—too much oil makes the skin soggy instead of crispy. Avocado oil works great too if you have it.
- Kosher salt (1 teaspoon / 5 g): I use Diamond Crystal brand for its clean taste and easy pinchability. Salt is crucial for drawing out moisture from the skin, which is the secret to ultimate crispiness.
- Garlic powder (1 teaspoon / 3 g): Adds that savory depth without burning in the air fryer. Fresh garlic can burn at high temperatures, so stick with powder here.
- Onion powder (½ teaspoon / 1.5 g): Complements the garlic and adds a subtle sweetness. I’ve tried skipping it, and the flavor just isn’t as rounded.
- Smoked paprika (1 teaspoon / 2.5 g): This is my secret weapon. It adds a beautiful color and a smoky warmth that makes the chicken taste like it came off a grill.
- Black pepper (½ teaspoon / 1 g): Freshly ground is best. It adds a gentle heat that balances the richness of the skin.
- Optional: Cayenne pepper (¼ teaspoon / 0.5 g): Only if you want a little kick. I add it when I’m cooking just for myself, but skip it for family dinners.
That’s it. Seven ingredients, most of which are probably sitting in your spice cabinet right now. The beauty of this recipe is that it lets the chicken shine—no complicated marinades, no sticky sauces, just pure, honest flavor.
If you’re looking for a different flavor profile, try swapping the smoked paprika for Italian seasoning or a pre-made Cajun blend. I’ve done both, and they’re equally delicious. Just remember that the key is keeping the seasoning simple enough that the chicken’s natural flavor comes through.
Equipment Needed
You don’t need a professional kitchen to make these crispy air fryer chicken thighs. Here’s what you’ll need:
- Air fryer (3.5 quarts or larger): Any brand works—I use a Cosori 5.8-quart model that I got on sale, and it’s been a workhorse. A smaller air fryer means you’ll need to cook in batches, which is fine but takes longer.
- Paper towels: Absolutely essential for drying the chicken skin. Don’t skip this step—moisture is the enemy of crispiness.
- Mixing bowl: For tossing the chicken with oil and seasonings. A medium-sized stainless steel bowl works perfectly.
- Tongs: For flipping the chicken halfway through cooking. Silicone-tipped tongs won’t scratch your air fryer basket.
- Instant-read thermometer: Not strictly necessary, but highly recommended for food safety. Chicken thighs should reach 175°F (80°C) for the best texture.
- Cutting board and knife: For any prep work. A sharp chef’s knife makes quick work of trimming excess skin or fat if needed.
If you don’t have an air fryer, you can make these in a convection oven at 400°F (200°C) for about 25-30 minutes. The results won’t be quite as crispy, but they’ll still be delicious. I’ve also used a regular oven with a wire rack set inside a baking sheet—it works, but the air fryer really is the star here.
One tip I learned the hard way: don’t overcrowd the basket. Give those thighs some breathing room so the hot air can circulate and crisp every bit of skin. If your air fryer is on the smaller side, cook in batches. Trust me, it’s worth the extra few minutes.
Preparation Method
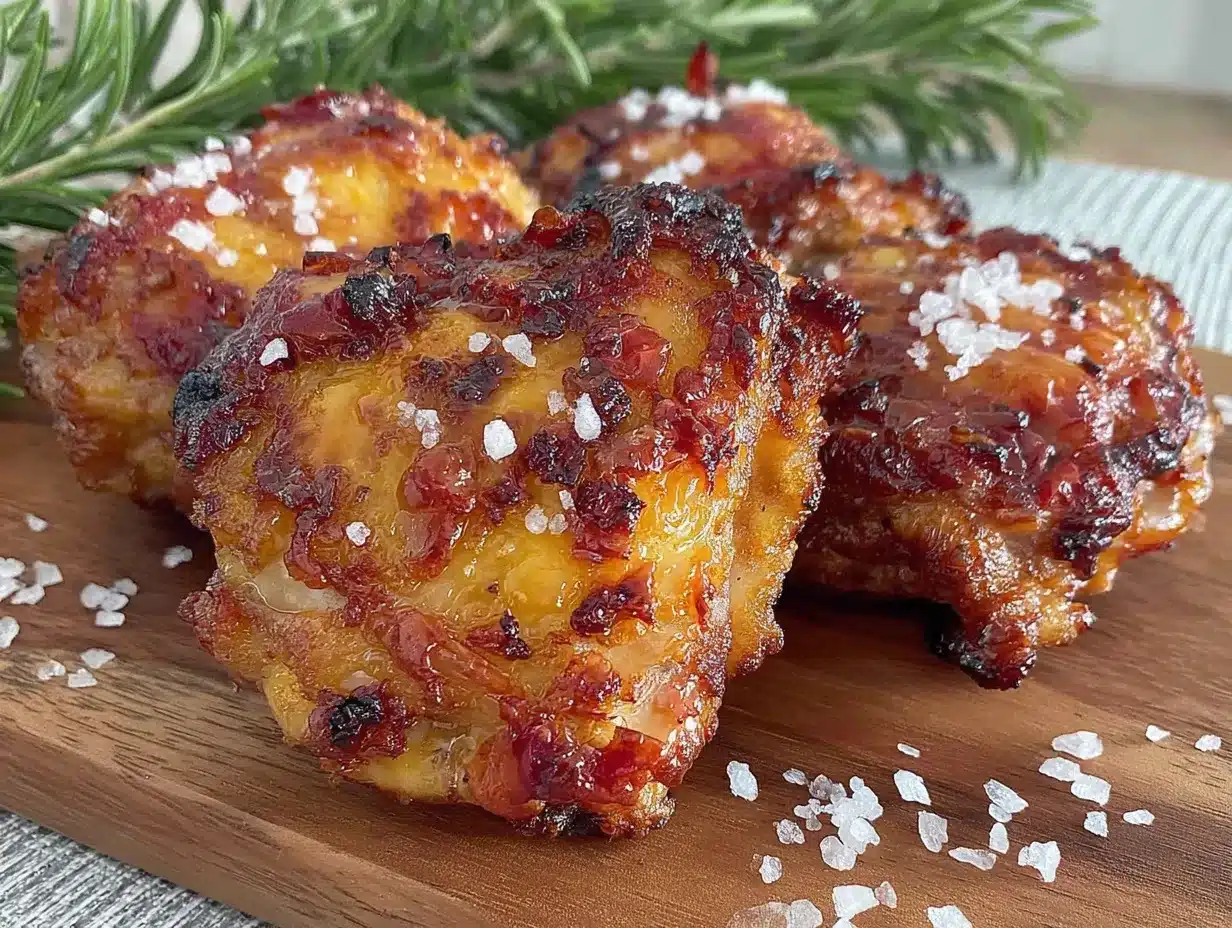
Let’s get cooking. This is where the magic happens, and I promise it’s easier than you think.
- Pat the chicken thighs completely dry. This is the most important step, and I cannot stress it enough. Take each thigh and press it firmly with paper towels until the skin feels almost tacky. Flip and repeat. Any moisture left on the skin will steam instead of crisp, and we’re not making steamed chicken tonight. (I learned this the hard way after my first batch came out sad and rubbery.)
- Preheat your air fryer to 400°F (200°C) for 3 minutes. While it’s heating, you can prepare the seasoning. A hot start is crucial for that initial sear that locks in flavor and starts the crisping process.
- In a medium mixing bowl, combine the olive oil, kosher salt, garlic powder, onion powder, smoked paprika, black pepper, and cayenne if using. Whisk them together with a fork until they form a loose paste. The oil helps everything stick and encourages browning.
- Add the dried chicken thighs to the bowl and toss well. Use your hands to massage the seasoning into every nook and cranny. Make sure you get under the skin too—lift it gently and rub some seasoning directly onto the meat. This is where the flavor really lives.
- Arrange the thighs in the air fryer basket in a single layer, skin side down. Don’t overlap them. If they’re touching, they won’t crisp evenly. Leave a little space between each piece for air circulation.
- Cook at 400°F (200°C) for 10 minutes. Don’t open the basket during this time. Let the air fryer do its thing. You’ll start to smell the most incredible aroma around minute 7—that’s the fat rendering and the skin beginning to crisp.
- Flip the thighs using tongs, so the skin side is now up. Be careful—the basket is hot, and the chicken will be sizzling. This flip ensures even cooking and maximum crispiness on both sides.
- Cook for another 8-10 minutes, or until the internal temperature reaches 175°F (80°C). The skin should be deep golden brown and look almost crackling. If you don’t have a thermometer, look for the skin to be incredibly crispy and the juices to run clear when pierced.
- Let the chicken rest for 5 minutes before serving. I know it’s tempting to dig in immediately, but this resting period allows the juices to redistribute throughout the meat. Cut into one too early, and all that beautiful moisture will end up on your cutting board instead of in your mouth.
One thing I always do: after flipping, I give the basket a gentle shake. It helps redistribute the chicken and ensures nothing sticks. Also, if your air fryer runs hot (they all vary slightly), check the chicken at the 8-minute mark after flipping. You can always cook longer, but you can’t uncook burnt chicken.
For extra crispy skin, I sometimes add 2 minutes at 425°F (220°C) at the very end. Watch it closely—it goes from perfect to burnt fast. This trick works wonders when I’m craving that extra crunch factor.
Cooking Tips & Techniques
After making these crispy air fryer chicken thighs more times than I can count, I’ve collected a few hard-won lessons. Let me save you the trouble of learning them the hard way.
The drying technique is everything. I used to think a quick pat with a paper towel was enough. It’s not. You need to really press and absorb every drop of moisture. I’ve started drying the thighs and then letting them sit uncovered in the fridge for 15 minutes before seasoning. That extra step makes the skin almost twice as crispy. It’s a game-changer.
Don’t skip the preheat. I know it’s tempting to just throw the chicken in and start cooking, but that initial blast of heat is what kicks off the crisping process. Cold chicken in a cold air fryer means soggy skin. Trust me, I’ve made that mistake on a particularly impatient Tuesday night.
Watch your oil amount. Too little and the seasoning won’t stick. Too much and you’ll end up with greasy, soft skin. One tablespoon is the sweet spot for 4-6 thighs. I measure it carefully every time now.
Batch cooking is better than overcrowding. If your air fryer is small, cook in batches. Overcrowding drops the temperature and traps steam, which is the enemy of crispiness. I’ve tried cramming 8 thighs into my 5.8-quart basket, and the results were mediocre. Four at a time? Perfect every time.
Use a thermometer for consistency. Chicken thighs are forgiving, but they’re best at 175°F (80°C). Below that, the fat hasn’t fully rendered and the texture is chewy. Above 185°F (85°C), they start drying out. An instant-read thermometer takes the guesswork out of dinner.
Let them rest. I know I mentioned this, but it bears repeating. Those 5 minutes of rest are not optional. The juices need time to settle, and the skin continues to crisp slightly as it cools. I’ve ruined perfectly good chicken by cutting into it too soon, and the disappointment is real.
One last thing: if you’re making these for a crowd, keep the cooked thighs warm in a 200°F (95°C) oven while you finish the remaining batches. They’ll stay crispy for up to 30 minutes this way. I’ve done this for family gatherings, and nobody ever knows the first batch was cooked an hour ago.
Variations & Adaptations
One of the best things about this recipe is how easily it adapts to different tastes and dietary needs. Here are some of my favorite variations.
Spicy Cajun Version: Replace the smoked paprika with 1 tablespoon of Cajun seasoning and add an extra ½ teaspoon of cayenne. The result is a bold, spicy chicken that pairs perfectly with a cool ranch dip. I made this for a game day party, and it was gone in 10 minutes.
Lemon Herb Twist: Add 1 teaspoon of dried oregano, 1 teaspoon of dried thyme, and the zest of one lemon to the seasoning mix. Squeeze fresh lemon juice over the finished chicken before serving. This version feels lighter and brighter—perfect for summer evenings.
Garlic Parmesan Finish: After cooking, sprinkle the hot chicken with 2 tablespoons of freshly grated Parmesan cheese and 1 teaspoon of garlic powder. The cheese melts slightly and creates an almost crust-like texture. I accidentally discovered this when I dropped some Parmesan on a hot thigh, and now it’s my go-to variation.
Dietary Adaptations: This recipe is naturally gluten-free, keto-friendly, and low-carb. No modifications needed. For a dairy-free version, skip any cheese toppings. For a lower sodium option, reduce the salt to ½ teaspoon and add extra herbs for flavor.
Different Cuts: You can use this same method for chicken drumsticks (cook 18-20 minutes), chicken wings (cook 15-18 minutes), or boneless skinless thighs (cook 12-14 minutes). The timing changes, but the technique stays the same. Just make sure to check internal temperature.
Sweet and Smoky: Add 1 tablespoon of brown sugar to the seasoning mix. The sugar caramelizes in the air fryer and creates a sweet, sticky crust. This is my secret-weapon version for when I want something that feels almost like barbecue without the grill.
I’ve tried all of these variations, and each one brings something unique to the table. My personal favorite is the lemon herb twist—there’s something about that bright, fresh flavor against the crispy skin that just works.
Serving & Storage Suggestions
These crispy air fryer chicken thighs are incredibly versatile when it comes to serving. Here’s how I like to enjoy them and how to store leftovers.
Serving Temperature: Serve them hot, straight from the air fryer. The skin is at its crispiest within the first 15 minutes of cooking. If you need to hold them, keep them in a warm oven as I mentioned earlier.
Presentation: Arrange the thighs on a large platter with the crispy skin facing up. Garnish with fresh parsley or thyme sprigs for a pop of color. For a casual dinner, I just pile them on a plate and let everyone grab what they want.
Perfect Pairings: These chicken thighs go beautifully with so many sides. I love serving them with a simple arugula salad dressed with lemon vinaigrette—the peppery greens cut through the richness. Mashed potatoes are another classic choice, especially with a little gravy made from the pan drippings. For a lighter option, try roasted vegetables like asparagus or Brussels sprouts. And if you’re feeling indulgent, mac and cheese is always a winner.
Beverage Pairings: A crisp white wine like Sauvignon Blanc or a light beer like a pilsner complements the smoky flavors. For non-alcoholic options, iced tea with lemon or sparkling water with a splash of cranberry juice works beautifully.
Storage: Leftover chicken thighs can be stored in an airtight container in the refrigerator for up to 4 days. The skin will soften during storage, but don’t worry—you can re-crisp them.
Reheating: The air fryer is the best way to reheat these. Place the thighs in the air fryer at 375°F (190°C) for 3-4 minutes, and the skin will crisp right back up. The microwave works in a pinch, but the skin will be soft. I’ve also reheated them in a hot skillet with a little oil for a stovetop version that works surprisingly well.
Freezing: Cooked chicken thighs freeze beautifully for up to 3 months. Let them cool completely, then wrap individually in plastic wrap and place in a freezer bag. To reheat, thaw overnight in the refrigerator and follow the reheating instructions above.
The flavors actually deepen after a day in the fridge. I sometimes make a double batch just so I can have leftovers for lunch the next day. They’re amazing cold, sliced over a salad.
Nutritional Information & Benefits
Let’s talk about what’s actually in these crispy air fryer chicken thighs. Per serving (2 thighs), here’s the approximate nutritional breakdown:
- Calories: 380-420
- Protein: 32-36g
- Fat: 26-30g (mostly healthy monounsaturated and saturated fats from the skin)
- Carbohydrates: 1-2g
- Fiber: 0g
- Sugar: 0g
Chicken thighs are an excellent source of high-quality protein, which is essential for muscle repair and overall health. They’re also rich in B vitamins, particularly B6 and B12, which support energy metabolism and brain function. The skin contains collagen, which is great for skin and joint health.
Dietary Considerations: This recipe is naturally gluten-free, grain-free, and low-carb, making it suitable for keto, paleo, and Whole30 diets. It contains no dairy unless you add the Parmesan variation. The only potential allergen is chicken itself, so it’s safe for most common dietary restrictions.
One thing I love about this recipe is that it uses the chicken’s own fat for cooking—no heavy oils or butter needed. The air fryer method significantly reduces the fat content compared to deep frying, while still delivering that satisfying crunch. It’s comfort food that doesn’t leave you feeling heavy or guilty.
From a wellness perspective, this is the kind of meal that fits easily into a balanced diet. It’s protein-rich, satisfying, and pairs beautifully with vegetables for a complete, nutritious dinner.
Conclusion
These crispy air fryer chicken thighs have honestly changed the way I think about weeknight dinners. No breading, no complicated techniques, no fancy ingredients—just honest, delicious food that comes together in 20 minutes flat. That late-night experiment in my kitchen turned into a recipe I genuinely look forward to making, and I hope it becomes that for you too.
What I love most about this recipe is how forgiving it is. You can tweak the spices, adjust the cooking time, swap the cuts of meat, and it still works. It’s the kind of recipe that builds your confidence in the kitchen because it delivers every single time. The first time you pull out that perfectly crispy, golden-brown chicken, you’ll feel like a rockstar.
So here’s my challenge to you: make these this week. Play with the seasonings, find your perfect version, and let me know how it goes. Did you try the lemon herb twist? Did you add extra cayenne for heat? Did your family fight over the last piece? Drop a comment below and tell me all about it—I genuinely read every single one and love hearing about your kitchen victories.
And if you’re looking for more easy, delicious dinners, check out my crispy garlic chicken recipe or these honey garlic chicken thighs for another weeknight winner. Until next time, happy cooking—and don’t forget to save that crispy skin for yourself. You deserve it.
Frequently Asked Questions
Can I use boneless, skinless chicken thighs for this recipe?
Yes, you can, but the results will be different. Boneless, skinless thighs cook faster (about 12-14 minutes) and won’t have that shatteringly crispy skin. They’ll still be juicy and flavorful, but if crispiness is your goal, stick with bone-in, skin-on thighs.
Do I need to flip the chicken halfway through cooking?
Absolutely. Flipping ensures even cooking and helps both sides of the skin get crispy. Start with the skin side down for the first 10 minutes, then flip so the skin side faces up for the remaining time. This gives you the best texture.
Why is my chicken skin not getting crispy?
There are three common culprits: the chicken wasn’t dried thoroughly enough, the basket was overcrowded, or the temperature was too low. Make sure you pat the skin completely dry, leave space between each thigh, and cook at 400°F (200°C) minimum. Also, check that your air fryer is preheated.
Can I marinate the chicken overnight?
You can, but it’s not necessary for this recipe. If you do marinate, keep it simple—oil, acid (like lemon juice), and herbs. Avoid sugary marinades as they can burn in the air fryer. If you marinate, pat the chicken dry again before cooking to ensure crispiness.
How do I know when the chicken is fully cooked?
The safest way is to use an instant-read thermometer inserted into the thickest part of the thigh, avoiding the bone. Chicken thighs are safe at 165°F (74°C), but they’re best at 175°F (80°C) for optimal texture. Without a thermometer, look for clear juices when pierced and skin that’s deep golden brown and crispy.
Pin This Recipe!
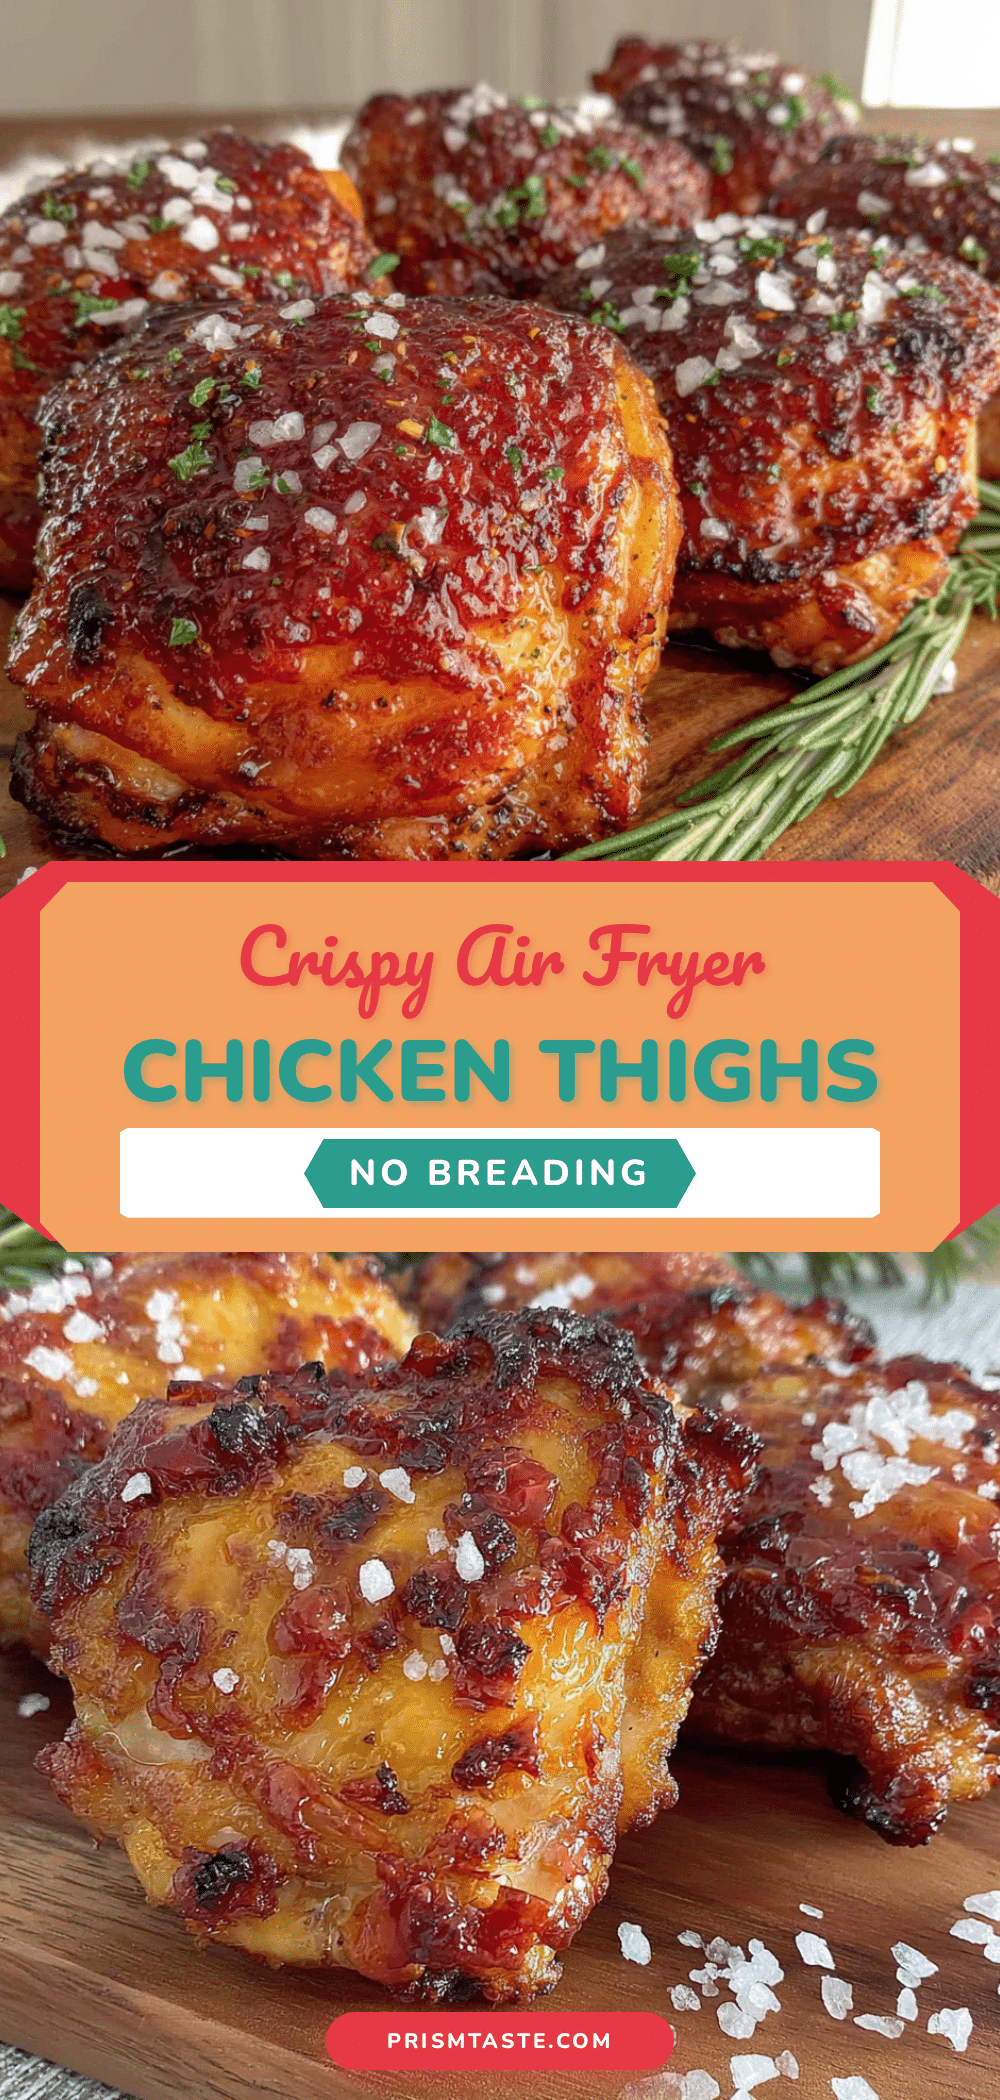
Crispy Air Fryer Chicken Thighs: Easy 20-Min Recipe

No breading, no fuss, just pure flavor and impossible crunch. These crispy air fryer chicken thighs come together in under 20 minutes with simple pantry ingredients.
- Prep Time: 5 minutes
- Cook Time: 18-20 minutes
- Total Time: 23-25 minutes
- Yield: 4 servings 1x
- Category: Main Course
- Cuisine: American
Ingredients
- 4–6 bone-in, skin-on chicken thighs (about 2 lbs / 900g)
- 1 tablespoon olive oil (15 ml)
- 1 teaspoon kosher salt (5 g)
- 1 teaspoon garlic powder (3 g)
- ½ teaspoon onion powder (1.5 g)
- 1 teaspoon smoked paprika (2.5 g)
- ½ teaspoon black pepper (1 g)
- ¼ teaspoon cayenne pepper (optional, 0.5 g)
Instructions
- Pat the chicken thighs completely dry with paper towels until the skin feels tacky.
- Preheat your air fryer to 400°F (200°C) for 3 minutes.
- In a medium mixing bowl, combine olive oil, kosher salt, garlic powder, onion powder, smoked paprika, black pepper, and cayenne (if using) to form a loose paste.
- Add the dried chicken thighs to the bowl and toss well, massaging the seasoning into every nook and cranny, including under the skin.
- Arrange the thighs in the air fryer basket in a single layer, skin side down, without overlapping.
- Cook at 400°F (200°C) for 10 minutes without opening the basket.
- Flip the thighs using tongs so the skin side is up.
- Cook for another 8-10 minutes, or until the internal temperature reaches 175°F (80°C) and the skin is deep golden brown and crispy.
- Let the chicken rest for 5 minutes before serving.
Notes
For extra crispy skin, add 2 minutes at 425°F (220°C) at the end. Do not overcrowd the basket; cook in batches if needed. Let the chicken rest for 5 minutes before serving to redistribute juices.
Nutrition
- Serving Size: 2 thighs
- Calories: 400
- Sodium: 600
- Fat: 28
- Saturated Fat: 8
- Carbohydrates: 1.5
- Protein: 34
Keywords: air fryer chicken thighs, crispy chicken thighs, easy chicken recipe, 20 minute dinner, keto chicken, gluten free chicken