It was 11:47 PM on a quiet Tuesday, and I had this very specific, almost aggressive craving for a warm chocolate chip cookie. You know that feeling when only a certain kind of cookie will do? Not the thin, crispy kind, and definitely not those sad, store-bought ones. I wanted one that was thick, soft, and practically hugging itself with melted chocolate. The problem? I didn’t have the energy to wait for dough to chill—honestly, who does at that hour? I didn’t have a whole stick of butter softened either, but I had a slightly too-ripe banana that was about to turn and a desperate idea. I figured, why not mash it up and see what happens? The late-night kitchen felt like a lab, and I was the slightly unhinged scientist. I pulled out a single bowl, grabbed some random pantry staples, and just went for it. The result was so unexpectedly good, I actually laughed out loud. The cookies came out perfectly puffy, with crispy edges and gooey centers, and they came together in under 20 minutes from start to finish. No waiting, no fuss, just pure, cozy satisfaction. I’ve been making this small-batch recipe ever since, and it’s become my go-to for those late-night moments when you just need a little bit of comfort. Maybe you’ve been there too.
Why You’ll Love This Recipe
Let me tell you, after testing about a dozen different small-batch cookie recipes over the years, this one is the keeper. It checks every single box for a perfect cookie experience without the hassle. I mean, who wants to wait for dough to chill when you want a cookie right now?
- Quick & Easy: Comes together in under 20 minutes, perfect for those spontaneous cravings or a quick dessert after dinner.
- Simple Ingredients: No fancy grocery trips needed. You likely already have everything in your kitchen—flour, sugar, butter, an egg, and chocolate chips.
- Perfect for Cozy Nights: Great for a quiet evening in, a small gathering, or a treat-yourself moment after a long day.
- Crowd-Pleaser: Always gets rave reviews. I brought these to a small book club meeting, and they disappeared before we even discussed the first chapter.
- Unbelievably Delicious: The texture is spot-on—crispy edges, soft centers, and perfectly melted chocolate in every bite.
What makes this recipe different from the rest? It uses a slightly higher ratio of brown sugar to white sugar, which gives the cookies that deep, almost caramel-like flavor without needing to chill the dough. Plus, the small batch means you get exactly 6 perfect cookies—no more, no less. No leftovers to tempt you, no waste. It’s the kind of recipe that makes you close your eyes after the first bite, honestly. It’s comfort food reimagined—faster, simpler, but with the same soul-soothing satisfaction. Perfect for impressing yourself without stress, or turning a simple Tuesday night into something memorable.
What Ingredients You Will Need
This recipe uses simple, wholesome ingredients to deliver big flavor and that perfect cookie texture. Most of these are pantry staples, so you can whip these up anytime the craving hits.
- Unsalted butter, melted and slightly cooled (4 tablespoons or 57g) — (using melted butter is the secret to that chewy texture without needing to chill the dough)
- Light brown sugar, packed (¼ cup or 50g) — (adds moisture and that deep, molasses-like flavor; I prefer Domino brand for consistent results)
- Granulated sugar (2 tablespoons or 25g) — (helps create those crispy edges)
- Large egg yolk (1 yolk, room temperature) — (using just the yolk gives richness without making the dough too wet; save the white for scrambled eggs tomorrow)
- Vanilla extract (½ teaspoon) — (a good quality pure vanilla extract makes a difference; I like Nielsen-Massey)
- All-purpose flour (½ cup plus 1 tablespoon or 75g) — (spoon and level it for the best results; don’t scoop directly from the bag)
- Baking soda (¼ teaspoon) — (helps the cookies spread just enough without becoming flat)
- Salt (¼ teaspoon) — (balances the sweetness and enhances the chocolate flavor)
- Semi-sweet chocolate chips (⅓ cup or 60g) — (I recommend Ghirardelli for that perfect melt; you can also chop a chocolate bar for bigger puddles of chocolate)
A quick note on substitutions: You can use salted butter if that’s all you have, just reduce the added salt to ⅛ teaspoon. For a dairy-free version, use a plant-based butter stick (like Miyoko’s) and ensure your chocolate chips are dairy-free. And if you’re out of brown sugar, mix 2 tablespoons of white sugar with 1 teaspoon of molasses as a quick substitute.
Equipment Needed
You don’t need a fancy kitchen setup for these cookies. Here’s what you’ll need:
- Medium mixing bowl (one bowl only—minimal cleanup!)
- Whisk (for combining wet ingredients; a fork works in a pinch)
- Rubber spatula or wooden spoon (for folding in the dry ingredients and chocolate chips)
- Measuring cups and spoons (for accuracy; I’ve learned the hard way that eyeballing it leads to flat cookies)
- Baking sheet (a standard half-sheet pan works great)
- Parchment paper or silicone baking mat (prevents sticking and helps with even browning)
- Cookie scoop or tablespoon (for evenly sized cookies; a 1.5-tablespoon scoop is my go-to)
- Cooling rack (optional but recommended for crispy edges)
If you don’t have a cookie scoop, just use two spoons to portion the dough. And if you’re out of parchment paper, you can lightly grease the baking sheet with butter or non-stick spray. I’ve done it before, and it works fine—just keep an eye on the bottoms so they don’t burn.
Preparation Method
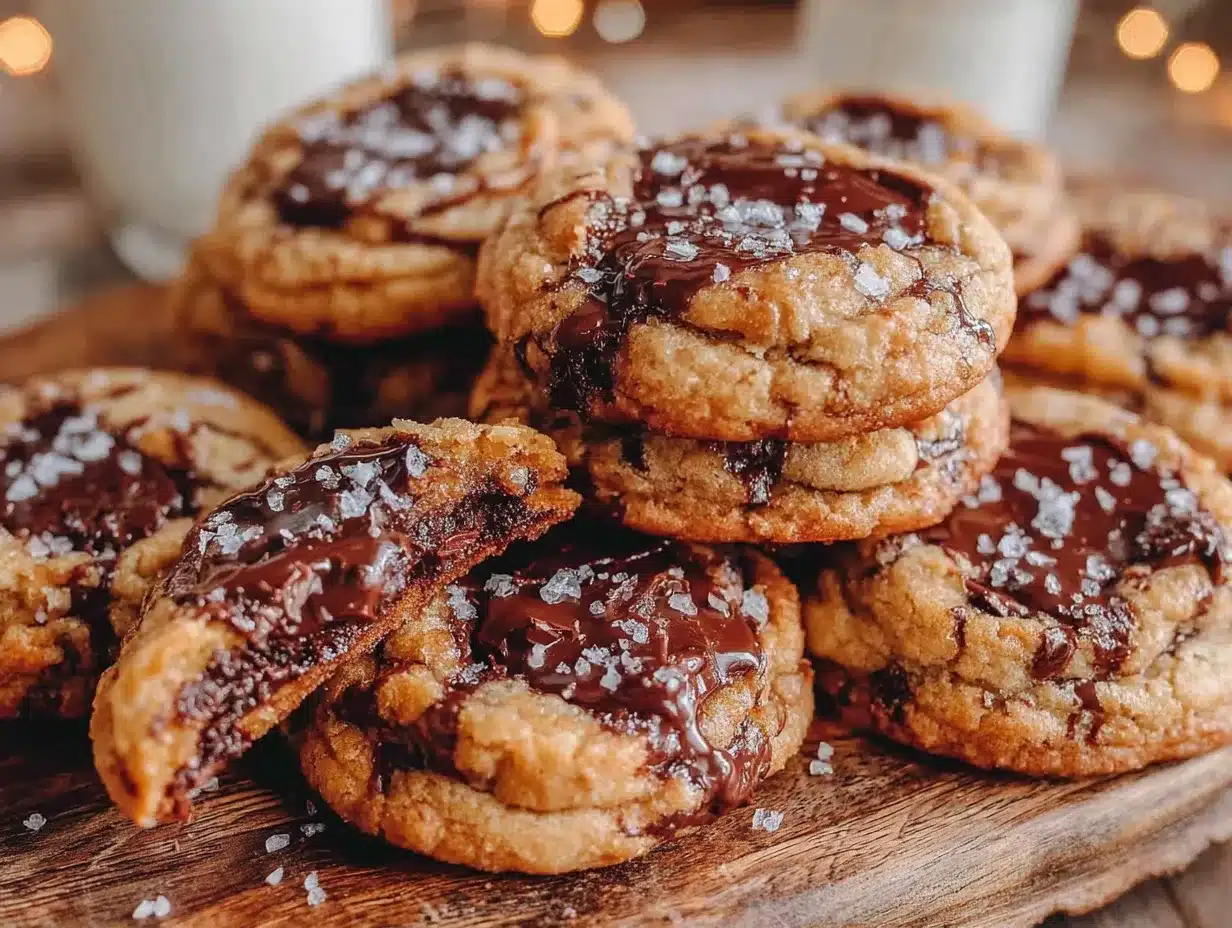
These cookies come together in about 15 minutes, start to finish. Here’s how to do it:
- Preheat your oven to 350°F (175°C). Line a baking sheet with parchment paper or a silicone mat. This ensures the cookies don’t stick and helps them bake evenly.
- Melt the butter. In a medium microwave-safe bowl, melt 4 tablespoons of unsalted butter in 20-second bursts until just melted. Let it cool for 2 minutes—you don’t want it hot, just warm. (Hot butter will cook the egg yolk and change the texture.)
- Mix the sugars and butter. Add the ¼ cup packed brown sugar and 2 tablespoons granulated sugar to the melted butter. Whisk vigorously for about 30 seconds until the mixture looks like wet sand and has slightly lightened in color. This step is important—it helps dissolve the sugar for that chewy texture.
- Add the egg yolk and vanilla. Drop in the egg yolk and ½ teaspoon vanilla extract. Whisk until smooth and glossy, about 20 seconds. The mixture should look thick and almost like a caramel sauce.
- Add the dry ingredients. Sprinkle the ½ cup plus 1 tablespoon flour, ¼ teaspoon baking soda, and ¼ teaspoon salt over the wet mixture. Use a rubber spatula to fold everything together until just combined. Stop as soon as you don’t see any more flour streaks—overmixing makes tough cookies.
- Fold in the chocolate chips. Add the ⅓ cup chocolate chips and fold gently until evenly distributed. The dough will be soft and slightly sticky, which is exactly what you want. (If it feels too sticky to handle, pop it in the fridge for 5 minutes, but honestly, it’s usually fine.)
- Portion the dough. Use a 1.5-tablespoon cookie scoop or two spoons to scoop 6 equal balls of dough. Place them on the prepared baking sheet, spacing them about 2 inches apart. Don’t flatten them—they’ll spread on their own.
- Bake for 9-11 minutes. Bake until the edges are golden brown and the centers look slightly underdone and puffy. The tops should be set but still soft. (I usually pull them at the 10-minute mark for that perfect gooey center.)
- Cool on the baking sheet. Let the cookies rest on the hot baking sheet for 5 minutes. This allows them to finish setting up without overbaking. Then transfer to a cooling rack or eat them warm—no judgment here.
A quick sensory cue: when they’re done, your kitchen will smell like a warm hug—buttery, sweet, and slightly caramelized. The edges will be a deep golden brown, and the centers will look soft and slightly puffed.
Cooking Tips & Techniques
After making these cookies more times than I can count, I’ve picked up a few tricks that make a real difference:
Don’t skip the butter cooling step. I made this mistake once when I was in a rush. I used hot butter straight from the microwave, and the cookies spread into thin, greasy pucks. Letting the melted butter cool for just 2-3 minutes prevents this and gives you those thick, bakery-style cookies.
Use a light hand when mixing. Overmixing the dough develops gluten, which leads to tough, cakey cookies. Mix until you see the last flour streak disappear, then stop. It’s okay if there are a few tiny lumps—they’ll bake out.
Weigh your ingredients if you can. I know, I know, it sounds fussy. But flour is notoriously inconsistent when measured by volume. A cup of flour can weigh anywhere from 120g to 150g depending on how you scoop it. For this small batch, using the spoon-and-level method works fine, but a kitchen scale is a game-changer for consistency.
Pull them early. The biggest mistake people make with cookies is overbaking. Remember, cookies continue to cook on the hot baking sheet after you pull them out. Take them out when the centers still look slightly underdone and puffy. They’ll set up perfectly as they cool.
Room temperature ingredients matter. I know this recipe uses melted butter, but the egg yolk should be at room temperature. Cold yolk can seize the butter and make the dough lumpy. Just set your egg out 15 minutes before starting, or place it in a bowl of warm water for 5 minutes.
One failure I’ll never forget: I once tried to double this recipe and used a whole egg instead of two yolks. The cookies came out flat, cakey, and totally disappointing. The yolk-to-white ratio is crucial here—the yolk adds richness without the water content of the white. Learn from my mistakes!
Variations & Adaptations
One of the best things about this recipe is how versatile it is. Here are some variations I’ve tried and loved:
Double Chocolate Chip Cookies: Replace 1 tablespoon of the flour with 1 tablespoon of unsweetened cocoa powder. Use white chocolate chips or milk chocolate chips for a fun twist. The cookies come out with a deep, fudgy chocolate flavor that’s absolutely irresistible.
Gluten-Free Option: Substitute the all-purpose flour with a 1:1 gluten-free baking flour blend (I like Bob’s Red Mill). Add an extra tablespoon of flour to account for the different absorbency. The texture will be slightly more delicate, but they’re still delicious.
Nutty Crunch: Reduce the chocolate chips to ¼ cup and add 2 tablespoons of chopped toasted pecans or walnuts. Toast the nuts in a dry pan for 3-4 minutes before adding them for extra flavor. This version is perfect for fall baking.
Vegan Adaptation: Use 4 tablespoons of vegan butter (like Earth Balance), 2 tablespoons of unsweetened applesauce instead of the egg yolk, and dairy-free chocolate chips. The cookies will be slightly cakier but still very tasty.
Flavor Boost: Add ¼ teaspoon of cinnamon or a pinch of flaky sea salt on top before baking. The salt really makes the chocolate sing. I tried this on a whim one night, and now I can’t go back.
Serving & Storage Suggestions
These cookies are best enjoyed warm, when the chocolate is still melty and the edges are perfectly crisp. I like to serve them with a cold glass of milk or a hot cup of coffee for dipping. They’re also amazing crumbled over vanilla ice cream for an impromptu sundae.
For storage, let the cookies cool completely on a wire rack. Place them in an airtight container at room temperature for up to 3 days. I like to add a slice of bread to the container—it absorbs excess moisture and keeps the cookies soft. (Just replace the bread every day.)
To reheat, pop a cookie in the microwave for 10-15 seconds for that just-baked warmth. Or, for crispier edges, reheat in a 300°F oven for 3-5 minutes.
You can also freeze the unbaked dough. Scoop the dough balls onto a parchment-lined baking sheet and freeze until solid, then transfer to a freezer bag. Bake from frozen, adding 2-3 minutes to the baking time. This way, you’re always just 12 minutes away from fresh cookies.
One note on flavor development: these cookies are actually even better the next day. The flavors meld together overnight, and the texture becomes perfectly chewy. If you can resist eating them all immediately, they’re worth saving a few for tomorrow.
Nutritional Information & Benefits
Per cookie (based on 6 cookies): approximately 210 calories, 11g fat, 28g carbohydrates, 3g protein, 15g sugar. These are estimates and will vary based on exact ingredients used.
While these are definitely a treat, there are a few bright spots. The brown sugar provides a small amount of molasses, which contains iron and calcium. Dark chocolate chips (if you use 60% or higher) offer antioxidants and flavonoids that support heart health. And the butter provides vitamin A for eye health—though I wouldn’t call this a health food by any stretch.
For dietary considerations, this recipe is naturally vegetarian. It can be made gluten-free and vegan with the substitutions mentioned above. The main allergens are dairy (butter) and gluten (flour), so keep that in mind if you’re baking for others.
Personally, I believe in balance. These cookies are made with real ingredients, in a small batch, and they bring genuine joy. That counts for something, right?
Frequently Asked Questions
Can I make this recipe with all whole wheat flour?
Yes, but the cookies will be denser and less tender. I recommend using half whole wheat and half all-purpose flour for the best texture. The whole wheat adds a nice nutty flavor that pairs well with chocolate.
Why did my cookies spread too much?
This usually happens if the butter was too hot when you mixed it, or if you used too little flour. Make sure your melted butter has cooled for 2-3 minutes before adding the sugars. Also, be precise with your flour measurement—spoon it into the cup and level it off.
Can I double this recipe?
Absolutely! Just double all the ingredients and use 2 egg yolks instead of 1 whole egg. The baking time may increase by 1-2 minutes since you’ll have more cookies to bake. I often double it for parties.
How do I get bakery-style cookies with more height?
After scooping the dough, roll each ball into a tall cylinder shape rather than a round ball. This encourages the cookies to bake up thicker. Also, make sure your baking soda is fresh—old baking soda won’t give you enough lift.
Can I use milk chocolate chips instead of semi-sweet?
Yes, but the cookies will be significantly sweeter. I recommend reducing the granulated sugar to 1 tablespoon if you’re using milk chocolate. Personally, I prefer semi-sweet for that perfect balance of sweet and slightly bitter.
Conclusion
These cozy small-batch chocolate chip cookies are everything you want in a late-night treat—quick, easy, and absolutely delicious. No chilling, no fuss, just pure cookie satisfaction in under 20 minutes. Whether you’re craving a warm dessert after dinner, need a quick bake for unexpected guests, or just want to treat yourself on a quiet evening, this recipe delivers every single time.
I love this recipe because it reminds me that good things don’t have to be complicated. Sometimes the best creations come from a simple craving and a willingness to just go for it. The fact that it uses one bowl, no waiting, and basic pantry ingredients makes it almost too easy not to try.
I’d love to hear how yours turn out! Leave a comment below with your favorite variation or any tweaks you made. Did you add sea salt? Swap in dark chocolate chunks? Share your cookie success stories—they make my day. And if you’re feeling generous, share this recipe with a friend who needs a little cozy comfort in their life. Happy baking!
Pin This Recipe!
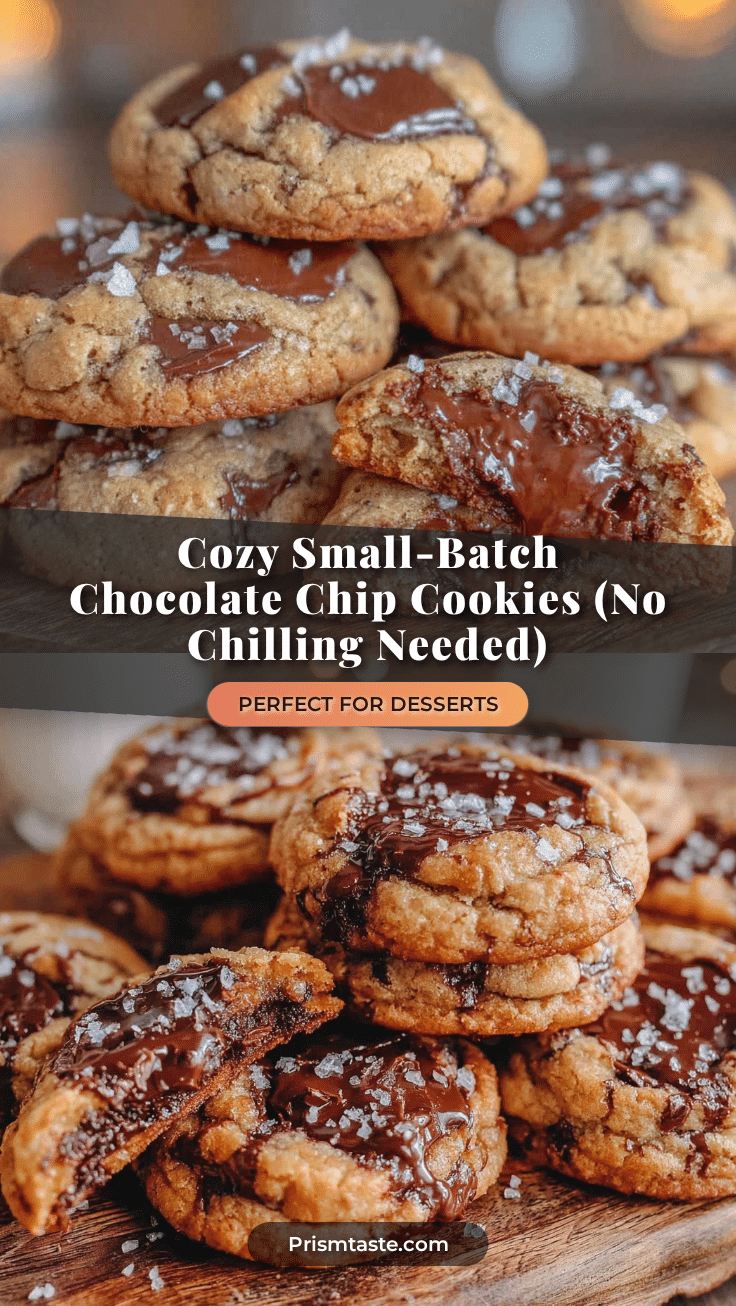
Cozy Small-Batch Chocolate Chip Cookies: Easy No-Chill Recipe

These thick, soft, and gooey chocolate chip cookies come together in under 20 minutes with no chilling required. Perfect for late-night cravings or a quick dessert, this small-batch recipe yields 6 perfect cookies with crispy edges and melty centers.
- Prep Time: 10 minutes
- Cook Time: 10 minutes
- Total Time: 20 minutes
- Yield: 6 cookies 1x
- Category: Dessert
- Cuisine: American
Ingredients
- 4 tablespoons (57g) unsalted butter, melted and slightly cooled
- 1/4 cup (50g) packed light brown sugar
- 2 tablespoons (25g) granulated sugar
- 1 large egg yolk, room temperature
- 1/2 teaspoon vanilla extract
- 1/2 cup plus 1 tablespoon (75g) all-purpose flour, spooned and leveled
- 1/4 teaspoon baking soda
- 1/4 teaspoon salt
- 1/3 cup (60g) semi-sweet chocolate chips
Instructions
- Preheat your oven to 350°F (175°C). Line a baking sheet with parchment paper or a silicone mat.
- In a medium microwave-safe bowl, melt the butter in 20-second bursts until just melted. Let it cool for 2 minutes.
- Add the brown sugar and granulated sugar to the melted butter. Whisk vigorously for about 30 seconds until the mixture looks like wet sand and has slightly lightened in color.
- Add the egg yolk and vanilla extract. Whisk until smooth and glossy, about 20 seconds.
- Sprinkle the flour, baking soda, and salt over the wet mixture. Fold with a rubber spatula until just combined—no flour streaks remain.
- Fold in the chocolate chips until evenly distributed. The dough will be soft and slightly sticky.
- Use a 1.5-tablespoon cookie scoop or two spoons to portion the dough into 6 equal balls. Place them on the prepared baking sheet, spacing about 2 inches apart. Do not flatten.
- Bake for 9-11 minutes, until the edges are golden brown and the centers look slightly underdone and puffy.
- Let the cookies cool on the baking sheet for 5 minutes, then transfer to a cooling rack or serve warm.
Notes
For best results, let melted butter cool for 2-3 minutes before mixing. Use room temperature egg yolk. Pull cookies from the oven when centers still look slightly underdone—they will continue to set on the hot baking sheet. Store in an airtight container at room temperature for up to 3 days; add a slice of bread to keep them soft. Unbaked dough can be frozen for up to 3 months.
Nutrition
- Serving Size: 1 cookie
- Calories: 210
- Sugar: 15
- Sodium: 150
- Fat: 11
- Saturated Fat: 7
- Carbohydrates: 28
- Fiber: 1
- Protein: 3
Keywords: small-batch chocolate chip cookies, no-chill cookies, easy cookie recipe, quick cookies, late-night cookies, soft chocolate chip cookies


