The cream cheese frosting bowl was scraped clean. Not the cake pan—the frosting bowl. My sister stood at the kitchen counter, finger hovering over the last smear of tangy sweetness, and said, “Next time, double the frosting.” That was the moment I knew these gingerbread cheesecake bars had officially become a thing in our house.
I had been tinkering with holiday desserts for years, trying to find something that felt special but didn’t require a pastry degree. You know how it is—Christmas gatherings come with unspoken pressure. You want to bring something that disappears, but you also don’t want to be up until midnight assembling a complicated layer cake. These bars came from that exact tension. I wanted the warm, spiced comfort of gingerbread and the rich, creamy luxury of cheesecake, all in one portable, sliceable bar. No water bath. No fussy crust.
The first batch was a happy accident. I had leftover gingersnap crumbs from another project and a block of cream cheese that needed using. I threw them together, crossed my fingers, and pulled out a pan of bars that smelled like Christmas morning. The gingerbread base was perfectly spiced—not too sweet, with just enough molasses depth. The cheesecake layer was silky and light, a beautiful contrast to the crunchy crust. And that cream cheese frosting? Honestly, it’s the kind of frosting you want to eat with a spoon. It sets just firm enough to pipe but stays luscious and soft.
These bars have become my go-to for holiday cookie exchanges, dessert tables, and quiet nights when I want something warm with my tea. They freeze beautifully, travel well, and somehow taste even better the next day. If you’re looking for a dessert that feels impressive without the stress, this is the one. Trust me on this one.
Why You’ll Love This Recipe
I’ve tested this recipe more times than I care to admit. Some batches were too crumbly, others too dense. But this version? It’s the Goldilocks of gingerbread cheesecake bars. Here’s why it works:
- No Water Bath Required — Traditional cheesecake can be intimidating with that steamy water bath situation. These bars bake low and slow, coming out perfectly creamy every single time without the fuss.
- Perfect for Make-Ahead Holidays — You can prep these two days in advance. The flavors actually deepen and meld together, making them taste even better on day two. That’s a game-changer when you’re juggling a million holiday tasks.
- Simple Pantry Ingredients — No weird specialty items here. Gingerbread spices, cream cheese, butter, sugar—you probably have most of this already. The gingersnap cookies are the one special buy, and they’re easy to find this time of year.
- Two Textures in Every Bite — The crunchy, spiced crust gives way to a silky cheesecake center, all topped with that tangy cream cheese frosting. It’s like having gingerbread cookies and cheesecake in one perfect bite.
- Portable and Party-Ready — Bars are so much easier to serve than a whole cheesecake. No slicing struggles, no cracked tops. Just neat, beautiful squares that everyone loves.
I’ve brought these to multiple holiday parties, and they always get that “who made these?” reaction. The combination of warm gingerbread spices with cool, creamy cheesecake is just something special. It’s familiar enough to feel comforting but different enough to stand out on a dessert table full of sugar cookies and fudge.
What Ingredients You Will Need
Let’s talk about what goes into these beauties. The ingredient list looks long, but it’s mostly pantry staples and holiday baking favorites. I’ve broken it down by component to keep things organized.
For the Gingersnap Crust
- 2 cups (about 200g) gingersnap cookie crumbs — I use Nabisco Ginger Snaps or store brand. You can crush them in a food processor or seal them in a bag and go to town with a rolling pin. Both work great.
- 5 tablespoons (70g) unsalted butter, melted — Salted butter works too if that’s what you have. Just skip the added salt in the crust.
- 2 tablespoons (25g) granulated sugar — This helps the crust hold together and adds a tiny bit of sweetness.
- Pinch of salt — Balances the sweetness and deepens the gingerbread flavor.
For the Gingerbread Cheesecake Filling
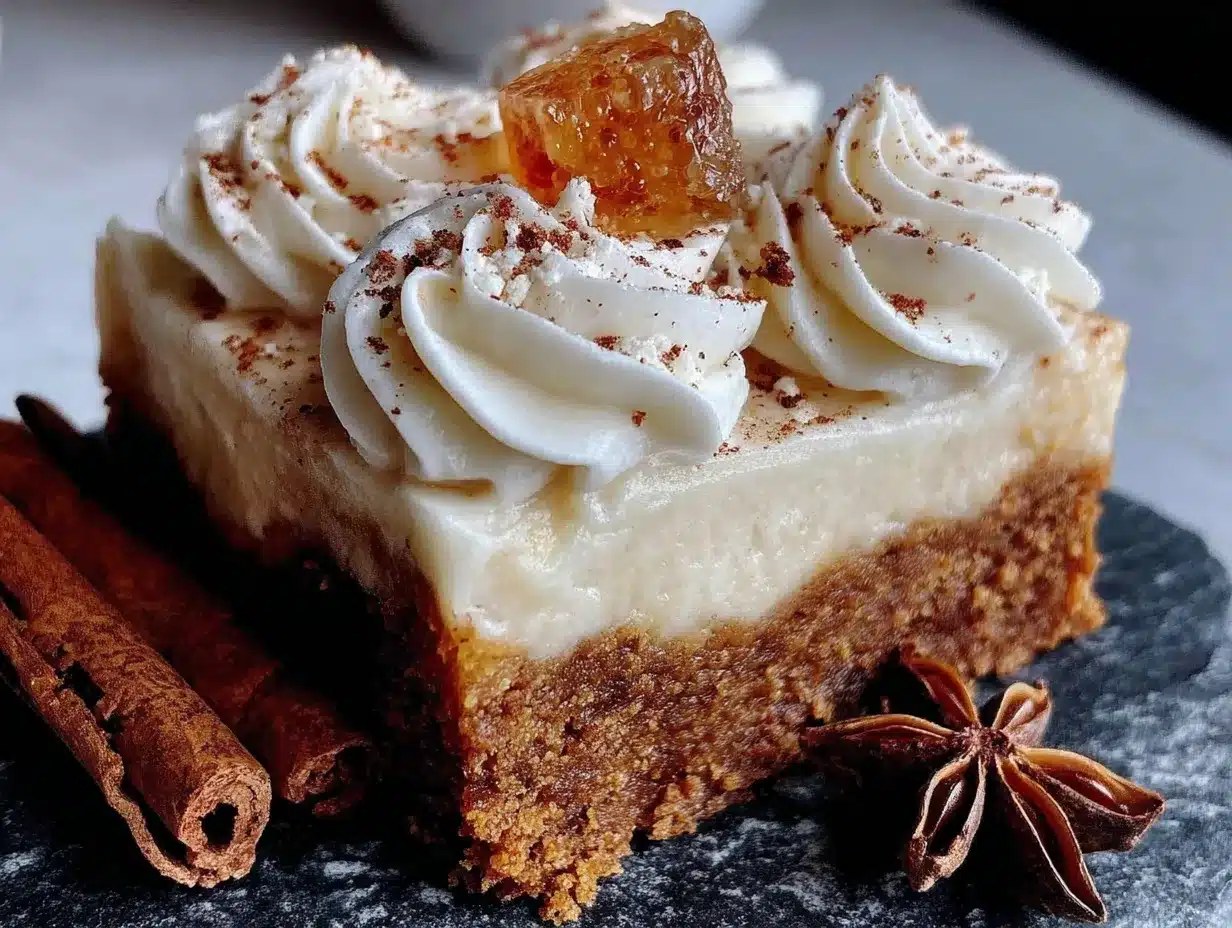
- 16 ounces (450g) cream cheese, softened to room temperature — Full-fat is non-negotiable here. Low-fat cream cheese has too much water and will make your filling runny. Let it sit out for at least an hour before starting.
- ½ cup (100g) granulated sugar — Just enough sweetness without overpowering the spices.
- ¼ cup (60ml) molasses — Use unsulphured molasses, not blackstrap. Blackstrap is too bitter and will throw off the flavor balance.
- 2 large eggs, room temperature — Cold eggs will seize up the cream cheese mixture. Pop them in warm water for 5 minutes if you forgot to take them out.
- 1 teaspoon vanilla extract — Pure vanilla makes a difference here. The fake stuff has a chemical aftertaste that stands out in a simple recipe.
- 1 tablespoon all-purpose flour — This little bit of flour stabilizes the cheesecake and prevents cracking.
- 2 teaspoons ground ginger — Freshly ground if you can. It makes the gingerbread flavor pop.
- 1 teaspoon ground cinnamon — The backbone of any gingerbread recipe.
- ½ teaspoon ground cloves — A little goes a long way. It adds that deep, almost peppery warmth.
- ¼ teaspoon ground nutmeg — Freshly grated is amazing, but pre-ground works fine.
For the Cream Cheese Frosting
- 4 ounces (113g) cream cheese, softened — Same rule applies—full-fat, room temperature.
- ¼ cup (56g) unsalted butter, softened — Let it soften naturally. Microwaved butter that’s even slightly melted will make your frosting soupy.
- 1½ cups (180g) powdered sugar — Sift it if you want ultra-smooth frosting. I’m usually too lazy and it still works fine.
- ½ teaspoon vanilla extract — Enhances the cream cheese flavor beautifully.
- Pinch of salt — Trust me on this. It makes the frosting taste more like cream cheese and less like sugar.
For Garnish (Optional but Pretty)
- 2 tablespoons crushed gingersnap cookies — For sprinkling on top.
- Fresh rosemary sprigs — They look like little Christmas trees and make the bars feel fancy.
- Cinnamon sticks — Just for visual appeal on a serving platter.
Equipment Needed
You don’t need a professional bakery setup for these bars. Here’s what you’ll actually use:
- 9×9-inch square baking pan — This is the perfect size for bars with nice, thick layers. An 8×8 works too, but your bars will be slightly taller and may need an extra 5 minutes of baking.
- Parchment paper — Absolutely essential for easy removal. Cut two strips that overhang on opposite sides, creating a sling.
- Food processor or zip-top bag and rolling pin — For crushing those gingersnaps. I’ve done both methods and honestly, the bag-and-rolling-pin approach is oddly satisfying.
- Electric hand mixer or stand mixer — A hand mixer is perfect here. You want the cream cheese to be smooth but not overmixed, which can happen with a stand mixer if you walk away.
- Medium and large mixing bowls — One for the crust, one for the filling, one for the frosting.
- Spatula — A rubber spatula for scraping every last bit of cheesecake filling into the pan.
- Measuring cups and spoons — Accurate measurements matter in baking, especially with spices.
- Piping bag or zip-top bag — For piping the frosting prettily. A zip-top bag with the corner snipped off works like a charm.
I’ve made these bars in a glass pan, a metal pan, and even a disposable aluminum pan for gifting. They all work. The metal pan gives the crispiest crust edges, which I personally love.
Preparation Method
Alright, let’s get baking. I’ll walk you through every step, including what things should look and feel like along the way.
Step 1: Prep Your Pan and Preheat
Preheat your oven to 325°F (163°C). Line your 9×9 pan with parchment paper, leaving a 2-inch overhang on two opposite sides. This creates handles for lifting the bars out later. Lightly grease the parchment with butter or non-stick spray.
Step 2: Make the Gingersnap Crust
Pulse your gingersnap cookies in a food processor until you have fine crumbs. You need 2 cups total. If you’re doing the bag method, put the cookies in a zip-top bag, squeeze out the air, and go to town with a rolling pin. It’s a great stress reliever, honestly.
In a medium bowl, combine the crumbs, melted butter, sugar, and salt. Stir with a fork until every crumb is moistened. The mixture should look like wet sand and hold together when you squeeze it in your fist. If it crumbles apart, add another tablespoon of melted butter.
Press the mixture firmly into the bottom of your prepared pan. Use the flat bottom of a measuring cup or glass to really pack it down. Even pressing prevents air pockets and gives you a solid crust that won’t crumble when you cut the bars.
Bake the crust for 10 minutes at 325°F. It should be fragrant and just slightly darker around the edges. Set it on a wire rack to cool while you make the filling.
Step 3: Make the Cheesecake Filling
In a large bowl, beat the softened cream cheese with an electric mixer on medium speed until smooth and creamy. This takes about 2 minutes. Scrape down the sides and bottom of the bowl with your spatula.
Add the granulated sugar and beat for another minute until fully incorporated. The mixture should be light and fluffy with no graininess.
Add the molasses, vanilla extract, and all the spices—ginger, cinnamon, cloves, and nutmeg. Beat on low until combined. The color will turn a beautiful warm brown, and your kitchen will smell like the holidays.
Add the eggs one at a time, beating on low after each just until combined. Overbeating at this stage incorporates too much air, which can cause cracks. You want a smooth, uniform batter with no streaks of egg white.
Finally, sprinkle the flour over the batter and fold it in with your spatula. The flour helps stabilize the cheesecake and gives it a slightly firmer texture that holds up well in bar form.
Step 4: Assemble and Bake
Pour the cheesecake filling over the cooled crust. Spread it evenly with your spatula, reaching all the way to the corners. Give the pan a gentle tap on the counter to release any air bubbles.
Bake at 325°F for 30-35 minutes. The edges should be set and slightly puffed, but the center should still jiggle slightly when you gently shake the pan. That slight jiggle is your friend—it means the center will be silky and creamy, not dry and crumbly.
Turn off the oven and crack the door open. Let the bars sit in the cooling oven for 10 minutes. This gentle cooling helps prevent the dreaded crack across the top. Then transfer the pan to a wire rack and cool completely at room temperature.
Once cool, cover the pan with plastic wrap and refrigerate for at least 4 hours, preferably overnight. This is the hardest part of the recipe—waiting. But it’s crucial. The bars need time to set completely so you get clean, beautiful slices.
Step 5: Make the Cream Cheese Frosting
When the bars are fully chilled and set, make the frosting. In a medium bowl, beat the softened cream cheese and butter together until smooth and creamy. No lumps allowed here.
Add the powdered sugar, vanilla, and salt. Beat on low until the sugar is incorporated, then increase to medium and beat for 2 minutes until light and fluffy. The frosting should be thick enough to hold its shape but soft enough to spread or pipe easily.
If your frosting seems too soft, pop it in the fridge for 15 minutes to firm up. If it’s too stiff, add a teaspoon of milk or cream.
Step 6: Frost and Garnish
Lift the chilled bars out of the pan using the parchment paper sling. Peel back the paper from the edges. You can frost the whole top and slice, or pipe individual rosettes on each bar for a prettier presentation.
For piping, transfer the frosting to a piping bag fitted with a star tip, or snip the corner of a zip-top bag. Pipe a swirl on each bar, then sprinkle with crushed gingersnap crumbs. Add a tiny rosemary sprig for that holiday magazine look.
Cooking Tips & Techniques
After making these bars more times than I can count, here are the things I wish someone had told me:
Room temperature ingredients are not optional. I learned this the hard way. Cold cream cheese creates lumps that no amount of beating can fix. Cold eggs seize up the batter. Set everything out on the counter at least an hour before you start. Your future self will thank you.
Don’t overmix the filling. Once you add the eggs, mix on low speed and stop as soon as the streaks disappear. Overmixing incorporates too much air, which expands during baking and then collapses, causing cracks. I’ve had batches that looked like the Grand Canyon because I got distracted and kept mixing.
Use a hot knife for clean slices. Run your knife under hot water, dry it off, and make your cut. Wipe the blade clean between cuts. This gives you those gorgeous, bakery-style slices with clean edges and no smeared frosting.
The jiggle test is your friend. When you think the bars are done, gently shake the pan. The center should wobble like Jell-O, not ripple like liquid. If it ripples, give it 5 more minutes. If it’s completely firm, you’ve overbaked it and the texture will be dense.
Patience with chilling pays off. I know, I know—you want to eat them now. But cutting into warm or even room-temperature bars will give you a crumbly mess. The 4-hour minimum chill time allows the cheesecake to set properly and the flavors to meld. Overnight is even better. I’ve tested both, and overnight bars are noticeably creamier and more flavorful.
Variations & Adaptations
One of the best things about this recipe is how flexible it is. Here are some variations I’ve tried and loved:
Gluten-Free Version: Use gluten-free gingersnap cookies for the crust (they exist, I promise) and substitute the 1 tablespoon of flour in the filling with a gluten-free all-purpose blend. I’ve tested this with Bob’s Red Mill 1-to-1 and it works perfectly.
Pumpkin Spice Twist: Swap the molasses for pumpkin puree and add an extra tablespoon of flour. Reduce the ginger to 1 teaspoon and add ½ teaspoon of allspice. The texture is slightly lighter, almost like a pumpkin cheesecake with gingerbread crust. It’s amazing for Thanksgiving.
Chocolate Gingerbread Bars: Melt 4 ounces of dark chocolate and swirl it into the cheesecake filling before baking. The chocolate and gingerbread spices are a match made in heaven. I did this for a holiday party and they disappeared first.
Mini Bar Bites: Use a mini muffin tin lined with paper liners. Press a small amount of crust into each cup, fill with cheesecake batter, and bake for 12-15 minutes. Perfect for cookie trays or gift boxes. You’ll get about 24 mini bars.
Dairy-Free Adaptation: Use dairy-free cream cheese and butter alternatives. I’ve tested with Kite Hill cream cheese and Miyoko’s butter, and the results were surprisingly good. The texture is slightly less firm, so chill them overnight for best results.
Serving & Storage Suggestions
These bars are versatile little things. Here’s how to serve and store them:
Serving Temperature: I prefer them cold straight from the fridge. The cheesecake layer is firm and creamy, and the crust stays crunchy. If you prefer a softer texture, let them sit at room temperature for 10-15 minutes before serving.
Presentation Ideas: Arrange the bars on a white platter for that classic holiday look. Sprinkle extra crushed gingersnaps around the edges. Add fresh cranberries and rosemary sprigs for a pop of red and green. For gift giving, place bars in a parchment-lined tin and tie with twine.
Pairings: These bars love a hot cup of coffee, spiced chai, or mulled wine. For a dessert board, serve them alongside caramelized grilled peach crisp for a stunning spread. The warm, fruity notes of the peach crisp complement the spicy gingerbread beautifully.
Storage: Keep the bars in an airtight container in the refrigerator for up to 5 days. Place a sheet of parchment paper between layers if stacking. The frosting might smudge slightly, but the flavor stays perfect.
Freezing Instructions: These bars freeze like champions. Freeze them unfrosted or frosted—both work. Place the bars on a baking sheet and freeze until solid, about 2 hours. Transfer to a freezer-safe container with parchment between layers. They’ll keep for up to 3 months. Thaw in the refrigerator overnight before serving. If you froze them unfrosted, make the frosting fresh and pipe it on after thawing.
Flavor Development: Here’s a secret—these bars taste better on day two. The spices mellow and meld with the cream cheese, creating a deeper, more complex flavor. If you can resist eating them all on day one, you’re in for a treat on day two. I’ve also found that the small batch peach jam with lavender and honey makes an incredible topping for these bars. The floral sweetness cuts through the spice beautifully.
Nutritional Information & Benefits
Let’s be real—these are a treat, not a health food. But here’s the breakdown if you’re curious:
Per Bar (based on 16 servings): Approximately 320 calories, 18g fat (10g saturated), 55mg cholesterol, 210mg sodium, 36g carbohydrates, 1g fiber, 26g sugar, 5g protein.
Health Highlights: The ginger in this recipe isn’t just for flavor. Ginger has anti-inflammatory properties and can help with digestion, which is nice after a heavy holiday meal. Molasses contains iron, calcium, and magnesium—more than refined sugar, anyway. And the cream cheese provides a small amount of protein and calcium.
Dietary Considerations: This recipe contains dairy, gluten, and eggs. For gluten-free options, see the variations section. For dairy-free, use plant-based alternatives as mentioned. The bars are nut-free as written, making them safe for school events and holiday gatherings where allergies are a concern.
Portion Control: These bars are rich, so one is usually satisfying. Cut them into 16 squares for a reasonable serving size. If you’re bringing them to a party, cut them into 25 smaller squares so people can sample without overindulging.
Conclusion
These gingerbread cheesecake bars have become my signature holiday dessert, and I think they’ll become yours too. They’re everything I want in a holiday treat—warm spices, creamy texture, and that nostalgic gingerbread flavor that just feels like Christmas. But they’re also practical. No water bath, no complicated techniques, no last-minute stress. Just beautiful, delicious bars that make you look like you spent hours in the kitchen.
I love that this recipe lets you customize. Add chocolate, swap in pumpkin, go gluten-free—it all works. The base recipe is solid enough to handle your creativity. And honestly, that’s what cooking should be. A starting point that invites you to make it your own.
I’d love to hear how these turn out for you. Did you add a twist? Did they disappear at your holiday party? Drop a comment below and let me know. And if you’re looking for another cozy dessert to round out your holiday menu, you might enjoy this soft baked zucchini cookies with cream cheese frosting—they use a similar frosting technique and are perfect for using up that extra zucchini.
Happy baking, friends. May your kitchen smell like gingerbread and your heart feel full.
Frequently Asked Questions
Can I use store-bought gingersnap crumbs instead of crushing whole cookies?
Absolutely. Store-bought gingersnap crumbs work perfectly and save you a step. Just measure out 2 cups and proceed with the recipe. The texture might be slightly finer, which actually gives you an even more uniform crust.
Why did my cheesecake filling crack?
Cracks usually happen from overmixing, overbaking, or sudden temperature changes. Mix on low speed once you add the eggs, bake until the center is just slightly jiggly, and let the bars cool gradually in the turned-off oven. If cracks do appear, don’t worry—the cream cheese frosting covers them beautifully.
Can I make these bars without a food processor?
Yes, and you don’t need any special equipment. Place the gingersnap cookies in a sturdy zip-top bag, seal it, and crush them with a rolling pin or even the bottom of a heavy skillet. It takes a few extra minutes, but it’s oddly satisfying and works perfectly.
How far in advance can I make these bars?
You can make the bars up to 2 days ahead of time. Keep them covered in the refrigerator. Add the frosting and garnish on the day you plan to serve them for the prettiest presentation. The unfrosted bars also freeze well for up to 3 months.
Can I double this recipe for a larger crowd?
Yes! Double all the ingredients and bake in a 9×13-inch pan. The baking time will increase slightly—start checking at 35 minutes and add time as needed. You’ll get about 24 larger bars or 32 smaller ones from the doubled recipe.
Pin This Recipe!
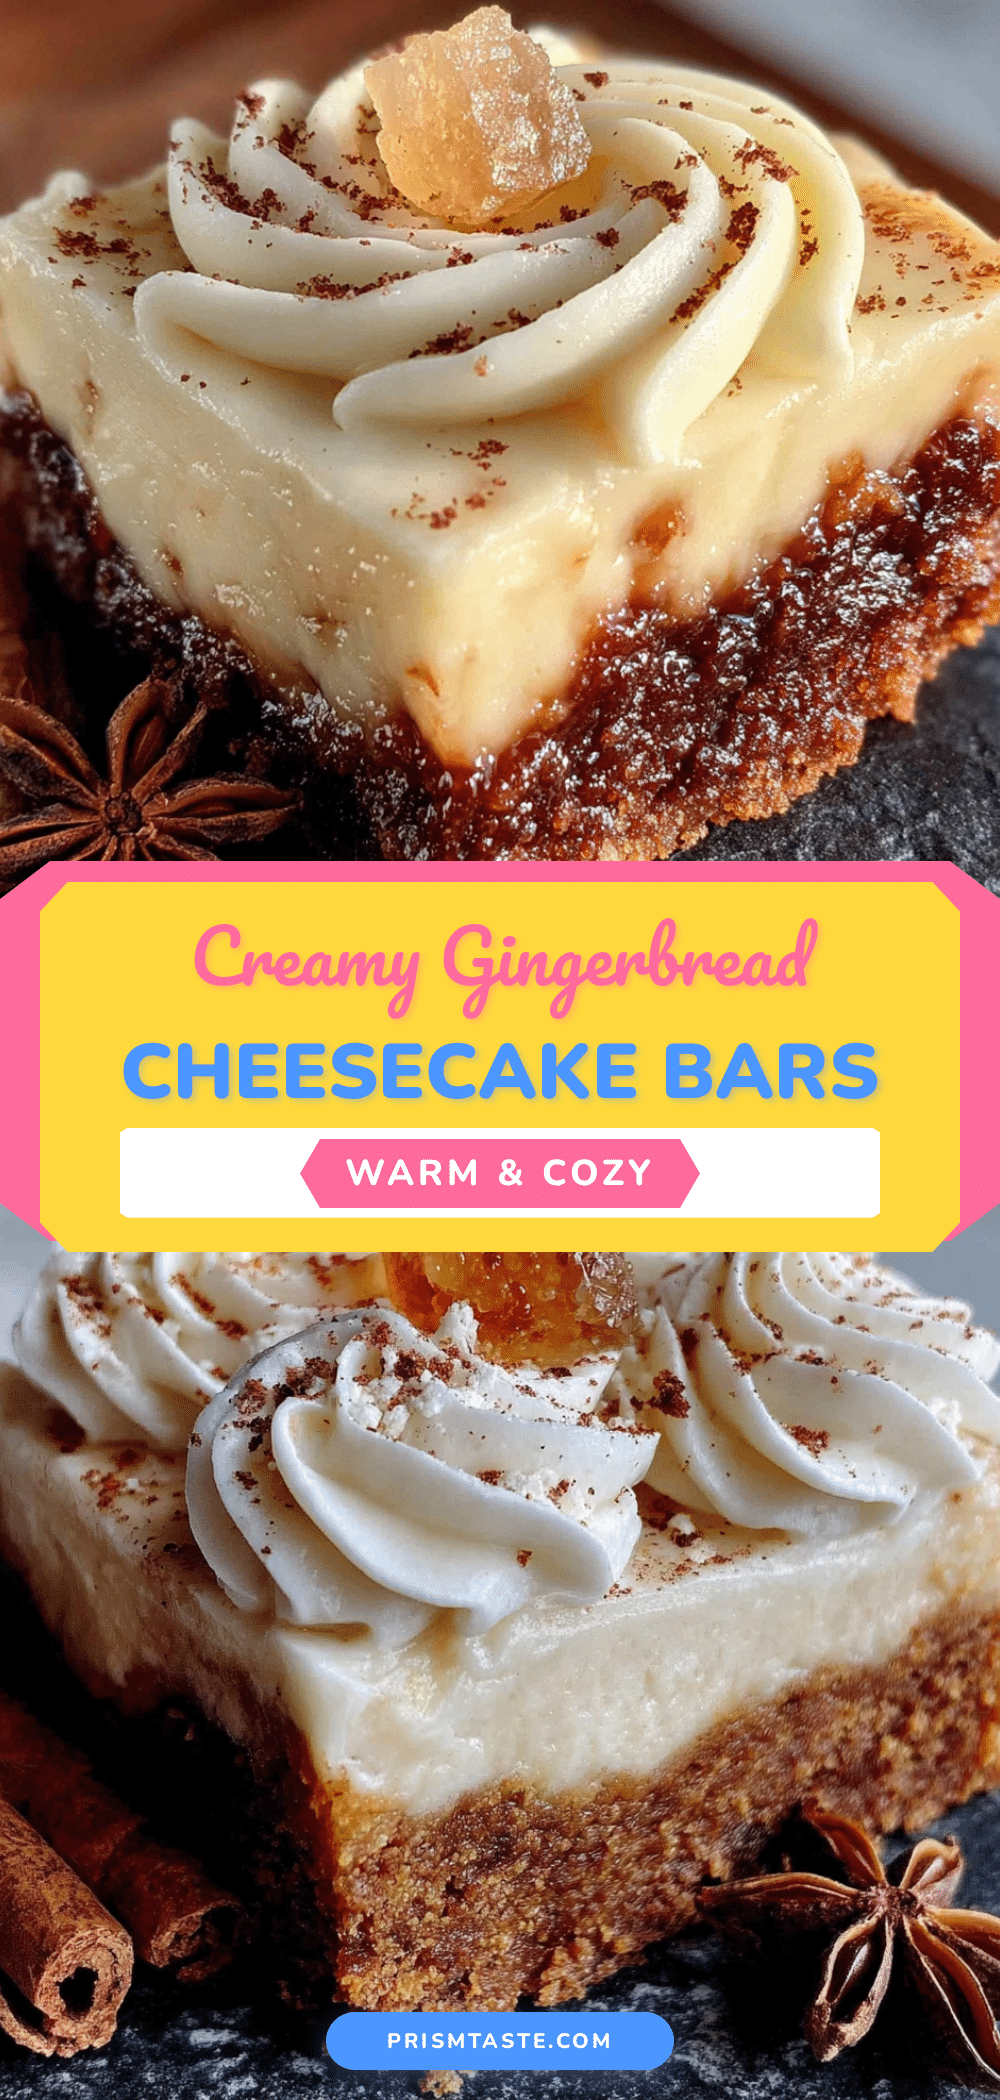
Perfect Gingerbread Cheesecake Bars Easy Holiday Dessert
These gingerbread cheesecake bars combine a crunchy gingersnap crust with a silky spiced cheesecake filling, topped with tangy cream cheese frosting. No water bath required, they’re perfect for holiday gatherings and taste even better the next day.
- Prep Time: 20 minutes
- Cook Time: 35 minutes
- Total Time: 4 hours 55 minutes (includes chilling)
- Yield: 16 servings 1x
- Category: Dessert
- Cuisine: American
Ingredients
- 2 cups (about 200g) gingersnap cookie crumbs
- 5 tablespoons (70g) unsalted butter, melted
- 2 tablespoons (25g) granulated sugar
- Pinch of salt
- 16 ounces (450g) cream cheese, softened to room temperature
- ½ cup (100g) granulated sugar
- ¼ cup (60ml) molasses
- 2 large eggs, room temperature
- 1 teaspoon vanilla extract
- 1 tablespoon all-purpose flour
- 2 teaspoons ground ginger
- 1 teaspoon ground cinnamon
- ½ teaspoon ground cloves
- ¼ teaspoon ground nutmeg
- 4 ounces (113g) cream cheese, softened
- ¼ cup (56g) unsalted butter, softened
- 1½ cups (180g) powdered sugar
- ½ teaspoon vanilla extract
- Pinch of salt
- 2 tablespoons crushed gingersnap cookies (for garnish)
- Fresh rosemary sprigs (optional)
- Cinnamon sticks (optional)
Instructions
- Preheat oven to 325°F (163°C). Line a 9×9-inch baking pan with parchment paper, leaving a 2-inch overhang on two opposite sides. Lightly grease the parchment.
- Make the crust: Pulse gingersnap cookies in a food processor until fine crumbs form. In a medium bowl, combine 2 cups crumbs, melted butter, 2 tablespoons sugar, and a pinch of salt. Stir until moistened like wet sand. Press firmly into the bottom of the prepared pan. Bake for 10 minutes, then cool on a wire rack.
- Make the filling: In a large bowl, beat 16 ounces softened cream cheese with an electric mixer on medium speed until smooth (about 2 minutes). Add ½ cup sugar and beat 1 minute. Add molasses, 1 teaspoon vanilla, ginger, cinnamon, cloves, and nutmeg; beat on low until combined. Add eggs one at a time, beating on low after each. Fold in 1 tablespoon flour with a spatula.
- Pour filling over cooled crust and spread evenly. Tap pan gently to release air bubbles. Bake at 325°F for 30-35 minutes until edges are set but center jiggles slightly. Turn off oven, crack door, and let bars cool inside for 10 minutes. Transfer to a wire rack and cool completely. Cover and refrigerate at least 4 hours or overnight.
- Make the frosting: In a medium bowl, beat 4 ounces softened cream cheese and ¼ cup softened butter until smooth. Add 1½ cups powdered sugar, ½ teaspoon vanilla, and a pinch of salt. Beat on low until combined, then on medium for 2 minutes until fluffy. If too soft, refrigerate 15 minutes.
- Lift chilled bars from pan using parchment sling. Frost the top or pipe individual rosettes. Garnish with crushed gingersnaps and rosemary sprigs if desired.
Notes
Room temperature ingredients are essential for a smooth filling. Do not overmix once eggs are added to prevent cracks. Use the jiggle test to check doneness. Chill at least 4 hours (overnight is best) for clean slices. Bars can be made 2 days ahead and freeze well for up to 3 months.
Nutrition
- Serving Size: 1 bar
- Calories: 320
- Sugar: 26
- Sodium: 210
- Fat: 18
- Saturated Fat: 10
- Carbohydrates: 36
- Fiber: 1
- Protein: 5
Keywords: gingerbread cheesecake bars, holiday dessert, Christmas bars, cream cheese frosting, gingersnap crust, easy cheesecake bars


