My husband took one bite, looked at the frosting mustache on his upper lip, and said, “Okay, you have to make these for everyone we know.” He wasn’t even a red velvet guy before this. Honestly, I think he just liked saying the word “velvet” with a mouthful of cake. But there it was — a grown man, mid-February, holding a tiny heart-shaped cupcake like it was the most important thing he’d eaten all year. I hadn’t planned on making them for Valentine’s Day at all. I was just testing a new recipe for a friend’s birthday, and I happened to have a heart-shaped silicone pan sitting in the back of my cabinet (impulse buy from a late-night scrolling session, you know how that goes).
But watching him go back for a second one — and then a third — I realized I had stumbled onto something. These weren’t just good cupcakes. They were the kind of dessert that makes people stop mid-conversation. The crumb is tender, almost velvety (there’s that word again), with that classic hint of cocoa and a tang from the buttermilk that cuts through the sweetness. And the cream cheese frosting? Let’s just say there’s a reason he had a mustache. The color is a deep, rich red that feels special without being over-the-top, and the heart shape just seals the deal. It’s not about being fancy. It’s about handing someone something that looks like you spent hours on it, when really, you just followed a good recipe.
And that’s the thing I love most about these perfect red velvet heart-shaped cupcakes for Valentine’s Day. They do the heavy lifting for you. The shape says “I care” before anyone even takes a bite. The flavor says “I know what I’m doing in the kitchen.” And the frosting says “I’m not sharing.” (Okay, maybe you share a little.) If you’ve been burned by dry red velvet before — the kind that crumbles into dust the second you look at it — this recipe is for you. We’re going to fix that. Together.
Why You’ll Love This Recipe
I have made a lot of red velvet cupcakes in my day. Some were dry. Some were bland. Some looked great but tasted like a chemistry experiment. This one is none of those things. Here is why these perfect red velvet heart-shaped cupcakes for Valentine’s Day are going to become your go-to:
- Quick & Easy: From start to finish, you’re looking at about 45 minutes. That includes baking and cooling time. The batter comes together in one bowl with a hand mixer — no stand mixer required, no complicated steps.
- Simple Ingredients: No weird additives or hard-to-find extracts. You probably have most of this in your pantry already. The only “special” ingredient is the red food coloring, and you can find that at any grocery store.
- Perfect for Valentine’s Day: Obviously. But also great for anniversaries, Galentine’s parties, bridal showers, or just a Tuesday when you want to remind someone you love them.
- Crowd-Pleaser: I’ve served these to kids, adults, and that one friend who “doesn’t really like cake.” They all disappear. Every single time.
- Unbelievably Delicious: The texture is soft and moist with a fine crumb. The cocoa flavor is subtle but present. And the cream cheese frosting is tangy, sweet, and perfectly spreadable.
What makes this recipe different from the rest? It’s the ratio of buttermilk to oil to flour. I tested this five times to get it right. Not too dense, not too fluffy. Just that perfect in-between where the cupcake holds its shape (important for the heart detail) but still melts in your mouth. The cream cheese frosting is also stabilized just enough that it pipes beautifully and holds its shape for hours — even at room temperature.
This is the kind of dessert that makes you close your eyes after the first bite. It’s comfort food reimagined — festive, but not fussy. Perfect for impressing someone without breaking a sweat. And honestly? It makes you look like a hero.
What Ingredients You Will Need
This recipe uses simple, wholesome ingredients to deliver that signature red velvet flavor and tender texture. Most of these are pantry staples, which makes it easy to whip up a batch whenever the mood strikes. Let’s break it down.
For the Cupcakes
- All-purpose flour (2 cups / 250g) – The base of the cake. Spoon and level it into your measuring cup for the most accurate result. Scooping directly can pack the flour and make the cupcakes dry.
- Granulated sugar (1 ½ cups / 300g) – Adds sweetness and helps with browning and moisture retention.
- Unsweetened cocoa powder (2 tablespoons / 15g) – Just enough to give that classic red velvet flavor without overpowering the cake. I prefer natural cocoa powder here, not Dutch-processed.
- Baking soda (1 teaspoon) – Helps the cupcakes rise and creates a tender crumb.
- Salt (½ teaspoon) – Balances the sweetness and enhances the chocolate flavor.
- Vegetable oil (¾ cup / 180ml) – Keeps the cupcakes incredibly moist. You can use canola or any neutral oil. Do not substitute with melted butter here — the oil is key for the texture.
- Buttermilk (1 cup / 240ml) – This is non-negotiable for the tangy flavor and tender crumb. If you don’t have buttermilk, you can make a quick substitute by adding 1 tablespoon of white vinegar or lemon juice to 1 cup of milk. Let it sit for 5 minutes before using.
- Large eggs (2, room temperature) – Room temperature eggs emulsify better into the batter, creating a smoother, more even crumb.
- White vinegar (1 teaspoon) – Reacts with the baking soda to help the cupcakes rise and also enhances the red color.
- Vanilla extract (1 ½ teaspoons) – Adds warmth and depth to the flavor profile.
- Red food coloring (2 tablespoons or 30ml) – I recommend using a gel-based food coloring for the most vibrant red without thinning the batter. Liquid food coloring works, but you may need a bit more to achieve the same intensity.
For the Cream Cheese Frosting
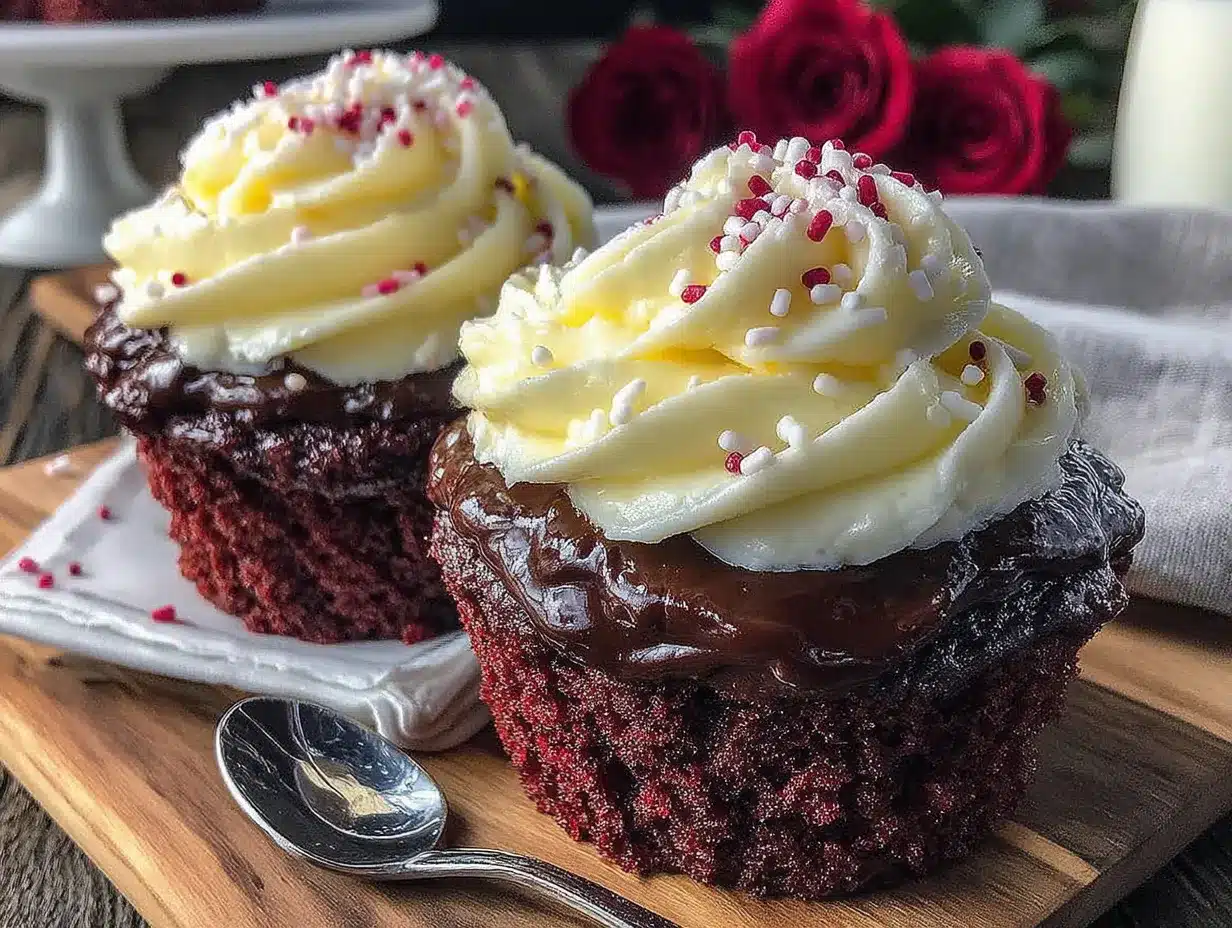
- Cream cheese (8 oz / 226g, softened) – Use full-fat block cream cheese, not the spreadable kind in a tub. It has less water content and makes a sturdier frosting.
- Unsalted butter (½ cup / 113g, softened) – Adds richness and helps stabilize the frosting.
- Powdered sugar (3 cups / 360g) – Sifted to avoid lumps. You can adjust the amount slightly depending on how sweet you like your frosting.
- Vanilla extract (1 teaspoon) – Enhances the flavor.
- Pinch of salt – Balances the sweetness.
For Decoration (Optional)
- Heart-shaped sprinkles, red sanding sugar, or fresh raspberries for garnish.
Ingredient Tip: I have tested this recipe with both gel and liquid food coloring, and I personally prefer gel. It gives a richer, more dramatic red without making the batter too runny. If you are sensitive to food dyes, you can use a natural red coloring made from beet juice, but note that the color will be more of a deep pink than a true red.
Equipment Needed
You don’t need a ton of fancy equipment for these perfect red velvet heart-shaped cupcakes for Valentine’s Day, but a few key tools make the process much smoother.
- Heart-shaped cupcake pan – This is the star of the show. You can find silicone or metal heart-shaped pans online or at most kitchen supply stores. If you don’t have one, you can use a standard 12-cup muffin pan and just frost the cupcakes in a heart shape using a piping bag (more on that in the variations section).
- Electric hand mixer or stand mixer – A hand mixer works perfectly fine for this recipe. No need for a stand mixer unless you want one.
- Mixing bowls – You’ll need one large bowl for the dry ingredients and another for the wet ingredients.
- Measuring cups and spoons – Accurate measurements are crucial for baking.
- Rubber spatula – For scraping down the sides of the bowl and folding in the last bits of flour.
- Piping bags and a star tip (Wilton 1M or similar) – For that gorgeous rosette swirl on top. You can also use a zip-top bag with the corner snipped off in a pinch.
- Cooling rack – Helps the cupcakes cool evenly and prevents the bottoms from getting soggy.
- Toothpicks – For testing doneness.
Budget Tip: Silicone heart-shaped pans are usually under $15 and last for years. If you are just starting out, a standard muffin pan with paper liners works too — just use a heart-shaped cookie cutter to cut the cooled cupcakes into hearts, or pipe the frosting into a heart shape on top.
Preparation Method
Let’s get baking. This method is broken down into clear steps so you can follow along without any guesswork. I’ve included visual cues and timing estimates to help you know exactly what to look for at each stage.
Step 1: Preheat and Prep
Preheat your oven to 350°F (175°C). Grease your heart-shaped cupcake pan generously with butter or non-stick spray, even if it’s a non-stick pan. I learned this the hard way — heart shapes have nooks and crannies that love to hold onto batter. If you are using a standard pan, line it with paper cupcake liners.
Step 2: Mix the Dry Ingredients
In a large mixing bowl, whisk together the flour, sugar, cocoa powder, baking soda, and salt. Make sure the cocoa powder is fully incorporated — you don’t want any brown streaks in your red batter later. Set this aside.
Step 3: Combine the Wet Ingredients
In a separate bowl or a large liquid measuring cup, whisk together the vegetable oil, buttermilk, eggs, vinegar, vanilla extract, and red food coloring. Whisk until the mixture is smooth and uniformly red. If you are using gel food coloring, you may need to stir a little more vigorously to get it fully dissolved.
Step 4: Make the Batter
Pour the wet ingredients into the bowl with the dry ingredients. Using your hand mixer on low speed (or a spatula if you prefer), mix until just combined. Do not overmix. You want to stop as soon as you see no more streaks of flour. Overmixing at this stage will develop the gluten and make your cupcakes tough. The batter will be slightly thick but pourable.
Step 5: Fill the Pan
Using a cookie scoop or a spoon, divide the batter evenly among the heart-shaped cavities. Fill each one about ⅔ to ¾ full. Do not overfill — these cupcakes rise nicely, and you want them to keep their heart shape without spilling over the edges. If you have extra batter, you can bake a few mini cupcakes on the side.
Step 6: Bake
Bake for 15 to 18 minutes, or until a toothpick inserted into the center of a cupcake comes out clean or with just a few moist crumbs. The tops should spring back when lightly touched. Heart-shaped pans sometimes bake a little faster than standard round pans because of the shape, so start checking at the 15-minute mark.
Step 7: Cool Completely
Let the cupcakes cool in the pan for 5 minutes. Then, carefully transfer them to a wire cooling rack to cool completely. This is crucial. If you try to frost them while they are even slightly warm, the cream cheese frosting will melt and slide right off. Trust me, I have a sad photo of a melted cupcake to prove it.
Step 8: Make the Frosting
While the cupcakes are cooling, make the cream cheese frosting. In a large bowl, beat the softened cream cheese and butter together with an electric mixer until smooth and creamy — about 2 minutes. Scrape down the sides of the bowl. Add the vanilla extract and a pinch of salt, then beat again. Gradually add the sifted powdered sugar, one cup at a time, mixing on low speed until combined. Once all the sugar is in, increase the speed to medium-high and beat for 2 to 3 minutes until the frosting is light, fluffy, and spreadable.
Step 9: Frost and Decorate
Fit a piping bag with a star tip (I like Wilton 1M for rosettes). Fill the bag with the cream cheese frosting. Starting at the center of each heart-shaped cupcake, pipe a spiral outward to create a rosette that covers the top. Finish with a small swirl in the center. Top with heart-shaped sprinkles, a dusting of red sanding sugar, or a fresh raspberry if you’re feeling fancy.
Cooking Tips & Techniques
I have made enough red velvet cupcakes to fill a small bakery, and I have made every mistake in the book. Here are the tips I wish someone had told me from the start.
- Room temperature ingredients matter. I know it’s annoying to wait for eggs and cream cheese to come to room temperature, but it makes a real difference. Cold ingredients don’t emulsify as well, which can lead to a denser, less tender crumb. Leave your eggs and cream cheese on the counter for about 30 minutes before you start.
- Don’t overmix the batter. This is the number one mistake I see. Mix until the flour is just incorporated. A few small lumps are totally fine. Overmixing develops gluten, and gluten makes cupcakes tough and rubbery.
- Use a cookie scoop for even sizing. A #40 cookie scoop (about 1.5 tablespoons) is perfect for filling heart-shaped cavities evenly. It also keeps your hands clean and ensures all your cupcakes bake at the same rate.
- Let the cupcakes cool completely before frosting. I cannot stress this enough. Even a slightly warm cupcake will turn your beautiful cream cheese frosting into a puddle. If you are in a hurry, you can pop the cooled cupcakes in the fridge for 15 minutes to speed things up.
- Stabilize your frosting. Cream cheese frosting can be soft, especially in warm weather. If you are making these ahead of time or serving them at a party, add ¼ cup of powdered sugar more than the recipe calls for. This helps the frosting hold its shape longer without being overly sweet.
- Test with a toothpick, not your eyes. The red color can be deceiving. You might think the cupcakes are underdone because the crumb looks dark, but the toothpick test is the only reliable way to check. Insert it into the thickest part of the cupcake — if it comes out clean, they’re done.
Variations & Adaptations
One of the best things about this recipe is how flexible it is. Here are some ways to make it your own.
- Gluten-Free Version: Substitute the all-purpose flour with a 1:1 gluten-free baking flour blend that contains xanthan gum. I’ve tested this with King Arthur’s Measure for Measure blend, and it works beautifully. The texture is slightly more delicate, so handle the cupcakes gently when removing them from the pan.
- Dairy-Free Version: Use a plant-based buttermilk (1 cup of unsweetened almond or oat milk mixed with 1 tablespoon of vinegar) and a dairy-free cream cheese alternative. Miyoko’s and Violife both make excellent dairy-free cream cheeses that work well in frosting.
- Chocolate Lover’s Twist: Increase the cocoa powder to 3 tablespoons for a more pronounced chocolate flavor. This will darken the red slightly, so you may want to add an extra teaspoon of red food coloring to compensate.
- No Heart-Shaped Pan: If you don’t have a heart-shaped pan, use a standard muffin pan with paper liners. Once the cupcakes are baked and cooled, use a small heart-shaped cookie cutter to stamp out a heart from the center of each cupcake top. Or, simply pipe the frosting into a heart shape on top of a round cupcake — it’s easier than it sounds and looks just as cute.
- Spiced Red Velvet: Add ½ teaspoon of cinnamon and a pinch of nutmeg to the dry ingredients for a warm, cozy twist. This pairs beautifully with the cream cheese frosting and is perfect for fall or winter holidays.
I once tried a version with beet puree instead of food coloring. It was… interesting. The color was more of a dusty rose, and the cupcakes had a slightly earthy flavor. Not my favorite, but if you are committed to natural coloring, it’s worth a try. Just reduce the buttermilk by ¼ cup to account for the extra moisture from the beets.
Serving & Storage Suggestions
These perfect red velvet heart-shaped cupcakes for Valentine’s Day are best served at room temperature. The cream cheese frosting softens slightly, and the cake is at its most tender. If you have refrigerated them, let them sit out for about 20 minutes before serving.
Presentation Ideas: Arrange the cupcakes on a tiered cake stand for a bakery-worthy display. Sprinkle a few extra heart-shaped sprinkles around the base of the stand. For a Valentine’s Day party, place them on a pink or red doily-lined platter. They also look stunning arranged in a heart-shaped pattern on a large serving board.
What to Serve With Them: A glass of cold milk is the classic pairing. For an adult twist, try them with a cup of hot coffee, a latte, or even a glass of rosé. The tangy cream cheese frosting also pairs surprisingly well with a fruity sparkling wine like Prosecco.
Storage Instructions: Store unfrosted cupcakes in an airtight container at room temperature for up to 2 days. Frosted cupcakes should be stored in the refrigerator in an airtight container for up to 4 days. The cream cheese frosting needs to be kept cold, but the cake will stay moist because of the oil in the recipe.
Freezer Instructions: You can freeze the unfrosted cupcakes for up to 3 months. Wrap each one individually in plastic wrap, then place them in a freezer-safe bag. When you’re ready to serve, thaw them at room temperature (still wrapped) for about 2 hours, then frost as usual. The frosting can also be frozen in a piping bag for up to 1 month — just thaw it in the refrigerator overnight and give it a quick whip before using.
Reheating Tip: These cupcakes are delicious at room temperature, but if you want a warm, gooey experience, pop an unfrosted cupcake in the microwave for 10 seconds. Add the frosting after warming.
One thing I love about this recipe is that the flavors actually get better after a day in the fridge. The cake absorbs more moisture, and the tang from the buttermilk and cream cheese melds together beautifully. So don’t be afraid to make them a day ahead.
Nutritional Information & Benefits
Let’s be real — these are cupcakes, not kale salad. But that doesn’t mean they can’t have a few redeeming qualities. Here’s a rough estimate of the nutritional values per cupcake (based on 12 servings, frosted):
| Nutrient | Amount per Cupcake |
|---|---|
| Calories | ~420 |
| Total Fat | 22g |
| Saturated Fat | 9g |
| Carbohydrates | 54g |
| Sugar | 40g |
| Protein | 5g |
| Calcium | 4% DV |
| Iron | 6% DV |
Health Benefits: The buttermilk adds a small amount of calcium and probiotics (if using cultured buttermilk). Cocoa powder contains antioxidants called flavonoids, which can support heart health. And the cream cheese provides a bit of protein and calcium. Okay, I’m reaching. But hey, everything in moderation, right?
Dietary Considerations: This recipe contains gluten, dairy, and eggs. For a dairy-free version, see the variations section above. For a gluten-free version, use a 1:1 gluten-free flour blend. This recipe is not suitable for vegan diets without significant modifications.
Allergen Note: Red food coloring can cause reactions in some people, especially those with sensitivities to artificial dyes. If this is a concern, use a natural red coloring from beet juice or skip the coloring altogether — the cupcakes will be a light brown color but will still taste delicious.
My personal philosophy? Dessert is supposed to be a treat. These cupcakes are not an everyday food, and they don’t need to be. They are for celebrations, for showing love, for making someone’s day a little brighter. And that has its own kind of nutritional value.
Frequently Asked Questions
Can I make these cupcakes without a heart-shaped pan?
Absolutely. Use a standard 12-cup muffin pan with paper liners. Once the cupcakes are baked and cooled, you can either pipe the frosting into a heart shape on top or use a small heart-shaped cookie cutter to cut the centers of the cupcakes into hearts. Both methods work great and look adorable.
Why did my red velvet cupcakes turn out dry?
Dry red velvet is usually a result of overmixing the batter or overbaking. Mix the wet and dry ingredients together only until no streaks of flour remain. And start checking for doneness at the 15-minute mark. A toothpick inserted into the center should come out with a few moist crumbs, not completely clean and dry.
Can I use liquid food coloring instead of gel?
Yes, you can. Liquid food coloring is more diluted than gel, so you may need to use 3 to 4 tablespoons to achieve the same vibrant red color. Just be aware that adding more liquid can slightly thin the batter. If this happens, add an extra tablespoon of flour to compensate.
How do I get my cream cheese frosting to be stiff enough for piping?
Make sure your cream cheese and butter are fully softened before you start. Beat them together until light and fluffy before adding the powdered sugar. If the frosting is still too soft, add an extra ¼ cup of sifted powdered sugar. You can also chill the frosting in the refrigerator for 15 minutes before piping to help it hold its shape.
Can I freeze these cupcakes with the frosting on?
I don’t recommend it. Cream cheese frosting can become grainy and watery when frozen and thawed. It’s much better to freeze the unfrosted cupcakes and make the frosting fresh when you’re ready to serve. The unfrosted cupcakes freeze beautifully for up to 3 months.
Conclusion
These perfect red velvet heart-shaped cupcakes for Valentine’s Day are more than just a pretty dessert. They are the kind of recipe that makes you feel like you’ve got it all figured out — the kind you pull out when you want to impress without the stress. The cake is soft, moist, and perfectly tangy. The cream cheese frosting is rich, creamy, and just sweet enough. And the heart shape? It’s the visual equivalent of a warm hug.
I love this recipe because it delivers on every level. It looks like you spent hours in the kitchen when really, the batter comes together in about 10 minutes. It tastes like a bakery cupcake, but it’s made with love and real ingredients in your own home. And it has that magical ability to make people smile — whether you’re serving them to your kids, your partner, your friends, or just yourself on a quiet February evening.
Don’t be afraid to make these your own. Add a pinch of cinnamon. Swap the sprinkles for crushed candy canes. Pipe the frosting into a different shape. The recipe is a starting point, but the love you put into it is what makes it special.
I would love to hear how these turn out for you. Drop a comment below and let me know if you tried any variations, or tag me in your photos on social media. There is nothing that makes my day like seeing someone else’s kitchen success. And if you are looking for another show-stopping dessert to add to your rotation, you might enjoy these perfect mummy cake pops — they are just as fun to make and perfect for any celebration.
Happy baking, friend. You’ve got this.
Pin This Recipe!
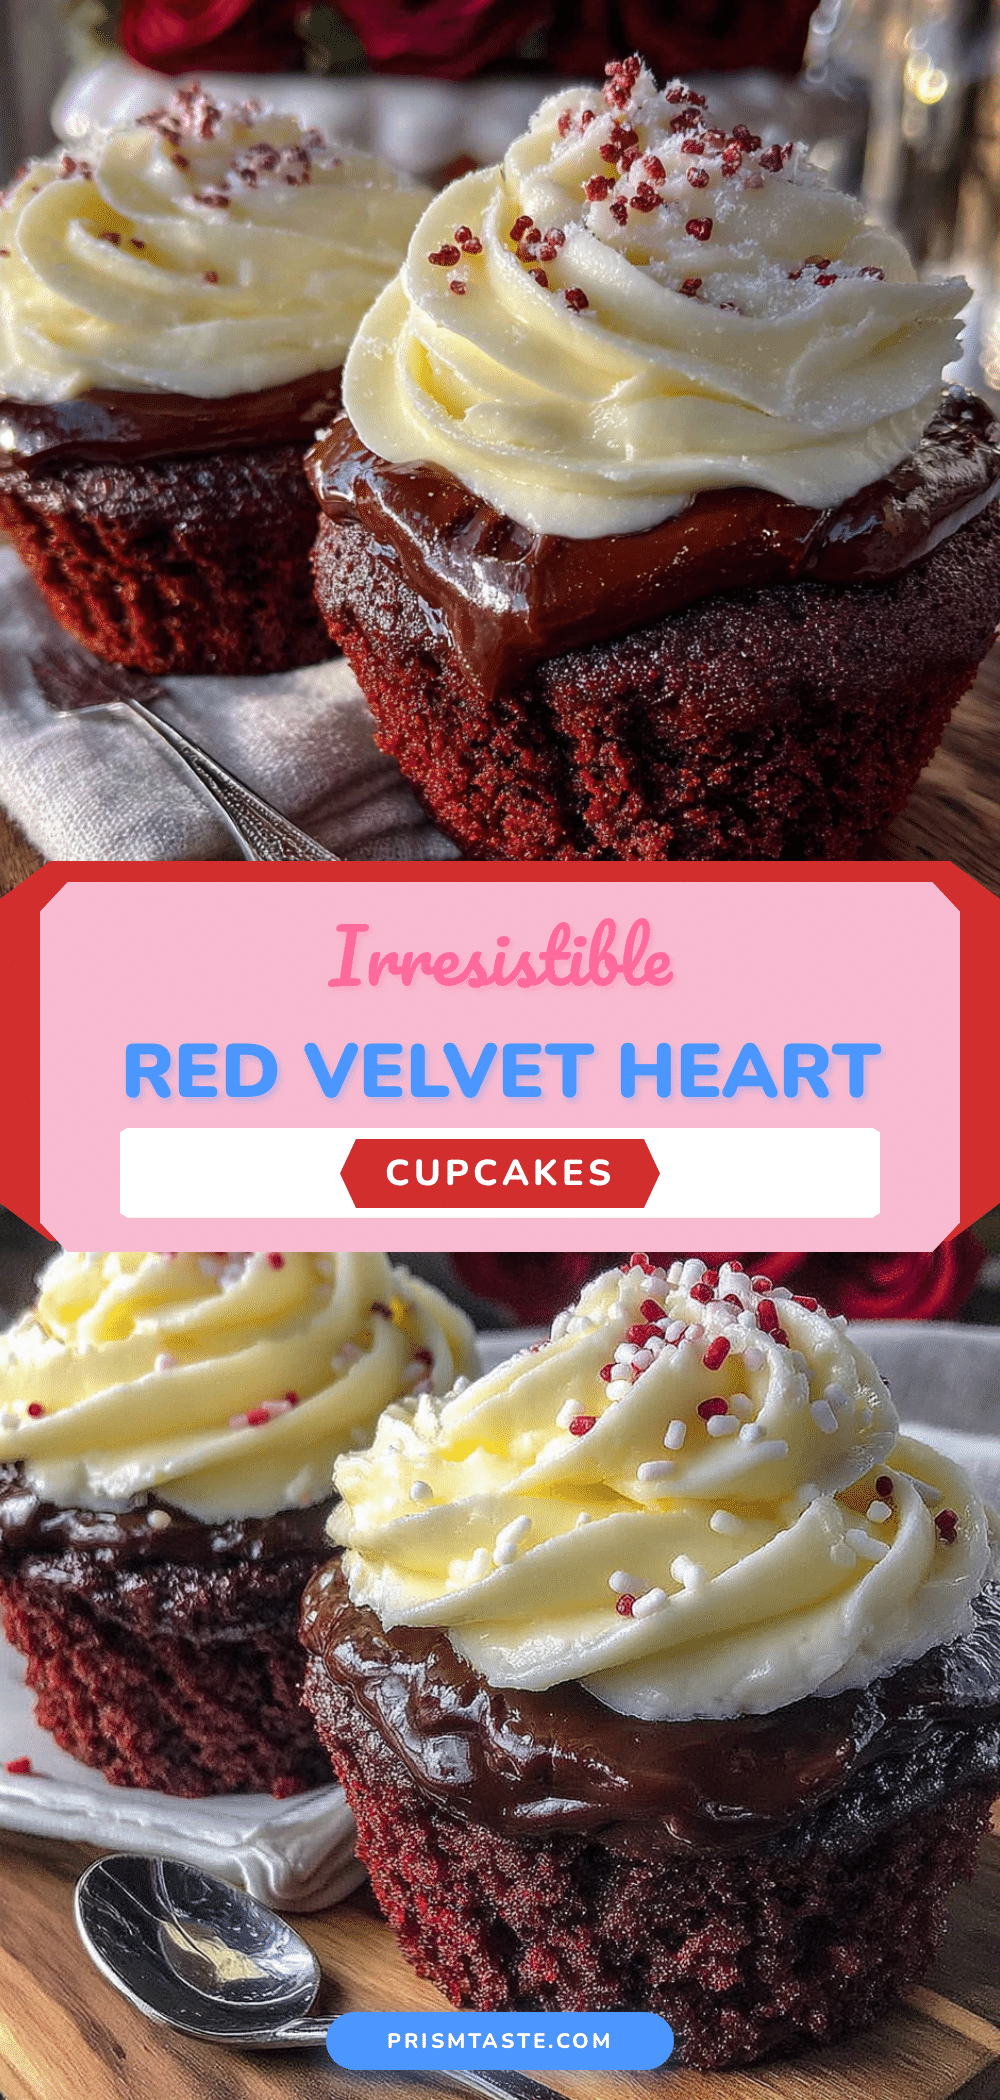
Perfect Red Velvet Heart Cupcakes – Easy Valentine Dessert
These perfect red velvet heart-shaped cupcakes for Valentine’s Day are soft, moist, and topped with a tangy cream cheese frosting. They look like you spent hours in the kitchen but come together in about 45 minutes.
- Prep Time: 15 minutes
- Cook Time: 18 minutes
- Total Time: 45 minutes
- Yield: 12 servings 1x
- Category: Dessert
- Cuisine: American
Ingredients
- 2 cups (250g) all-purpose flour
- 1 ½ cups (300g) granulated sugar
- 2 tablespoons (15g) unsweetened cocoa powder
- 1 teaspoon baking soda
- ½ teaspoon salt
- ¾ cup (180ml) vegetable oil
- 1 cup (240ml) buttermilk
- 2 large eggs, room temperature
- 1 teaspoon white vinegar
- 1 ½ teaspoons vanilla extract
- 2 tablespoons (30ml) red food coloring (gel preferred)
- 8 oz (226g) cream cheese, softened
- ½ cup (113g) unsalted butter, softened
- 3 cups (360g) powdered sugar, sifted
- 1 teaspoon vanilla extract
- Pinch of salt
- Heart-shaped sprinkles, red sanding sugar, or fresh raspberries for garnish (optional)
Instructions
- Preheat oven to 350°F (175°C). Grease a heart-shaped cupcake pan generously with butter or non-stick spray.
- In a large mixing bowl, whisk together flour, sugar, cocoa powder, baking soda, and salt until fully incorporated.
- In a separate bowl, whisk together vegetable oil, buttermilk, eggs, vinegar, vanilla extract, and red food coloring until smooth and uniformly red.
- Pour wet ingredients into dry ingredients. Mix with a hand mixer on low speed or a spatula until just combined. Do not overmix.
- Divide batter evenly among heart-shaped cavities, filling each about ⅔ to ¾ full.
- Bake for 15 to 18 minutes, or until a toothpick inserted into the center comes out clean or with a few moist crumbs. Cool in pan for 5 minutes, then transfer to a wire rack to cool completely.
- While cupcakes cool, make frosting: Beat softened cream cheese and butter together until smooth and creamy, about 2 minutes. Add vanilla and salt, then beat again. Gradually add sifted powdered sugar, one cup at a time, mixing on low speed. Once combined, beat on medium-high for 2 to 3 minutes until light and fluffy.
- Fit a piping bag with a star tip (e.g., Wilton 1M). Fill with frosting. Starting at the center of each cupcake, pipe a spiral outward to create a rosette. Finish with a small swirl in the center.
- Decorate with heart-shaped sprinkles, red sanding sugar, or fresh raspberries if desired.
Notes
Room temperature ingredients are key for best texture. Do not overmix batter. Cool cupcakes completely before frosting to prevent melting. For a stiffer frosting, add an extra ¼ cup of powdered sugar. Unfrosted cupcakes can be frozen for up to 3 months.
Nutrition
- Serving Size: 1 cupcake
- Calories: 420
- Sugar: 40
- Sodium: 280
- Fat: 22
- Saturated Fat: 9
- Carbohydrates: 54
- Fiber: 1
- Protein: 5
Keywords: red velvet cupcakes, heart-shaped cupcakes, Valentine's Day dessert, cream cheese frosting, easy cupcake recipe


