My husband did not trust gingerbread in a cheesecake. That’s the honest truth. He looked at me like I’d suggested putting pickles on a birthday cake when I first described these gingerbread cheesecake bars with molasses crust. “Gingerbread is for cookies,” he said. “Cheesecake is for, well, cheesecake. Why mess with a good thing?” And honestly? I got it. Some flavor combinations sound good on paper but fall flat in real life. But I had this vision of a thick, spicy molasses crust holding up a creamy, tangy cheesecake layer with just a hint of warm holiday baking spices. It sounded right to me. So I made a batch anyway, mostly to prove a point (to him, and maybe to myself).
The first bite was quiet. The second one came with a raised eyebrow. By the third bar, he was asking if I’d made enough to bring to his office holiday party. That’s how these bars work — they sneak up on you. The crust isn’t just a crust; it’s a sturdy, buttery, molasses-packed foundation that tastes like December in every single crumb. And the cheesecake layer? It’s not overly sweet. It’s smooth and tangy with a whisper of cinnamon, ginger, and clove that ties everything together without shouting. The first time I pulled a pan out of the oven, the whole house smelled like a Christmas market. I stood there holding the spatula, thinking, okay, this is the one.
These bars have become my go-to for holiday gatherings, cookie swaps, and those evenings when you just want something special without spending all day in the kitchen. They’re not fussy. They don’t require a water bath or a springform pan. You mix, press, pour, bake, and wait (the hardest part). And when you cut into that first clean slice and see the two distinct layers holding together perfectly? That’s the moment you know you’ve made something worth sharing. I think you’re going to love them.
Why You’ll Love This Recipe
I’ve tested this recipe more times than I care to admit — through burnt crusts, cracked tops, and one particularly sad batch where I forgot the sugar entirely. Each mistake taught me something, and what I landed on is a bar that works every single time. Here’s why it deserves a spot in your holiday rotation:
- No Water Bath Needed : Cheesecake without the fuss. No wrapping pans in foil, no worrying about leaks. These bars bake up creamy and smooth without the steam bath drama.
- Simple Pantry Ingredients : You probably have most of this already — cream cheese, butter, flour, sugar, eggs, and molasses. The spices are standard baking staples. No special trips to three different stores.
- Perfect for Holiday Baking : Whether it’s a cookie swap, a Thanksgiving dessert table, or a Christmas brunch, these bars fit right in. They slice clean, travel well, and look impressive with minimal effort.
- Crowd-Pleasing Flavor Combo : The spicy molasses crust balances the cool, creamy cheesecake perfectly. Even people who say they don’t like gingerbread (like my husband) end up reaching for seconds.
- Make-Ahead Friendly : These bars actually taste better the next day. The flavors meld together overnight, and the texture firms up beautifully. Bake them a day ahead and relax on the day of your event.
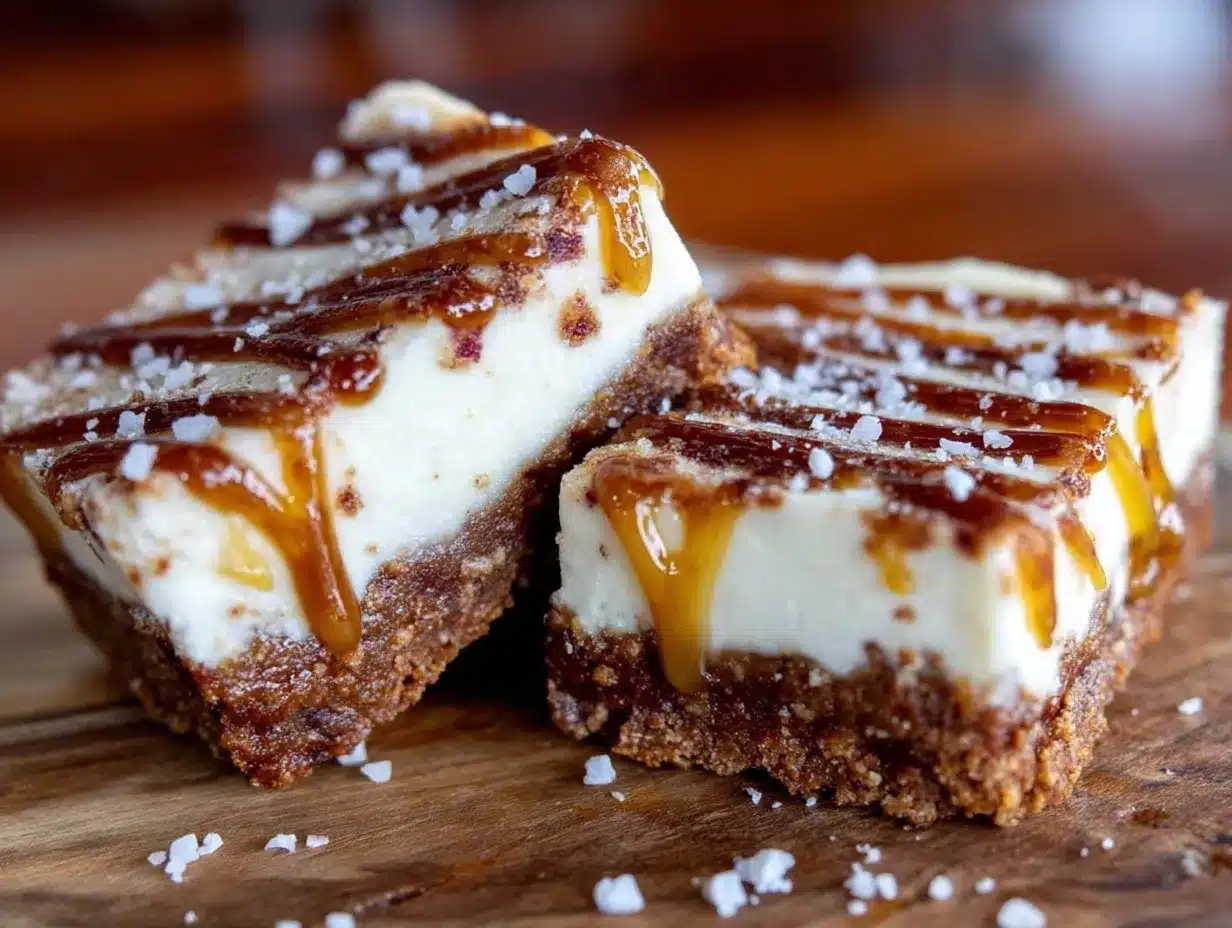
What makes these bars different from other holiday desserts is the crust. Most recipes use a standard graham cracker base with a sprinkle of ginger and call it a day. This crust is different — it’s a proper gingerbread cookie base, sturdy enough to hold the cheesecake layer without getting soggy. The molasses gives it depth, the butter makes it rich, and the spices warm everything up. It’s not just a vessel for the filling; it’s half the reason these bars disappear so fast.
And honestly? There’s something about pulling a pan of these out of the oven on a cold December afternoon. The smell alone is worth the effort. It’s the kind of dessert that makes people stop what they’re doing and wander into the kitchen asking, “What’s that?” That’s the moment you know you’ve made something special.
What Ingredients You Will Need
This recipe uses simple, straightforward ingredients to create something that tastes much more complex than the sum of its parts. The molasses crust does the heavy lifting on flavor, while the cheesecake filling stays creamy and tangy. Here’s what you’ll need:
For the Molasses Crust
- 1 ½ cups all-purpose flour (spooned and leveled — scooping directly from the bag packs it too tight)
- ½ cup granulated sugar
- 1 teaspoon ground ginger
- 1 teaspoon ground cinnamon
- ½ teaspoon ground cloves
- ¼ teaspoon salt
- ½ cup unsalted butter, cold and cut into small cubes (I prefer Kerrygold for the flavor, but any good quality butter works)
- ¼ cup molasses (use unsulphured molasses — blackstrap is too bitter here)
For the Cheesecake Filling
- 16 ounces cream cheese, softened to room temperature (full-fat is non-negotiable for the best texture; low-fat makes the filling runny)
- ½ cup granulated sugar
- 2 large eggs, room temperature
- 1 teaspoon vanilla extract
- ½ teaspoon ground cinnamon
- ¼ teaspoon ground ginger
- ⅛ teaspoon ground nutmeg (freshly grated if you have it)
- ¼ cup sour cream, room temperature (adds tang and keeps the filling silky)
Ingredient Notes & Tips:
For the molasses, I recommend Grandma’s Molasses or Brer Rabbit — they’re both unsulphured and have that balanced sweetness without the harsh bitterness of blackstrap. If you only have blackstrap, use 3 tablespoons and add 1 tablespoon of honey to mellow it out.
The cream cheese needs to be truly softened. Not cold, not melted — just left out on the counter for about an hour. Cold cream cheese creates lumps that are nearly impossible to smooth out without overmixing. And overmixing adds too much air, which causes cracks during baking. Trust me on this one — I’ve learned the hard way.
For the spices, I use store-bought ground spices most of the time because they’re convenient and consistent. But if you have whole cinnamon sticks and a microplane, grinding your own cinnamon takes these bars to another level. Same goes for the nutmeg — freshly grated nutmeg has a floral warmth that pre-ground stuff just can’t match.
Sour cream is the secret ingredient here. It adds moisture and a slight tang that balances the sweetness of the crust. If you don’t have sour cream, full-fat Greek yogurt works as a substitute, though the texture will be slightly less rich.
Equipment Needed
You don’t need a professional bakery setup for these bars, but having the right tools makes the process smoother. Here’s what I use:
- 9×9-inch baking pan (an 8×8 works too, but the bars will be slightly thicker and may need an extra 5-7 minutes of baking time)
- Parchment paper (non-negotiable for easy removal — leave overhang on two opposite sides to create “handles”)
- Electric hand mixer or stand mixer (a hand mixer works perfectly; a stand mixer is nice but not necessary)
- Large mixing bowls (one for the crust, one for the filling)
- Pastry cutter or fork (for cutting butter into the flour mixture — you can also use your fingertips, but a pastry cutter is faster and keeps the butter cold)
- Spatula (a flexible silicone spatula for scraping every last bit of filling into the pan)
- Measuring cups and spoons (dry measuring cups for flour and sugar, liquid measuring cup for molasses)
- Sharp knife (for clean slices — run it under hot water and wipe between cuts for the neatest edges)
Budget-Friendly Alternatives: If you don’t have a pastry cutter, two butter knives work in a pinch — just cross them and pull through the flour mixture until it looks like coarse meal. And if you don’t have a 9×9 pan, a standard 8×8 brownie pan works fine; just watch the baking time closely.
Maintenance Tip: Wash your pastry cutter by hand, not in the dishwasher. The wires can rust over time, and dried dough gets stuck in the crevices. A quick soak in warm soapy water and a scrub with a bottle brush keeps it clean.
Preparation Method
Let’s make these bars. I’ve broken this down into clear steps with all the little details that make the difference between good bars and unforgettable ones.
Step 1: Prepare the Pan and Preheat
Preheat your oven to 350°F (175°C). Line a 9×9-inch baking pan with parchment paper, leaving about 2 inches of overhang on two opposite sides. This creates handles that let you lift the entire block of bars out after they’ve chilled. Lightly spray the parchment with non-stick cooking spray — just a quick spritz to be safe.
Step 2: Make the Molasses Crust
In a large mixing bowl, whisk together the flour, granulated sugar, ground ginger, cinnamon, cloves, and salt. Add the cold butter cubes. Using a pastry cutter (or two knives), cut the butter into the flour mixture until it resembles coarse meal with pea-sized butter pieces scattered throughout. Don’t overwork it — those little butter pockets create a flaky, tender crust.
Add the molasses and stir with a fork until the dough just comes together. It will look crumbly at first, but keep pressing it gently. When you squeeze a handful, it should hold its shape. If it’s too dry, add 1 teaspoon of cold water at a time until it clumps. If it’s too sticky, add a tablespoon of flour.
Step 3: Press the Crust into the Pan
Transfer the crust mixture to your prepared pan. Using your fingers or the bottom of a flat measuring cup, press it firmly and evenly into the bottom. This is important — an uneven crust will bake unevenly, and thin spots can burn while thick spots stay doughy. Press until it’s compact and level.
Bake the crust for 12 minutes at 350°F (175°C). It should look set and just barely golden around the edges. Don’t overbake it here — it will bake again with the filling. Remove from the oven and let it cool on a wire rack while you make the filling. Leave the oven on.
Step 4: Make the Cheesecake Filling
In a large mixing bowl, beat the softened cream cheese with an electric mixer on medium speed until smooth and creamy — about 2 minutes. Scrape down the sides and bottom of the bowl with a spatula. Add the granulated sugar and beat for another minute until well combined and fluffy.
Add the eggs one at a time, beating on low speed after each addition just until incorporated. Overmixing at this stage adds too much air, which causes the filling to puff up and then crack as it cools. Trust me, I’ve made this mistake. Add the vanilla extract, cinnamon, ginger, and nutmeg, and mix on low until just combined.
Finally, add the sour cream and fold it in gently with a spatula. This keeps the filling silky without incorporating excess air. The batter should be smooth, pale, and slightly thick — like a thick pancake batter.
Step 5: Assemble and Bake
Pour the cheesecake filling over the pre-baked crust. Spread it evenly with a spatula, making sure it reaches all four corners. Give the pan a gentle tap on the counter to release any air bubbles.
Bake at 350°F (175°C) for 28-32 minutes. The edges should look set and slightly puffed, but the center should still jiggle slightly when you gently shake the pan. That jiggle is your friend — it means the center will stay creamy and smooth. If the entire pan wobbles like jelly, it needs more time. If it’s completely firm, it’s overbaked.
Step 6: Cool and Chill
Place the pan on a wire rack and let it cool completely at room temperature — about 1 hour. Then cover loosely with plastic wrap and refrigerate for at least 4 hours, but overnight is best. This is the hardest part of the recipe, I know. But the bars need this time to set properly. Cutting into them too early results in a messy, gooey situation.
Step 7: Slice and Serve
Once fully chilled, use the parchment handles to lift the entire block out of the pan. Place it on a cutting board. Using a sharp knife, slice into 9 or 16 bars (depending on how generous you’re feeling). For clean cuts, wipe the knife with a damp paper towel between slices. Serve cold or let them sit at room temperature for 10 minutes before serving for a softer texture.
Cooking Tips & Techniques
Over the years, I’ve made every mistake possible with these bars. Here’s what I’ve learned so you don’t have to repeat my errors.
Room Temperature Ingredients Matter. I cannot stress this enough. Cold cream cheese creates lumps. Cold eggs seize the batter. Room temperature ingredients blend together smoothly and create a uniform, silky filling. Set everything out on the counter an hour before you start baking. If you forget, place the eggs in a bowl of warm water for 5 minutes, and microwave the cream cheese in 10-second bursts (carefully, so it doesn’t melt).
Don’t Overmix the Filling. I once got distracted and beat the filling for a solid 3 minutes after adding the eggs. The bars puffed up beautifully in the oven and then collapsed into a cracked, sunken mess. Mix on low speed and stop as soon as each ingredient is incorporated. A few small lumps are fine — they’ll bake out.
Use a Water Bath Alternative. Traditional cheesecakes use a water bath to prevent cracking. These bars don’t need one, but if you’re nervous about cracks, place a shallow pan of hot water on the oven rack below the baking pan. The steam creates a humid environment that helps the cheesecake bake evenly.
Check for Doneness the Right Way. The center should jiggle like firm Jell-O, not slosh like soup. If you insert a toothpick near the center, it should come out with a few moist crumbs attached — not wet batter, not completely clean. Clean toothpick means overbaked.
Patience with Chilling. I know it’s tempting to speed things up by popping the pan in the freezer for an hour. Don’t. The texture won’t be the same. The filling needs gradual cooling to set properly. Overnight chilling gives you the cleanest slices and the creamiest texture.
Multitasking Strategy: While the crust bakes, wash the mixing bowl and get your cream cheese and eggs out. While the assembled bars bake, clean up your workspace. By the time they’re done, your kitchen is clean and you just have to wait for them to cool. It makes the whole process feel less overwhelming.
Variations & Adaptations
One of the best things about this recipe is how flexible it is. Here are some variations I’ve tried and loved:
Gluten-Free Version
Substitute the all-purpose flour with a 1:1 gluten-free baking flour blend (I like King Arthur Measure for Measure). The crust will be slightly more crumbly, so press it firmly into the pan. Everything else stays the same. I’ve made this for gluten-sensitive friends, and they couldn’t tell the difference.
Pumpkin Spice Twist
Add ¼ cup of pumpkin puree to the cheesecake filling along with ½ teaspoon of pumpkin pie spice. Reduce the sour cream to 2 tablespoons to compensate for the extra moisture. The result is a pumpkin cheesecake bar with a gingerbread crust — essentially two holiday classics in one bite. If you love pumpkin desserts, you might also enjoy our pumpkin cream cheese swirl muffins for another seasonal treat.
Chocolate Gingerbread Bars
Add ¼ cup of cocoa powder to the crust mixture, reducing the flour by 2 tablespoons. Then fold ½ cup of semi-sweet chocolate chips into the cheesecake filling before pouring it over the crust. The chocolate deepens the molasses flavor in a way that feels decadent without being heavy.
Vegan Adaptation
Use vegan cream cheese (Miyoko’s or Violife work best), vegan butter, and a flax egg (1 tablespoon ground flaxseed mixed with 3 tablespoons water per egg). The texture will be slightly less dense, but the flavor is still wonderful. Use coconut cream instead of sour cream.
Spiced Caramel Drizzle
For an extra-special presentation, drizzle the finished bars with a simple caramel sauce spiked with a pinch of cinnamon and sea salt. It takes them from “holiday dessert” to “centerpiece” in seconds.
Serving & Storage Suggestions
Serving: These bars are best served cold, straight from the refrigerator. The filling is firm and creamy, and the crust stays perfectly crisp. If you prefer a softer texture, let them sit at room temperature for 10-15 minutes before serving. For a truly indulgent presentation, serve with a dollop of whipped cream and a light dusting of cinnamon or nutmeg.
Pairings: These bars pair beautifully with a hot cup of coffee, spiced chai, or a glass of cold milk. For a holiday brunch spread, serve them alongside cozy crockpot beef stew for a sweet-and-savory contrast. They also make a fantastic addition to a dessert table with other handheld treats like brown butter pumpkin chocolate chip cookies.
Storage: Store leftover bars in an airtight container in the refrigerator for up to 5 days. Place a sheet of parchment paper between layers if stacking them. The crust will soften slightly over time, but the flavor actually improves after a day or two as the spices meld together.
Freezing: These bars freeze beautifully. Once fully chilled and sliced, arrange them in a single layer on a baking sheet and freeze for 1 hour. Transfer the frozen bars to a freezer-safe container or zip-top bag with parchment between layers. They’ll keep for up to 3 months. Thaw in the refrigerator overnight before serving. Do not thaw at room temperature — the texture gets weepy.
Reheating: I don’t recommend reheating these bars. They’re meant to be served cold or at room temperature. If you absolutely want a warm dessert, microwave a single bar for 10-15 seconds — just enough to take the chill off without melting the filling.
Flavor Development: Here’s a secret: these bars taste even better on day two. The spices in the crust deepen overnight, and the cheesecake filling firms up to the perfect texture. If you’re planning a party, bake them two days ahead. Your future self will thank you.
Nutritional Information & Benefits
Let’s be real — these are a treat. But knowing what’s in them helps you enjoy them mindfully. Here’s the estimated nutritional breakdown per bar (based on 16 servings):
| Nutrient | Amount Per Bar |
|---|---|
| Calories | 285 |
| Total Fat | 18g |
| Saturated Fat | 11g |
| Cholesterol | 75mg |
| Sodium | 180mg |
| Total Carbohydrates | 28g |
| Dietary Fiber | 1g |
| Sugars | 18g |
| Protein | 5g |
Health Highlights: The molasses in the crust contains iron, calcium, and magnesium — more than refined sugar. Cinnamon and ginger are both anti-inflammatory spices that add flavor without extra calories. The cream cheese provides a small amount of protein and calcium. That said, this is a dessert, not a health food. Enjoy it as part of a balanced diet, and don’t stress about the numbers.
Dietary Considerations: This recipe contains gluten, dairy, and eggs. For gluten-free or vegan options, see the variations section above. If you’re watching your sugar intake, you can reduce the sugar in the filling to ⅓ cup without affecting the texture too much, but the crust needs the full amount for structure.
Allergen Note: Always check your ingredient labels. Some cream cheese brands use different stabilizers that may contain hidden allergens. If serving to others with allergies, I recommend using clearly labeled allergen-free brands.
Conclusion
These gingerbread cheesecake bars with molasses crust have become my most-requested holiday dessert, and I finally understand why. They hit that perfect sweet spot between familiar and surprising — the gingerbread crust feels like Christmas morning, while the creamy cheesecake layer keeps things elegant and refined. They’re the kind of dessert that disappears before the cookies do, the one people ask for the recipe after taking their first bite.
I love that this recipe doesn’t demand perfection. The crust can be a little rustic. The filling doesn’t need to be flawlessly smooth. It’s forgiving in a way that makes baking feel joyful instead of stressful. And honestly? That’s what holiday baking should be about — not stressing over every detail, but creating something warm and delicious that brings people together.
If you make these bars (and I really hope you do), I’d love to hear how they turn out. Did you add a twist? Did they disappear at your holiday party? Leave a comment below and let me know. And if you share a photo on social media, tag me — I want to see your beautiful creations. Happy baking, friends. December is calling, and these bars are ready to answer.
Frequently Asked Questions
Can I use a different size pan?
Yes, but the baking time will change. An 8×8 pan makes slightly thicker bars and needs about 5 extra minutes of baking time. A 9×13 pan makes thinner bars and needs about 5 minutes less. Keep an eye on the jiggle test rather than relying solely on the timer.
Why did my cheesecake filling crack?
Cracks usually happen from overmixing or overbaking. Mix the filling on low speed and stop as soon as each ingredient is incorporated. Bake just until the edges are set and the center jiggles slightly. If cracks still appear, don’t worry — a dusting of powdered sugar or a drizzle of caramel hides them beautifully.
Can I use blackstrap molasses instead of unsulphured?
You can, but the flavor will be much stronger and more bitter. Blackstrap molasses has a lower sugar content and a more intense, almost smoky taste. If you only have blackstrap, use 3 tablespoons and add 1 tablespoon of honey or maple syrup to balance the bitterness.
How do I get clean slices?
Chill the bars for at least 4 hours (overnight is best). Use a sharp knife and run it under hot water, wiping it dry between each cut. The hot knife glides through the cheesecake without dragging. For the cleanest edges, wipe the knife after every single cut.
Can I make these bars ahead of time?
Absolutely. These bars actually taste better after a day or two in the refrigerator. Bake them up to 3 days in advance, keep them covered in the fridge, and slice just before serving. They also freeze well for up to 3 months — just thaw overnight in the refrigerator.
Pin This Recipe!
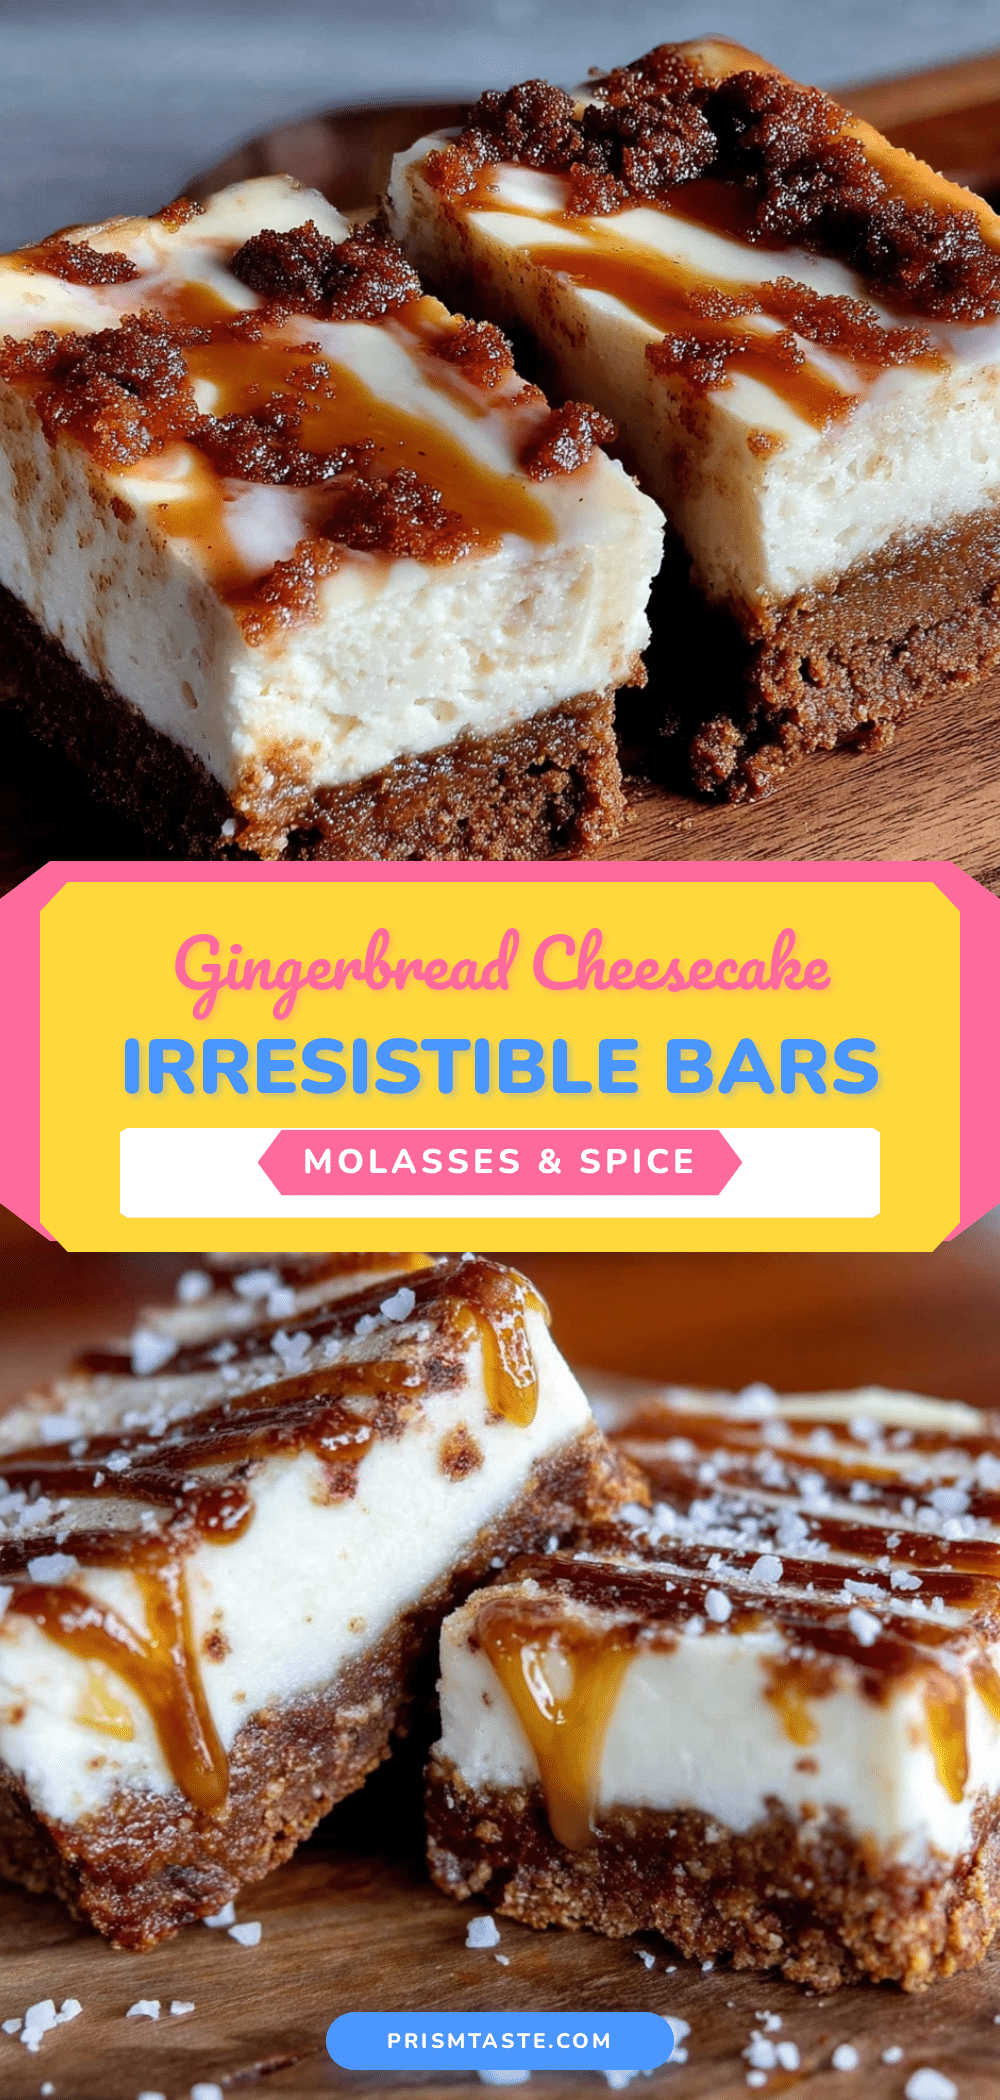
Irresistible Gingerbread Cheesecake Bars – Best Easy Holiday Dessert
These gingerbread cheesecake bars feature a thick, spicy molasses crust and a creamy, tangy cheesecake layer with warm holiday spices. They’re easy to make, require no water bath, and are perfect for holiday gatherings.
- Prep Time: 20 minutes
- Cook Time: 40 minutes
- Total Time: 5 hours (includes chilling)
- Yield: 16 servings 1x
- Category: Dessert
- Cuisine: American
Ingredients
- 1 ½ cups all-purpose flour
- ½ cup granulated sugar
- 1 teaspoon ground ginger
- 1 teaspoon ground cinnamon
- ½ teaspoon ground cloves
- ¼ teaspoon salt
- ½ cup unsalted butter, cold and cut into small cubes
- ¼ cup unsulphured molasses
- 16 ounces cream cheese, softened to room temperature
- ½ cup granulated sugar
- 2 large eggs, room temperature
- 1 teaspoon vanilla extract
- ½ teaspoon ground cinnamon
- ¼ teaspoon ground ginger
- ⅛ teaspoon ground nutmeg
- ¼ cup sour cream, room temperature
Instructions
- Preheat oven to 350°F (175°C). Line a 9×9-inch baking pan with parchment paper, leaving overhang on two opposite sides. Lightly spray with non-stick cooking spray.
- Make the crust: In a large bowl, whisk together flour, ½ cup sugar, 1 teaspoon ginger, 1 teaspoon cinnamon, cloves, and salt. Cut in cold butter using a pastry cutter until mixture resembles coarse meal with pea-sized butter pieces. Add molasses and stir with a fork until dough comes together.
- Press crust mixture firmly and evenly into the prepared pan. Bake for 12 minutes until set and just barely golden around edges. Remove and let cool on a wire rack. Keep oven on.
- Make the filling: In a large bowl, beat softened cream cheese with an electric mixer on medium speed until smooth, about 2 minutes. Add ½ cup sugar and beat for 1 minute until fluffy.
- Add eggs one at a time, beating on low speed after each addition just until incorporated. Add vanilla, ½ teaspoon cinnamon, ¼ teaspoon ginger, and nutmeg; mix on low until combined.
- Fold in sour cream gently with a spatula until smooth.
- Pour filling over pre-baked crust and spread evenly. Tap pan gently on counter to release air bubbles.
- Bake for 28-32 minutes until edges are set and center jiggles slightly when shaken.
- Cool completely on a wire rack (about 1 hour), then cover loosely with plastic wrap and refrigerate for at least 4 hours, preferably overnight.
- Use parchment handles to lift bars out of pan. Slice into 9 or 16 bars with a sharp knife, wiping blade between cuts. Serve cold or at room temperature.
Notes
For best results, use room temperature ingredients. Do not overmix the filling. The bars taste even better the next day. For clean slices, chill thoroughly and use a hot knife. Freeze for up to 3 months.
Nutrition
- Serving Size: 1 bar
- Calories: 285
- Sugar: 18
- Sodium: 180
- Fat: 18
- Saturated Fat: 11
- Carbohydrates: 28
- Fiber: 1
- Protein: 5
Keywords: gingerbread cheesecake bars, holiday dessert, molasses crust, cheesecake bars, easy holiday baking


