That first crunch of apple — the one that echoes through the kitchen before 8 a.m. — still takes me straight to my tiny galley kitchen last September. My three-year-old had just started preschool, and every single morning felt like a race I was losing. I’d pack her lunchbox with good intentions: a whole apple, some cheese cubes, maybe crackers. And every single afternoon, I’d unzip that bag to find a sad, brown apple slice floating in a puddle of juice, the cheese sweating into everything it touched. Honestly, I was over it.
So I did what any slightly desperate parent does. I stood in my kitchen, stared at the pile of snack containers I’d accumulated, and started testing. What if I pre-sliced the apple and tossed it in a little lemon juice? What if I used a compartment box instead of bags? What if I stopped trying to make things Instagram-perfect and just made them work? That’s when this Easy No-Spill Preschool Snack Box with Apple and Cheese was born. It’s not fancy. It’s not complicated. But it solved a very real, very messy problem in our house.
Here’s the thing — this snack box isn’t just about convenience. It’s about giving your kid something they can actually eat without help. No wrestling with a whole apple. No sticky fingers dripping onto the car seat. Just a simple, balanced snack that stays where it belongs. And honestly? That little win makes the whole morning feel a bit more manageable.
Why You’ll Love This Recipe
I’ve tested this snack box concept through two school years, three different lunchbox brands, and countless apple varieties. So trust me when I say — this one actually works.
- Zero Spills, Zero Mess : The compartment design keeps apple slices and cheese separate, so nothing gets soggy or sticky. Your kid’s backpack stays clean, and so does your sanity.
- Totally Kid-Friendly : Everything is pre-sliced and easy to grab. No need for adult help during snack time. That independence is huge for little ones.
- Ready in Under 5 Minutes : Seriously. Slice the apple, cube the cheese, pop everything into a compartment box, and you’re done. Perfect for those chaotic mornings when you’re running late.
- Perfect for Preschool & Beyond : This works for daycare, kindergarten, road trips, park outings, or even a quick after-school snack. It’s versatile in the best way.
- Naturally Balanced : You’ve got fruit for natural sweetness and cheese for protein and calcium. It’s the kind of snack that keeps little bellies full without the sugar crash.
What makes this different from just throwing apple slices and cheese into a bag? It’s the method. The pre-slicing, the quick acid bath to prevent browning, the smart container choice — these tiny tweaks turn a mediocre snack into something you can prep ahead and trust. I’ve had parents tell me this snack box changed their morning routine, and honestly, I believe it. It’s that simple.
This isn’t just another snack idea. It’s the kind of small solution that makes your day run smoother. And in the world of parenting, that’s worth everything.
What Ingredients You Will Need
This recipe uses just a handful of simple ingredients, but each one plays a role in making snack time easy and mess-free. Here’s what you’ll need:
- 1 medium apple (any variety — Honeycrisp, Fuji, Gala, or Granny Smith all work well). For the best texture, choose a firm apple that won’t turn mushy quickly. I personally love Honeycrisp for its sweet-tart balance and satisfying crunch.
- 1 ounce cheddar cheese (or any firm cheese like Colby Jack, Gouda, or mild provolone). Pre-sliced cheese blocks work better than shredded cheese for this snack box — they hold their shape and don’t get messy. I recommend Tillamook or Cabot for consistent quality.
- 1 teaspoon lemon juice (freshly squeezed or bottled). This is the secret weapon against browning. A quick toss with lemon juice keeps apple slices looking fresh for hours. If you don’t have lemon juice, a splash of orange juice or pineapple juice works too.
- Optional: 1 tablespoon water (to dilute the lemon juice if your child is sensitive to acidity). Some kids find straight lemon juice too tangy. A little water helps mellow it out while still preventing browning.
- Optional: 1-2 whole wheat crackers or pretzels (for added crunch). These aren’t required, but they make the snack box feel more complete. My daughter loves adding a few mini pretzels for that salty-sweet combo.
Ingredient Selection Tips : When picking apples for a snack box, go for ones that are firm to the touch with no soft spots. Organic apples are great if you’re not peeling them, but conventional apples work fine too — just give them a good wash. For cheese, avoid anything too soft or crumbly (like brie or feta), as it won’t hold up well in a lunchbox. Stick with semi-hard cheeses that slice cleanly.
Substitution Guidance : For a dairy-free option, swap the cheese with dairy-free cheese slices or a small portion of nut butter (if your school allows it). For a lower-sugar option, use green apples like Granny Smith. For added protein, include a few slices of turkey or ham rolled up alongside the apple and cheese.
Equipment Needed
You don’t need anything fancy to put this snack box together. Here’s what I use:
- Small compartment lunchbox or bento box — Look for one with at least two separate sections. I love the Bentgo Kids boxes or any divided container that seals tightly. The compartments keep apple slices and cheese from touching, which prevents sogginess.
- Sharp knife and cutting board — A good chef’s knife makes slicing apples and cubing cheese quick and easy. Nothing fancy needed.
- Small bowl — For tossing apple slices with lemon juice and water. A cereal bowl or small mixing bowl works perfectly.
- Measuring spoons — For the lemon juice and water. Eyeballing works too, but measuring spoons help if you’re new to this.
- Optional: Apple slicer/corer — If you make this snack box often, an apple slicer is a game-changer. It cuts the apple into even wedges and removes the core in one motion. I picked mine up for under $10, and it’s saved me so much time.
Budget-Friendly Tip : You don’t need a fancy bento box. A simple divided meal prep container from the grocery store works just as well. I’ve even used a regular container with a silicone muffin cup to separate the apple slices from the cheese. Get creative with what you already have.
Preparation Method
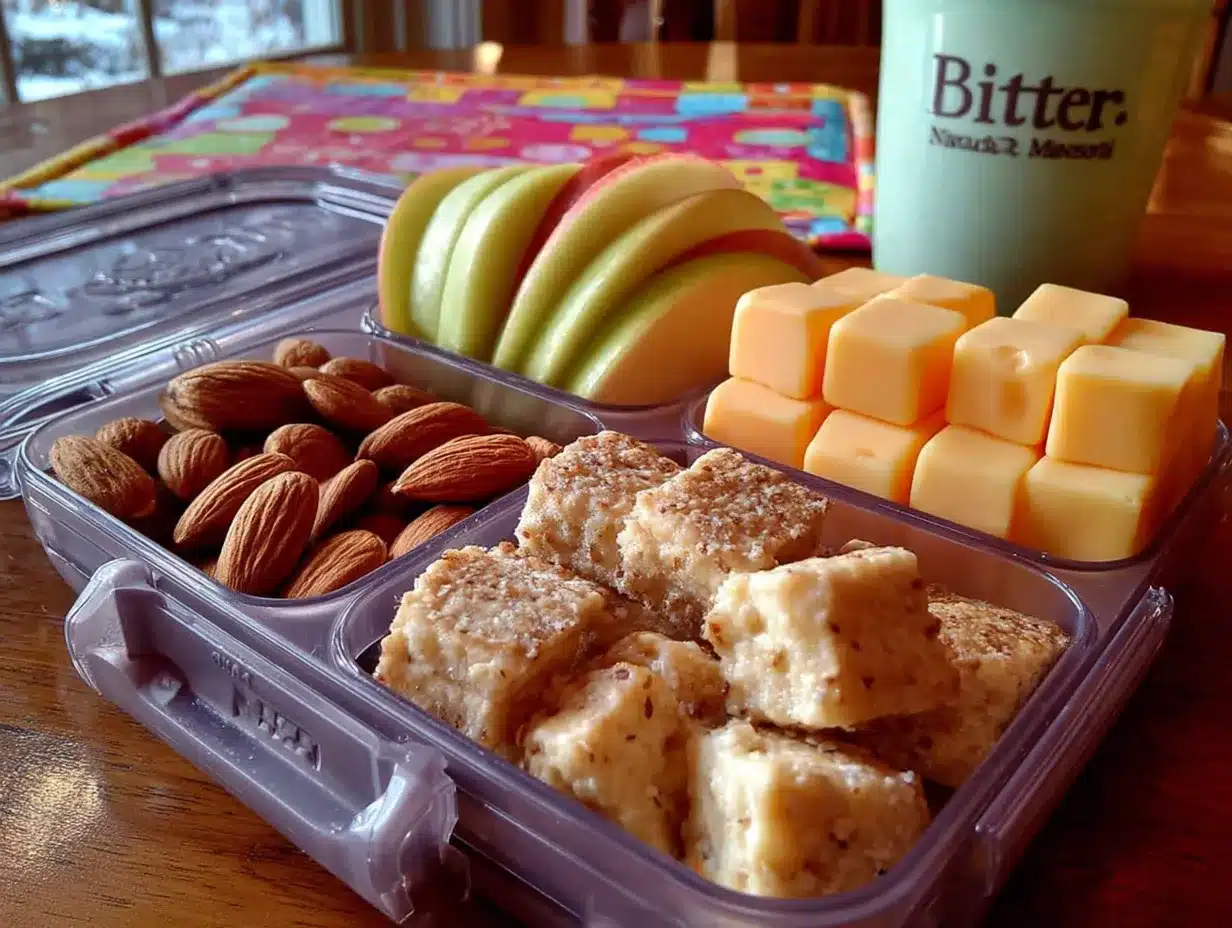
This snack box comes together in about 5 minutes flat. Here’s how I do it:
Step 1: Wash and Prep the Apple
Give your apple a good rinse under cold water to remove any dirt or wax. Pat it dry with a clean towel. If you’re using an apple slicer, place the apple on the cutting board, center the slicer over the stem, and press down firmly. The apple will separate into wedges with the core removed. If you’re using a knife, cut the apple into quarters, remove the core with a paring knife, and then slice each quarter into 4-6 thin wedges. I aim for slices that are about 1/4 inch thick — thin enough for little hands to hold, but thick enough to stay crisp.
Step 2: Toss with Lemon Juice
Place the apple slices in a small bowl. Add 1 teaspoon of lemon juice and 1 tablespoon of water (if using). Gently toss everything together with your hands or a spoon until all the slices are lightly coated. This step is crucial — it prevents the apple from turning brown and keeps it looking fresh for hours. Don’t skip it, even if you’re in a hurry. I learned this the hard way after packing a lunchbox with uncoated apple slices that looked sad and brown by noon.
Step 3: Prep the Cheese
Take your cheese block and cut it into small cubes, about 1/2 inch in size. You want pieces that are easy for little fingers to pick up but not so small that they’re a choking hazard. For toddlers, you can cut the cubes into smaller rectangles or use a cheese grater for finer shreds. If you’re using pre-sliced cheese, stack a few slices and cut them into small squares. Aim for about 4-6 cubes per snack box, depending on your child’s appetite.
Step 4: Assemble the Snack Box
Open your compartment lunchbox or bento box. Place the apple slices in one compartment and the cheese cubes in another. If you’re adding crackers or pretzels, put them in a third compartment. Make sure the lid closes securely. Give the box a gentle shake to test the seal — nothing should move between compartments.
Step 5: Store or Pack
If you’re packing this for later, place the assembled snack box in the refrigerator. It will stay fresh for up to 24 hours. If you’re packing it for school, pop it into your child’s lunchbox with an ice pack to keep the cheese cool. The apple slices will stay crisp and bright for at least 4-6 hours thanks to the lemon juice treatment.
Step 6: Serve and Enjoy
When snack time comes, your child can open the box and eat directly from the compartments. No plates needed, no mess to clean up. It’s that simple.
Sensory Cues : When you slice a fresh apple, you should hear a crisp snap. The slices should feel firm and cool to the touch. After the lemon juice bath, they’ll look glossy but not wet. The cheese cubes should be firm and slightly springy when pressed. If they feel sticky or soft, the cheese might be too warm — pop the box in the fridge for a few minutes before serving.
Cooking Tips & Techniques
Over the years, I’ve learned a few tricks that make this snack box even better. Here are my favorites:
Prevent Browning Like a Pro
The lemon juice trick works, but here’s a deeper tip: the key is coating the cut surface of the apple evenly. I use my hands to toss the slices gently, making sure every edge gets a little lemon juice. If you’re worried about the taste, use a 1:1 ratio of lemon juice to water. Your child won’t notice the flavor, but the apple will stay beautiful.
Choose the Right Apple
Not all apples are created equal for snack boxes. Honeycrisp and Fuji stay crisp for hours. Gala and Red Delicious tend to get mealy faster. Granny Smith holds up well but is quite tart — perfect if your kid likes a tangy bite. I’ve tested all of them, and Honeycrisp is my top pick for texture and flavor.
Cube Cheese in Advance
If you’re meal prepping for the week, cube a whole block of cheese on Sunday and store it in an airtight container in the fridge. Then each morning, just grab a handful of cubes and add them to the snack box. This cuts your prep time down to under 2 minutes.
Avoid the Soggy Cheese Problem
The number one mistake I see is putting cheese and apple slices in the same compartment. The moisture from the apple makes the cheese sweat and turn slimy. Always use a divided container or separate the items with a silicone muffin cup. Trust me on this one — I learned the hard way after opening a lunchbox that smelled like a science experiment.
Pack an Ice Pack
Cheese needs to stay cool to stay safe. If your child’s lunchbox will be sitting at room temperature for more than two hours, include a small ice pack. I use reusable gel packs that fit perfectly in the bottom of our lunchbox. They keep everything cold and fresh until snack time.
My Biggest Failure
I once packed a snack box with pre-sliced apples that I hadn’t treated with lemon juice. By the time my daughter opened it at school, the apples were brown and unappetizing. She refused to eat them. That day taught me that the extra 30 seconds it takes to toss the slices in lemon juice is absolutely worth it. Now I never skip that step.
Variations & Adaptations
This snack box is endlessly customizable. Here are some of my favorite variations:
Dairy-Free Version
Swap the cheese with dairy-free cheese cubes or a small container of hummus for dipping. You can also use nut butter (if your school allows it) — just pack it in a separate small container to avoid mess. My niece loves this version with sunflower seed butter and apple slices.
Seasonal Twist
In the fall, swap the apple for sliced pear or add a few cinnamon-spiced apple slices. In summer, use fresh peach slices instead of apple (though they’re softer, so pack them carefully). In winter, try sliced persimmon or a few mandarin orange segments alongside the cheese. Seasonal fruit keeps the snack box interesting all year round.
Protein Boost
Add a few slices of turkey, ham, or rolled-up deli meat to the snack box. The protein will keep your child full longer. I sometimes add a hard-boiled egg (sliced in half) for an extra protein punch. Just make sure everything is cut into safe, bite-sized pieces.
Crunchy Addition
Include a small handful of whole wheat crackers, pretzels, or rice cakes in a separate compartment. The crunch adds texture and makes the snack box feel more like a treat. My daughter loves it when I add a few mini rice cakes — she calls them “snack coins.”
Sweet Swap
For kids who prefer sweeter snacks, use a sweeter apple variety like Fuji or Gala. You can also add a few raisins or dried cranberries to the mix. Just be mindful of added sugar — the natural sweetness of the apple is usually enough.
My Personal Variation
I love adding a small handful of toasted pumpkin seeds to the snack box. They add a nice crunch and a boost of healthy fats and protein. My daughter calls them “snack sprinkles” and loves shaking them over her apple slices. It’s a tiny addition that makes the whole box feel more special.
Serving & Storage Suggestions
This snack box is designed to be eaten cold or at room temperature. Here’s how to serve and store it:
Serving Temperature
The apple slices are best enjoyed cold or at room temperature. The cheese should be cold but not ice-cold — take it out of the fridge about 10 minutes before serving if possible. If you’re packing it for school, the cheese will naturally come to a safe temperature by snack time.
Presentation Tips
Keep it simple. The beauty of this snack box is its no-fuss nature. Just open the lid and let your child dig in. If you want to make it more fun, use a bento box with fun shapes or colors. My daughter has a unicorn-themed lunchbox that makes snack time feel like a mini celebration.
Storage Instructions
Assembled snack boxes can be stored in the refrigerator for up to 24 hours. Keep the lid closed to prevent the apple slices from drying out. If you’re prepping for the week, store the apple slices and cheese separately and assemble each morning. The apple slices will stay fresh in an airtight container in the fridge for up to 3 days if tossed with lemon juice.
Reheating
This snack box is served cold, so no reheating is needed. If you’ve stored it in the fridge, just take it out and pack it directly into your child’s lunchbox. The apple slices will be crisp and cold — perfect for snack time.
How Flavors Develop
The apple slices will absorb a hint of lemon flavor after a few hours, but it’s very subtle. The cheese stays the same. If you’re adding crackers or pretzels, they might soften slightly if stored too long, so add them fresh if possible. Overall, this snack box tastes best within 6 hours of assembly.
Nutritional Information & Benefits
This snack box is naturally balanced and packed with good-for-you ingredients. Here’s a quick breakdown per serving (1 snack box):
| Nutrient | Amount |
|---|---|
| Calories | 180-220 |
| Protein | 7-9g |
| Carbohydrates | 20-25g |
| Fiber | 4-5g |
| Fat | 8-10g |
| Calcium | 150-200mg |
| Vitamin C | 8-10mg |
Health Benefits : Apples are rich in fiber and vitamin C, which support digestion and immune health. Cheese provides calcium and protein, essential for growing bones and muscles. Together, they make a balanced snack that keeps little ones energized without a sugar crash. This snack box is naturally gluten-free and can be made dairy-free with simple substitutions.
Dietary Considerations : This recipe is vegetarian, gluten-free (if using gluten-free crackers), and nut-free. It contains dairy from the cheese. For a vegan version, use dairy-free cheese or a small portion of hummus. Always check with your child’s school about any allergen policies before packing.
My Personal Wellness Perspective : I love that this snack box feels like a win-win. My daughter gets a snack she actually enjoys, and I feel good knowing she’s eating something wholesome. It’s not about being perfect — it’s about making small, smart choices that add up over time.
Conclusion
This Easy No-Spill Preschool Snack Box with Apple and Cheese is one of those simple solutions that makes parenting just a little bit easier. It’s quick to assemble, mess-free, and packed with the kind of balanced nutrition that keeps little ones happy and full. No more sad, brown apple slices. No more sweaty cheese ruining everything. Just a clean, simple snack that works.
I honestly love how customizable this snack box is. You can swap the apple for pear, the cheese for hummus, or add a few crackers for extra crunch. It’s a base recipe that invites creativity — and that’s the best kind of recipe to have in your back pocket.
So go ahead and give it a try. Slice that apple, cube that cheese, and pack it all into a compartment box. Your preschooler will thank you, and your morning routine will thank you too. I’d love to hear how it goes — drop a comment below and tell me what variations you tried. And if you loved this snack box, share it with a friend who’s also navigating the wild world of preschool lunches. We’re all in this together!
Frequently Asked Questions
1. Can I use pre-sliced apples from the store?
Yes, you can, but they won’t stay as crisp as freshly sliced apples. Pre-sliced apples have already been treated with a preservative to prevent browning, but they tend to soften faster. For the best texture, I recommend slicing your own apple right before packing.
2. How long will the apple slices stay fresh in the snack box?
When tossed with lemon juice and stored in a sealed container, apple slices will stay fresh and crisp for about 4-6 hours at room temperature. If refrigerated, they’ll last up to 24 hours. After that, they start to soften and lose their crunch.
3. Can I freeze this snack box for later?
I don’t recommend freezing this snack box. Apples become mushy and watery when thawed, and cheese loses its texture. This snack is best made fresh or prepped just a day in advance. Stick to refrigerator storage for the best results.
4. What kind of cheese works best for this snack box?
Semi-hard cheeses like cheddar, Colby Jack, Gouda, and provolone work best. They hold their shape, don’t get sticky, and are easy for little hands to pick up. Avoid soft cheeses like brie, mozzarella balls, or crumbled feta — they get messy quickly.
5. My child doesn’t like lemon juice on apples. What can I use instead?
If your child is sensitive to lemon flavor, try using a splash of orange juice or pineapple juice instead. Both contain citric acid that prevents browning but have a sweeter taste. You can also skip the acid bath entirely and just pack the apple slices — they’ll brown faster, but they’re still safe to eat. For a no-browning solution, try soaking the slices in a bowl of cold water with a pinch of salt for 2 minutes, then rinse and dry. The salt prevents browning without affecting the flavor.
Pin This Recipe!
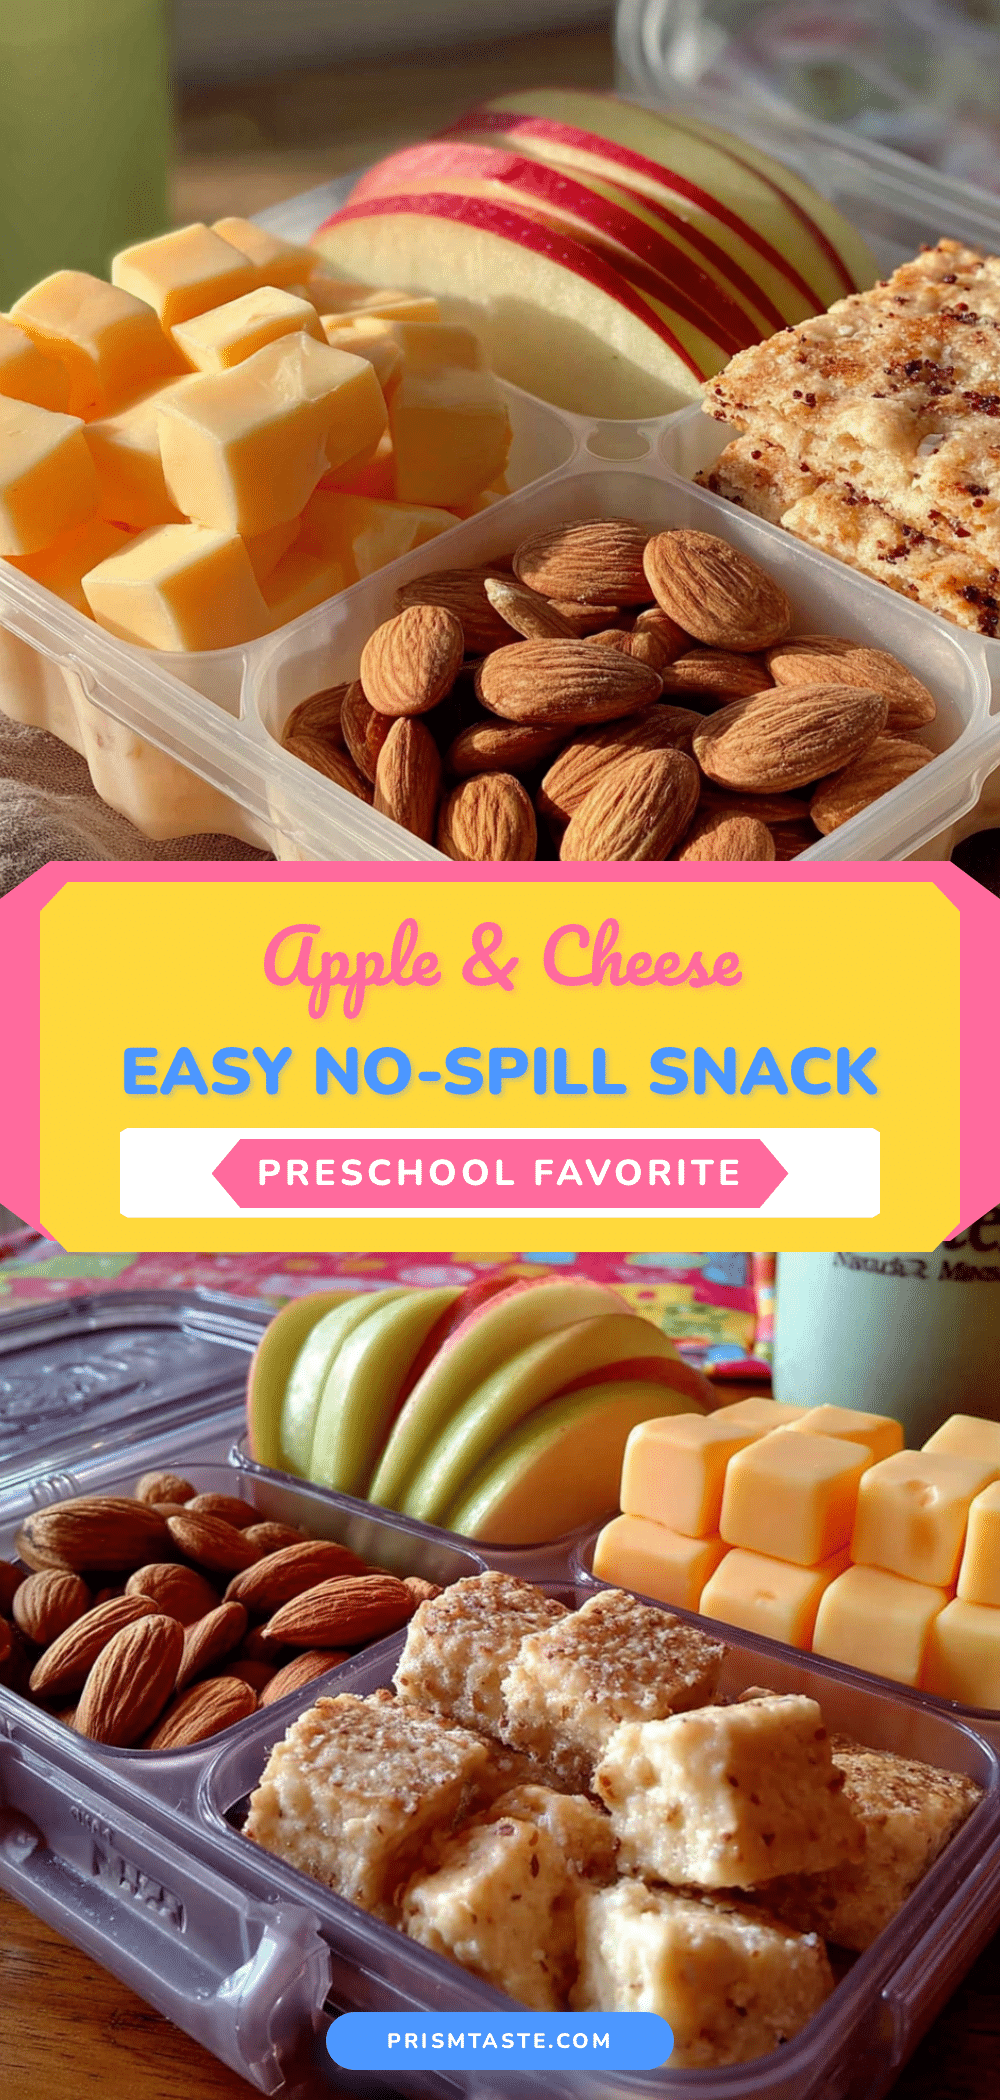
Easy No-Spill Preschool Snack Box with Apple & Cheese
A quick, mess-free snack box with pre-sliced apple and cheese cubes, perfect for preschool lunches, road trips, or any on-the-go snacking. Ready in under 5 minutes and designed to keep little hands happy and backpacks clean.
- Prep Time: 5 minutes
- Cook Time: 0 minutes
- Total Time: 5 minutes
- Yield: 1 serving 1x
- Category: Snack
- Cuisine: American
Ingredients
- 1 medium apple (Honeycrisp, Fuji, Gala, or Granny Smith)
- 1 ounce cheddar cheese (or other firm cheese like Colby Jack, Gouda, or mild provolone)
- 1 teaspoon lemon juice (freshly squeezed or bottled)
- 1 tablespoon water (optional, to dilute lemon juice)
- 1–2 whole wheat crackers or pretzels (optional, for added crunch)
Instructions
- Wash and prep the apple: Rinse the apple under cold water and pat dry. Use an apple slicer or knife to cut into wedges, removing the core. Slice each quarter into 4-6 thin wedges about 1/4 inch thick.
- Toss with lemon juice: Place apple slices in a small bowl. Add 1 teaspoon lemon juice and 1 tablespoon water (if using). Gently toss until all slices are lightly coated.
- Prep the cheese: Cut the cheese block into small cubes, about 1/2 inch in size. Aim for 4-6 cubes per snack box.
- Assemble the snack box: Open a compartment lunchbox or bento box. Place apple slices in one compartment and cheese cubes in another. Add crackers or pretzels in a third compartment if desired. Ensure the lid closes securely.
- Store or pack: Refrigerate the assembled snack box for up to 24 hours. For school, pack with an ice pack to keep cheese cool. Apple slices stay crisp for 4-6 hours.
- Serve and enjoy: When snack time comes, your child can open the box and eat directly from the compartments. No plates needed.
Notes
For dairy-free, swap cheese with dairy-free cheese or hummus. For a sweeter option, use Fuji or Gala apples. To prevent browning, always toss apple slices with lemon juice. Use a divided container to keep apple and cheese separate and avoid sogginess. Pack an ice pack if the lunchbox will be at room temperature for more than 2 hours.
Nutrition
- Serving Size: 1 snack box
- Calories: 200
- Sugar: 15
- Sodium: 180
- Fat: 9
- Saturated Fat: 5
- Carbohydrates: 22
- Fiber: 4
- Protein: 8
Keywords: preschool snack, no-spill snack box, apple and cheese, kid-friendly snack, easy lunchbox idea, mess-free snack, bento box snack


