Three minutes into the third quarter, and I was losing control of the situation. My carefully packed containers of individually portioned toppings had turned into a sad, sweaty mess in the back of the minivan. The cheese had congealed into a single, unappetizing slab. The chips were more crumbs than chips. I sat there, holding a paper plate of lukewarm disappointment, watching everyone else tear into their food with actual enthusiasm. And I thought—there has to be a better way to do nachos for a crowd.
That was the year I discovered the sheet pan method, and honestly, it changed my entire tailgate game. No more fumbling with multiple bowls. No more cold cheese. No more soggy chips. Just one pan, piled high, baked until everything melts together into the kind of messy, glorious perfection that makes people stop mid-conversation to grab another loaded bite. This recipe for Ultimate Tailgate Sheet Pan Nachos for a Crowd was born from that parking lot failure, and I have been making it ever since.
It is the kind of recipe that feels like cheating because it is so simple, but the result tastes like you spent hours layering flavors. The chips stay crunchy in all the right places, the meat is seasoned just enough, and the toppings—well, the toppings are where you get to make it your own. This is not fussy food. This is pull-up-a-chair-and-grab-a-fork food. And once you try it, you will never go back to the sad, soggy nacho days of your past.
Why You Will Love This Recipe
I have tested this recipe in every conceivable tailgate scenario—rain, sun, freezing cold, and that weird in-between weather where you wear shorts and a parka at the same time. It holds up. Every single time. Here is why this is the only nacho recipe you will ever need for a crowd:
- Feeds a Crowd with Zero Stress: One sheet pan serves 8-10 hungry people easily. No refills, no second batches, no hovering over a skillet.
- Crunch Factor That Lasts: The secret is in the layering and the oven time. These nachos stay crispy for a solid 20-30 minutes, which is basically an eternity in tailgate time.
- Fully Customizable: You can swap proteins, change cheeses, pile on different toppings—it is a template, not a strict rulebook. Everyone can find something to love.
- Make-Ahead Friendly: Prep the meat and toppings the night before, then assemble and bake at the tailgate. You can even transport the whole thing on the pan.
- Always a Crowd-Pleaser: I have watched people who claim they do not like nachos go back for thirds. There is something about that sheet pan presentation that just works.
What sets this recipe apart from the rest is the two-layer baking method. Most people pile everything on at once and end up with a mushy mess. By baking the chips and cheese first, then adding the hot toppings and baking again, you get that perfect contrast between crunchy chips and melty, gooey cheese. It is a small extra step that makes a massive difference. This is the kind of recipe that turns a regular game day into a memorable one—the kind where people ask you to bring the nachos next time before you have even finished cleaning up.
What Ingredients You Will Need
This recipe uses simple, easy-to-find ingredients that come together for maximum flavor with minimum fuss. Most of these are pantry staples or things you can grab at any grocery store without a second thought.
For the Base Layer
- 1 large bag (16-18 oz) restaurant-style tortilla chips: Go for the sturdy, thick ones—not the thin, delicate kind. I personally prefer Tostitos Scoops or a similar brand because they hold up better under all the toppings. You want chips that can handle the weight without snapping in half.
- 3 cups shredded Mexican blend cheese: A mix of Monterey Jack, cheddar, and Asadero melts beautifully. Pre-shredded works in a pinch, but freshly shredded melts smoother because it does not have the anti-caking coating. (I shred my own when I remember to, but let us be honest—sometimes the bag wins.)
- 1 cup shredded sharp cheddar cheese: Adds that extra punch of flavor and a nice golden color on top.
For the Meat Layer
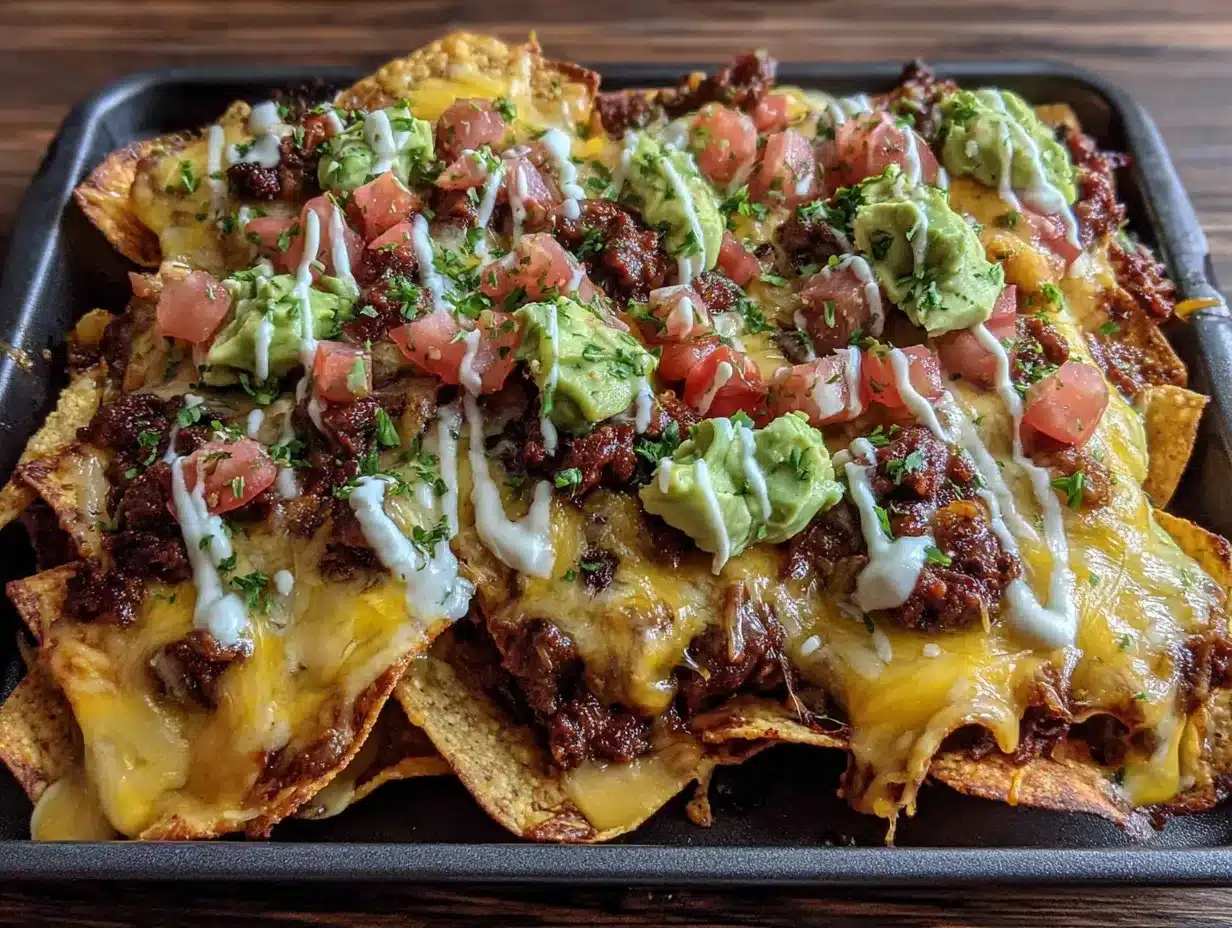
- 1 lb ground beef (80/20 blend): The fat content keeps the meat juicy without making it greasy. You can also use ground turkey or chorizo for a different flavor profile.
- 1 tbsp olive oil: For browning the meat if it is lean. You might not need it with 80/20 beef.
- 1 small yellow onion, finely diced: Adds sweetness and depth. Do not skip this—it is the backbone of the seasoning.
- 3 cloves garlic, minced: Fresh is best here. The jarred stuff works, but it lacks that punchy, aromatic quality.
- 1 packet (1 oz) taco seasoning: I use Old El Paso or make my own blend of chili powder, cumin, paprika, garlic powder, onion powder, oregano, and a pinch of cayenne. Homemade lets you control the salt and heat.
- 1/2 cup water: To help the seasoning distribute evenly and create a light sauce around the meat.
For the Toppings
- 1 can (15 oz) black beans, drained and rinsed: Adds fiber, protein, and a creamy texture. You can substitute refried beans if you prefer a thicker layer.
- 1 cup canned or frozen corn kernels: Fire-roasted corn adds a subtle smoky sweetness. Drain canned corn well to avoid extra moisture.
- 1 large jalapeño, thinly sliced (seeds removed for less heat): For that essential pop of color and heat. Pickled jalapeños work too and add a tangy note.
- 1/2 cup sliced black olives: Totally optional, but my family loves them. They add a briny, salty element that cuts through the richness.
- 1 large Roma tomato, diced: Adds freshness and acidity right at the end.
- 1/2 cup fresh cilantro, roughly chopped: Do not skip this—it makes everything taste brighter and more finished.
- 1 avocado, diced: For creamy, buttery richness. Add this right before serving so it does not brown.
- 1/2 cup sour cream or Mexican crema: For drizzling. The tanginess balances the savory, spicy elements perfectly.
- 1 lime, cut into wedges: A squeeze of lime juice right before eating wakes up all the flavors.
Equipment Needed
You do not need a fully stocked professional kitchen for this recipe. A few basic tools will get the job done beautifully.
- Half-sheet pan (18×13 inches): This is the star of the show. A rimmed baking sheet keeps everything contained and makes transport easy. If you do not have one, a 9×13 baking dish works, but you will need to adjust the chip quantity.
- Large skillet or frying pan: For cooking the meat and onions. Cast iron is great for even browning, but any non-stick or stainless steel pan works.
- Cutting board and sharp knife: For dicing onions, tomatoes, and avocado. A dull knife makes this job frustrating—trust me on this one.
- Mixing bowls: For holding prepped ingredients. I like to use small bowls to organize everything before assembly.
- Spatula or wooden spoon: For breaking up the meat as it cooks.
- Aluminum foil: For lining the sheet pan. It makes cleanup ridiculously easy, which is important when you are tailgating and do not have access to a sink.
- Oven mitts: That pan gets hot, and you will be handling it multiple times.
If you are tailgating without access to an oven, you can absolutely make these on a grill or camp stove using a cast iron skillet or disposable aluminum pan. Just cover with foil to trap the heat and melt the cheese evenly. I have done it both ways, and honestly, the smoky flavor from the grill adds an extra layer of deliciousness.
Preparation Method
This method is designed to be efficient and foolproof. Follow these steps, and you will have perfect sheet pan nachos every single time.
- Preheat your oven to 400°F (200°C). If you are using a grill, set it up for indirect heat at around the same temperature. Line your sheet pan with aluminum foil for easy cleanup.
- Cook the seasoned meat. Heat a large skillet over medium-high heat. Add the olive oil if needed, then the ground beef. Break it up with a spatula and cook until browned, about 6-8 minutes. Drain off any excess fat (leave about a tablespoon for flavor). Add the diced onion and cook for 2-3 minutes until softened. Stir in the minced garlic and cook for 30 seconds until fragrant. Sprinkle the taco seasoning over the meat, add the water, and stir. Let it simmer for 2-3 minutes until the liquid thickens slightly. Remove from heat and set aside.
- Layer the chips. Spread the tortilla chips evenly on the prepared sheet pan in a single, slightly overlapping layer. You want a good base that covers the whole pan without piling too high in one spot. Leave a little space around the edges for the cheese to bubble.
- First cheese layer. Sprinkle about 1 1/2 cups of the Mexican blend cheese evenly over the chips. This first layer of cheese melts into the chips and creates a protective barrier that keeps them from getting soggy when you add the wetter toppings later.
- Bake the base. Place the sheet pan in the preheated oven and bake for 5-7 minutes, or until the cheese is fully melted and bubbly. The chips should be starting to turn golden at the edges. Remove from the oven.
- Add the meat and beans. Spoon the cooked seasoned meat evenly over the melted cheese layer. Dot the drained black beans and corn over the top. This is where you can get creative—distribute everything so each bite has a little bit of everything.
- Second cheese layer. Sprinkle the remaining 1 1/2 cups of Mexican blend cheese and the shredded sharp cheddar over the meat and beans. Be generous—this is the top layer that gets all golden and irresistible.
- Final bake. Return the sheet pan to the oven and bake for another 10-12 minutes, until the cheese is fully melted, bubbly, and starting to brown in spots. The edges of the chips should be deep golden. Keep an eye on it—you want gooey, not burnt.
- Add fresh toppings. Remove the pan from the oven and let it rest for 2-3 minutes (this prevents burns and lets the cheese set slightly). Sprinkle the sliced jalapeños, diced tomato, black olives (if using), and fresh cilantro over the top. Add the diced avocado and dollops of sour cream or crema.
- Finish with lime. Squeeze the juice of one lime wedge over the entire pan. This brightens everything and cuts through the richness. Serve immediately with extra lime wedges on the side.
Pro tip: If you are transporting these to a tailgate, assemble everything up to step 7 at home, cover tightly with foil, and bake at the tailgate. The second bake will heat everything through perfectly, and you will have fresh, hot nachos ready to serve.
Cooking Tips and Techniques
Over the years, I have made every mistake in the book with sheet pan nachos. Here is what I have learned so you do not have to repeat my failures.
Do not overcrowd the chips. I know it is tempting to pile them high, but a single layer is crucial. If you stack chips on top of each other, the ones on the bottom will steam instead of crisp, and you will end up with a sad, soggy middle layer. If you need to feed more people, use two sheet pans instead of one overstuffed pan.
Drain your wet ingredients well. Canned beans and corn hold a surprising amount of liquid. Rinse them thoroughly and let them drain in a colander for a few minutes before adding them to the nachos. Excess moisture is the enemy of crispy chips. I learned this the hard way when my first batch turned into nacho soup.
Watch your oven temperature. Every oven runs a little differently. If your nachos are browning too fast on the edges but the cheese in the middle is not melted yet, tent the pan loosely with foil for the last few minutes of baking. This traps heat and helps everything melt evenly without burning the edges.
Timing is everything. These nachos are best served within 10-15 minutes of coming out of the oven. If you are making them for a party, time the final bake so they come out right when people are ready to eat. You can keep them warm in a low oven (200°F) for up to 20 minutes, but the chips will start to soften after that.
Use room temperature ingredients. If your sour cream and avocado are straight from the fridge, they will cool down the hot nachos. Let them sit out for 15-20 minutes before serving. It is a small detail, but it makes a difference in the overall experience.
I once forgot to drain the black beans and ended up with pink, watery nachos that looked like a science experiment. Nobody wants that. Trust the process, and your nachos will be legendary.
Variations and Adaptations
This recipe is incredibly flexible. Here are some of my favorite ways to change it up depending on the crowd, the occasion, or just my mood.
Protein Swaps
- Chicken Nachos: Use shredded rotisserie chicken tossed with taco seasoning and a splash of lime juice. It is a great way to use up leftover chicken, and it cooks even faster than ground beef.
- Carnitas Nachos: Slow-cooked pork carnitas add a rich, tender texture that pairs beautifully with the crunchy chips and melty cheese. If you have leftover crockpot Mississippi pot roast, you can shred that and use it too—the flavor profile works surprisingly well.
- Vegetarian Nachos: Skip the meat entirely and double up on the black beans and corn. Add sautéed bell peppers and onions, and throw in some roasted sweet potato cubes for extra heartiness.
Dietary Adaptations
- Gluten-Free: Most tortilla chips are naturally gluten-free, but double-check the label. Everything else in this recipe is gluten-free as written.
- Dairy-Free: Use a high-quality dairy-free shredded cheese blend (I like Violife or Daiya for melting) and a dairy-free sour cream alternative. The texture will be slightly different, but it still hits the spot.
- Low-Carb/Keto: Replace the tortilla chips with pork rinds or baked cheese crisps. The toppings remain the same, and you get a surprisingly satisfying crunch.
Flavor Twists
- Buffalo Chicken Nachos: Swap the taco seasoning for buffalo sauce. Use shredded chicken tossed in buffalo sauce, top with blue cheese crumbles and ranch dressing instead of sour cream. Add celery slices for crunch.
- BBQ Pulled Pork Nachos: Use leftover pulled pork tossed in your favorite BBQ sauce. Replace the taco seasoning with a smoky BBQ rub, and top with pickled red onions and coleslaw.
- Breakfast Nachos: Yes, this is a thing. Use scrambled eggs, breakfast sausage or bacon, and top with pico de gallo and crema. It is a game-changer for morning tailgates.
My personal favorite variation is the Buffalo Chicken version. I made it for a playoff game last year, and my friends still talk about it. The tangy, spicy buffalo sauce cuts through the richness of the cheese in a way that is just addictive. Give it a try if you are feeling adventurous.
Serving and Storage Suggestions
These nachos are best enjoyed fresh and hot, straight from the sheet pan. But let us be realistic—sometimes there are leftovers (though honestly, that is rare in my house).
Serving Temperature: Serve immediately after the final bake and fresh toppings are added. The ideal temperature is hot enough to melt the cheese but not so hot that it burns your mouth. Let it rest for 2-3 minutes after baking to hit that sweet spot.
Presentation: Set the sheet pan right on the table or tailgate with a stack of plates and forks. I like to put out small bowls of extra toppings—extra jalapeños, extra sour cream, extra salsa—so people can customize their own portions. It makes the whole thing feel more interactive and fun.
What to Serve With It: These nachos are a meal on their own, but they pair beautifully with other tailgate favorites. A side of crispy air fryer corn on the cob with easy elote seasoning is a natural companion—the smoky, spicy corn complements the nachos perfectly. For a lighter option, a fresh watermelon feta mint salad with zesty honey lime dressing adds a refreshing, sweet contrast to all that savory goodness. And if you want a dip to go alongside, my creamy game day slow cooker queso blanco and hatch chili dip is always a hit.
Storage: If you somehow have leftovers, let the nachos cool completely, then transfer them to an airtight container. Store in the refrigerator for up to 2 days. Be warned—the chips will soften significantly overnight. They are not great for eating cold, but they reheat reasonably well.
Reheating: The best way to revive leftover nachos is in the oven or air fryer. Spread them on a sheet pan and bake at 350°F for 8-10 minutes, or until heated through and the chips crisp up slightly. The microwave will turn them into a sad, chewy mess—avoid it if you can. I have also had success reheating them in a dry skillet over medium heat, stirring occasionally, until warmed through.
Flavor Development: Honestly, these nachos are at their absolute peak within 15 minutes of coming out of the oven. The contrast between the hot, melty cheese and the cold, fresh toppings is what makes them special. Do not try to make them hours ahead—the magic is in the timing.
Nutritional Information and Benefits
Let us be real—nachos are not health food. But that does not mean they cannot be part of a balanced diet, especially when you load them up with nutrient-dense toppings. Here is a rough estimate of what you are working with per serving (based on 8 servings).
| Nutrient | Amount Per Serving |
|---|---|
| Calories | ~480-550 |
| Protein | 22-25g |
| Fat | 28-32g |
| Carbohydrates | 40-45g |
| Fiber | 6-8g |
| Sodium | 800-1000mg |
Health Highlights: The black beans and corn provide a solid dose of fiber and plant-based protein, which helps keep you full and satisfied. The avocado adds heart-healthy monounsaturated fats and potassium. The tomatoes and cilantro bring vitamins A and C, plus antioxidants. And the cheese—well, the cheese gives you calcium and a reason to smile.
Dietary Considerations: This recipe can be made gluten-free by using certified gluten-free tortilla chips. It is naturally nut-free and egg-free. For a lower-sodium version, use reduced-sodium taco seasoning and low-sodium beans, and go easy on the added salt. If you are watching your saturated fat intake, use a reduced-fat cheese blend and lean ground turkey instead of beef.
Personal Wellness Perspective: I believe in balance. These nachos are a celebration food—something you make for game days, parties, and gatherings where the goal is connection and enjoyment. I do not worry about the calories on those days. I focus on the experience, the laughter, and the joy of sharing a meal with people I care about. And honestly, a little bit of indulgence is good for the soul.
Frequently Asked Questions
Can I make these nachos ahead of time for a party?
You can prep all the components ahead of time—cook the meat, shred the cheese, chop the vegetables—and store them separately in the refrigerator. Assemble and bake right before serving for the best texture. I do not recommend assembling the whole dish ahead of time because the chips will absorb moisture and become soft.
What is the best type of tortilla chip to use?
Restaurant-style or scoop-shaped chips are your best bet. They are thicker and sturdier than standard round chips, which means they hold up better under the weight of all those toppings. Avoid thin, delicate chips like Santitas or generic store brands—they will break apart in the pan.
Can I cook these nachos on a grill instead of an oven?
Absolutely. Set up your grill for indirect heat at around 400°F. Use a disposable aluminum pan or a cast iron skillet. Cover the pan with foil for the first bake to trap heat and melt the cheese evenly. The smoky flavor from the grill adds an incredible depth that you cannot get from an oven.
How do I keep the chips from getting soggy?
The two-layer baking method is key. Baking the chips with the first layer of cheese creates a protective barrier that prevents moisture from the meat and beans from soaking into the chips. Also, make sure to drain your beans and corn thoroughly before adding them. And do not add the fresh toppings like tomatoes and avocado until after the final bake.
Can I freeze leftover nachos?
I do not recommend freezing assembled nachos. The texture of the chips and cheese will be completely ruined upon thawing and reheating. If you have leftover cooked meat, you can freeze that separately for up to 3 months and use it later for tacos, burritos, or another batch of fresh nachos.
Conclusion
These Ultimate Tailgate Sheet Pan Nachos are everything you want in a crowd-pleasing recipe—easy to make, endlessly customizable, and absolutely delicious. The combination of crunchy chips, seasoned meat, melty cheese, and fresh toppings creates a symphony of textures and flavors that will have everyone coming back for more. Whether you are hosting a game day party, a backyard barbecue, or just a casual get-together with friends, this recipe delivers every single time.
I love this recipe because it reminds me of the best parts of game day—the laughter, the friendly arguments over calls, and the way food brings people together. It is not fancy or complicated. It is just honest, satisfying food that makes people happy. And honestly, that is the best kind of recipe there is.
So grab a sheet pan, preheat your oven, and get ready to make the best nachos of your life. And when you do, I want to hear about it. Leave a comment below and tell me how you customized your nachos—what protein did you use? What were your favorite toppings? Did anyone fight over the last crispy chip? Share your stories and photos, and let us keep the tailgate spirit alive all year round. Happy cooking, and see you at the game
Pin This Recipe!
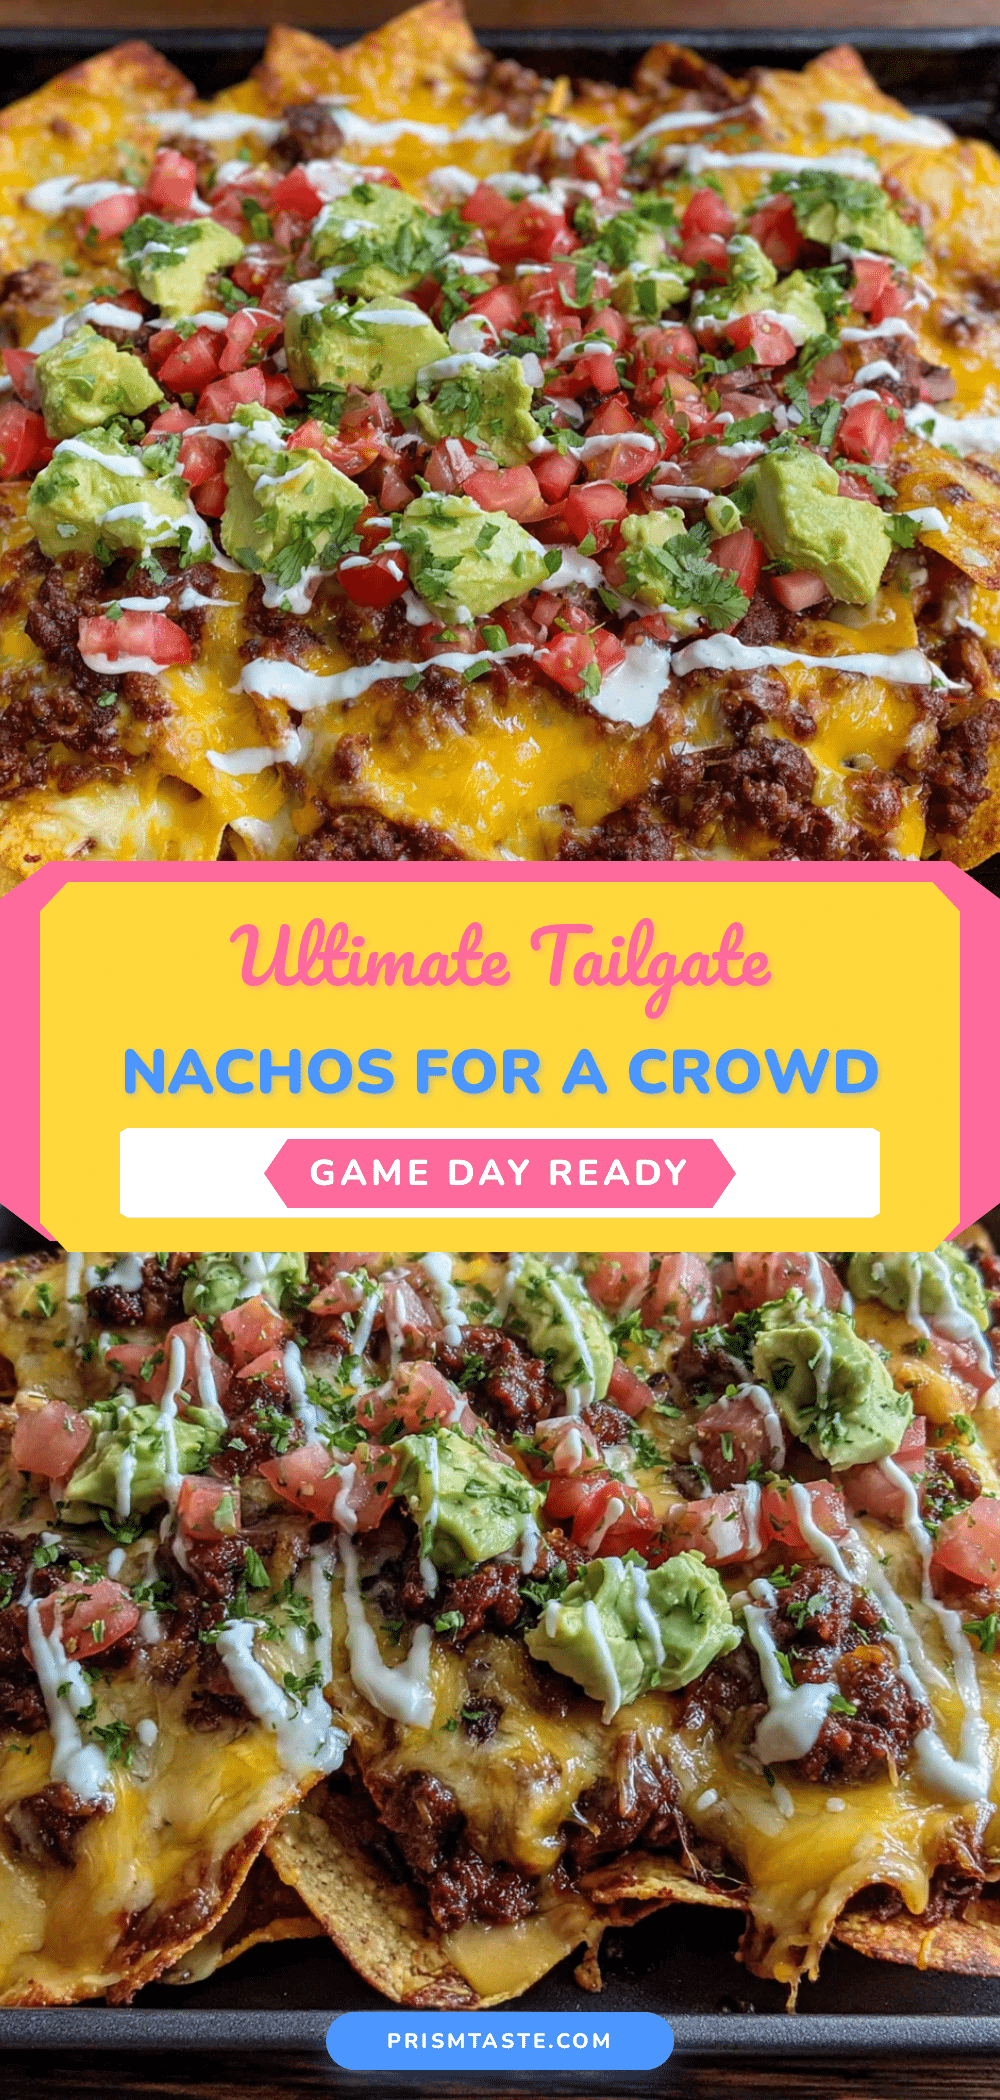
Ultimate Sheet Pan Nachos: Best Tailgate Recipe for a Crowd
These Ultimate Tailgate Sheet Pan Nachos are everything you want in a crowd-pleasing recipe—easy to make, endlessly customizable, and absolutely delicious. The combination of crunchy chips, seasoned meat, melty cheese, and fresh toppings creates a symphony of textures and flavors that will have everyone coming back for more.
- Prep Time: 15 minutes
- Cook Time: 20 minutes
- Total Time: 35 minutes
- Yield: 8-10 servings 1x
- Category: Main Course
- Cuisine: Mexican-American
Ingredients
- 1 large bag (16–18 oz) restaurant-style tortilla chips
- 3 cups shredded Mexican blend cheese
- 1 cup shredded sharp cheddar cheese
- 1 lb ground beef (80/20 blend)
- 1 tbsp olive oil
- 1 small yellow onion, finely diced
- 3 cloves garlic, minced
- 1 packet (1 oz) taco seasoning
- 1/2 cup water
- 1 can (15 oz) black beans, drained and rinsed
- 1 cup canned or frozen corn kernels
- 1 large jalapeño, thinly sliced (seeds removed for less heat)
- 1/2 cup sliced black olives
- 1 large Roma tomato, diced
- 1/2 cup fresh cilantro, roughly chopped
- 1 avocado, diced
- 1/2 cup sour cream or Mexican crema
- 1 lime, cut into wedges
Instructions
- Preheat your oven to 400°F (200°C). Line your sheet pan with aluminum foil for easy cleanup.
- Cook the seasoned meat. Heat a large skillet over medium-high heat. Add the olive oil if needed, then the ground beef. Break it up with a spatula and cook until browned, about 6-8 minutes. Drain off any excess fat (leave about a tablespoon for flavor). Add the diced onion and cook for 2-3 minutes until softened. Stir in the minced garlic and cook for 30 seconds until fragrant. Sprinkle the taco seasoning over the meat, add the water, and stir. Let it simmer for 2-3 minutes until the liquid thick…
- Layer the chips. Spread the tortilla chips evenly on the prepared sheet pan in a single, slightly overlapping layer.
- First cheese layer. Sprinkle about 1 1/2 cups of the Mexican blend cheese evenly over the chips.
- Bake the base. Place the sheet pan in the preheated oven and bake for 5-7 minutes, or until the cheese is fully melted and bubbly. Remove from the oven.
- Add the meat and beans. Spoon the cooked seasoned meat evenly over the melted cheese layer. Dot the drained black beans and corn over the top.
- Second cheese layer. Sprinkle the remaining 1 1/2 cups of Mexican blend cheese and the shredded sharp cheddar over the meat and beans.
- Final bake. Return the sheet pan to the oven and bake for another 10-12 minutes, until the cheese is fully melted, bubbly, and starting to brown in spots.
- Add fresh toppings. Remove the pan from the oven and let it rest for 2-3 minutes. Sprinkle the sliced jalapeños, diced tomato, black olives (if using), and fresh cilantro over the top. Add the diced avocado and dollops of sour cream or crema.
- Finish with lime. Squeeze the juice of one lime wedge over the entire pan. Serve immediately with extra lime wedges on the side.
Notes
The two-layer baking method is key to keeping chips crunchy. Drain beans and corn thoroughly to avoid sogginess. For tailgating, assemble up to step 7 at home, cover with foil, and bake at the tailgate. Best served within 10-15 minutes of baking.
Nutrition
- Serving Size: 1 serving (based on
- Calories: 515
- Sugar: 4
- Sodium: 900
- Fat: 30
- Saturated Fat: 12
- Carbohydrates: 43
- Fiber: 7
- Protein: 24
Keywords: sheet pan nachos, tailgate recipe, game day food, nachos for a crowd, easy nachos, ground beef nachos, party food


