My grandmother thought canned tomato sauce from a jar was progress. She grew up helping her mother put up bushels of Roma tomatoes every August, standing over a steaming pot in a kitchen with no air conditioning. So when grocery store shelves started stocking decent jarred sauce, she hung up her canning pot without looking back. I inherited that skepticism. For years, I bought my tomato sauce in glass jars with fancy Italian labels, convinced that homemade canning was some kind of culinary hazing ritual that only homesteaders and people with too much time on their hands bothered with. Then my neighbor dropped off three boxes of overripe tomatoes from her garden and basically dared me to do something with them before they rotted on my counter. I almost composted them. Honestly, I thought making easy homemade canned tomato sauce for beginners was going to be a sticky, frustrating mess that would end with me ordering pizza.
I was wrong. And I don’t say that often about kitchen projects. The first time I pulled a jar of my own sauce off the shelf in January, opened it, and smelled July, something clicked. It wasn’t just about having tomato sauce — it was about having my tomato sauce, made exactly how I like it, with no added sugar, no citric acid for that weird tang, and a depth of flavor you just cannot get from a jar. That first batch was far from perfect. I got water-bath timing wrong on half the jars, and one of them didn’t seal properly. But the ones that worked? They turned my weeknight pasta into something I actually looked forward to.
This recipe for easy homemade canned tomato sauce for beginners strips away all the intimidation. No fancy equipment you don’t already own. No complicated sterilization rituals that sound like a chemistry lab safety manual. Just good tomatoes, a little time, and a process that makes you feel like you actually accomplished something real. If I can do this — someone who once burned water — you absolutely can too.
Why You’ll Love This Recipe
- Beginner-Friendly Process : No pressure canners, no complicated pH testing, no special skills required. If you can boil water and chop vegetables, you can make this sauce.
- Simple, Whole Ingredients : You control exactly what goes in. No preservatives, no high-fructose corn syrup, no mysterious “natural flavors.” Just tomatoes, aromatics, and herbs.
- Budget-Friendly : When tomatoes are in season, you can make a year’s worth of sauce for what you would spend on two months of jarred sauce from the store.
- Incredible Flavor Payoff : The taste difference between homemade canned sauce and store-bought is honestly shocking. It’s richer, brighter, and tastes like actual tomatoes instead of tomato-flavored paste.
- Year-Round Convenience : Spend one afternoon in late summer, and you have instant homemade sauce for pasta, pizza, soups, and stews all winter long.
- Customizable to Your Taste : Like it garlicky? Add more. Prefer it smooth? Blend it. Want it spicy? Toss in some red pepper flakes. This sauce bends to your preferences.
What makes this recipe different is that it’s designed for real people with real kitchens. I tested this method after a few failed attempts that left me with watery sauce and a sticky stovetop. The secret is roasting the tomatoes first — it concentrates their flavor without hours of simmering and eliminates the need for tomato paste to thicken things up. This is the version I wish I had when I started canning. It’s forgiving, it’s straightforward, and it actually works.
What Ingredients You Will Need
This recipe relies on fresh, ripe tomatoes as the star, with a handful of pantry staples to build depth and complexity. The ingredient list is intentionally short because good tomato sauce doesn’t need much.
- 10 pounds ripe Roma tomatoes (or San Marzano if you can find them) — Roma tomatoes have thicker flesh, fewer seeds, and less water content, which means you get a richer sauce with less simmering time. Look for tomatoes that are deep red, firm but give slightly to pressure, and smell fragrant at the stem end.
- 4 tablespoons olive oil — Use a good quality extra virgin olive oil for roasting. It adds richness and helps carry the flavors of the aromatics. I prefer California Olive Ranch for everyday cooking.
- 2 large yellow onions, roughly chopped — Onions provide natural sweetness and savory depth. Yellow onions are ideal because they balance sweetness and sharpness perfectly.
- 8 cloves garlic, smashed — Fresh garlic is non-negotiable here. Smash the cloves rather than mincing them — they’ll infuse the sauce during roasting without burning.
- 2 tablespoons tomato paste (optional but recommended) — This adds a concentrated tomato flavor and helps deepen the color. I use Amore double-concentrated tomato paste in a tube because it’s convenient and potent.
- 2 teaspoons salt — Use kosher salt for best results. Table salt is more concentrated, so adjust accordingly.
- 1 teaspoon black pepper — Freshly ground, please. Pre-ground pepper loses its punch.
- 2 tablespoons dried oregano — Dried oregano holds up better to canning than fresh. I use Mediterranean oregano for its floral, slightly peppery notes.
- 1 tablespoon dried basil — Or 1/4 cup fresh basil leaves, added after roasting. Dried is more stable for canning; fresh gives a brighter flavor but is best added when you open the jar.
- 2 tablespoons balsamic vinegar — This is my secret ingredient. It brightens the sauce and adds a subtle sweetness without sugar. Do not skip this.
- 2 teaspoons sugar (optional) — Only if your tomatoes taste acidic or underripe. Good in-season tomatoes usually don’t need it.
- 2 tablespoons fresh lemon juice (added per jar during canning) — This is essential for safe water-bath canning. It ensures the proper acidity level to prevent botulism. Do not omit or reduce this.
- Canning salt (optional, for final seasoning) — Regular salt works fine, but canning salt doesn’t have anti-caking agents that can cloud your brine.
Equipment Needed
You don’t need a lot of specialized gear for this recipe, which is exactly why it’s perfect for beginners. Here’s what you’ll need:
- Large roasting pan or two rimmed baking sheets — For roasting the tomatoes. Half-sheet pans work great and fit in most ovens.
- Large stockpot or Dutch oven — At least 8 quarts for simmering the sauce. I use a 12-quart stainless steel stockpot.
- Immersion blender or regular blender — An immersion blender lets you blend the sauce right in the pot, which means less mess. A regular blender works too, just work in batches and let steam escape.
- Water-bath canner or large stockpot with rack — A proper water-bath canner has a rack that keeps jars off the bottom. If you don’t have one, you can use a deep stockpot with a folded kitchen towel on the bottom.
- 6 to 8 pint-sized canning jars with new lids and bands — Pint jars are the perfect size for a batch of pasta sauce. Make sure you buy new lids — used lids often fail to seal.
- Jar lifter — This is worth buying. Trying to grab hot jars with tongs is a recipe for disaster. They cost about $8 and save you from burns.
- Canning funnel — Makes filling jars infinitely less messy. A wide-mouth funnel is ideal.
- Clean dish towels — For resting jars after processing and for wiping rims.
- Magnetic lid wand (optional but handy) — Makes picking hot lids out of simmering water much easier.
If you don’t have a water-bath canner, you can absolutely use a deep stockpot. Just make sure the jars are covered by at least 1 inch of water during processing, and place a folded towel or silicone trivet on the bottom to prevent the jars from rattling against the metal.
Preparation Method
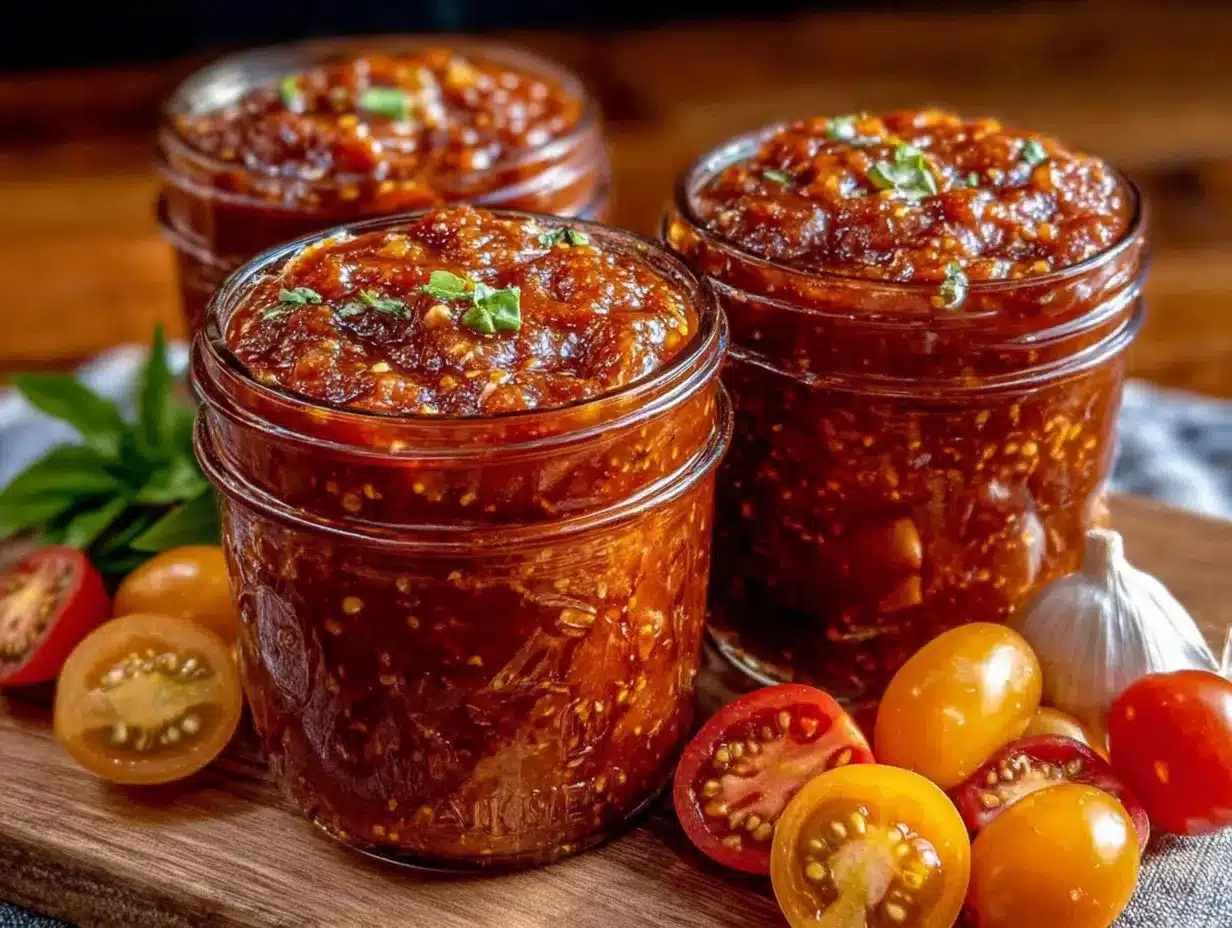
This process breaks down into three main stages: roasting the tomatoes, simmering the sauce, and canning it. Take your time with each step, and don’t rush the roasting — that’s where the magic happens.
Stage 1: Roast the Tomatoes
- Preheat your oven to 400°F (200°C). Position racks in the upper and lower thirds of the oven if using two pans.
- Wash your tomatoes thoroughly and cut out the stems. Cut larger tomatoes in half lengthwise; leave smaller ones whole. You want roughly uniform pieces for even roasting.
- Toss the tomatoes, chopped onions, and smashed garlic cloves with the olive oil, salt, and pepper directly on your roasting pans. Spread them in a single layer — crowding will steam them instead of roasting them.
- Roast for 45 to 60 minutes, stirring halfway through. You’re looking for the tomatoes to be soft, wrinkled, and starting to caramelize around the edges. The onions should be translucent and lightly browned. Your kitchen will smell incredible at this point.
- Let the roasted vegetables cool for about 10 minutes. They’ll be steaming hot, and you don’t want to blend them while they’re still bubbling.
Stage 2: Make the Sauce
- Transfer the roasted tomatoes, onions, and garlic to your large stockpot, scraping up all those browned bits from the pans. Those bits are pure flavor.
- Add the tomato paste, dried oregano, dried basil, and balsamic vinegar. Stir to combine.
- Use your immersion blender to puree the mixture until smooth. If you prefer a chunkier sauce, pulse it a few times and leave some texture. If using a regular blender, work in batches and remove the center cap from the lid to let steam escape — cover it with a kitchen towel to prevent splatters.
- Bring the sauce to a gentle simmer over medium heat. Reduce the heat to low and let it cook uncovered for 30 to 45 minutes, stirring occasionally. The sauce will thicken slightly and the flavors will meld together.
- Taste and adjust seasoning. Add sugar if the sauce tastes acidic. Add more salt or herbs if needed. Remember that flavors will concentrate slightly during canning, so don’t overseason.
Stage 3: Can the Sauce
- While the sauce simmers, prepare your water-bath canner. Fill it about halfway with water and bring it to a simmer (180°F/82°C). You want it hot but not boiling when you add the jars.
- Wash your jars, lids, and bands in hot, soapy water. Rinse thoroughly. Place the jars in the canner or a separate pot of simmering water to keep them hot. Place the lids in a small saucepan of simmering water — do not boil them, just keep them hot.
- Add 2 tablespoons of fresh lemon juice to each clean, hot pint jar. This is critical for safe canning — the lemon juice ensures the sauce is acidic enough to prevent bacterial growth.
- Using your canning funnel, ladle the hot sauce into the hot jars, leaving 1/2 inch of headspace at the top. Run a clean, non-metallic spatula or chopstick around the inside of each jar to release any trapped air bubbles.
- Wipe the rims of the jars with a clean, damp towel. Any sauce residue on the rim can prevent a proper seal. Place a lid on each jar and screw on the band until fingertip-tight — don’t overtighten.
- Using your jar lifter, carefully lower the jars into the simmering water in your canner. Make sure they’re covered by at least 1 inch of water. Add more hot water if needed.
- Bring the water to a full rolling boil, then start your timer. Process pint jars for 35 minutes at altitudes up to 1,000 feet. Adjust processing time for higher altitudes (add 5 minutes for every 1,000 feet above sea level).
- Turn off the heat and let the jars sit in the water for 5 minutes. Then remove them with your jar lifter and place them on a clean dish towel, leaving at least 1 inch of space between jars. Do not tighten the bands or touch the lids.
- Let the jars cool undisturbed for 12 to 24 hours. You’ll hear a satisfying “ping” sound as each jar seals — that’s the sound of success.
- After cooling, press the center of each lid. If it doesn’t flex up and down, the jar is sealed. Remove the bands and check again. Any unsealed jars should be refrigerated and used within a week.
Cooking Tips & Techniques
I learned most of these tips the hard way — through failed seals, bland sauce, and one particularly memorable incident involving a blender lid that wasn’t properly secured. Learn from my mistakes.
Don’t skip the roasting step. I know it adds time, and I know you’re tempted to just dump everything in a pot and simmer it for hours. But roasting concentrates the tomato flavor in a way that stovetop simmering cannot replicate. You get caramelization, depth, and a natural sweetness that makes you wonder why you ever added sugar to tomato sauce.
Check your jar rims carefully. A tiny nick or crack in the rim will prevent the lid from sealing. I ruined an entire batch once because I didn’t notice a hairline crack in one jar. Hold each jar up to the light and run your finger around the rim before filling.
Don’t overtighten the bands. This is the most common beginner mistake. When you screw the bands on too tight, air can’t escape during processing, which can cause the jars to buckle or the lids to warp. Fingertip-tight means you tighten until you feel resistance, then stop. That’s it.
Trust the lemon juice. I know it seems like a small amount, and you might be tempted to skip it or reduce it. Don’t. Tomatoes vary in acidity depending on variety, ripeness, and growing conditions. The lemon juice guarantees a safe pH level for water-bath canning. Your sauce will not taste like lemonade, I promise.
Label your jars. You think you’ll remember what you canned and when. You won’t. Six months from now, you’ll have unlabeled jars of mystery sauce staring at you from the pantry. Write the date and contents on the lid with a permanent marker or use adhesive labels.
Work in batches if needed. If you have more sauce than jars, that’s fine. You can freeze the extra sauce in freezer-safe containers or zip-top bags. Frozen tomato sauce keeps for about 6 months and is perfect for quick weeknight meals.
Variations & Adaptations
This basic recipe is a starting point, not a rulebook. Here are some ways to make it your own:
Spicy Arrabbiata Sauce: Add 2 teaspoons of red pepper flakes along with the dried herbs. For extra heat, roast a couple of dried chiles (like arbol or guajillo) along with the tomatoes. This version is incredible on pasta with garlic and olive oil.
Roasted Garlic and Herb Sauce: Double the garlic and roast an entire head of garlic alongside the tomatoes. Squeeze the roasted cloves into the sauce before blending. Add fresh rosemary and thyme along with the oregano and basil. This makes an amazing pizza sauce.
Smoky Chipotle Tomato Sauce: Add 2 to 3 chipotle peppers in adobo sauce when you blend the roasted tomatoes. The smokiness pairs beautifully with the roasted flavor. Use this for enchiladas, tacos, or as a base for chili.
Meaty Marinara: After roasting the vegetables, brown 1 pound of ground beef, Italian sausage, or turkey in the stockpot before adding the roasted tomatoes. Simmer everything together and proceed with canning. Note that meat-based sauces require pressure canning, not water-bath canning, for safety.
Low-Sodium Version: Omit the salt entirely or reduce it to 1 teaspoon. The balsamic vinegar and roasted tomatoes provide plenty of flavor. You can always add salt when you open the jar.
Herb-Free Base: Make the sauce without any herbs — just tomatoes, onions, garlic, salt, and balsamic vinegar. This neutral base is incredibly versatile. You can add herbs when you open each jar depending on what you’re cooking. Want Italian? Add basil and oregano. Want Mexican? Add cumin and cilantro. It’s like having a blank canvas.
Serving & Storage Suggestions
This sauce is incredibly versatile, and its uses go way beyond spaghetti. Here’s how to get the most out of your homemade jars.
Serving Temperature and Presentation: Serve the sauce hot, straight from the jar after reheating. For pasta, toss the hot sauce with cooked spaghetti, linguine, or penne and finish with fresh basil and grated Parmesan. For pizza, spread the sauce cold directly on the dough — it will heat up in the oven. For a quick soup, thin the sauce with broth and add cooked beans or vegetables.
Complementary Dishes: This sauce pairs beautifully with garlic bread, a simple green salad with vinaigrette, or roasted vegetables. For a complete meal, serve it over brown butter banana bread — wait, no. Serve it over pasta with garlic butter shrimp for a restaurant-quality dinner that comes together in minutes. It also works beautifully in deconstructed pizza lunchboxes for kids — just use the sauce as a dipping base.
Storage Instructions: Properly sealed jars of tomato sauce can be stored in a cool, dark pantry for 12 to 18 months. The color may darken slightly over time, but the flavor will remain excellent. Once opened, refrigerate the jar and use the sauce within 5 to 7 days.
Reheating Methods: To reheat, simply pour the sauce into a saucepan and warm over medium-low heat, stirring occasionally. You can also microwave it in a glass bowl in 30-second intervals. If the sauce has thickened during storage, add a splash of pasta water or broth to thin it.
Flavor Development: Like many canned goods, this sauce actually improves after a few weeks of storage. The flavors meld and mellow, and the acidity balances out. I always save the first jar I open for at least a month after canning — that’s when the sauce hits its peak.
Nutritional Information & Benefits
This homemade tomato sauce is not just delicious — it’s genuinely good for you. Here’s what you’re getting in each serving (approximate values per 1/2 cup serving):
- Calories: 65
- Total Fat: 3.5g
- Sodium: 320mg (varies with added salt)
- Total Carbohydrates: 8g
- Dietary Fiber: 2g
- Sugars: 5g (naturally occurring)
- Protein: 1.5g
- Vitamin C: 25% of Daily Value
- Vitamin A: 15% of Daily Value
- Potassium: 350mg
- Lycopene: High concentration (a powerful antioxidant)
Tomatoes are rich in lycopene, a carotenoid that has been linked to reduced risk of heart disease and certain cancers. Cooking tomatoes actually increases the bioavailability of lycopene, making canned sauce one of the best ways to absorb this nutrient. The olive oil in this recipe helps your body absorb the fat-soluble vitamins and antioxidants even more effectively.
This sauce is naturally gluten-free, dairy-free, vegan, and vegetarian. It contains no added preservatives or artificial ingredients. If you’re watching your sodium intake, simply reduce or omit the salt — the roasted tomatoes and balsamic vinegar provide plenty of flavor on their own.
Conclusion
Making your own canned tomato sauce is one of those kitchen projects that feels intimidating until you actually do it, and then you wonder why you waited so long. This recipe is designed to hold your hand through every step, from roasting the tomatoes to hearing that first satisfying pop of a sealed jar. It’s not about being a homesteader or a superhuman cook. It’s about taking something simple — a tomato, some garlic, a little patience — and turning it into something you can be genuinely proud of.
The first time you open a jar of your own sauce in the middle of winter, when tomatoes are pale and tasteless at the grocery store, you’ll understand. That jar holds summer. It holds an afternoon you spent doing something real with your hands. And it holds a flavor that no store-bought sauce can touch.
I want to hear about your canning adventures. Did your jars seal properly? Did you add your own twist to the recipe? Did you have a moment of panic when you thought you ruined everything, only to realize it turned out fine? Drop a comment below and share your experience. And if you try this recipe, tag me in your photos — I love seeing those beautiful rows of jars on pantry shelves.
Frequently Asked Questions
Can I use any type of tomato for this recipe?
You can, but Roma or San Marzano tomatoes give the best results. They have thicker flesh and fewer seeds, which means less watery sauce and more concentrated flavor. If you use beefsteak or heirloom tomatoes, you’ll need to simmer the sauce longer to reduce the extra liquid.
Do I really need to add lemon juice to each jar?
Yes, absolutely. This is not optional for safe water-bath canning. Tomatoes can vary in acidity, and the lemon juice guarantees a safe pH level. Without it, you risk botulism. The lemon juice does not make the sauce taste sour — it balances the flavors and preserves the color.
What if my jars don’t seal?
Don’t panic. It happens to everyone. If a jar doesn’t seal within 24 hours, simply remove the lid, check the rim for nicks or cracks, and reprocess with a new lid. Or just refrigerate that jar and use it within a week. Unsealed sauce is still perfectly good — it just needs to be stored in the fridge.
Can I double this recipe?
You can, but be mindful of your equipment. Make sure your stockpot is large enough to hold the doubled volume without overflowing. You may also need to process the jars in batches if your canner can’t hold 16 pints at once. I usually max out at 10 pounds of tomatoes per batch — any more and the process becomes unwieldy.
How long will this sauce keep in the pantry?
Properly sealed jars stored in a cool, dark place will keep for 12 to 18 months. The quality is best within the first year. Always check the seal before opening — if the lid flexes up and down, the seal has failed and the sauce should be discarded. When in doubt, throw it out.
Pin This Recipe!
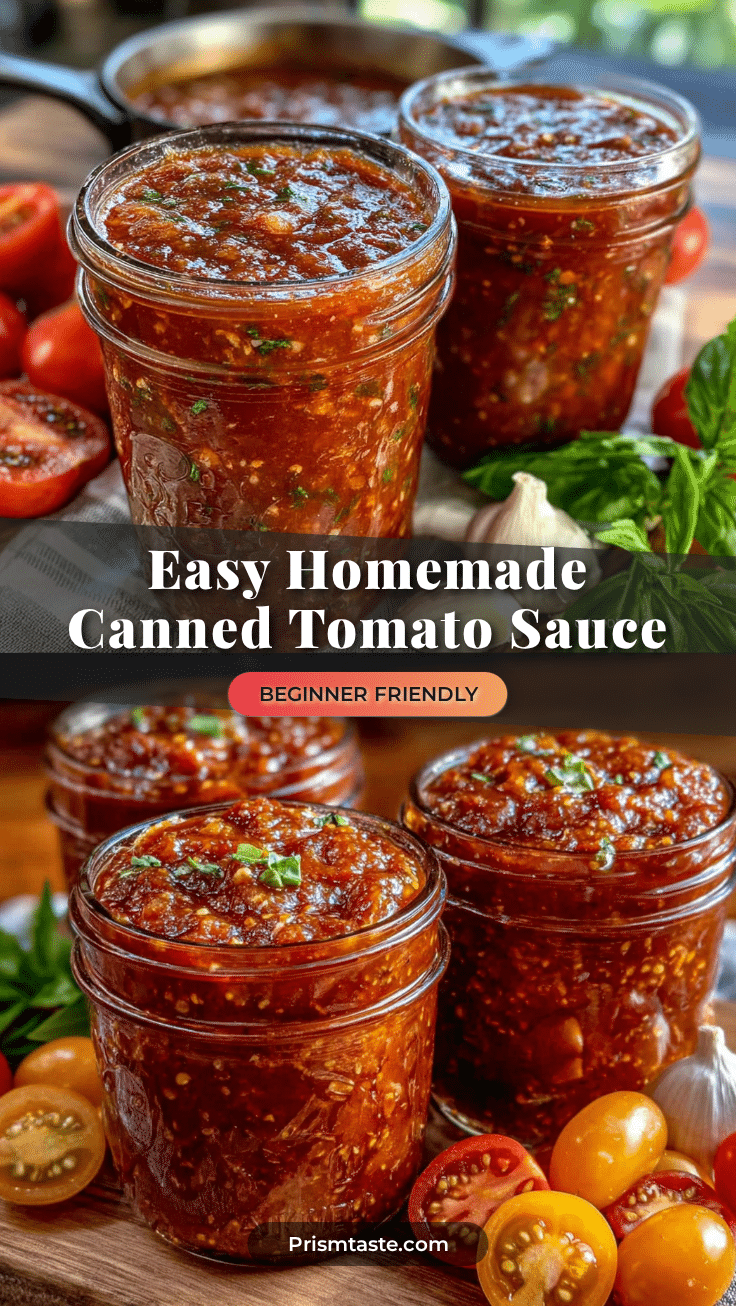
Easy Homemade Canned Tomato Sauce for Beginners
This beginner-friendly recipe for homemade canned tomato sauce uses roasted Roma tomatoes for deep, concentrated flavor. With simple ingredients and clear instructions, you can create a pantry staple that tastes far better than store-bought.
- Prep Time: 30 minutes
- Cook Time: 1 hour 30 minutes
- Total Time: 2 hours
- Yield: 6 to 8 pint jars 1x
- Category: Condiment
- Cuisine: Italian-American
Ingredients
- 10 pounds ripe Roma tomatoes (or San Marzano)
- 4 tablespoons olive oil
- 2 large yellow onions, roughly chopped
- 8 cloves garlic, smashed
- 2 tablespoons tomato paste (optional but recommended)
- 2 teaspoons salt
- 1 teaspoon black pepper, freshly ground
- 2 tablespoons dried oregano
- 1 tablespoon dried basil
- 2 tablespoons balsamic vinegar
- 2 teaspoons sugar (optional)
- 2 tablespoons fresh lemon juice (per jar during canning)
- Canning salt (optional, for final seasoning)
Instructions
- Preheat oven to 400°F (200°C). Position racks in upper and lower thirds if using two pans.
- Wash tomatoes thoroughly and cut out stems. Cut larger tomatoes in half lengthwise; leave smaller ones whole.
- Toss tomatoes, chopped onions, and smashed garlic with olive oil, salt, and pepper on roasting pans. Spread in a single layer.
- Roast for 45 to 60 minutes, stirring halfway, until tomatoes are soft, wrinkled, and starting to caramelize. Onions should be translucent and lightly browned.
- Let roasted vegetables cool for about 10 minutes.
- Transfer roasted tomatoes, onions, and garlic to a large stockpot, scraping up browned bits from pans.
- Add tomato paste, dried oregano, dried basil, and balsamic vinegar. Stir to combine.
- Use an immersion blender to puree until smooth. For chunkier sauce, pulse a few times. If using a regular blender, work in batches and let steam escape.
- Bring sauce to a gentle simmer over medium heat. Reduce heat to low and cook uncovered for 30 to 45 minutes, stirring occasionally.
- Taste and adjust seasoning. Add sugar if sauce tastes acidic. Add more salt or herbs if needed.
- While sauce simmers, prepare water-bath canner. Fill halfway with water and bring to a simmer (180°F/82°C).
- Wash jars, lids, and bands in hot, soapy water. Rinse thoroughly. Keep jars hot in canner or separate pot of simmering water. Keep lids in small saucepan of simmering water.
- Add 2 tablespoons fresh lemon juice to each clean, hot pint jar.
- Using canning funnel, ladle hot sauce into hot jars, leaving 1/2 inch headspace. Run a clean spatula or chopstick around inside to release air bubbles.
- Wipe jar rims with a clean, damp towel. Place lid on each jar and screw on band until fingertip-tight.
- Using jar lifter, lower jars into simmering water in canner. Ensure jars are covered by at least 1 inch of water.
- Bring water to a full rolling boil, then process pint jars for 35 minutes (adjust for altitude: add 5 minutes per 1,000 feet above sea level).
- Turn off heat and let jars sit in water for 5 minutes. Remove with jar lifter and place on clean dish towel, leaving space between jars. Do not tighten bands or touch lids.
- Let jars cool undisturbed for 12 to 24 hours. Listen for ‘ping’ sound as jars seal.
- After cooling, press center of each lid. If it doesn’t flex, jar is sealed. Remove bands and check again. Refrigerate any unsealed jars and use within a week.
Notes
Roasting the tomatoes is key for concentrated flavor. Do not skip the lemon juice for safe canning. Check jar rims for nicks before filling. Do not overtighten bands. Label jars with date and contents. Unsealed jars can be refrigerated and used within a week.
Nutrition
- Serving Size: 1/2 cup
- Calories: 65
- Sugar: 5
- Sodium: 320
- Fat: 3.5
- Saturated Fat: 0.5
- Carbohydrates: 8
- Fiber: 2
- Protein: 1.5
Keywords: homemade tomato sauce, canned tomato sauce, beginner canning, roasted tomato sauce, water-bath canning, pantry staple, easy canning recipe


