I need a lunch that stays hot, tastes amazing, and doesn’t get soggy by noon. That’s the thought that hit me at 6:47 AM on a Tuesday while staring at leftover rice and a block of cheddar. I had everything except the confidence that it would actually work in a thermos. But here’s the thing about thermos lunches—they’re either brilliant or they’re a sad, steamed mess. This Creamy Thermos Cheesy Broccoli Rice Lunch? It’s the brilliant kind. The kind where you open the lid at work and someone two cubicles over says, “What is that? It smells incredible.”
I’ve been making thermos lunches for years now, mostly out of necessity. My son started asking for “hot lunch” like the cafeteria kids get, and I refused to pay for mystery meat. So I went down a rabbit hole of testing—what stays creamy, what doesn’t turn to mush, what actually tastes good four hours later. This recipe is the result of all that trial and error. It’s creamy, it’s cheesy, it’s packed with broccoli that still has some bite, and it holds up beautifully in a thermos.
Honestly, I wasn’t expecting it to work this well. The first time I made it, I was half-prepared for a gluey disaster. Instead, I got a lunch that made me look forward to leftovers. And that’s the real win, isn’t it? When meal prep actually makes your day better instead of feeling like a chore.
Why You’ll Love This Recipe
Let me tell you why this Creamy Thermos Cheesy Broccoli Rice Lunch has become my most-requested meal prep recipe. It’s not fancy. It’s not complicated. But it checks every single box for a lunch that actually works in real life.
- Stays Hot for Hours : This recipe is designed specifically for thermos success. The creamy sauce acts as insulation, keeping everything warm and delicious until lunchtime. No microwave required.
- Simple Pantry Ingredients : Rice, broccoli, cheese, milk, butter, and a few seasonings. That’s it. You probably have most of this stuff right now.
- Perfect for Meal Prep : Make a big batch on Sunday and portion it out for the week. Each serving reheats beautifully and fills a standard thermos perfectly.
- Kid-Approved and Adult-Friendly : My picky eater devours this. My husband asks for extras. It’s that rare recipe that pleases everyone at the table.
- Customizable in So Many Ways : Swap the cheese, change the veggies, add protein—this recipe is a forgiving template that adapts to whatever you have on hand.
What really sets this recipe apart is the texture. Most thermos rice dishes turn into a mushy mess by lunchtime. But this one stays creamy without being gluey, and the broccoli retains just enough crunch to keep things interesting. The secret is in how you prep the rice and build the sauce. I learned this the hard way after three failed attempts that ended up in the trash. Now I’m sharing everything I figured out so you don’t have to make those same mistakes.
This isn’t just another lunch recipe. It’s the one that makes you actually look forward to meal prep Sunday. It’s the one that saves you from spending $12 on a mediocre lunch every day. And it’s the one that proves you don’t need complicated ingredients to eat well.
What Ingredients You Will Need
This recipe uses simple, wholesome ingredients to create something genuinely satisfying. Nothing weird, nothing expensive—just good food that works together. Here’s what you’ll need and why each ingredient matters.
For the Creamy Cheese Sauce
- 2 tablespoons unsalted butter (adds richness and helps create a smooth roux base)
- 2 tablespoons all-purpose flour (thickens the sauce without making it pasty)
- 1 ½ cups whole milk (whole milk gives the creamiest result; 2% works in a pinch)
- 2 cups sharp cheddar cheese, shredded (shred your own—pre-shredded has anti-caking agents that make sauce grainy)
- ½ teaspoon garlic powder (adds savory depth without being overpowering)
- ¼ teaspoon smoked paprika (optional but highly recommended for warmth and color)
- ¼ teaspoon mustard powder (brings out the cheese flavor in a subtle way)
- Salt and black pepper to taste
For the Rice and Broccoli
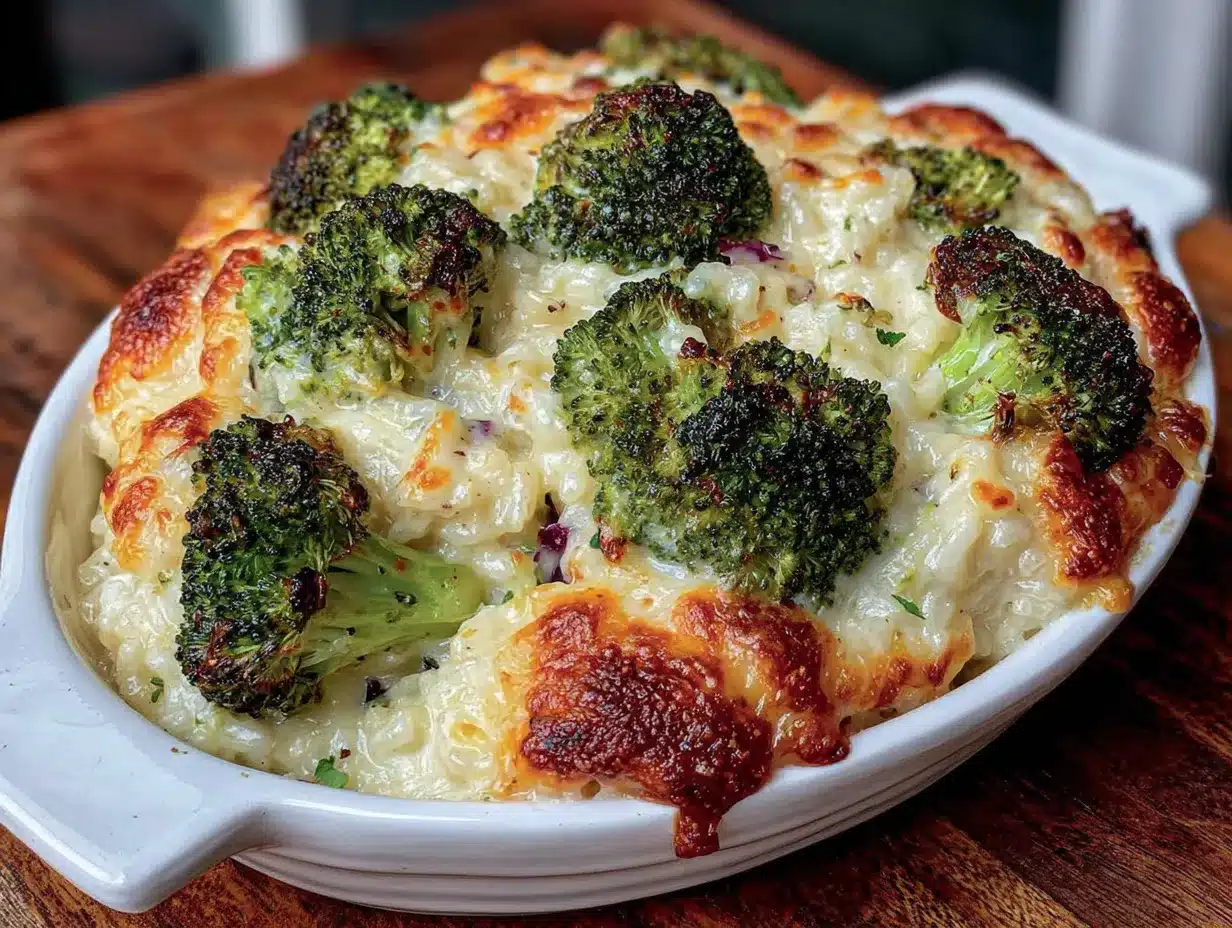
- 2 cups cooked white rice (day-old rice works best; it’s drier and absorbs sauce without getting mushy)
- 2 cups fresh broccoli florets, chopped small (fresh holds up better than frozen in a thermos)
- ¼ cup water or vegetable broth (for steaming the broccoli)
Ingredient Tips and Substitutions
I recommend using sharp cheddar from a block and shredding it yourself. The difference is night and day. Pre-shredded cheese has cellulose powder that prevents clumping, which is great for sprinkling on tacos but terrible for making a smooth sauce. Trust me on this one—I learned the hard way.
For the rice, long-grain white rice works perfectly. Brown rice is a bit chewier and holds up well too, but it changes the texture slightly. If you’re gluten-free, swap the all-purpose flour for a 1:1 gluten-free flour blend or cornstarch slurry (1 tablespoon cornstarch mixed with 2 tablespoons cold water, added at the end).
Broccoli can be swapped with cauliflower, peas, or even chopped carrots. If you’re using frozen broccoli, thaw and drain it well first, otherwise it’ll water down your sauce. And if you want to add protein, cooked chicken, ham, or even crumbled sausage works beautifully here.
Equipment Needed
You don’t need a fancy kitchen to make this recipe work. Here’s what you’ll actually use:
- Medium saucepan : For making the cheese sauce. A heavy-bottomed pan prevents scorching.
- Small skillet or pot with lid : For steaming the broccoli. Any pan with a tight-fitting lid works.
- Wooden spoon or silicone spatula : For stirring the sauce. Metal can scratch non-stick pans.
- Cheese grater : A box grater or microplane for shredding your own cheese.
- Measuring cups and spoons : Precision matters for the sauce consistency.
- Thermos or insulated food jar : A wide-mouth thermos is easiest for filling and eating from. I use a 16-ounce thermos for adult portions and a 10-ounce for kids.
- Mixing bowl : For combining everything before filling the thermos.
If you don’t have a thermos yet, I recommend investing in a good one. The difference between a $10 thermos and a $25 one is noticeable—better heat retention, less condensation, and no metallic taste. I’ve been using a Stanley thermos for years and it’s still going strong. For a budget option, Thermos brand works great too.
To preheat your thermos, fill it with boiling water and let it sit for 5 minutes while you finish cooking. Dump the water right before filling. This simple step keeps your lunch hot for hours longer.
Preparation Method
Let’s walk through this step by step. I’ve included time estimates and visual cues so you know exactly what to look for at each stage.
Step 1: Cook the Rice (if not using leftovers)
If you’re starting from scratch, cook 1 cup of dry rice according to package directions. This yields about 3 cups of cooked rice. Spread it on a baking sheet to cool slightly while you prep everything else. Slightly undercook the rice by about 2 minutes—it will continue cooking when you add the sauce. You want individual grains that are tender but still firm, not mushy.
Step 2: Steam the Broccoli (5 minutes)
Chop your broccoli into small, bite-sized florets. In a small skillet, add the broccoli and ¼ cup of water or broth. Cover and cook over medium heat for 3-4 minutes until bright green and just tender. You want it to still have some resistance when pierced with a fork. Drain any excess liquid immediately. If you skip this draining step, your sauce will get watery later.
Step 3: Make the Cheese Sauce (10 minutes)
In a medium saucepan, melt the butter over medium heat. Once it’s bubbling, whisk in the flour and cook for 1-2 minutes, stirring constantly. This is your roux, and it should smell nutty and look like wet sand. Slowly pour in the milk while whisking continuously to prevent lumps. Keep whisking until the mixture thickens enough to coat the back of a spoon, about 3-4 minutes.
Remove the pan from heat and stir in the shredded cheddar cheese, garlic powder, smoked paprika, mustard powder, salt, and pepper. Stir until the cheese is completely melted and the sauce is smooth. Taste it now and adjust seasoning—once you add the rice, flavors get muted.
Step 4: Combine Everything (5 minutes)
In a large mixing bowl, combine the cooked rice, steamed broccoli, and cheese sauce. Stir gently but thoroughly until everything is evenly coated. The mixture should look creamy but not soupy. If it seems too thick, add a splash of milk. Too thin? Let it sit for a minute—the rice will absorb some liquid as it cools.
Step 5: Preheat Your Thermos (5 minutes, do this while cooking)
Fill your thermos with boiling water, screw the lid on, and let it sit for 5 minutes. This preheating step is crucial—it prevents your lunch from cooling down too quickly. Right before filling, dump the water completely and dry the inside quickly with a paper towel.
Step 6: Fill the Thermos (2 minutes)
Spoon the hot rice mixture into the preheated thermos, packing it down gently to eliminate air pockets. Fill it all the way to the top—less air means better heat retention. Screw the lid on tightly and you’re done. Your lunch will stay hot for at least 4-5 hours.
Cooking Tips & Techniques
I’ve made this recipe probably twenty times now, and I’ve learned a few things the hard way. Here are the tips that make the biggest difference.
Use day-old rice. Freshly cooked rice has too much moisture and turns mushy when mixed with hot sauce. Cook your rice a day ahead, or at least let it cool completely on a baking sheet before using. The drier the rice, the better the texture.
Don’t skip the roux. I know it’s tempting to just melt cheese into milk and call it a day, but a proper roux makes the sauce stable. It prevents separation and keeps things creamy even after hours in a thermos. Take the extra two minutes—it’s worth it.
Shred your own cheese. I already mentioned this, but it bears repeating. Pre-shredded cheese has anti-caking agents that prevent smooth melting. Your sauce will turn out grainy and weird. Block cheese, box grater, two minutes of effort. Do it.
Don’t overcook the broccoli. It will continue cooking in the thermos from residual heat. If you steam it until it’s fully tender, it’ll be mush by lunchtime. Aim for bright green with a slight crunch.
Preheat your thermos every single time. This is the most common mistake people make with thermos lunches. Cold glass or metal will suck the heat right out of your food. A five-minute preheat with boiling water makes a dramatic difference.
Fill it to the brim. Air is the enemy of heat retention. Pack your thermos as full as possible. If you have extra, eat it for dinner or save it for tomorrow’s lunch in the fridge.
Variations & Adaptations
This recipe is incredibly flexible. Here are some of my favorite ways to change it up.
Protein-Packed Version
Add 1 cup of shredded rotisserie chicken, diced ham, or crumbled cooked sausage when you combine the rice and sauce. The extra protein makes it a more substantial lunch that keeps you full longer. I often make this version when I have leftover chicken from a crispy air fryer lemon herb chicken thighs dinner—it’s a perfect pairing.
Vegetable Swap
Not a broccoli fan? Swap in cauliflower florets, chopped asparagus, or frozen peas. Each vegetable gives a different texture and flavor. Cauliflower is the closest substitute; asparagus adds a nice spring vibe; peas bring sweetness that kids love.
Cheese Variations
Try Gouda for a smoky flavor, pepper jack for some heat, or a mix of cheddar and mozzarella for extra stretchiness. I once made it with leftover fondue cheese and it was incredible. Don’t be afraid to experiment.
Dietary Adaptations
For a gluten-free version, use cornstarch slurry instead of a flour roux. For dairy-free, use vegan butter, unsweetened oat milk, and your favorite dairy-free cheese shreds. For lower carb, swap the rice for cauliflower rice (cook it first and squeeze out excess moisture).
Spice It Up
Add a pinch of cayenne pepper, some red pepper flakes, or a dash of hot sauce to the cheese sauce. The heat cuts through the richness beautifully and adds another layer of flavor.
Serving & Storage Suggestions
This recipe is designed to be eaten straight from the thermos, but here are some tips to make it even better.
Serving Temperature: Eat it hot, right from the thermos. The cheese sauce should be creamy and warm, not lukewarm. If your thermos is properly preheated, it’ll stay hot for hours.
What to Serve With It: A piece of crusty bread or some crackers on the side is perfect for scooping up every last bit of sauce. A simple side salad or some apple slices balances the richness. For a complete lunch, pair it with some easy high-protein turkey pinwheel wraps for variety.
Storage Instructions: If you’re meal prepping, store the rice mixture in an airtight container in the refrigerator for up to 4 days. Do not freeze it—the dairy sauce will separate and become grainy when thawed. Each morning, simply reheat a portion on the stovetop or microwave until steaming hot, then fill your preheated thermos.
Reheating Tips: Add a tablespoon of milk or water when reheating to loosen the sauce. Stir well and heat until steaming throughout. If using a microwave, stir halfway through to ensure even heating.
Flavor Development: Honestly, this recipe tastes even better on day two. The flavors meld together overnight, and the rice absorbs just enough sauce to become perfectly creamy without being mushy. I often make it two days ahead on purpose.
Nutritional Information & Benefits
This recipe is comfort food that actually has some nutritional merit. Here’s what you’re getting in a standard serving.
| Nutrient | Amount Per Serving |
|---|---|
| Calories | 420-450 |
| Protein | 16-18g |
| Carbohydrates | 42-45g |
| Fat | 22-24g |
| Fiber | 3-4g |
| Calcium | 35% DV |
| Vitamin C | 80% DV |
| Vitamin A | 20% DV |
The broccoli provides a solid dose of vitamin C and fiber, while the cheese and milk contribute calcium and protein. This isn’t a diet food, but it’s a balanced meal that keeps you full and satisfied. If you’re watching your sodium, use low-sodium broth and reduce the added salt.
For a lighter version, use reduced-fat cheese and skim milk. The texture won’t be quite as creamy, but it still works well. For a higher protein option, add chicken or turkey as mentioned in the variations section.
FAQs
Can I use frozen broccoli instead of fresh?
Yes, but thaw and drain it thoroughly first. Frozen broccoli releases a lot of water as it cooks, which can make your sauce watery. Pat it dry with paper towels before adding it to the rice mixture.
How long will this stay hot in a thermos?
With proper preheating and filling the thermos to the top, this lunch stays hot for 4-5 hours. After that, it’s still warm but not steaming. For best results, eat within 4 hours of packing.
Can I make this in advance and reheat it?
Absolutely. Store the rice mixture in the fridge for up to 4 days. Reheat it thoroughly on the stovetop or microwave before filling your thermos. Add a splash of milk if it seems dry after refrigeration.
What kind of rice works best?
Long-grain white rice is ideal. It holds its shape well and doesn’t get mushy. Brown rice works too but has a chewier texture. Avoid short-grain or sushi rice, which can become sticky and gluey.
Can I add meat to this recipe?
Definitely. Cooked chicken, ham, turkey, or even crumbled bacon are all excellent additions. Stir them in when you combine the rice and sauce. Leftover rotisserie chicken is my go-to for busy weeks.
Conclusion
This Creamy Thermos Cheesy Broccoli Rice Lunch has genuinely changed how I think about meal prep. It’s not complicated. It’s not expensive. But it delivers a hot, satisfying, homemade lunch that makes the middle of the day feel special. No sad desk salads. No overpriced takeout. Just good food that you made yourself.
I love this recipe because it’s forgiving. You can tweak it based on what’s in your fridge, add whatever protein you have, and it still works. It’s the kind of recipe that builds confidence in the kitchen—you start following the instructions, and by the third time, you’re improvising and making it your own.
Try it this week. Pack it for yourself, your kids, your partner. See how good it feels to open a thermos at lunchtime and smell something that reminds you of home. And when you do, come back and tell me how it turned out. Did you add something unexpected? Did your picky eater ask for seconds? I genuinely want to know.
Drop a comment below or tag me in your lunch photos. Let’s make lunch something to look forward to again.
Pin This Recipe!
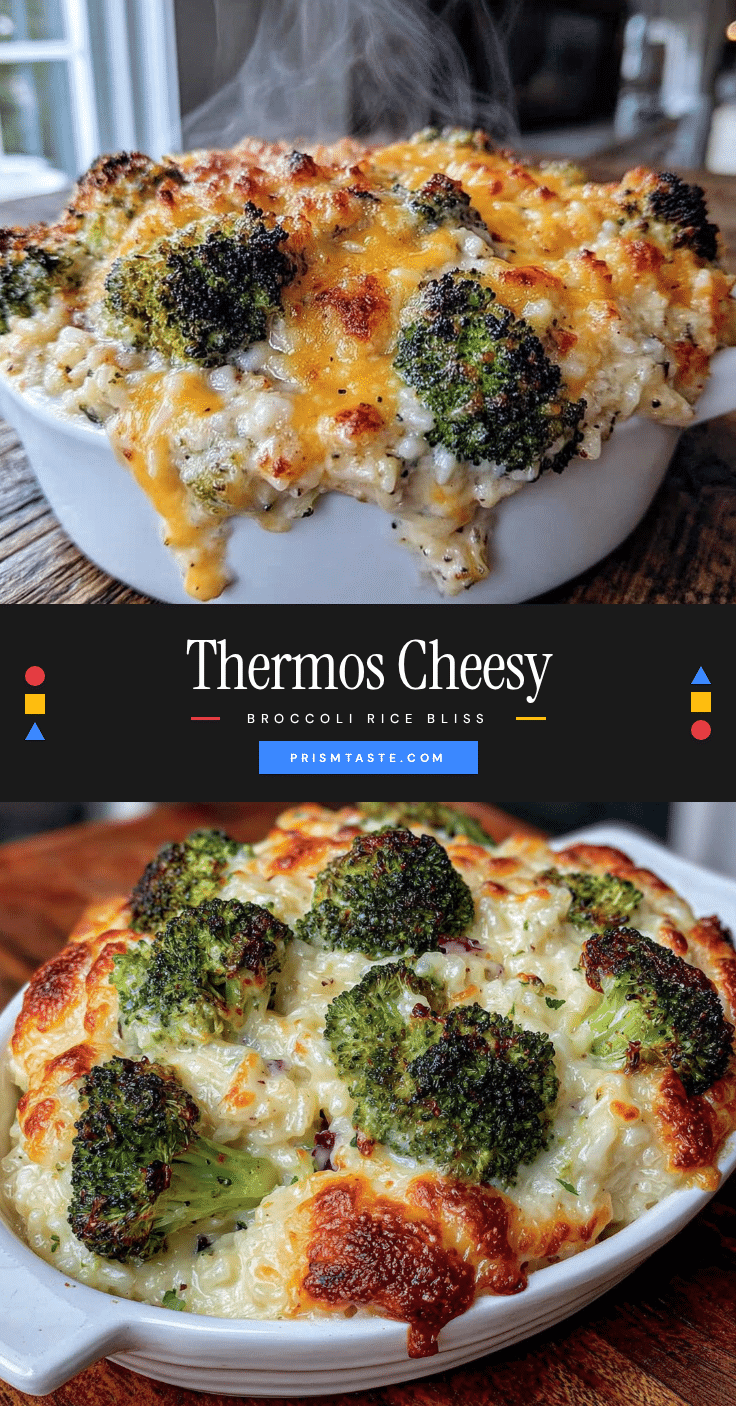
Creamy Thermos Cheesy Broccoli Rice Lunch – Easy Meal Prep

A creamy, cheesy broccoli rice lunch designed to stay hot and delicious in a thermos for hours. Perfect for meal prep, this recipe uses simple ingredients and avoids sogginess with smart techniques.
- Prep Time: 15 minutes
- Cook Time: 20 minutes
- Total Time: 35 minutes
- Yield: 4 servings 1x
- Category: Main Course
- Cuisine: American
Ingredients
- 2 tablespoons unsalted butter
- 2 tablespoons all-purpose flour
- 1 ½ cups whole milk
- 2 cups sharp cheddar cheese, shredded
- ½ teaspoon garlic powder
- ¼ teaspoon smoked paprika (optional)
- ¼ teaspoon mustard powder
- Salt and black pepper to taste
- 2 cups cooked white rice (day-old preferred)
- 2 cups fresh broccoli florets, chopped small
- ¼ cup water or vegetable broth
Instructions
- Cook the rice: If starting from scratch, cook 1 cup of dry rice according to package directions to yield about 3 cups. Slightly undercook by 2 minutes, then spread on a baking sheet to cool.
- Steam the broccoli: Chop broccoli into small florets. In a small skillet, add broccoli and ¼ cup water or broth. Cover and cook over medium heat for 3-4 minutes until bright green and just tender. Drain any excess liquid immediately.
- Make the cheese sauce: In a medium saucepan, melt butter over medium heat. Whisk in flour and cook for 1-2 minutes, stirring constantly, until nutty and sand-like. Slowly pour in milk while whisking continuously. Cook until thickened, about 3-4 minutes. Remove from heat and stir in shredded cheddar, garlic powder, smoked paprika, mustard powder, salt, and pepper until smooth.
- Combine everything: In a large mixing bowl, combine cooked rice, steamed broccoli, and cheese sauce. Stir gently until evenly coated. Add a splash of milk if too thick; let sit if too thin.
- Preheat the thermos: Fill thermos with boiling water, screw on lid, and let sit for 5 minutes. Dump water and dry inside quickly before filling.
- Fill the thermos: Spoon hot rice mixture into preheated thermos, packing down gently to eliminate air pockets. Fill to the top, screw lid on tightly. Lunch stays hot for 4-5 hours.
Notes
Use day-old rice for best texture. Shred cheese from a block to avoid graininess. Don’t overcook broccoli—it continues cooking in the thermos. Preheat thermos with boiling water for 5 minutes before filling. Fill thermos to the brim for better heat retention. Store rice mixture in fridge for up to 4 days; do not freeze. Add a splash of milk when reheating.
Nutrition
- Serving Size: 1 serving (about 1.5
- Calories: 435
- Sugar: 6
- Sodium: 520
- Fat: 23
- Saturated Fat: 14
- Carbohydrates: 44
- Fiber: 3.5
- Protein: 17
Keywords: thermos lunch, meal prep, cheesy broccoli rice, hot lunch, easy lunch recipe, creamy rice, kid-friendly lunch


