The jar was empty by lunchtime — and before anyone even thought of snapping a picture. That was the third batch I made this month, and somehow, people still ask if I can send them the recipe. Honestly, I didn’t expect this quick tangy refrigerator dill pickles recipe to become such a favorite. It all started with a craving for that crunchy, zesty bite you get from deli-style pickles but without the long wait or the fuss of canning. I wanted something fast, bold, and homemade — and it turns out, so did everyone else.
There’s this unmistakable snap when you bite into these pickles, followed by a hit of dill and just the right amount of tang. It’s the kind of pickle that makes sandwiches better, salads brighter, and snack times more exciting. And the best part? You just need to wait 24 hours before digging in, which, let’s be honest, is way better than the weeks some recipes demand.
What keeps me coming back to this recipe is how straightforward it is but how deeply satisfying the results are. No weird ingredients, no complicated steps — just simple, honest flavors. It’s become my go-to when I want to add a little something special to a meal or when unexpected guests show up and I want something crunchy and fresh on hand.
Looking back, it’s funny how a simple jar of pickles could spark so many repeat requests. But I guess that’s what good food does — it quietly wins you over, one bite at a time. Maybe you’ll find that same little surprise in this quick recipe. I’m pretty sure these pickles will sneak their way into your kitchen routine, just like they did mine.
Why You’ll Love This Recipe
Let me tell you, this quick tangy refrigerator dill pickles recipe isn’t just another pickle jar on the shelf. I’ve tested lots of quick pickle recipes, but this one hits a perfect balance you rarely find: it’s tangy without being overpowering, crunchy without being tough, and it’s ready in just a day.
- Quick & Easy: Ready to enjoy in 24 hours, ideal for last-minute pickle cravings or quick side additions.
- Simple Ingredients: Uses everyday pantry staples — no fancy spices or hard-to-find vinegars needed.
- Perfect for Summer BBQs & Sandwiches: Adds a punch of flavor to burgers or alongside a creamy classic macaroni salad with ham and dill pickles.
- Crowd-Pleaser: The tangy, fresh dill flavor wins over both kids and adults — every single time.
- Unbelievably Delicious: That satisfying crunch and bold tang make these pickles stand out from store-bought jars.
What makes this recipe different? It’s the balance of the brine — I fine-tuned the vinegar, garlic, and dill ratios until it felt just right. Also, I like to use fresh dill fronds and garlic cloves instead of powders or dried herbs, which gives these pickles a bright, lively flavor that sticks with you.
Honestly, these pickles are the kind that make you pause mid-bite, eyes closed, savoring that perfect tang. And they’re a perfect companion to something like the ultimate bacon cheeseburgers, where you want that sharp contrast cutting through rich, juicy beef. These pickles are just that little magic touch.
What Ingredients You Will Need
This recipe is a lesson in keeping things uncomplicated but flavorful. The ingredients are mostly pantry staples, with a few fresh touches to bring the dill pickles to life. The key is in the balance of acid, salt, and fresh herbs for that perfect tang and crunch.
- Fresh cucumbers: About 4-5 small to medium pickling cucumbers (around 1 pound/450 grams), sliced into spears or coins. Look for firm, fresh cucumbers with no soft spots — they’ll hold up best.
- Fresh dill: 3-4 sprigs of dill fronds (or about 2 tablespoons chopped fresh dill). The fresh dill really makes or breaks the flavor here.
- Garlic cloves: 3 large cloves, peeled and smashed (adds depth and a bit of bite).
- White vinegar: 1 cup (240 ml). This gives the tangy base. You can swap with apple cider vinegar if you want a slightly fruitier note.
- Water: 1 cup (240 ml), to balance the vinegar.
- Salt: 1 tablespoon kosher salt or pickling salt (regular table salt works but adjust amount slightly).
- Sugar: 1 teaspoon granulated sugar (just a touch to round out the acidity).
- Black peppercorns: 1 teaspoon whole peppercorns (optional, for a subtle spice).
- Red pepper flakes: ¼ teaspoon (optional, if you like a little heat).
If you’re looking to try a gluten-free option for other recipes alongside these pickles, you might appreciate how naturally gluten-free this one is. Plus, if you’ve ever made classic macaroni salad with ham and dill pickles, you’ll notice these homemade pickles add a fresh brightness that store-bought just can’t match.
Equipment Needed
- Glass jar or container with lid: A quart-sized (1 liter) jar works perfectly. Mason jars are ideal, but any clean glass container that seals well will do.
- Measuring cups and spoons: For precise vinegar, water, salt, and sugar measurements.
- Sharp knife: For slicing cucumbers into spears or coins.
- Cutting board: To prep your cucumbers and garlic safely.
- Small saucepan: To warm and dissolve salt and sugar into the vinegar-water brine.
If you don’t have a glass jar, you can use a BPA-free plastic container, but glass is best for flavor neutrality and long-term storage. Also, I usually recommend rinsing and reusing old pickle jars — it’s practical and perfect for this recipe.
Preparation Method
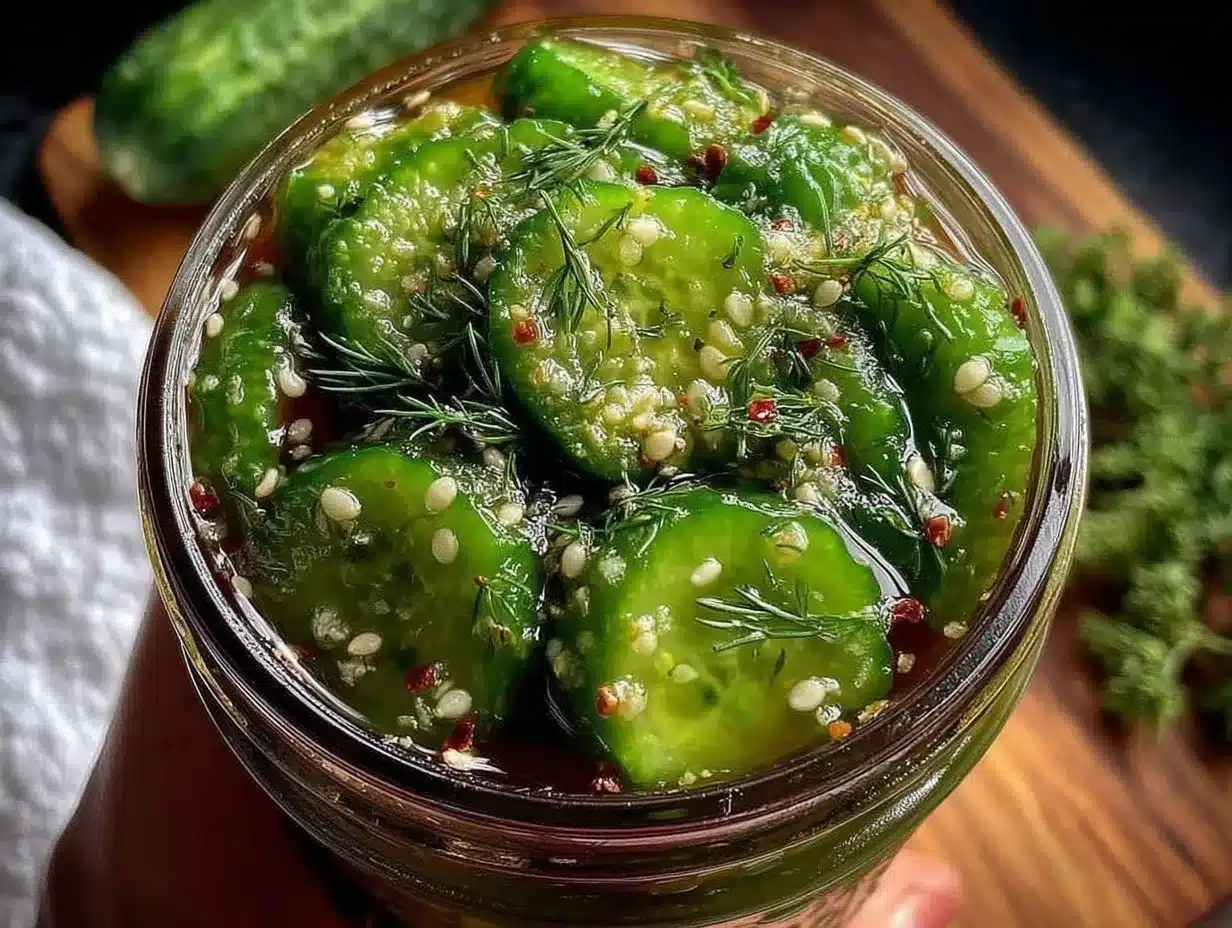
- Prepare the cucumbers: Rinse the cucumbers well under cold water. Cut off the blossom ends (they can introduce bitterness). Slice into spears about 3-4 inches long or into ¼-inch thick coins, depending on your preference. This usually takes about 5-7 minutes.
- Prepare the brine: In a small saucepan, combine 1 cup (240 ml) white vinegar, 1 cup (240 ml) water, 1 tablespoon kosher salt, and 1 teaspoon sugar. Warm over medium heat, stirring occasionally until salt and sugar dissolve completely — about 3-4 minutes. Don’t boil; just hot enough to dissolve the solids.
- Pack the jar: Place the smashed garlic cloves, fresh dill sprigs, peppercorns, and red pepper flakes (if using) at the bottom of the jar. Then tightly pack in the cucumber slices without crushing them. The goal is to fit as many as you can while leaving some room at the top.
- Pour in the brine: Carefully pour the warm brine over the cucumbers, covering them completely. Leave about ½ inch (1.3 cm) headspace at the top of the jar. If you notice any cucumbers floating, press them gently down with a clean utensil.
- Seal and refrigerate: Screw on the lid tightly and place the jar in the refrigerator. Let the pickles sit for at least 24 hours before tasting. They’ll develop even more flavor if you wait up to 48 hours, but honestly, 24 is often enough for that perfect tang and crunch.
- Enjoy: After 24 hours, your quick tangy refrigerator dill pickles are ready to enjoy. Keep refrigerated and consume within 2-3 weeks for best freshness.
If the pickles seem too soft after 24 hours, it might be the cucumbers were a bit too ripe or stored too long before pickling. Next time, grab cucumbers fresh from the market or garden for that crisp texture. Also, if you want your pickles extra crunchy, you can soak sliced cucumbers in ice water for 30 minutes before starting.
Cooking Tips & Techniques
One thing I’ve learned from making these quick tangy refrigerator dill pickles is that timing and ingredient quality truly matter. Using fresh, firm cucumbers makes all the difference. I remember once trying this recipe with cucumbers that had been sitting in the fridge too long — the result was disappointingly mushy, and I had to toss the batch.
Warming the brine just enough to dissolve the salt and sugar is crucial. If you boil it, you risk dulling the vinegar’s brightness and slightly cooking the cucumbers, which changes their texture. A gentle heat is your friend here.
Don’t skimp on the fresh dill and garlic. The combination gives the pickles that unmistakable homemade flavor. Using dried dill or garlic powder just doesn’t have the same punch.
When packing the jar, avoid crushing the cucumbers. Give them a tight squeeze but keep them intact to maintain crunch. Also, pressing down the cucumbers so they’re submerged in the brine prevents them from turning soft or moldy on top.
Lastly, be patient! While the pickles can be eaten after 24 hours, letting them rest a bit longer (up to 48 hours) often develops a deeper flavor. But if you’re impatient like me, 24 hours is a good benchmark.
Variations & Adaptations
- Spicy Dill Pickles: Add a few extra red pepper flakes or throw in 1-2 sliced jalapeños with the cucumbers for a fiery kick.
- Garlic Lover’s Pickles: Double the garlic cloves and add a pinch of garlic powder to intensify the garlicky flavor.
- Low-Sodium Version: Cut the salt in half and use a potassium-based salt substitute if needed, but expect a milder flavor and shorter shelf life.
- Herb-Infused Pickles: Toss in fresh thyme, rosemary, or even a bay leaf along with dill for a unique herbaceous twist.
- Vegan-Friendly Variations: This recipe is naturally vegan and gluten-free — just be sure your vinegar is free from any animal-derived additives.
I once tried adding a splash of apple cider vinegar instead of white vinegar — the result was sweeter and a little fruitier, which was a nice change. If you enjoy making easy snacks, these pickles go well with easy monster pretzel bites for a fun, crunchy combo.
Serving & Storage Suggestions
Serve these quick tangy refrigerator dill pickles cold straight from the fridge. They add a refreshing crunch to sandwiches, burgers, and salads. They’re especially great alongside rich dishes — I love pairing them with creamy sides like classic macaroni salad with ham and dill pickles or the ultimate bacon cheeseburgers for a perfect balance.
Store the pickles in their sealed jar in the refrigerator. They’ll keep well for 2 to 3 weeks, but I tend to finish them off faster (no complaints there!). The flavors deepen over time, so if you can wait, the tang and dill notes get even more pronounced.
Reheating is not necessary since pickles are traditionally enjoyed cold or at room temperature. If you’re using them in cooked dishes, add them at the end to retain their crunch and brightness.
Nutritional Information & Benefits
These quick tangy refrigerator dill pickles are low in calories — roughly 5-10 calories per spear — making them a guilt-free snack loaded with flavor. The vinegar and dill contribute to digestive health, and cucumbers provide hydration and small amounts of vitamins K and C.
They’re naturally gluten-free, vegan-friendly, and low-carb, fitting easily into many dietary preferences. However, keep in mind the sodium content from the salt — those watching sodium intake might want to adjust accordingly.
From a wellness perspective, I appreciate how this recipe brings fresh, homemade flavors without additives or preservatives. It’s a simple way to add probiotics and tang to your meals when paired with fermented foods or enjoyed regularly.
Conclusion
Looking back, it’s clear why this quick tangy refrigerator dill pickles recipe became a staple in my kitchen — it’s fast, simple, and reliably delicious. Whether you’re a pickle enthusiast or just someone who likes a crunchy, flavorful snack, these pickles won’t disappoint.
Feel free to tweak the spice level, herb mix, or vinegar type to make it your own. After all, homemade pickles are all about personal taste and that satisfying feeling of crafting something tasty from scratch.
For me, this recipe stuck because it’s approachable and delivers consistent results every time — no complicated steps or long waits. If you give it a try, I’d love to hear how your batch turns out or what variations you discover along the way.
Happy pickling, and may your kitchen always have a jar of these tangy delights ready for snacking!
FAQs About Quick Tangy Refrigerator Dill Pickles
How long do quick refrigerator dill pickles last?
They typically last 2 to 3 weeks in the fridge if stored in a sealed jar. Always check for any off smells or mold before eating.
Can I use regular cucumbers instead of pickling cucumbers?
Yes, but pickling cucumbers are firmer and have fewer seeds, which helps keep the pickles crunchy. Regular cucumbers can work but may result in softer pickles.
Do I have to boil the brine?
No need to boil — just warm it enough to dissolve the salt and sugar. Boiling can change the vinegar’s flavor and soften the cucumbers.
Can I make this recipe spicy?
Absolutely! Adding red pepper flakes or sliced jalapeños during packing will give the pickles a nice kick.
Why are my pickles not crunchy?
This usually happens if the cucumbers are old, overripe, or not soaked in ice water beforehand. Also, not pressing the cucumbers under the brine can cause softening.
Pin This Recipe!
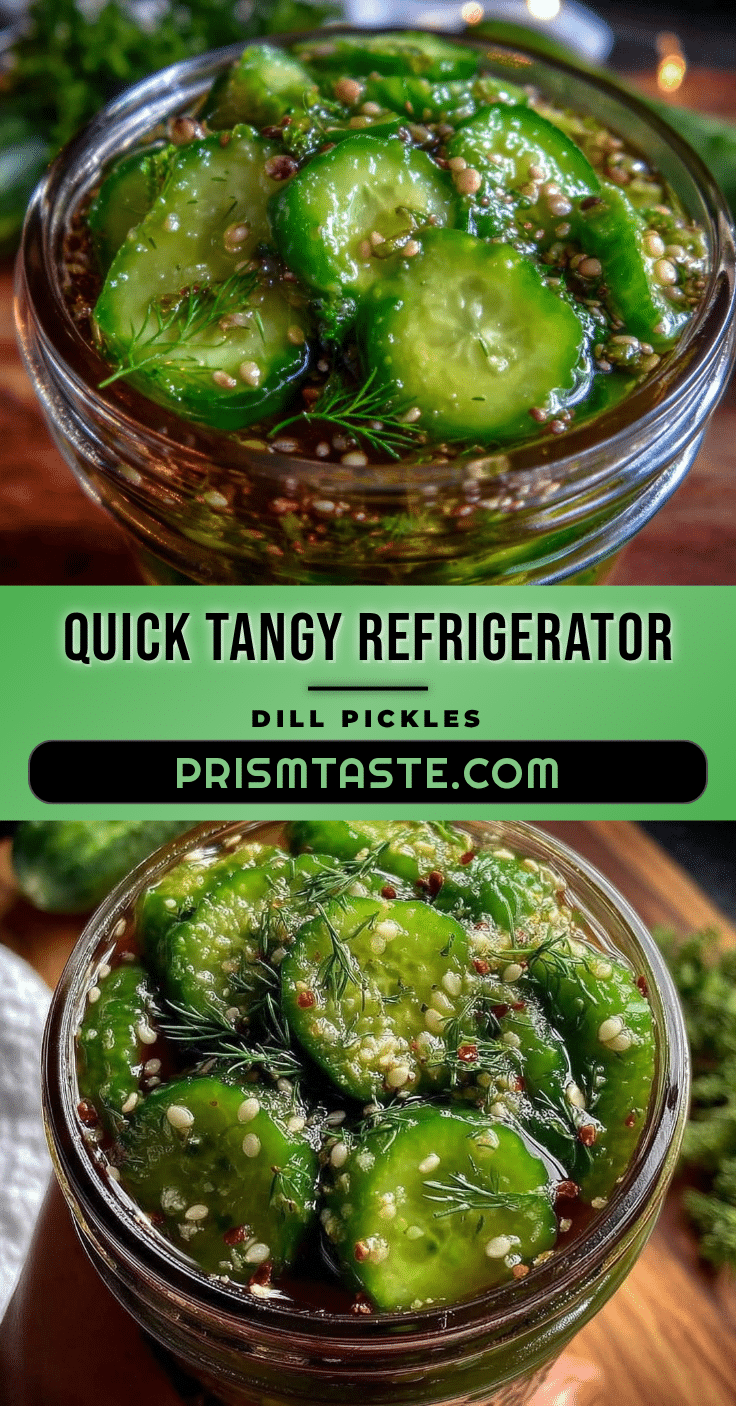
Quick Tangy Refrigerator Dill Pickles
A fast and easy homemade dill pickle recipe that delivers crunchy, tangy pickles ready in just 24 hours without the fuss of canning.
- Prep Time: 10 minutes
- Cook Time: 5 minutes
- Total Time: 24 hours 15 minutes
- Yield: 4 servings 1x
- Category: Side Dish
- Cuisine: American
Ingredients
- 4–5 small to medium pickling cucumbers (about 1 pound / 450 grams), sliced into spears or coins
- 3–4 sprigs fresh dill fronds (about 2 tablespoons chopped fresh dill)
- 3 large garlic cloves, peeled and smashed
- 1 cup (240 ml) white vinegar
- 1 cup (240 ml) water
- 1 tablespoon kosher salt or pickling salt
- 1 teaspoon granulated sugar
- 1 teaspoon whole black peppercorns (optional)
- 1/4 teaspoon red pepper flakes (optional)
Instructions
- Rinse cucumbers well under cold water. Cut off blossom ends and slice into 3-4 inch spears or 1/4-inch thick coins.
- In a small saucepan, combine white vinegar, water, kosher salt, and sugar. Warm over medium heat, stirring until salt and sugar dissolve, about 3-4 minutes. Do not boil.
- Place smashed garlic cloves, fresh dill sprigs, peppercorns, and red pepper flakes (if using) at the bottom of a quart-sized glass jar.
- Pack cucumber slices tightly into the jar without crushing them.
- Pour warm brine over cucumbers, covering completely and leaving about 1/2 inch headspace. Press cucumbers down if floating.
- Seal jar tightly and refrigerate for at least 24 hours before tasting. For deeper flavor, wait up to 48 hours.
- Keep refrigerated and consume within 2-3 weeks for best freshness.
Notes
Use fresh, firm cucumbers for best crunch. Do not boil the brine to preserve vinegar brightness. Press cucumbers under brine to prevent softening. For extra crunch, soak cucumbers in ice water for 30 minutes before pickling. Pickles keep 2-3 weeks refrigerated. Variations include adding jalapeños for spice or doubling garlic for more flavor.
Nutrition
- Serving Size: About 1/4 of the jar
- Calories: 10
- Sugar: 1
- Sodium: 800
- Carbohydrates: 2
- Fiber: 0.5
Keywords: quick pickles, refrigerator pickles, dill pickles, homemade pickles, easy pickles, tangy pickles, crunchy pickles, no canning pickles


